
110 Cookson Lane | Whitefield, ME 04353 | 207-232-7600 | tim@lackeysailing.com
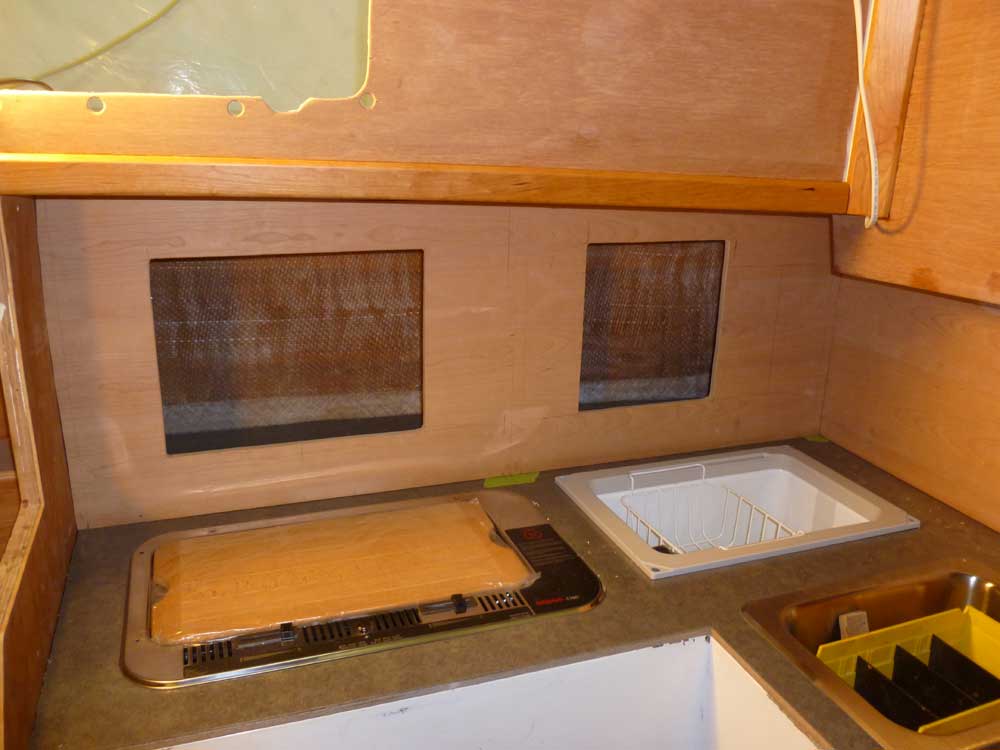
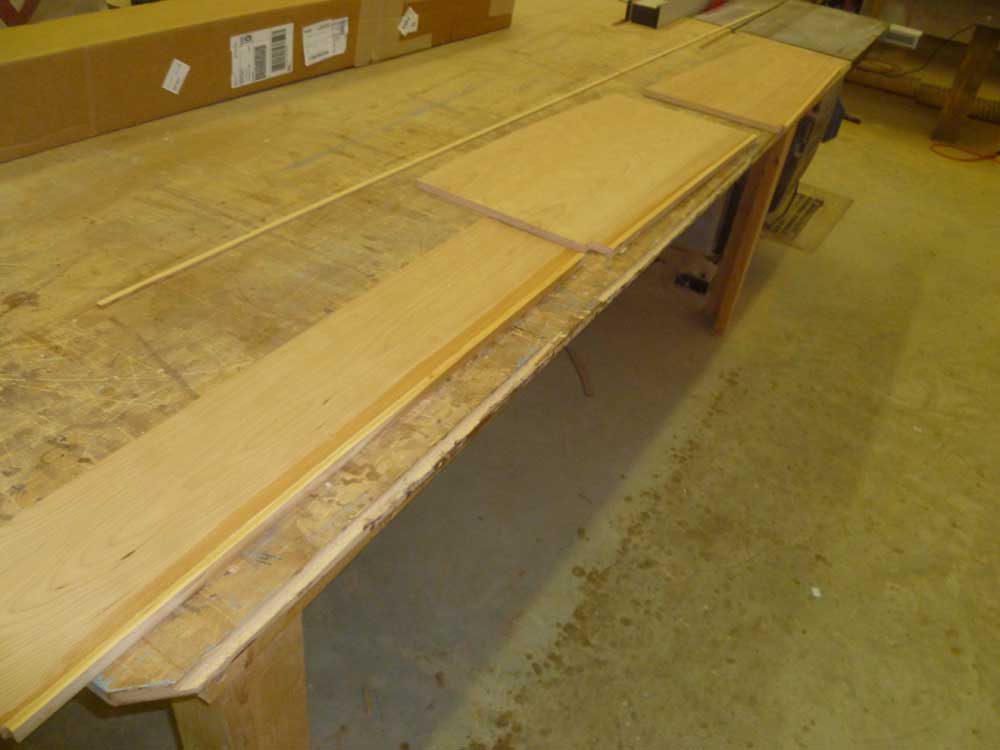
First thing, I used the plywood template of the after galley cabinet panel to cut out the actual panel from 1/2" cherry plywood, and fit it in place. I was pleased with the fit.
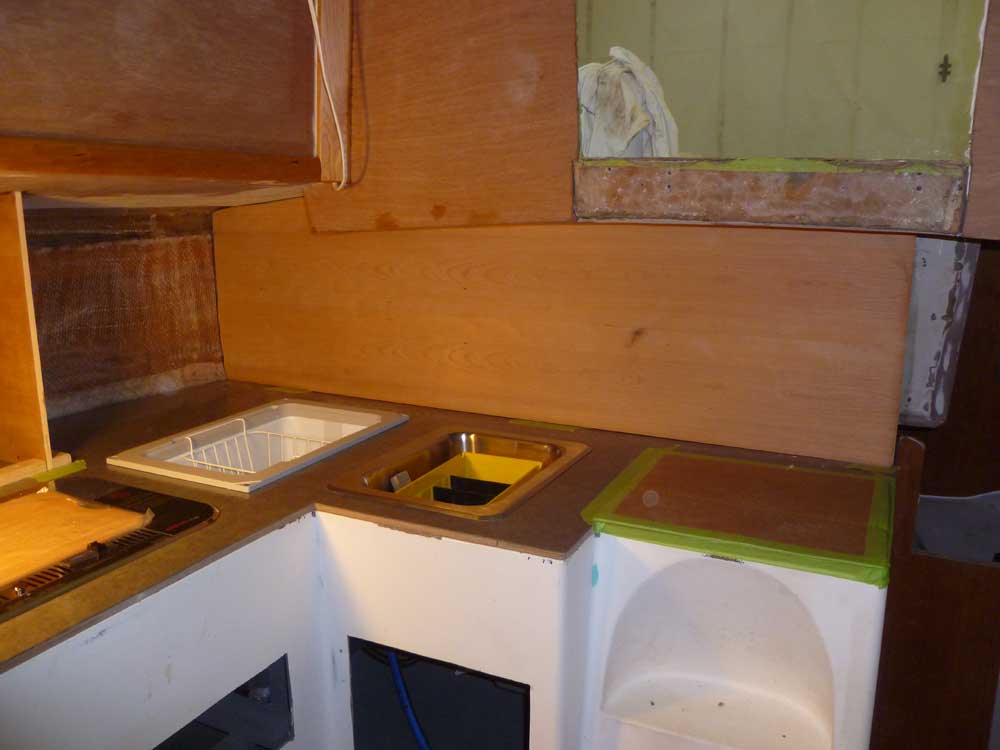
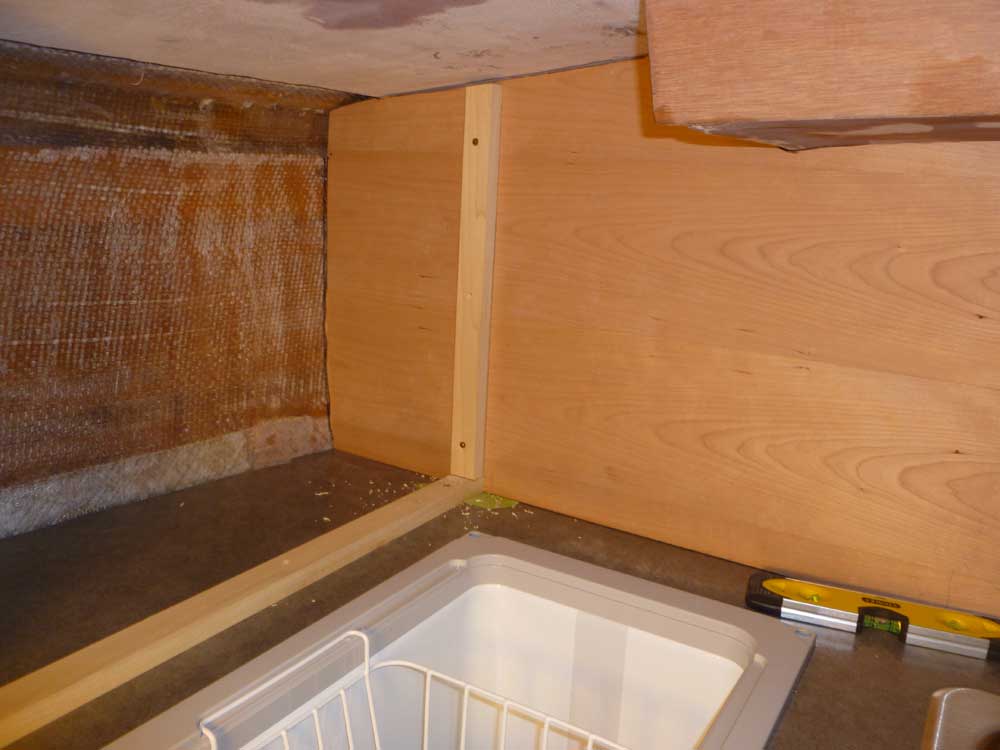
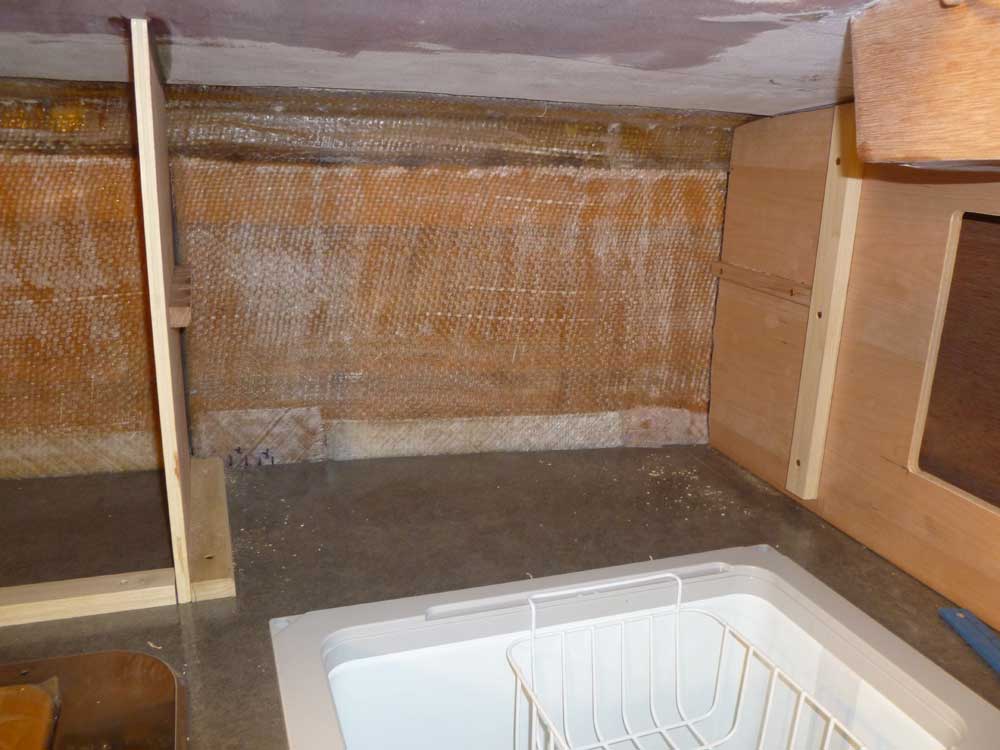
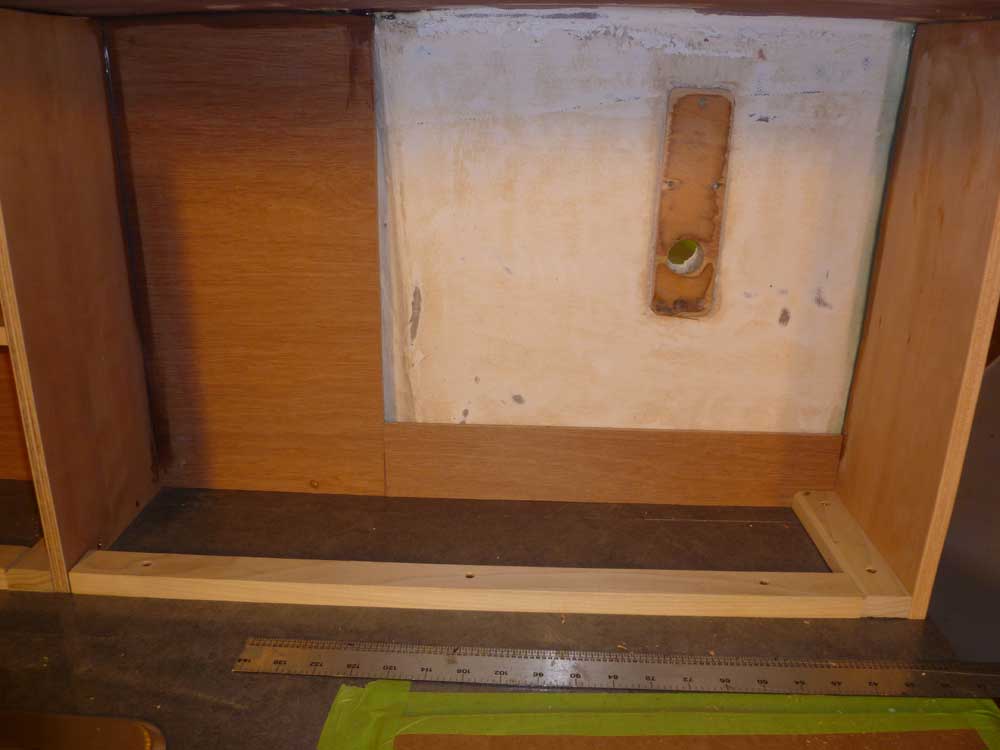
After ensuring the panel was plumb, I left it temporarily in place while I worked on the adjacent longitudinal panel. To begin the final layout of the second panel, I temporarily installed on the countertop the lower support cleat I'd prepared earlier, which demarked the position of the panel itself, and struck a plumb line up after panel using the lower cleat as a guide. Then, I installed a support cleat along the plumb line; this would support the aft end of the second panel.
From cardboard, I made a slightly undersized template of the space, and scribed the actual measurements on the cardboard; then I transferred the marks to a sheet of template plywood, cut it out, and checked the final fit.
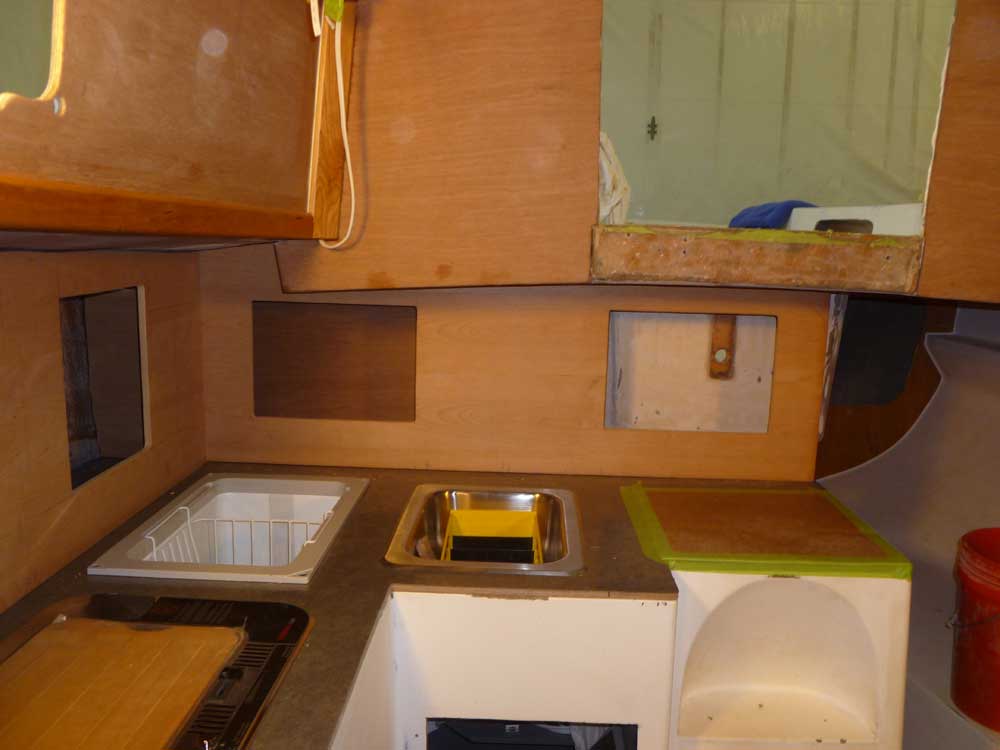
Finally, I cut the actual panel from 1/2" cherry plywood. Before test-fitting, I laid out and cut two locker door openings. To avoid interference with the overhanging bridgedeck and cabin trunk structure, I left the after opening a bit shorter, so the door could open. This still allowed full access to the locker behind, but retained the symmetry and appearance based on the forward opening.
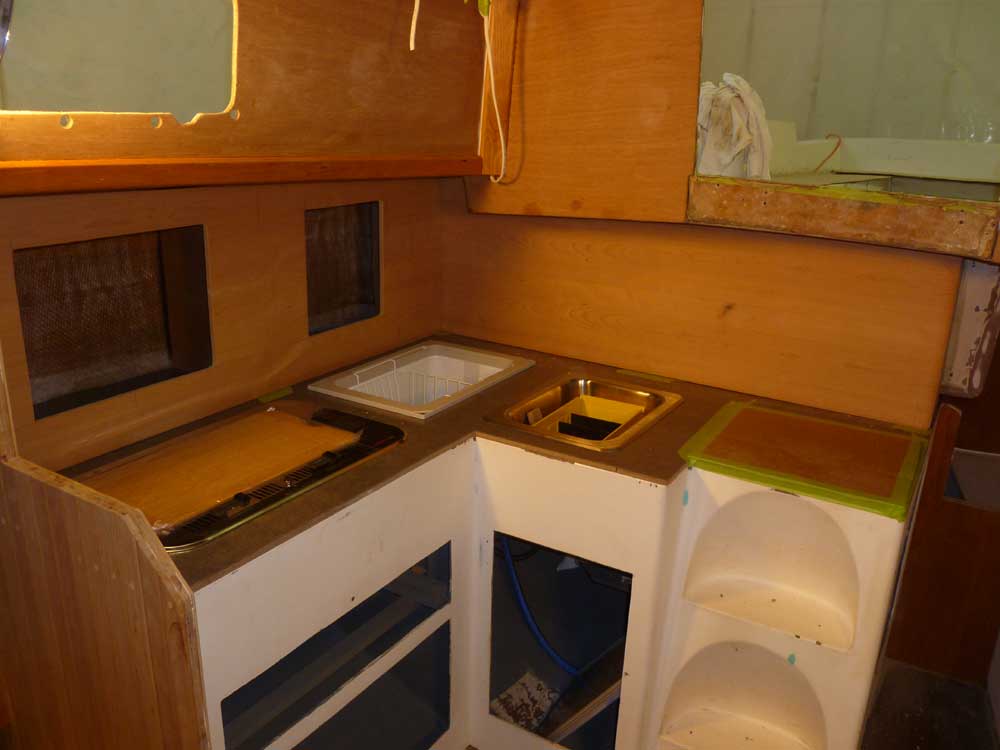

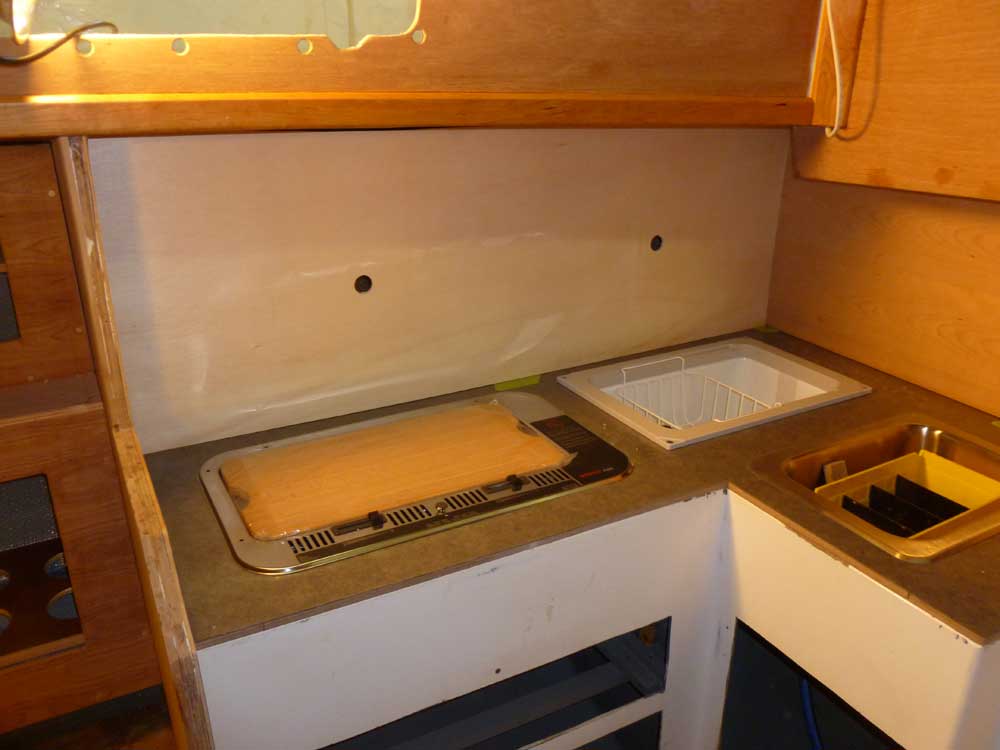
After making some reference marks on the after panel to show the positions of the center divider and other obstructions, especially the sink area and behind the eventual faucet position, I removed both panels and cut locker openings in the after panel.
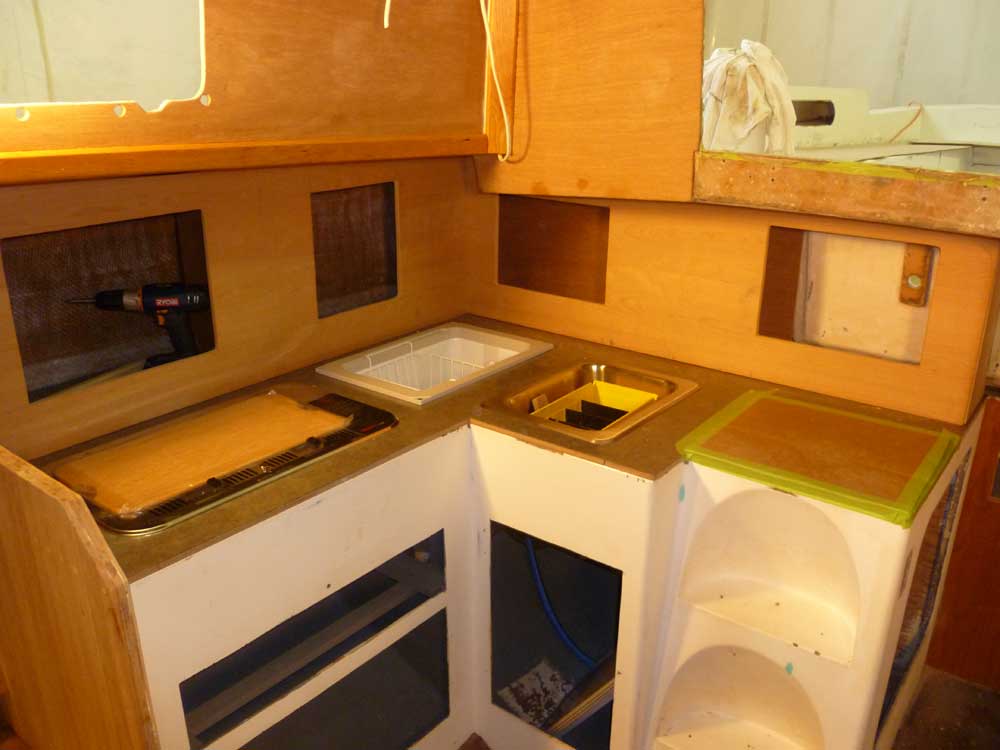
Next, I prepared cleats and cardboard templates for interim shelving in three of the compartments. To avoid interference with the centerboard winch in the centerline compartment behind the companionway, I elected not to install shelving there.
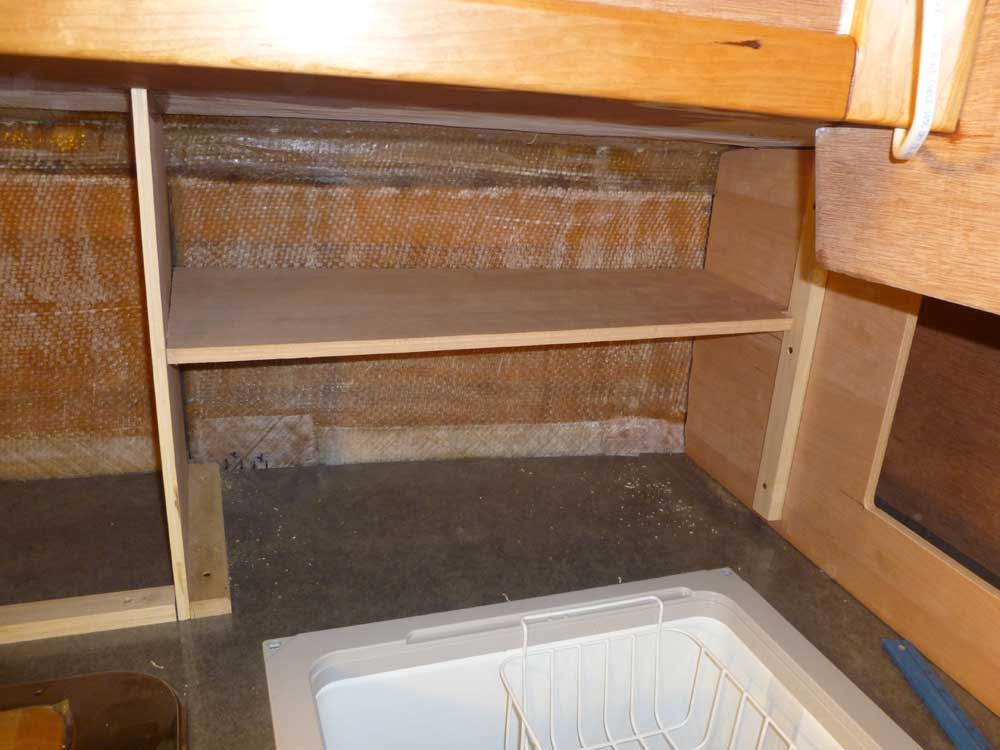
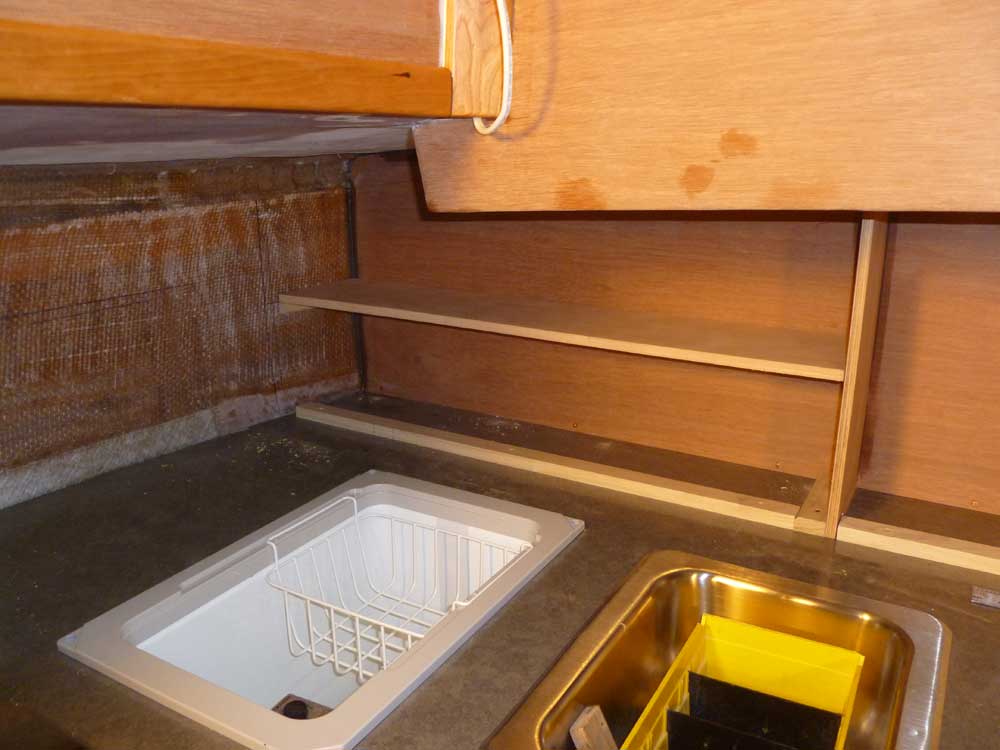
Removing the longitudinal front panel, but leaving the after panel in place momentarily, I began with the aft locker above the icebox, and installed cleat stock as needed. Then, I templated the space and cut a shelf to fit.
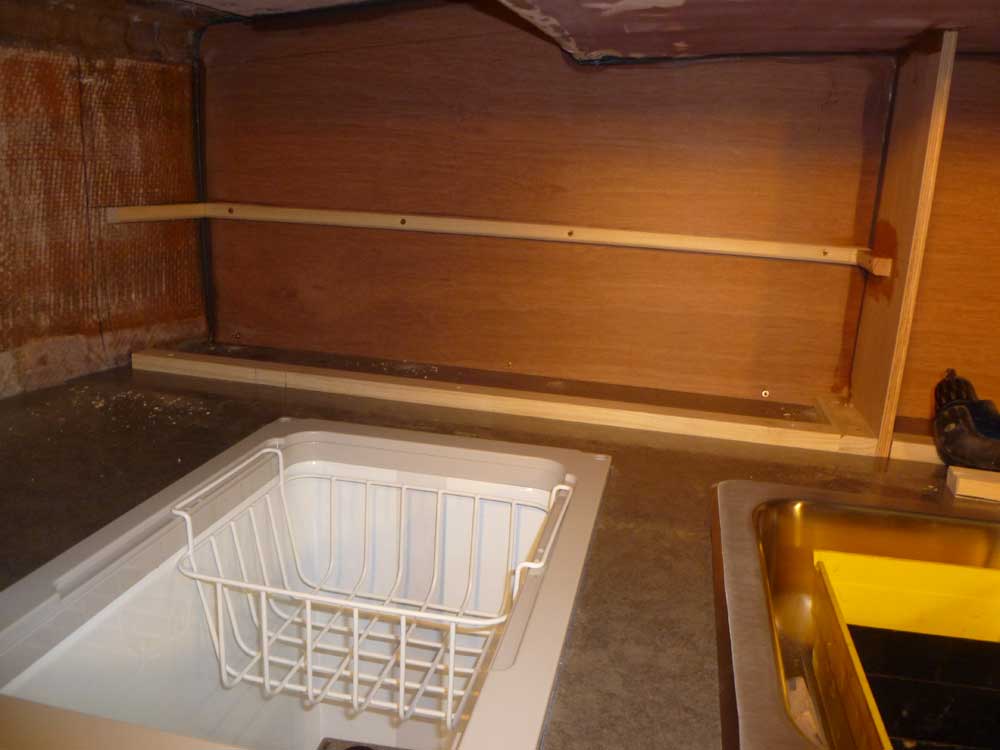
With that complete, I could remove the after panel and install the necessary cleats for a full-length shelf in that locker space.
I repeated the process for the final locker.
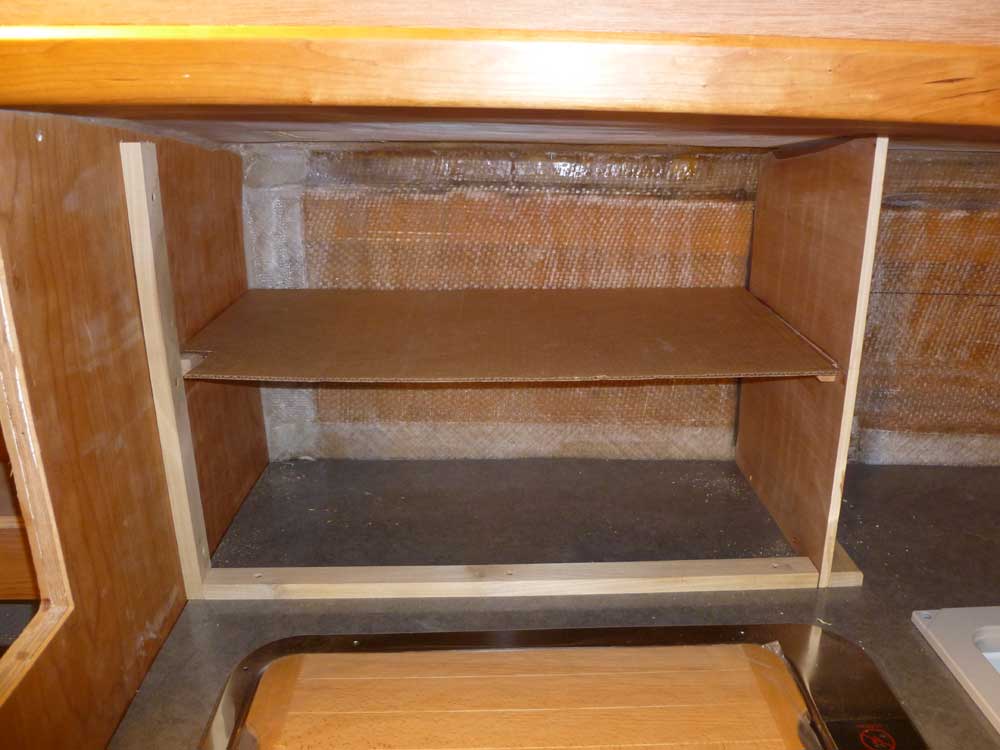
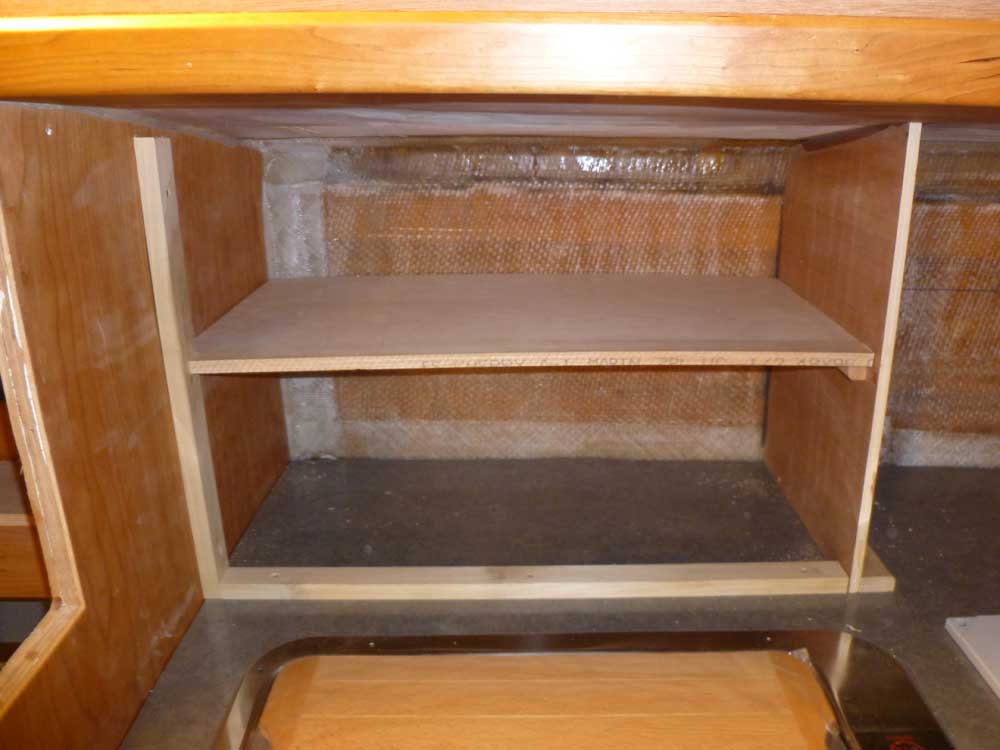
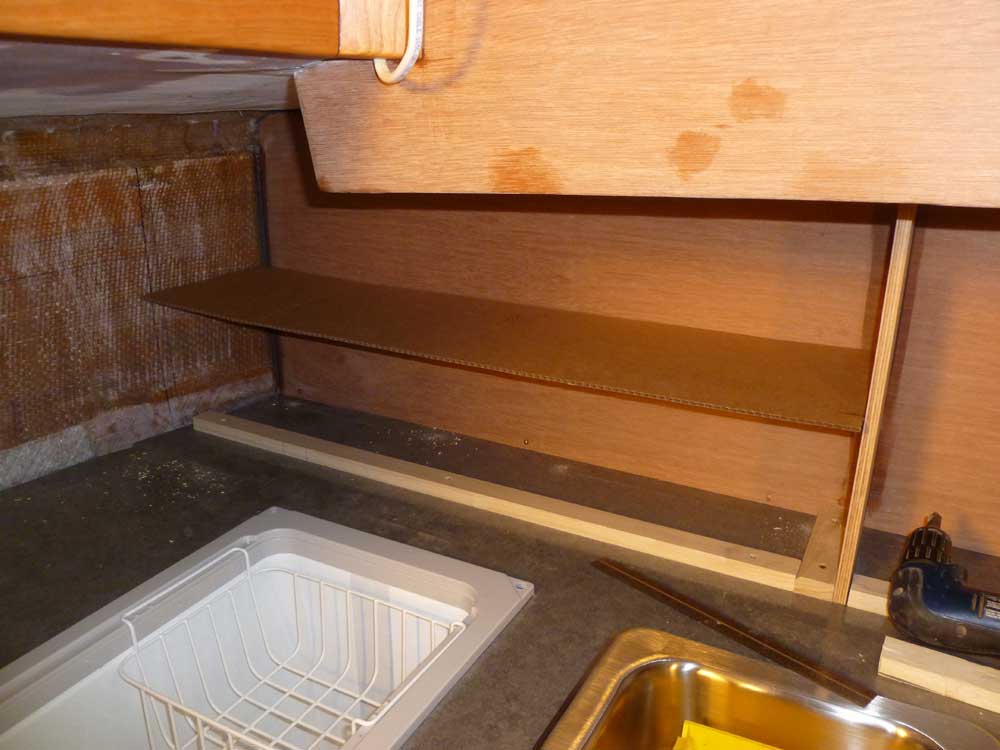
I'd left the plywood shelving a bit short of the fronts of the lockers to leave room for a solid cherry edge band on the shelves, which I cut and installed with glue.
In the locker containing the centerboard winch, I cut a small piece of 9mm plywood to fill in a gap between the countertop and cockpit well; I secured this with epoxy adhesive. Later, I'd fill in the narrow void in the cockpit molding along the edge of the vertical section of plywood to create a smooth, finished appearance.
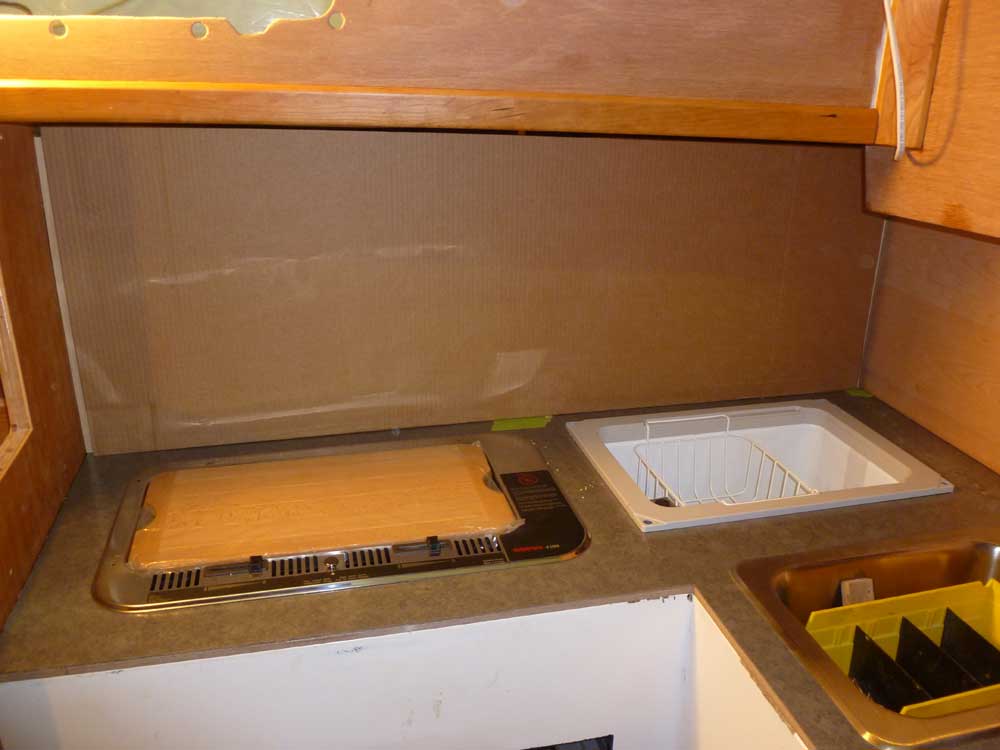
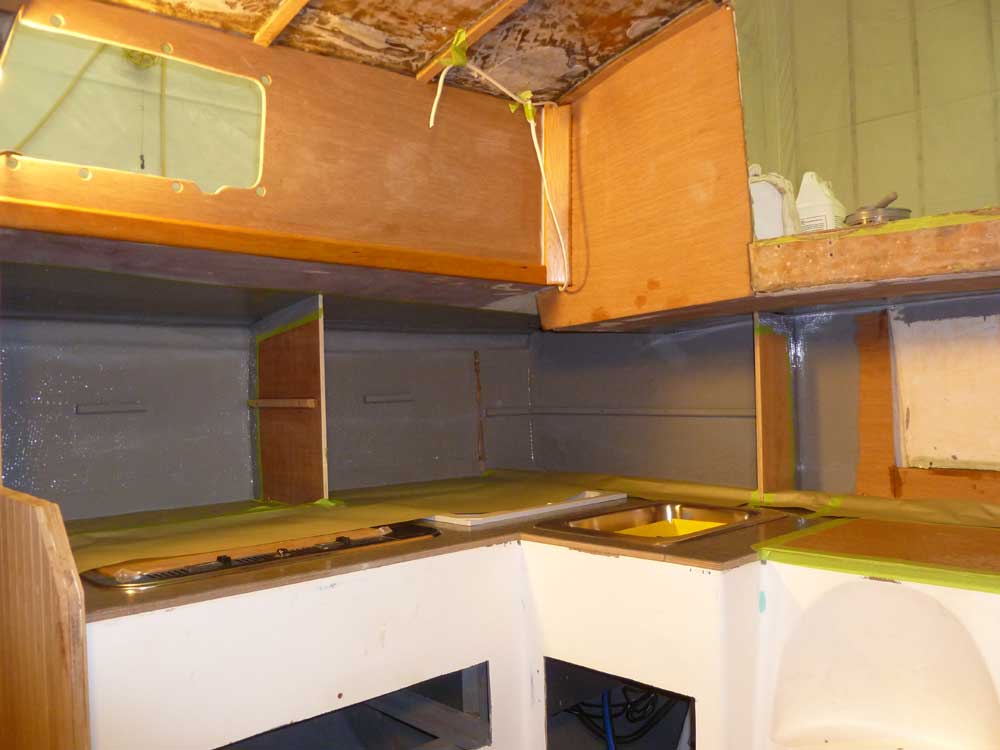
Finally, I masked off the countertops and portions of the locker spaces, and painted the overhead and exposed hull in these areas, leaving an untreated strip where the galley aft panel would be glued to the hull.
Total Time on This Job Today: 8 hours
