
110 Cookson Lane | Whitefield, ME 04353 | 207-232-7600 | tim@lackeysailing.com
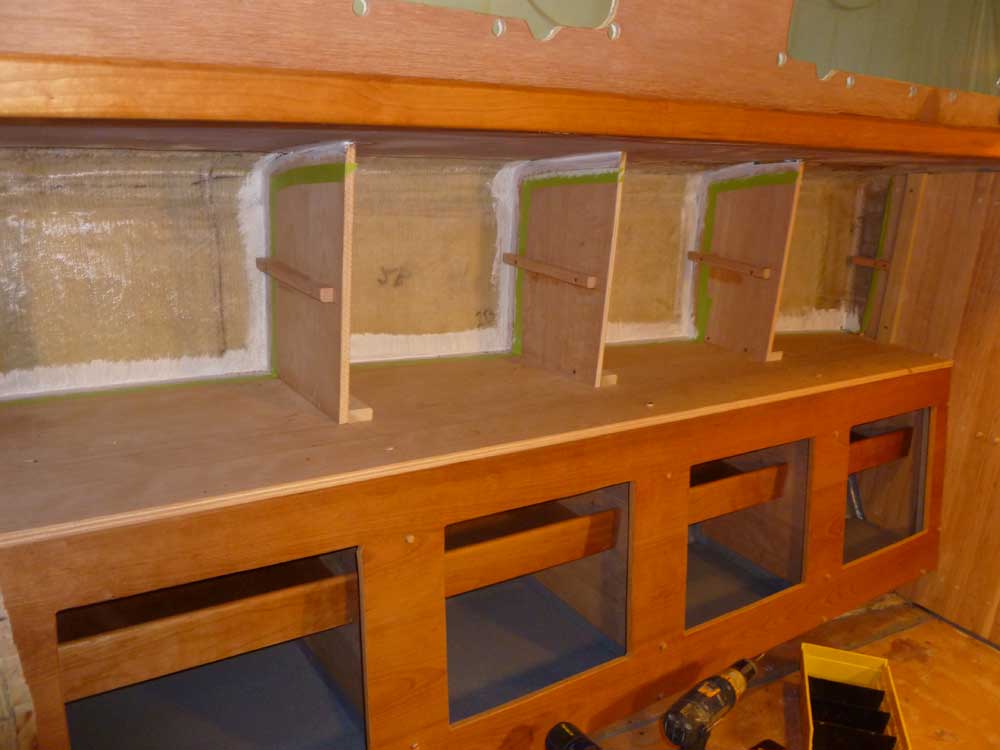
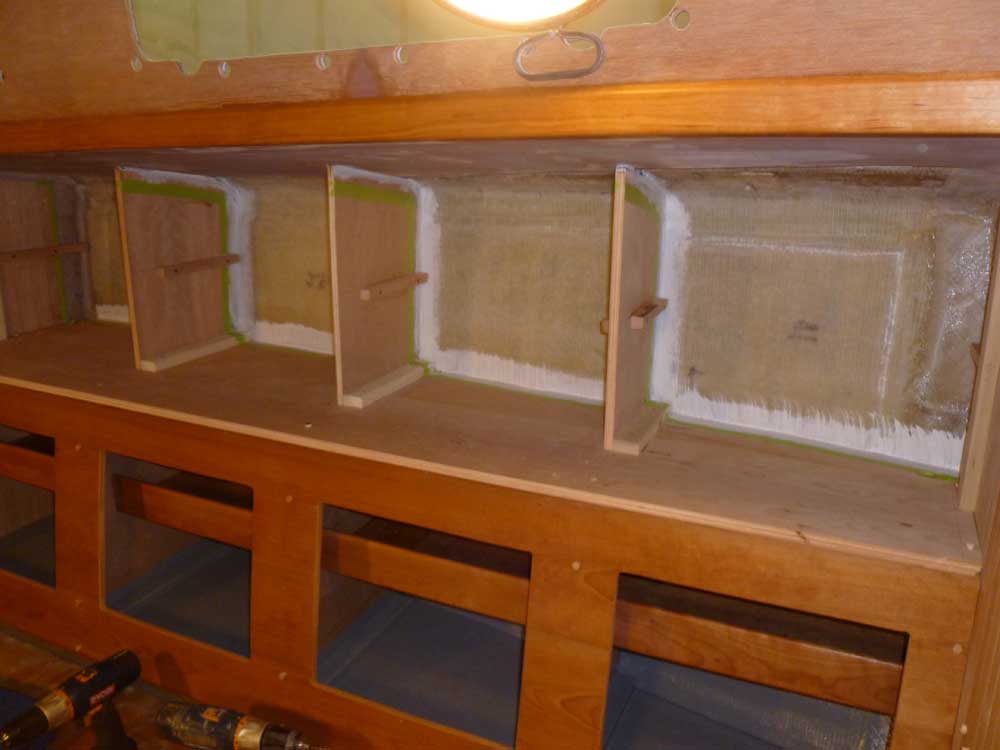
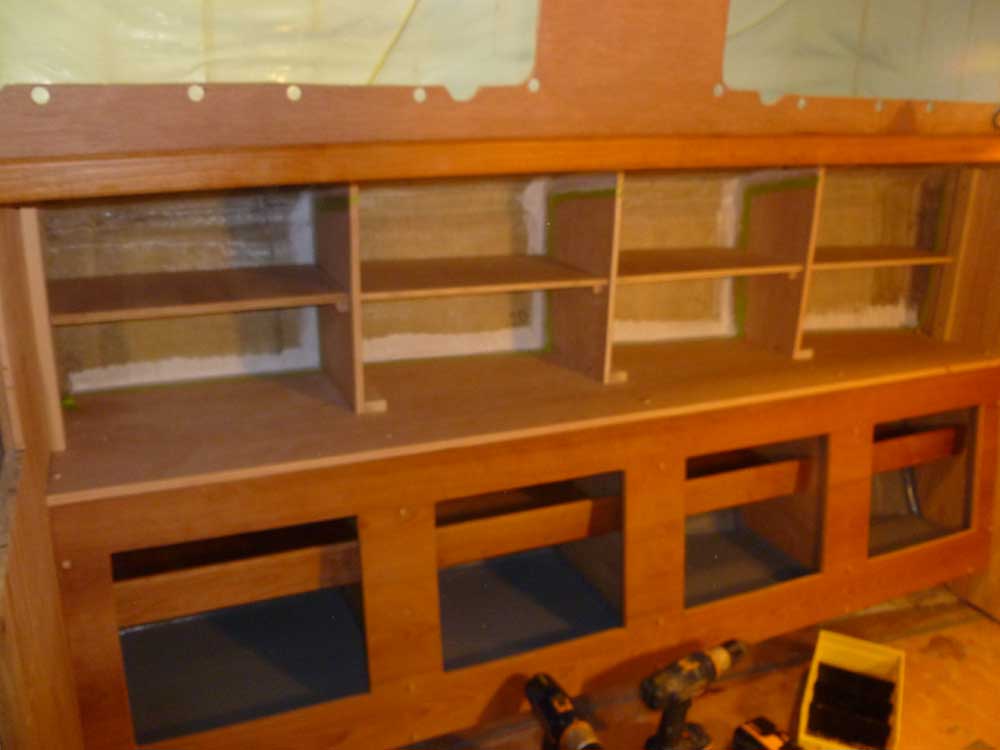
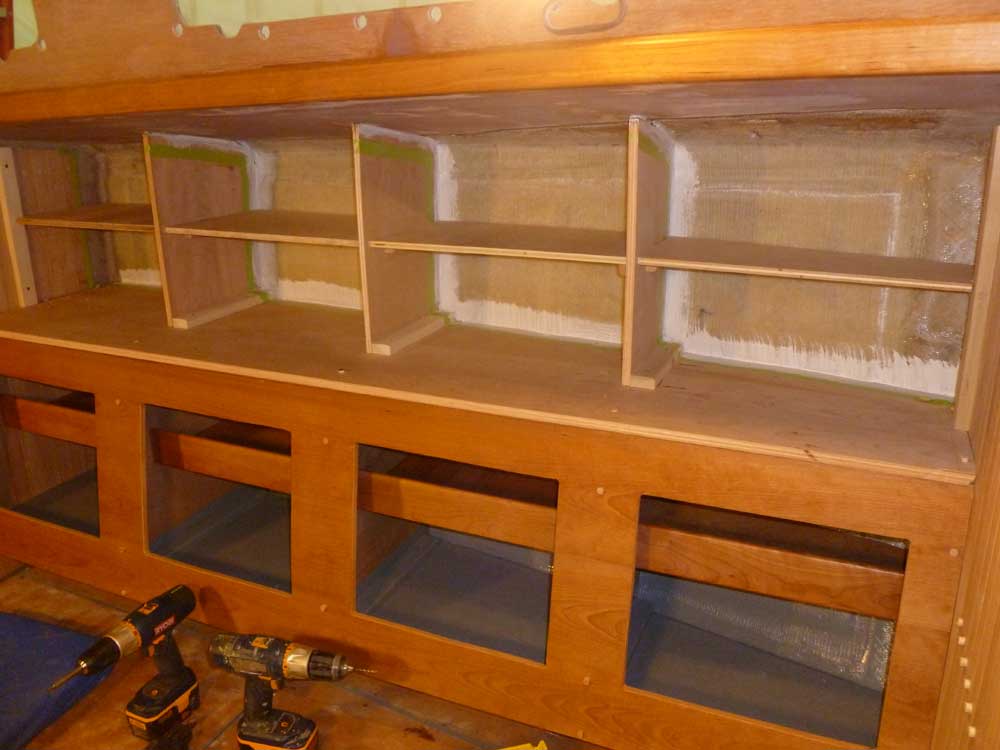
Next on the agenda for the port settee lockers was support cleats for the upper shelving. From cherry cleat stock that I'd previously milled for the purpose, I cut to length and installed support cleats on each side of each of the four locker spaces, roughly halfway up, leaving room for additional cleats I'd install later to support the front panel.
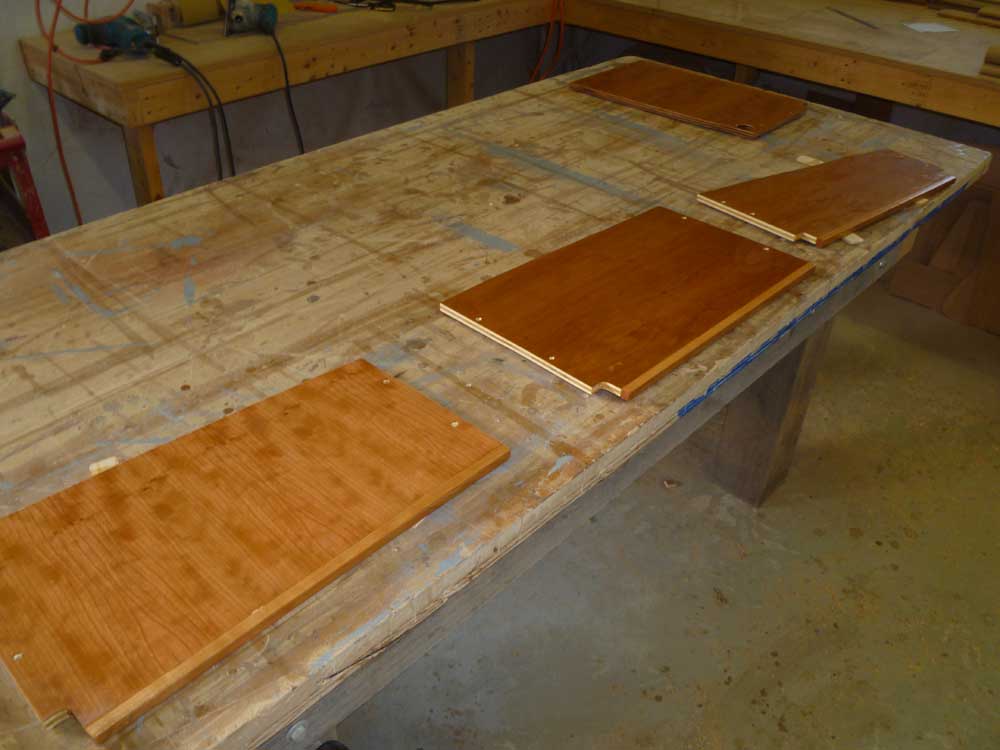
Next, I used cardboard to make templates of the four shelves required, scribing the sheets to fit the hull.
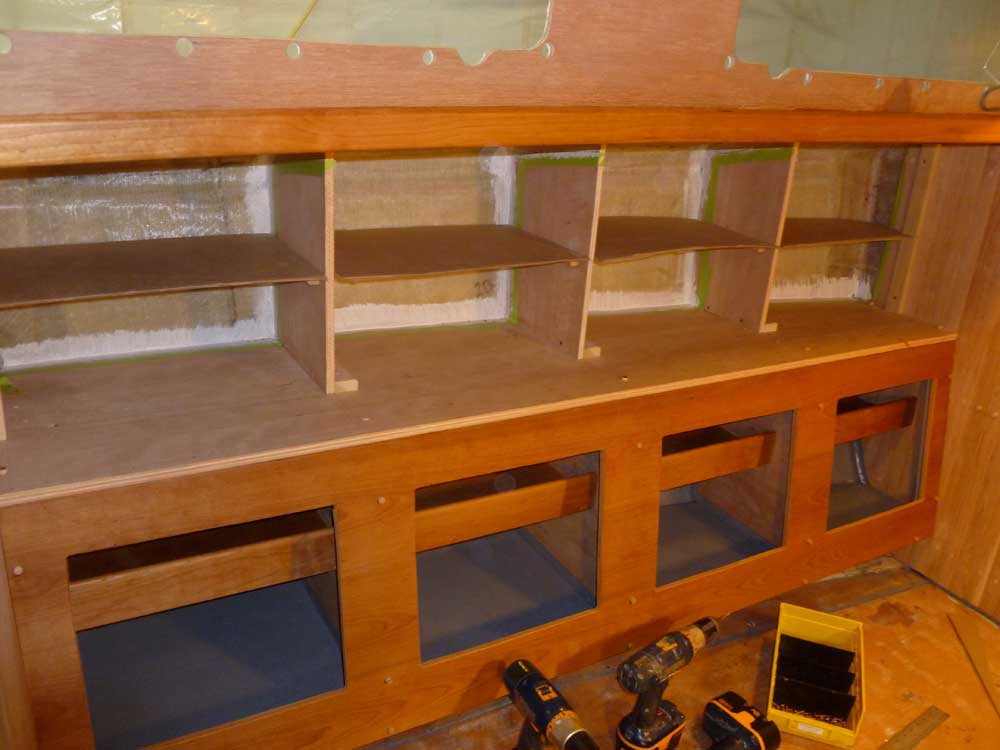
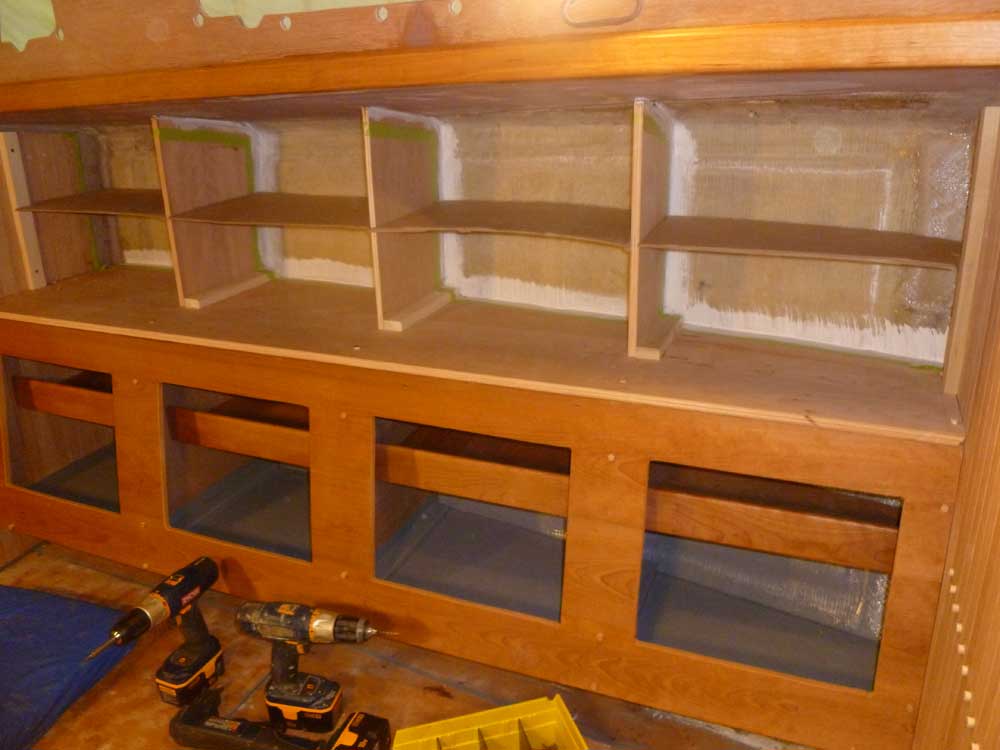
From the templates, I prepared shelving to fit from scrap pieces of 1/2" cherry plywood. I left the fronts of the shelf a bit short, and later installed solid cherry banding to hide the edge of the plywood.
Next, I prepared a cheap plywood templating piece to represent the front panel. I kept the template slightly undersized, and made scribe marks to help create the actual front panel from cherry plywood.
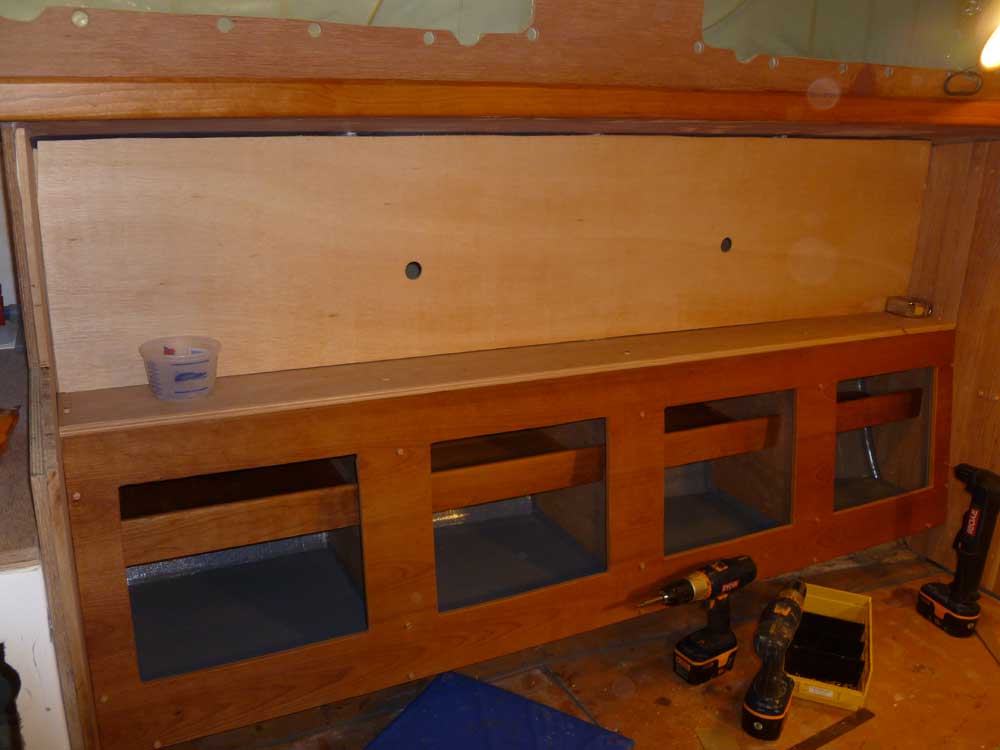
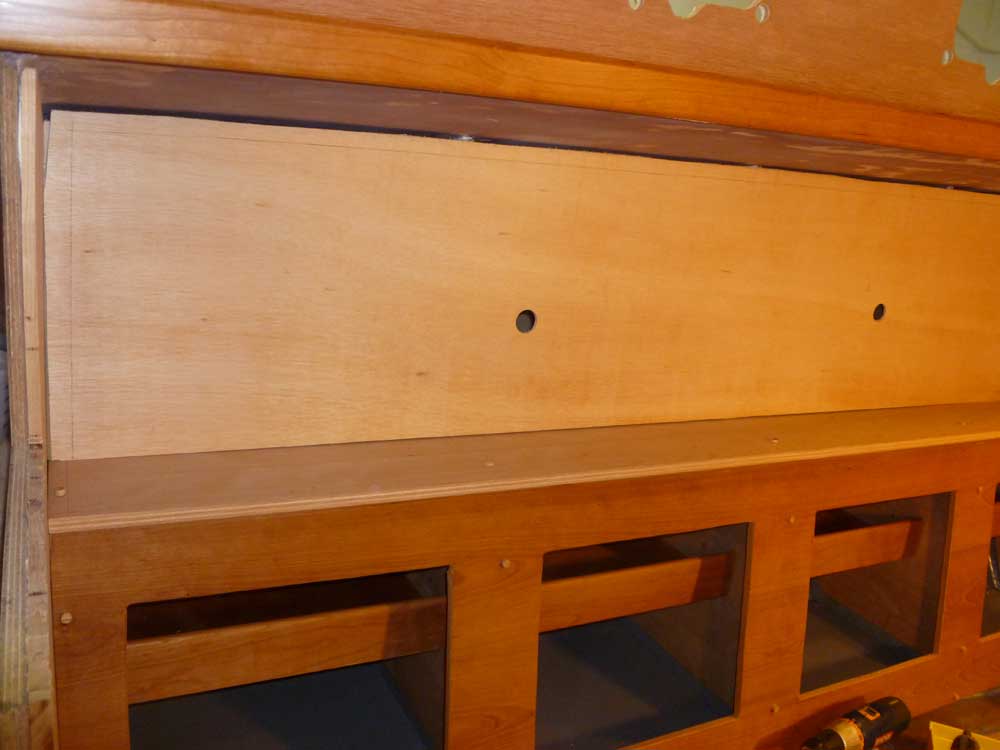
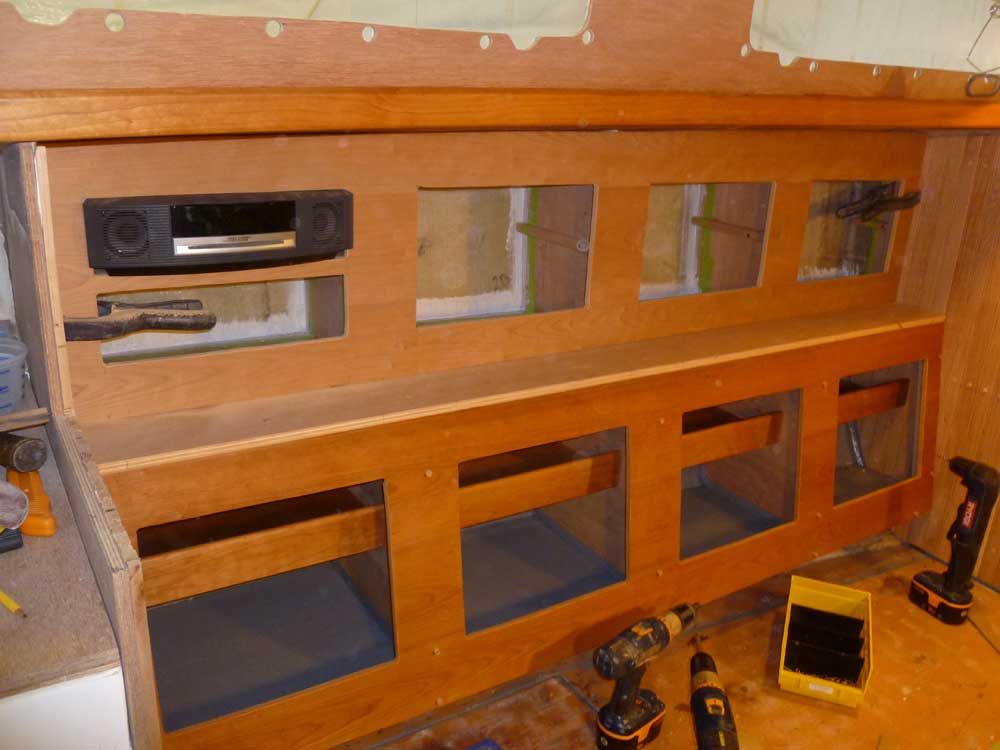
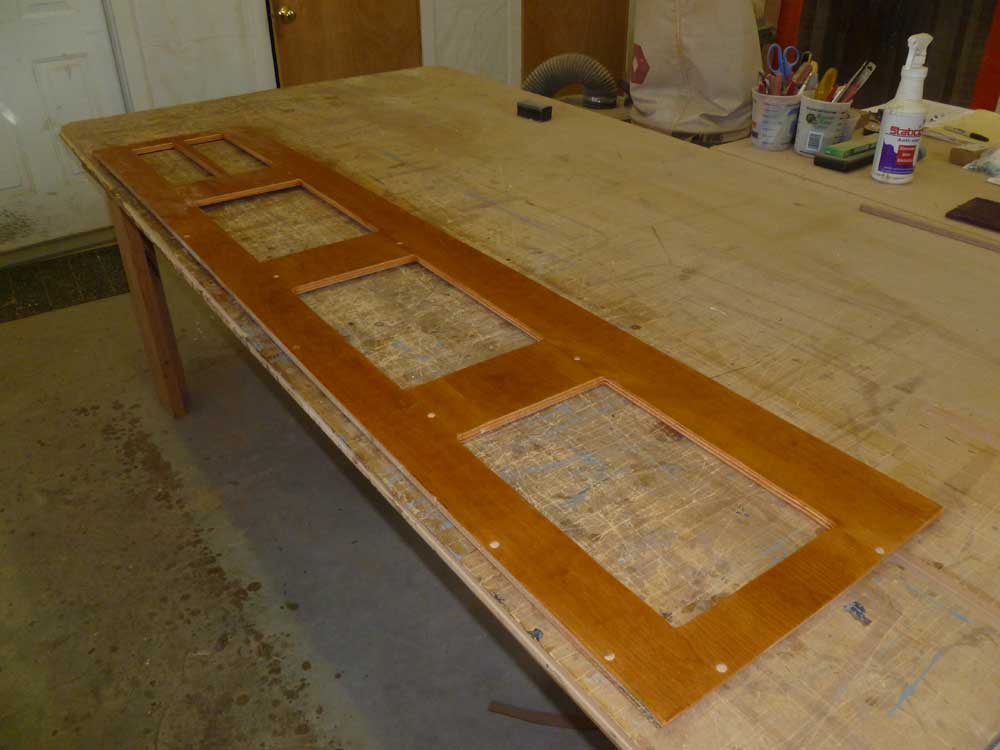
Before making any additional cuts on the cherry panel, I tested its fit as a blank.

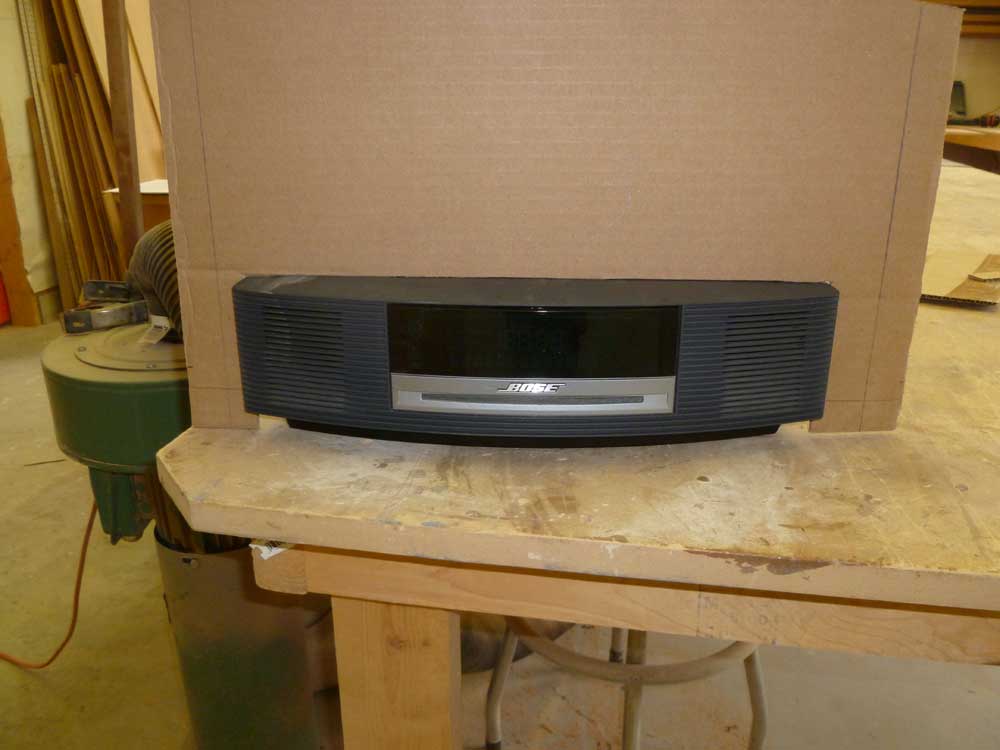
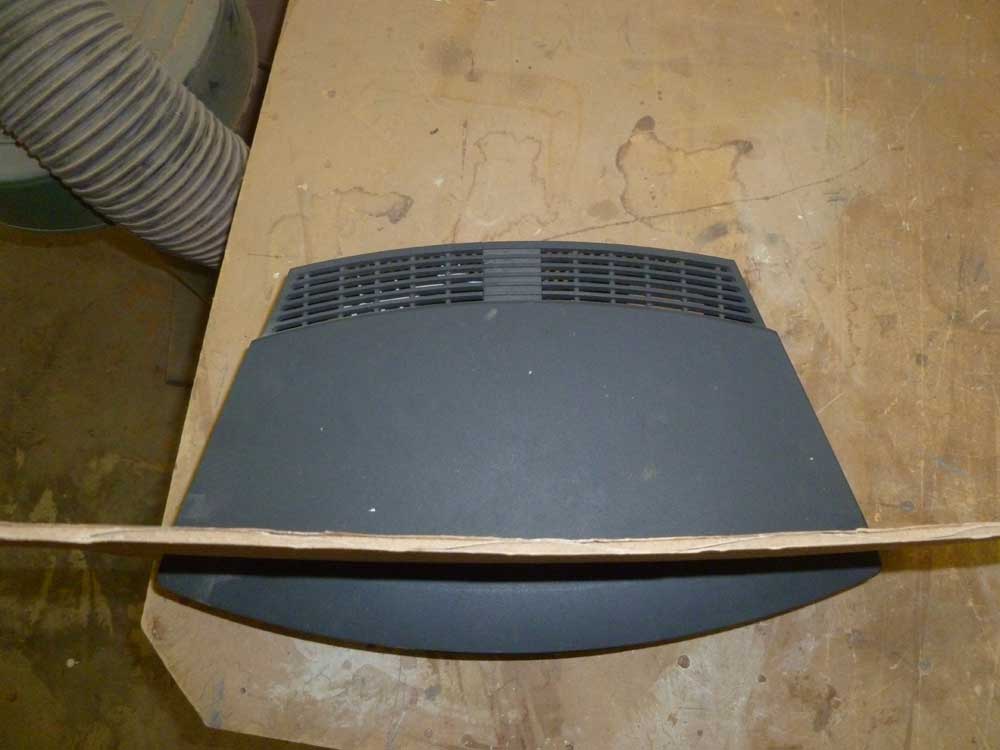
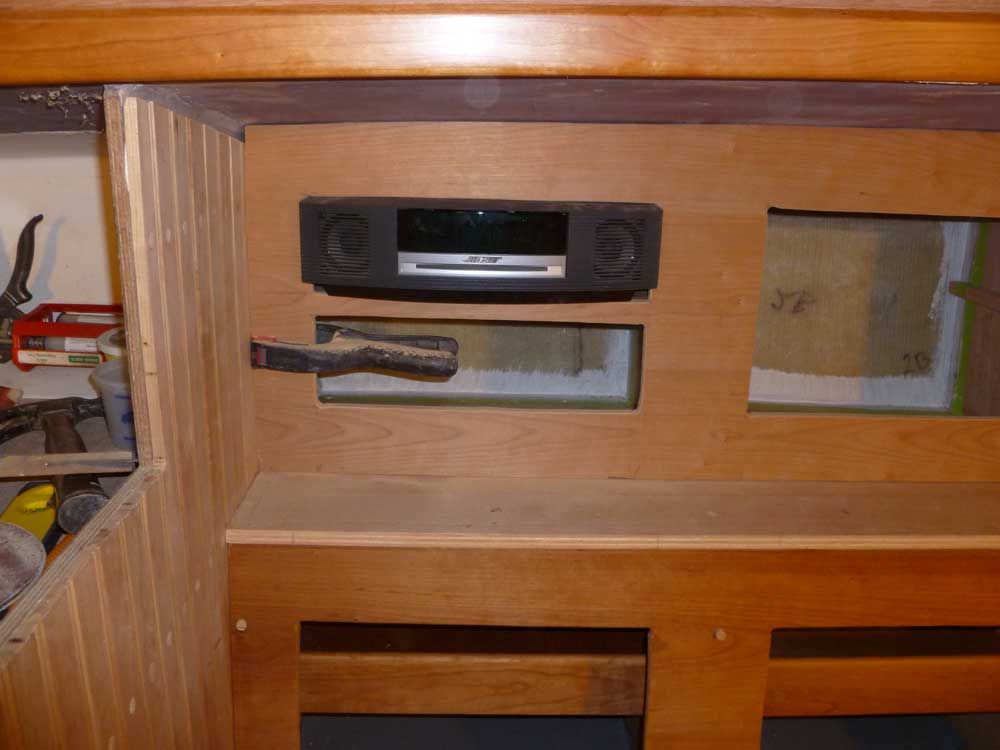
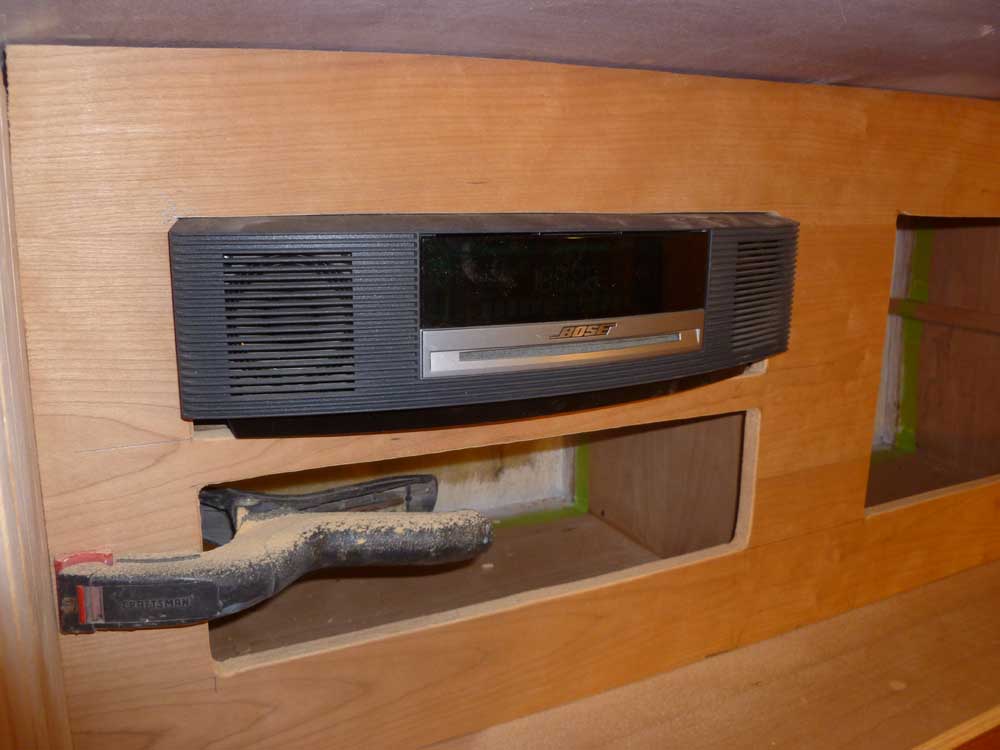
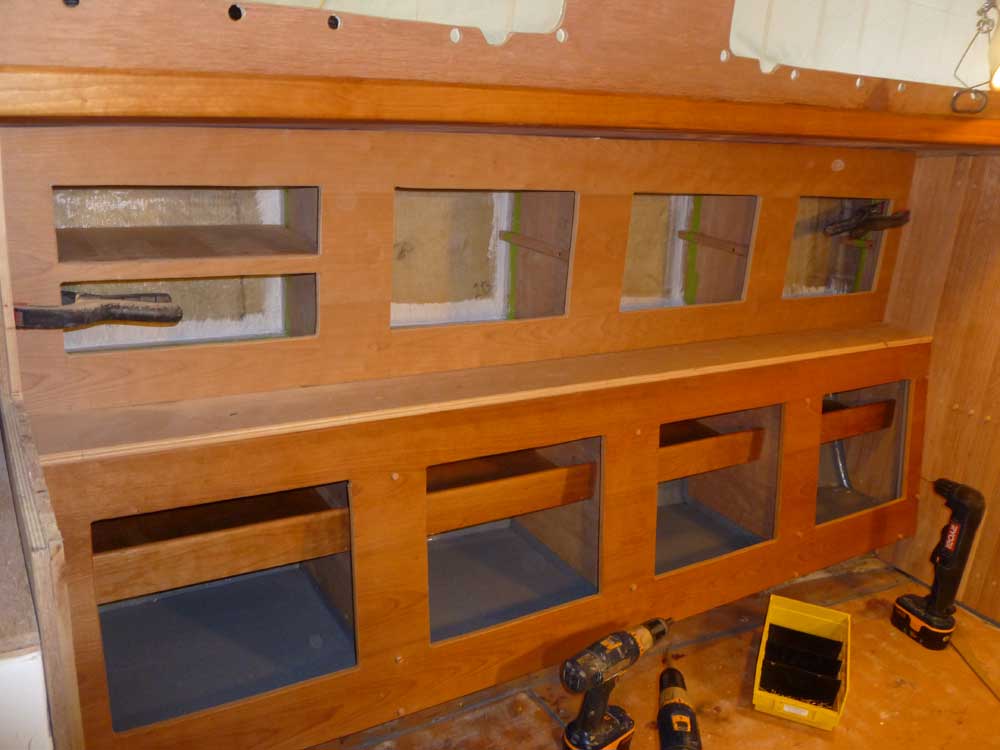
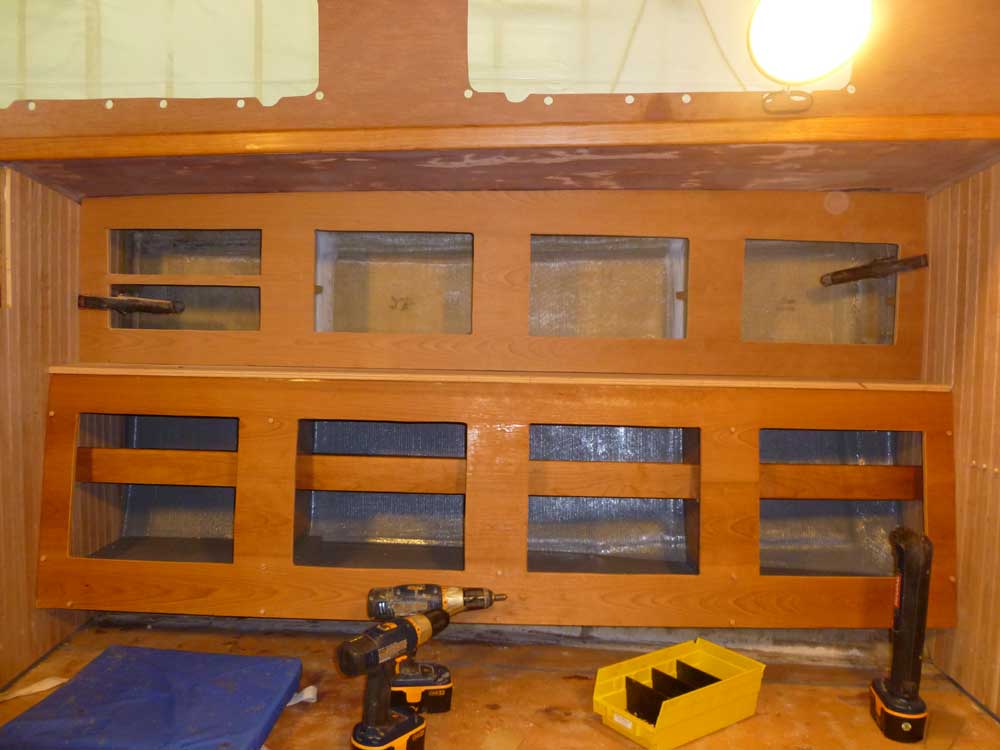
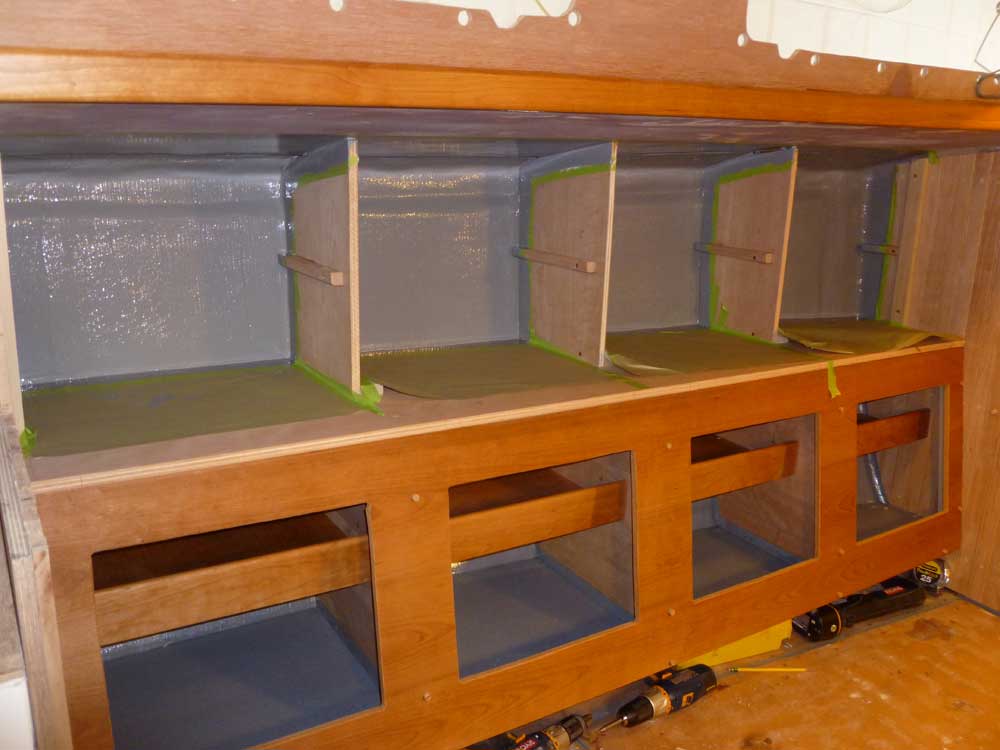
The owner had indicated that he planned to use a Bose Wave radio/CD player in the boat, a household AC-powered unit that we'd run off an inverter. I thought the Bose would work well in the upper portion of the port settee area, as it was generally central to the saloon, close to power sources, and otherwise made good sense. I happened to have an identical unit myself, so I was able to use it to create a template of the opening required to semi-flush mount the unit. The shape of the Bose, with its angled sides, made it a good candidate for this sort of installation, as the opening would on its own hold the unit securely in all directions but one.
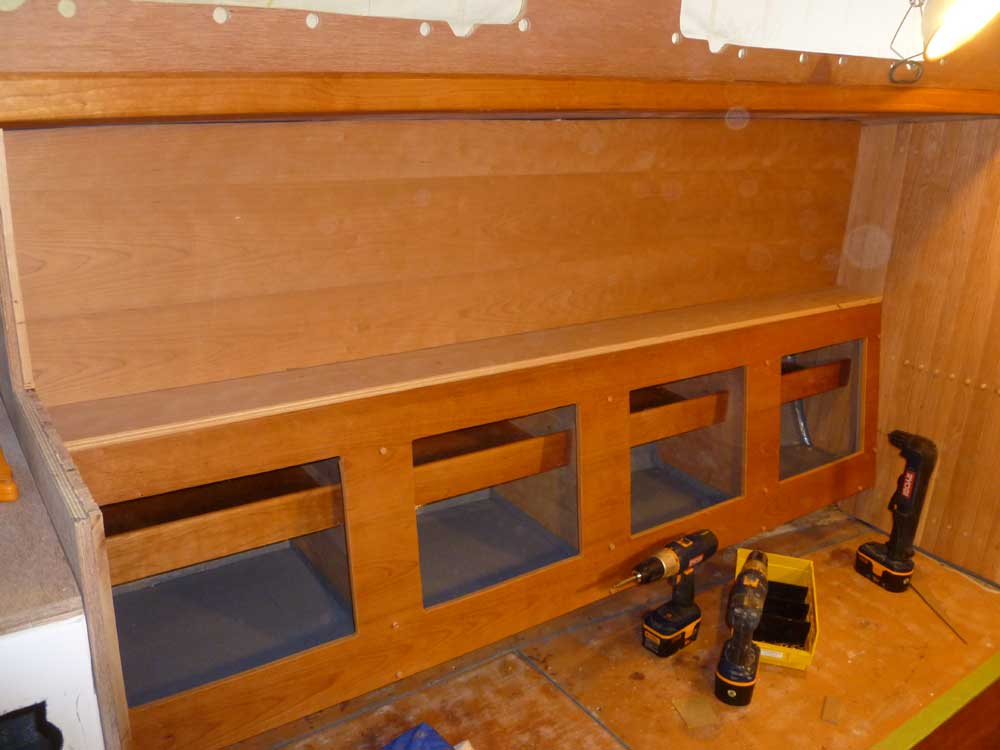
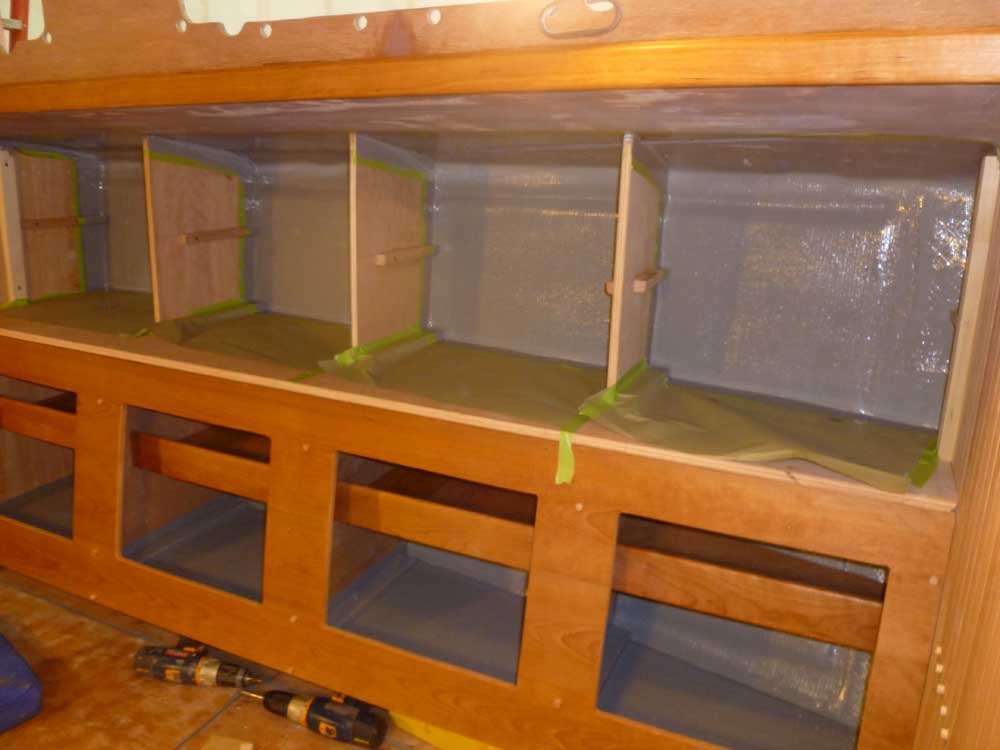
The Bose would rest on the upper shelf in the aftermost compartment on the port side. I cut the remaining three openings full-size, to match those on the starboard side, but used my template--and the actual height of the shelf--to define the opening for the Bose, with a smaller opening beneath for access to the lower section of that space. Later, when the time came for final installation, I'd use a piece of trim across the bottom to hold the Bose in place (from sliding outward) and to hide the bottom portions of the opening. As it happened, the Bose was about the same size as the opening beneath, maintaining the general symmetry of the whole panel.
Later, I drilled a hole through the upper shelf to allow passage of the power cord for the Bose; before installing the cabinet face I'd also drill through the lower shelf.
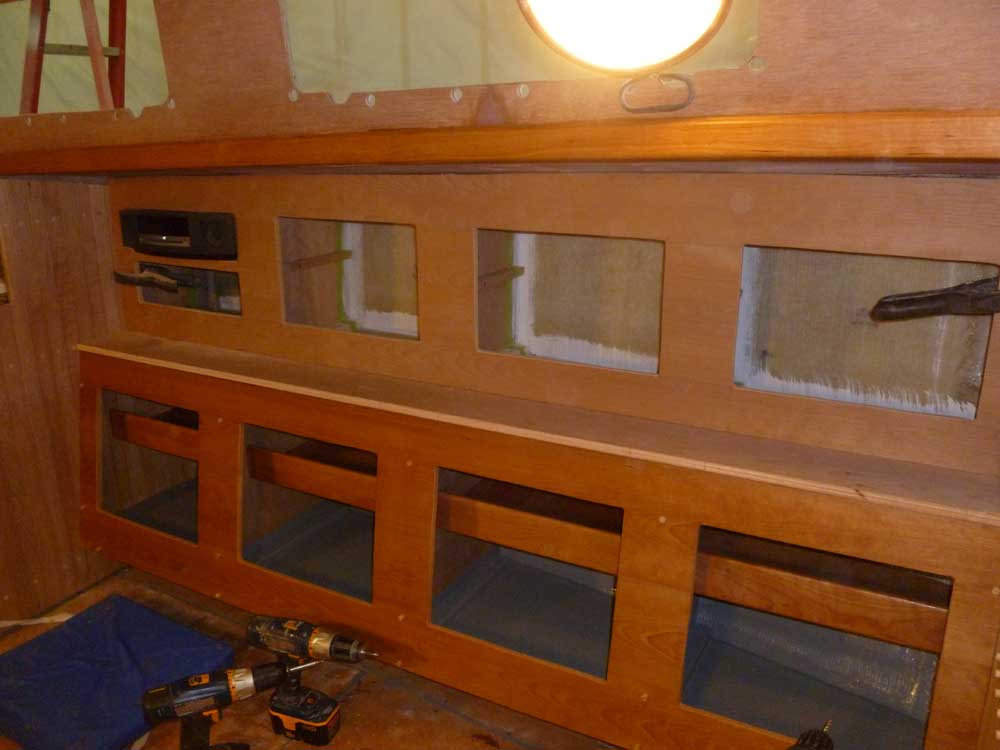
With the front panel complete, I removed it and, after lightly sanding and cleaning up the panel and the new shelves behind, applied a sealer coat of varnish to all surfaces to prepare for installation.
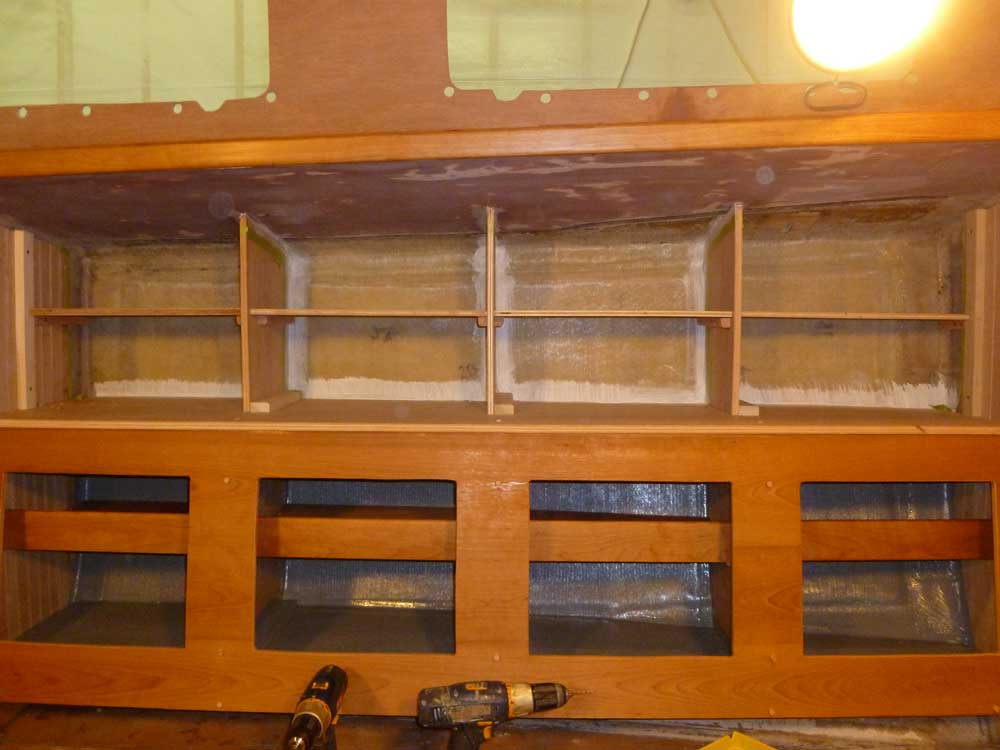
Next, I painted the exposed hull and overhead inside the upper lockers.

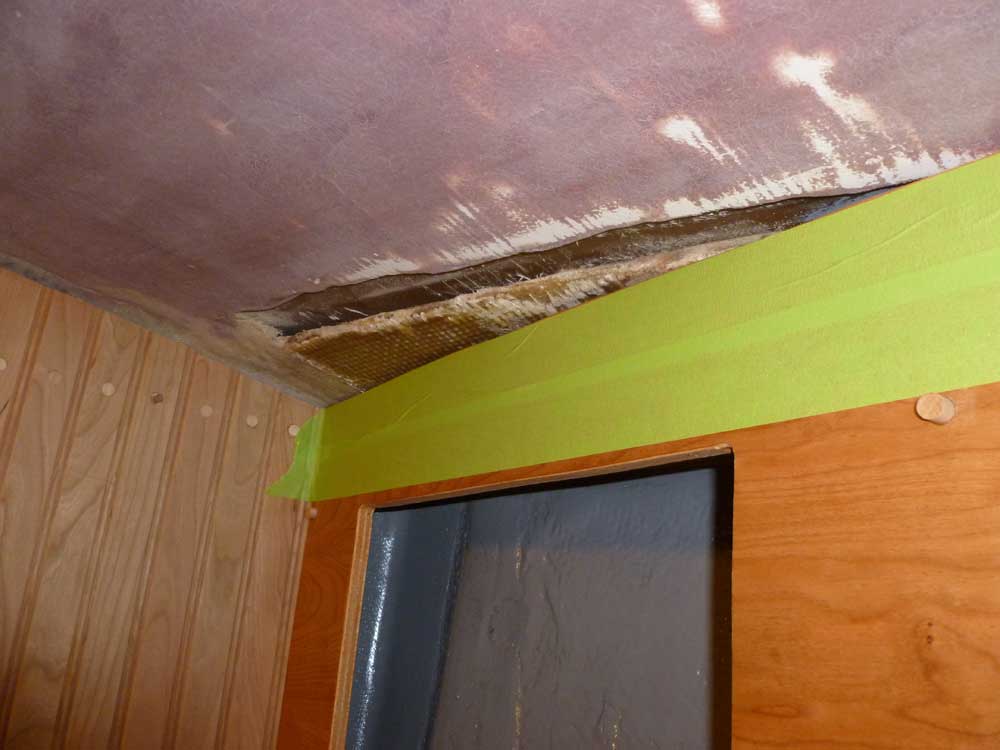
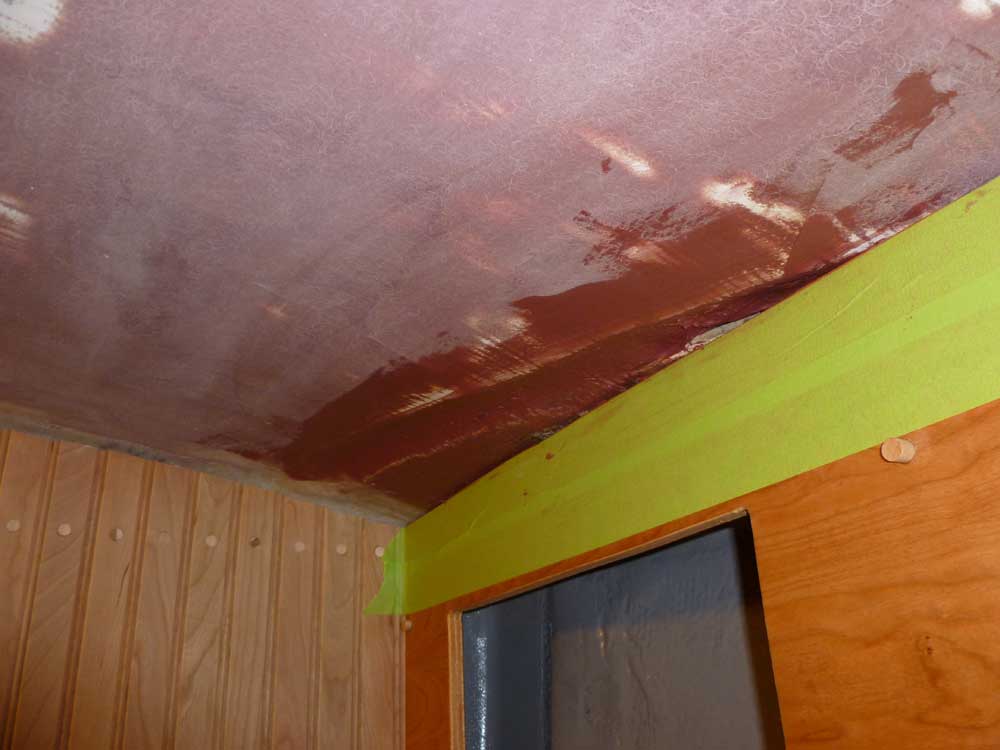
On the starboard side, the upper cabinet did not quite cover the ugly edge of the widened hull flange in way of the chainplate area; there was a large void here, along with untreated fiberglass, that I'd not smoothed during my earlier efforts beneath the sidedecks. To deal with this, I masked off the cabinet face and applied a first coat of epoxy filler to begin to fill and smooth the void. The void was too deep to fill all at once, so I'd continue this process over the next couple days till the area was smooth and seamless with its surrounds. I'd have to do something similar on the port side, but the cabinet face there was further in board, so the exposed flange was minimal there.
Total Time on This Job Today: 8 hours
