| Sea Glass Refit |
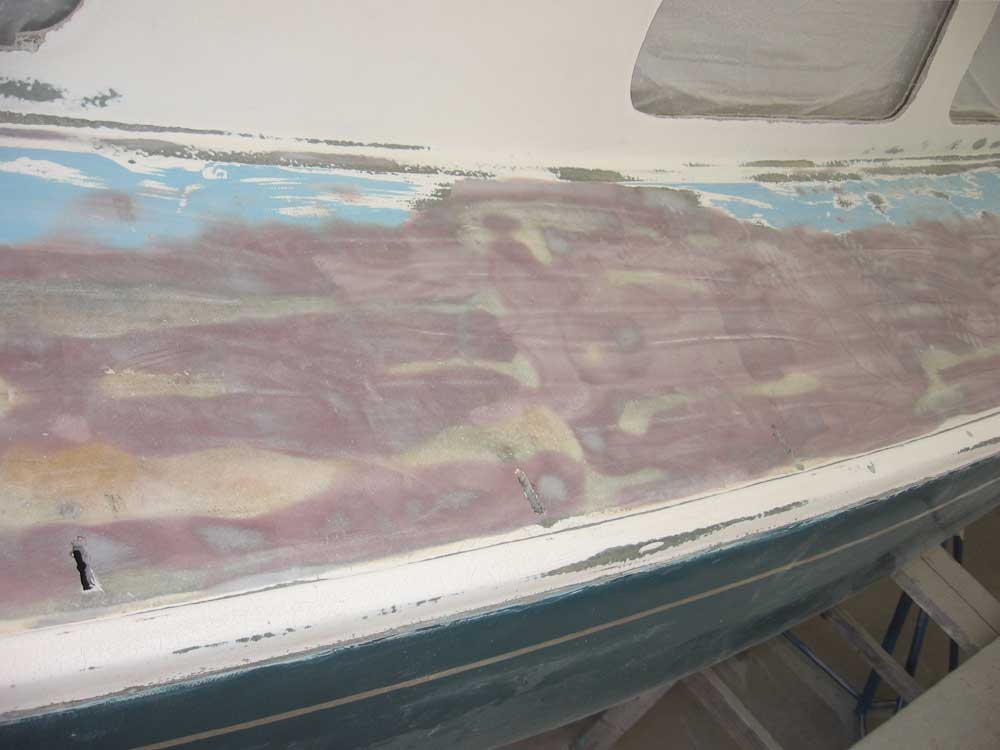
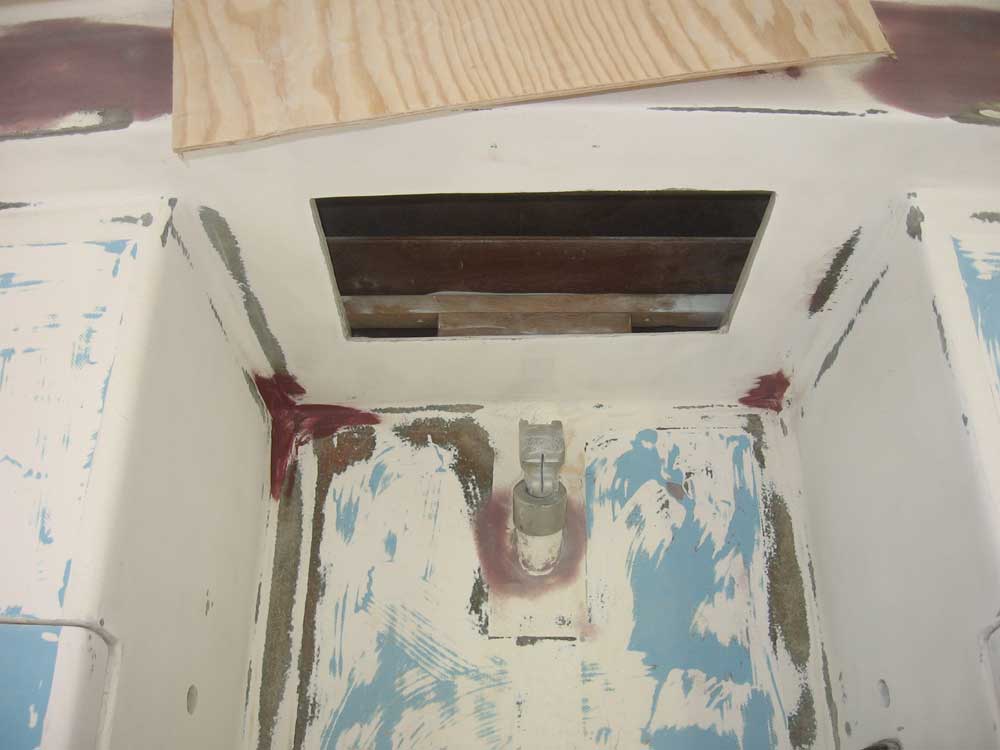
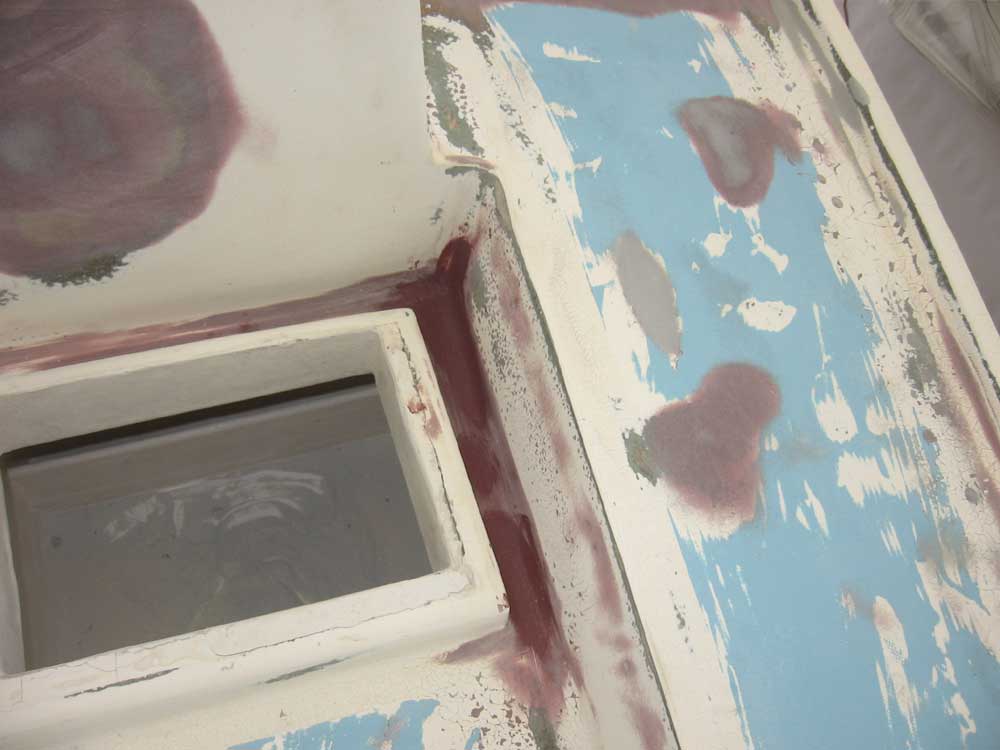
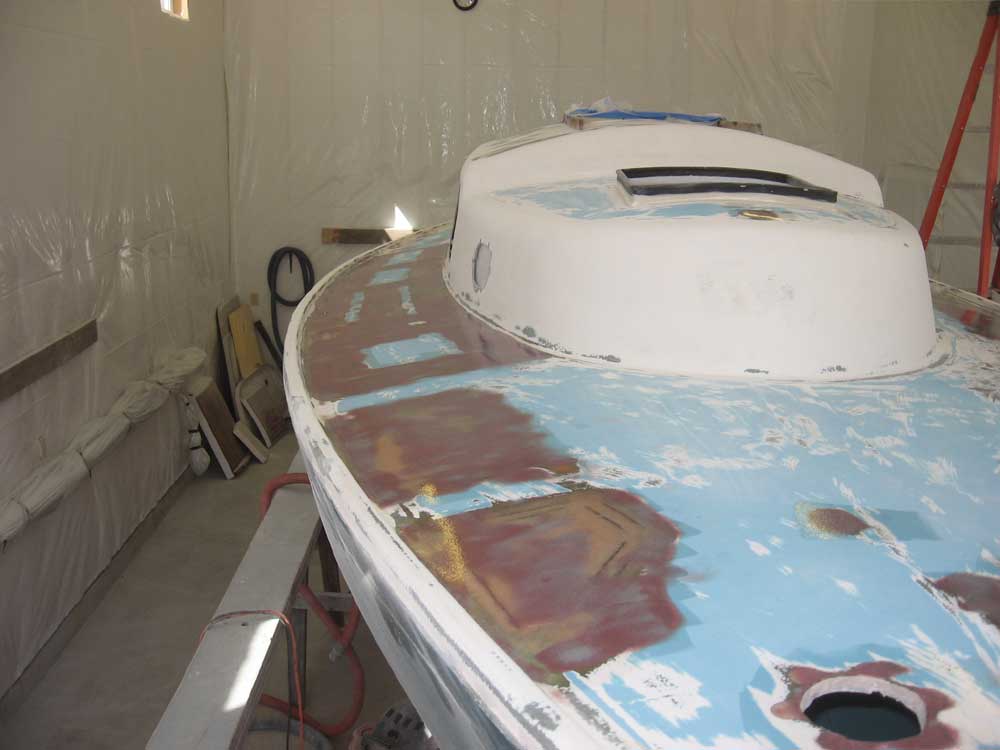
May 4, 2007 Today, I finished up the sanding and prepwork in the cockpit, hand-and machine sanding the filled areas from yesterday, and eventually sanding the entire cockpit to 120 grit to match the current status of the other deck areas. With the sanding done for now, I cleaned up the boat and the shop a bit, and then turned to the plastic cockpit hatch. Because of the camber of the cockpit sole, the pre-existing plastic access hatch had never sealed correctly at the sides, and this allowed water into the bilge from the cockpit. To address this issue, I sought to build up an epoxy flange beneath the hatch that would keep the hatch flat by accommodating the slight camber in the epoxy, rather than the hatch. To this end, I taped up the bottom of the hatch mounting flange and the hatch lip, using black electrical tape, and then applied a thick bed of non-sagging epoxy to the flange, after which I pressed the hatch into place on the cockpit sole, squeezing out some of the excess epoxy. If anything, I hoped to get the sides of the hatch just higher than level, as closing the hatch would then tend to force the sides more tightly into the knife-edge seal around the edges of the hatch lid. I didn't want to raise the hatch up much, since this would become awkward and uncomfortable; mostly, I hoped that by creating a level base for the hatch, the seal on the lid would be better, or at least reduce the leakage to minor nuisance level. I cleaned up the excess epoxy and left the hatch to cure overnight. |
|
|
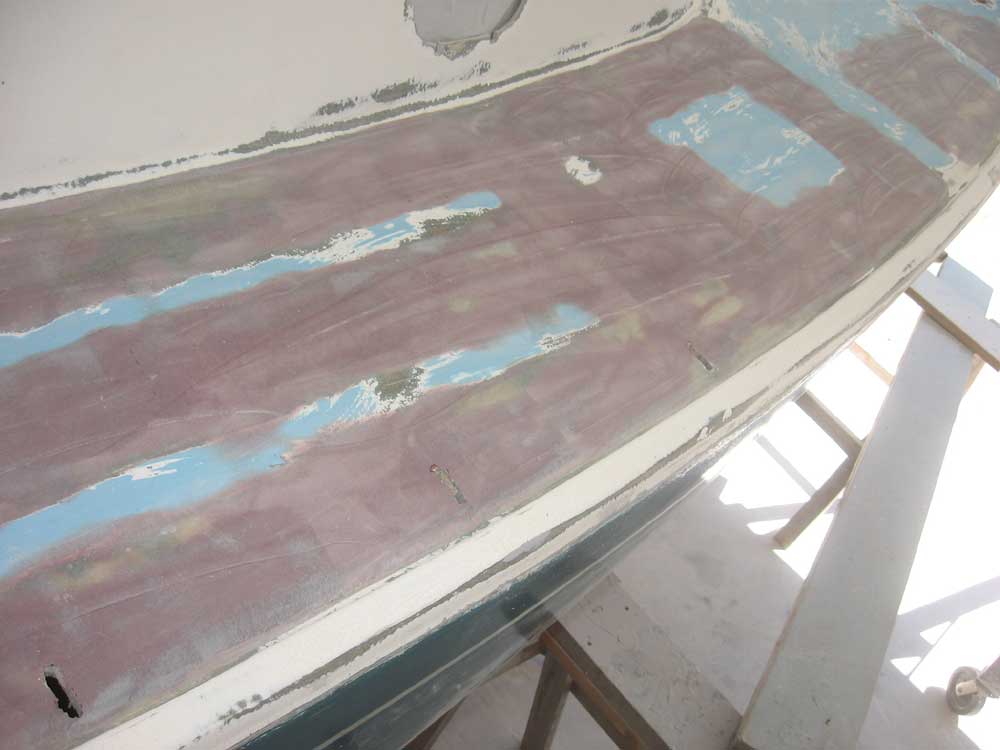
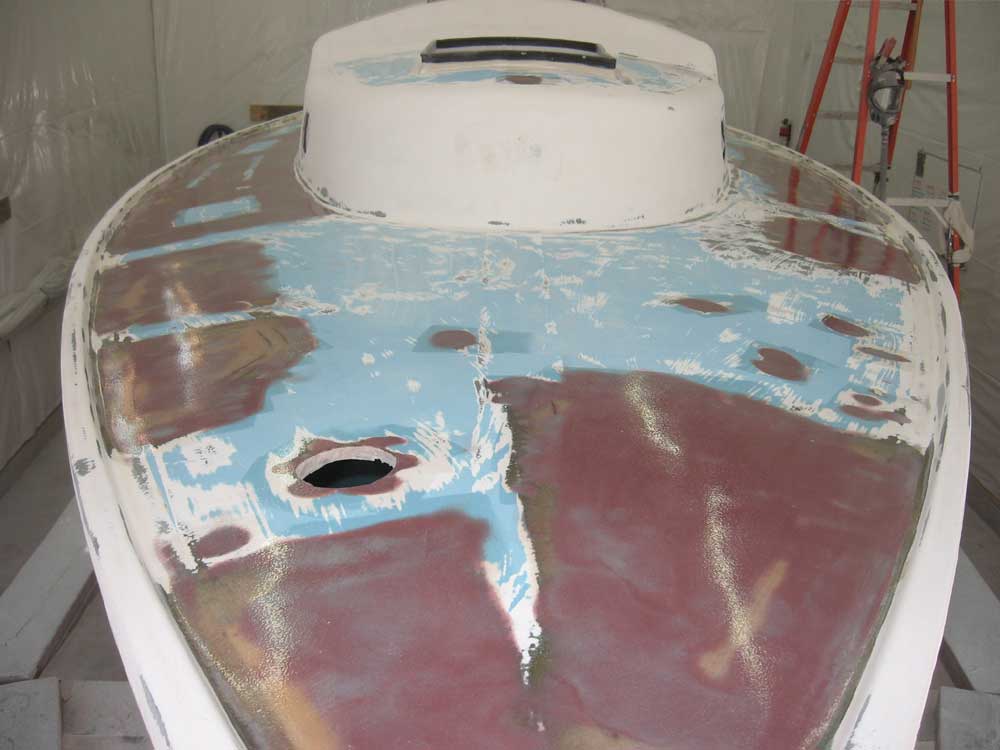
With final preparations underway for primer, it was time to cut the slots for the chainplates--something I wanted to do before the deck was painted. The old slots had been filled during last year's pre-existing repairs; to cut the new slots, I had to drill some holes from beneath the deck, trying to stay as close to the bulkhead or knee as possible with the drill and thereby properly locate the holes from above, where I could complete the cuts with a saw or two. Once I had the locator holes drilled, I reviewed some photos I had of the boat from before any of the work was done, to see exactly where the slots (and cover plates) had been relative to the toerail. With this information at hand, I used the cover plates to mark out (using the drilled holes as a locator) the position of the slots, and then finished the cuts with a jigsaw and reciprocating saw, traveling back and forth between the interior and the deck to ensure that the chainplates ended up in the right place, and would align with their existing boltholes. |
|
|
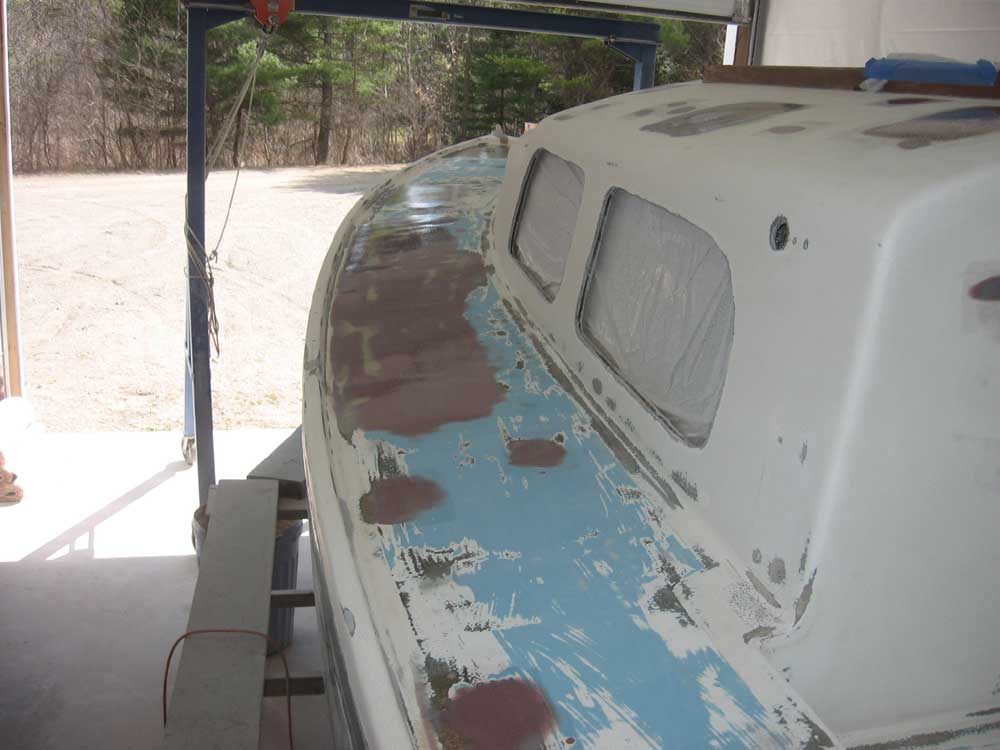
With that done, all that remained to do today was install some minor epoxy fairing compound to some of the cockpit corners, to fill areas that had ended up low despite the sanding, and then to coat all the raw epoxy fairing compound on deck with a thin layer of epoxy resin to help seal the compound before paint. I rolled on the epoxy with a thin foam roller, and left things to cure for the weekend. |
|
|
<Previous | Next>
|
|
|