110 Cookson Lane | Whitefield, ME 04353 | 207-232-7600 | tim@lackeysailing.com
Patience | Monday, June 16, 2015
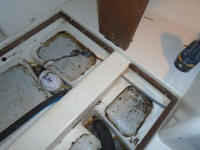
It was going to be a tight fit for the large manual bilge pump hose through the port side of the space, as evidenced by my little mockup last time, but I thought there was a chance the full hose would work. That said, I was prepared to downsize it if needed to get it into the bilge. The 3/4" hose for the automatic electric pump posed no particular clearance problems.
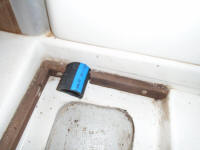
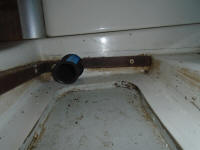
With the cabin sole temporarily in place, I made a mark at the top edge. This showed exactly how much room I had in order to keep the hoses hidden when the sole was in place. There was just enough room for the hole saw that I needed to accommodate the hose, so I went forward with the plan to run the hoses to port and through the galley and quarterberth to the stern and their eventual outlet.
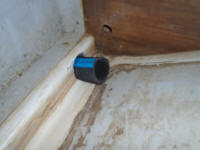
Drilling from each side of the fiberglass stringer as required, I made the hole for the hose as required. There was little room to spare on either side. This stringer area was hollow, and solid fiberglass, so once the hole was drilled the preparations were done.
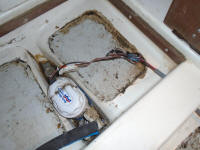
In the next compartment forward, I similarly prepared the holes for the electric pump hose.
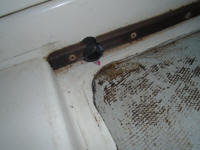
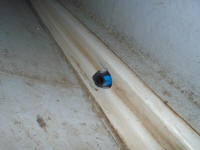
Leading the two hoses aft required a series of additional holes through the galley and quarterberth bulkheads, which I drilled next. This kept the hoses hidden throughout their run, by the galley cabinets, a little hidden area beneath a small section of removable flooring aft of the galley, and then beneath the quarterberth cushions to the transom. These non-structural plywood bulkheads suffered from moisture and minor delamination where they met the hull in some areas.
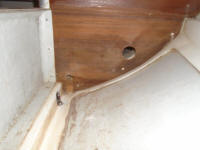
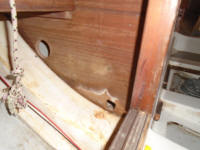
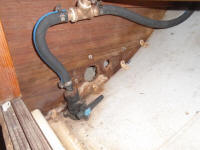
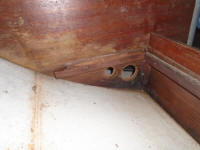
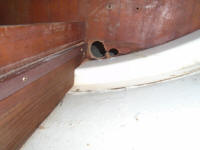
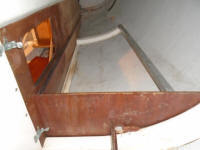
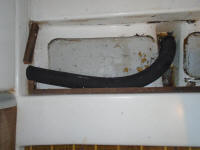
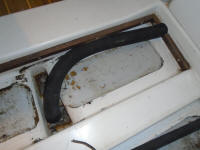
Next, I ran the hoses themselves, starting with the 1-1/2" hose for the manual pump. It was a tight fit through the pair of stringer holes, since the holes on each side were marginally misaligned, but I got it through and into the bilge sump, where I was able to sort of hook the edge of the hose onto a keel bolt to hold it in place and keep it from sucking itself to the bottom of the bilge too. I added a clamp to hold the hose in its proper position in the space. I ran the remainder of the hose aft through the various lockers, leaving ample extra at the transom for connection to the new manual pump (which seemed on eternal backorder from my preferred supplier, so I ordered one from another supplier that would arrive soon).
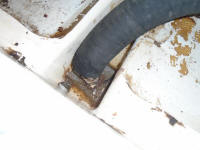
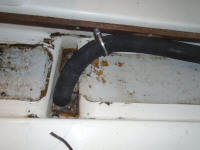
I repeated the process with the hose for the electric pump. In this case, I left the hose unconnected from the pump for now, as I decided to install a check valve since the hose run was so long, and the sump so small, that it seemed the pump would never stop cycling otherwise. I'd finalize the hose connections once the new check valve arrived. I now use only good exhaust hose for things like bilge pumps and drains, as it's much easier to work with and actually fits the hose barbs, unlike some of the other hoses available. (For the same reason, I also never use plastic hose fittings, which never are the correct size and lead to intense and unnecessary frustration in hose connection.) It bends easily and without kinking, and has smooth interior walls for improved flow. Plus, it's strong and will never fail like lightweight "bilge pump" hoses.
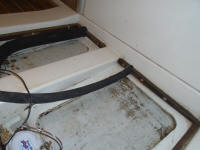
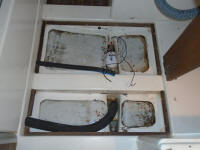
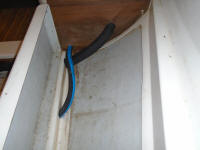
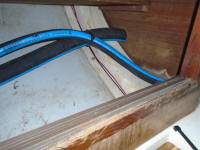
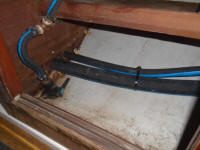
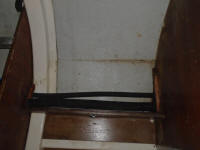
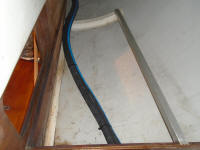
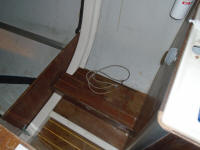
Final hose connections at the transom outlet awaited the final installation of a new manual pump, plus a new through hull fitting to accommodate both hoses. The original setup for the manual pump had the bilge pump hose teed into the cockpit drain, which I thought was poor practice; never mind that there was actually no suction end to the old manual system? Meanwhile, the electric pump had featured a long hose run over the floor and through the companionway into the cockpit, a temporary system obviously.
I knew the hull was a cored structure, so the outlet would require the extra step to isolate the core from the new fitting. After determining inside clearances as needed, I chose the location for the new fitting, next door to the starboard scupper drain in the transom, and drilled a new hole for the through hull. Then, I removed some of the foam coring from the hole's perimeter, and filled the void with thickened epoxy in the usual way, leaving the epoxy to cure overnight. Readers may be interested to note that this boat is built from Kevlar fabric with a foam core.
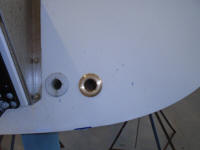
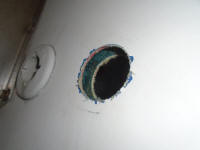
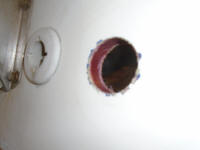
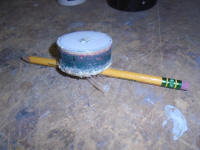
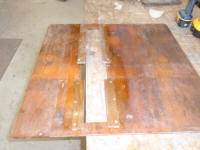
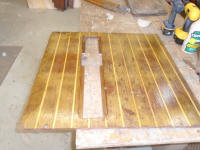
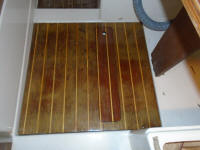
The removable cabin sole piece above the bilge pumps featured a small hatchway for access to the sump, and years of moisture had rotted away the slim supports for the hatch. Down on the bench, I removed the remnants and replaced them with new plywood supports that I glued and screwed in place. The cabin sole itself required some cosmetic attention, which was on a proposed list for a second phase to this project later on.
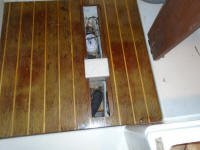
Leading wiring to the electric pump led me to slightly revamp the wiring within the dinette locker that had contained the battery. The main positive cable from the battery switch to the battery featured a badly rusted terminal, and was also black in color, so I replaced it with some red cable and new ends. Meanwhile, I connected a new wire to the battery switch hot terminal for the bilge pump, so it would operate without regard to the position of the battery switch. I changed the lead for some of the other wires leading to the switch to improve the neatness of the space, and set these aside pending the installation of a new platform and battery.
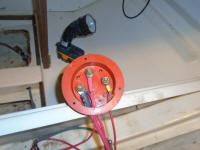
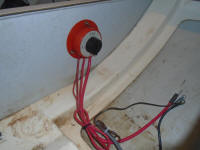
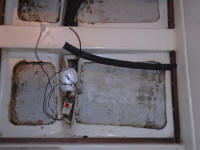
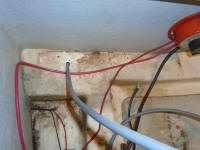
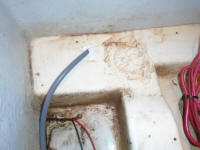
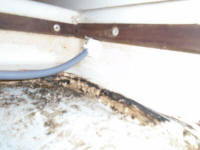
I led a tri-conductor cable forward into the bilge pump space, and made up the connections there. The transverse stringer at the dinette was foam-filled, and I sealed the cable where it passed through the 3/8" hole I'd drilled to provide access to the bilge.
Total Time Billed on This Job Today: 8 hours
42°, rain. Forecast for the day: Rain, drizzle, and showers, low 50s
