
110 Cookson Lane | Whitefield, ME 04353 | 207-232-7600 | tim@lackeysailing.com
Ms Lynne G | Thursday, September 18, 2014
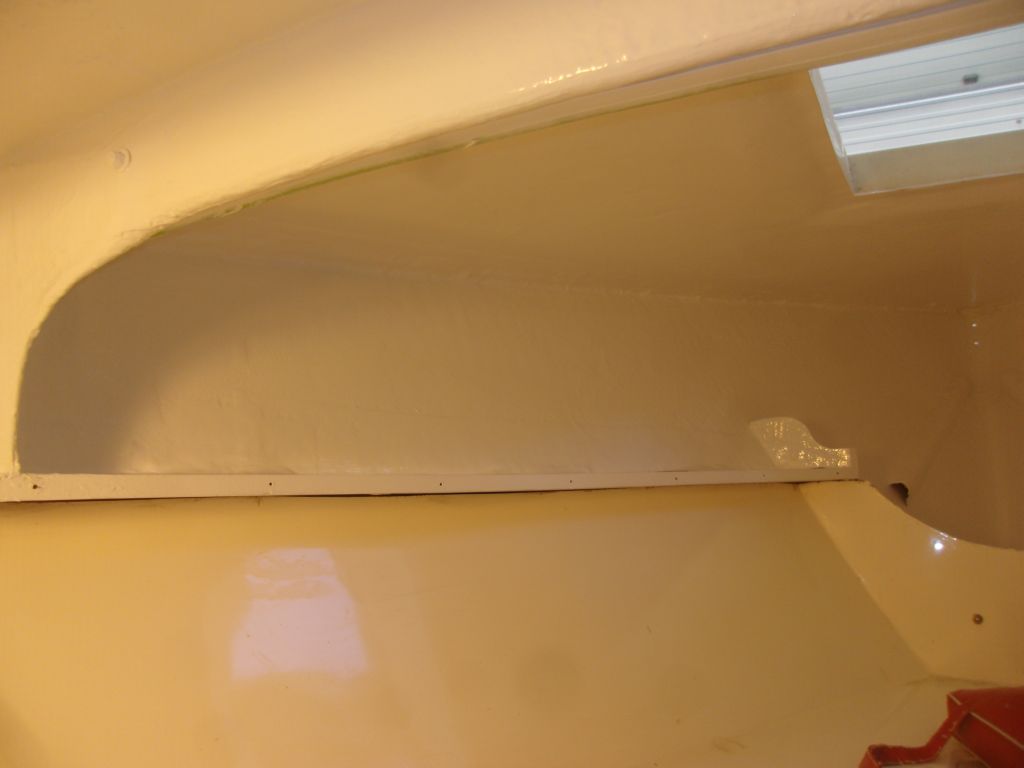
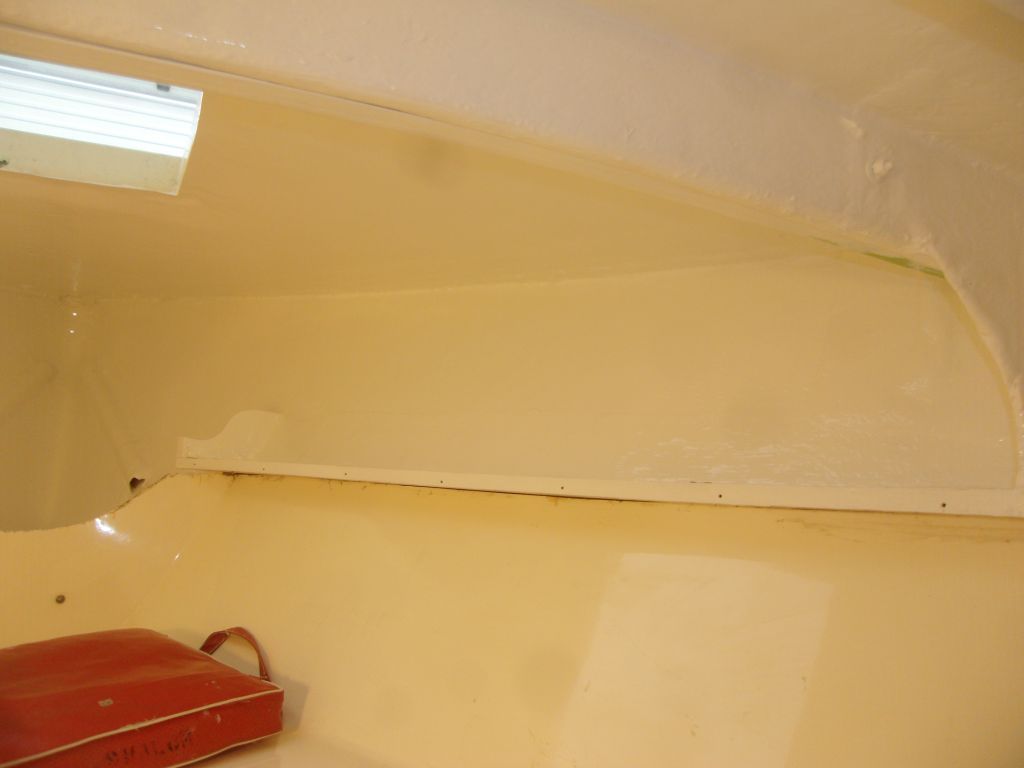
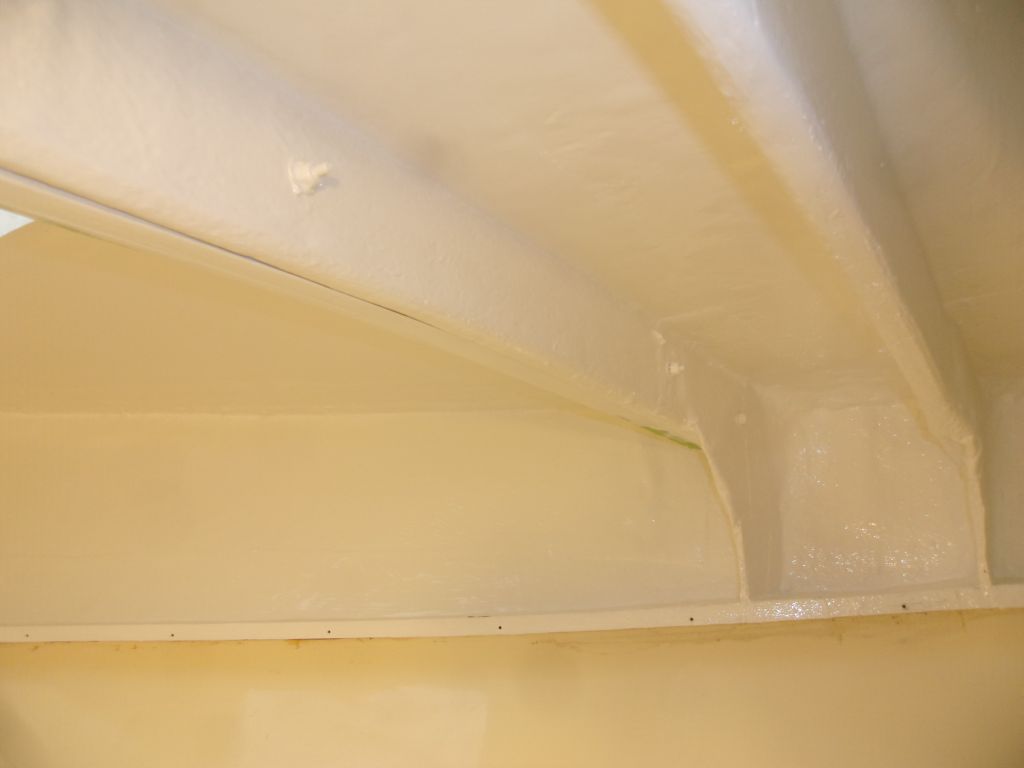
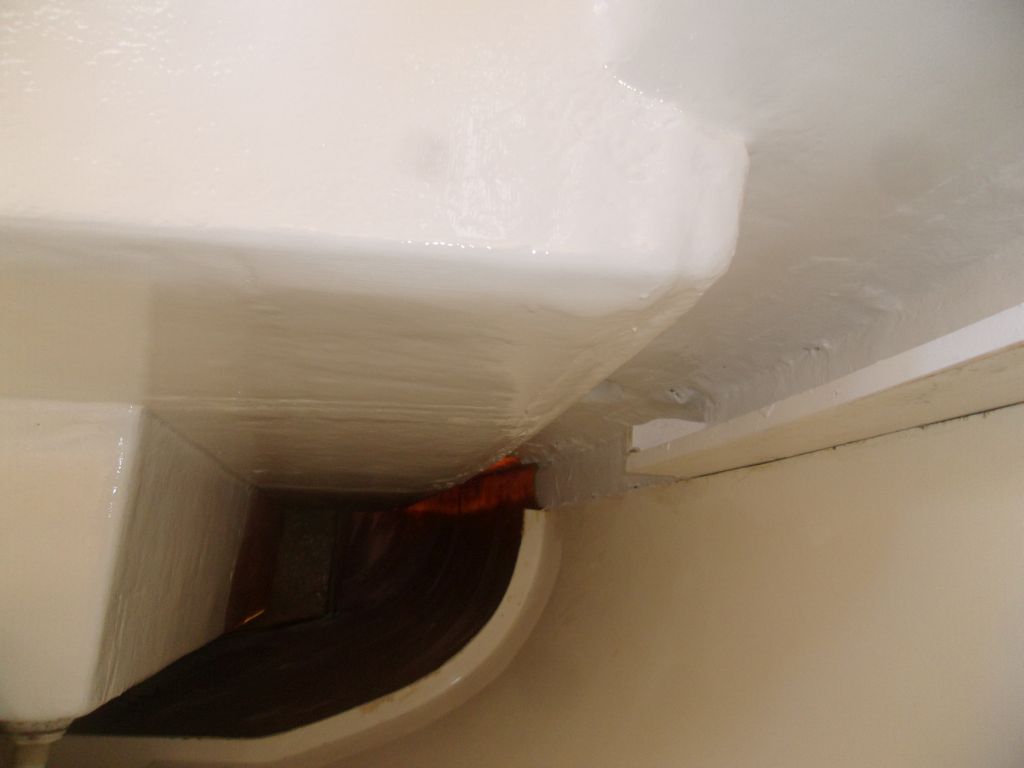
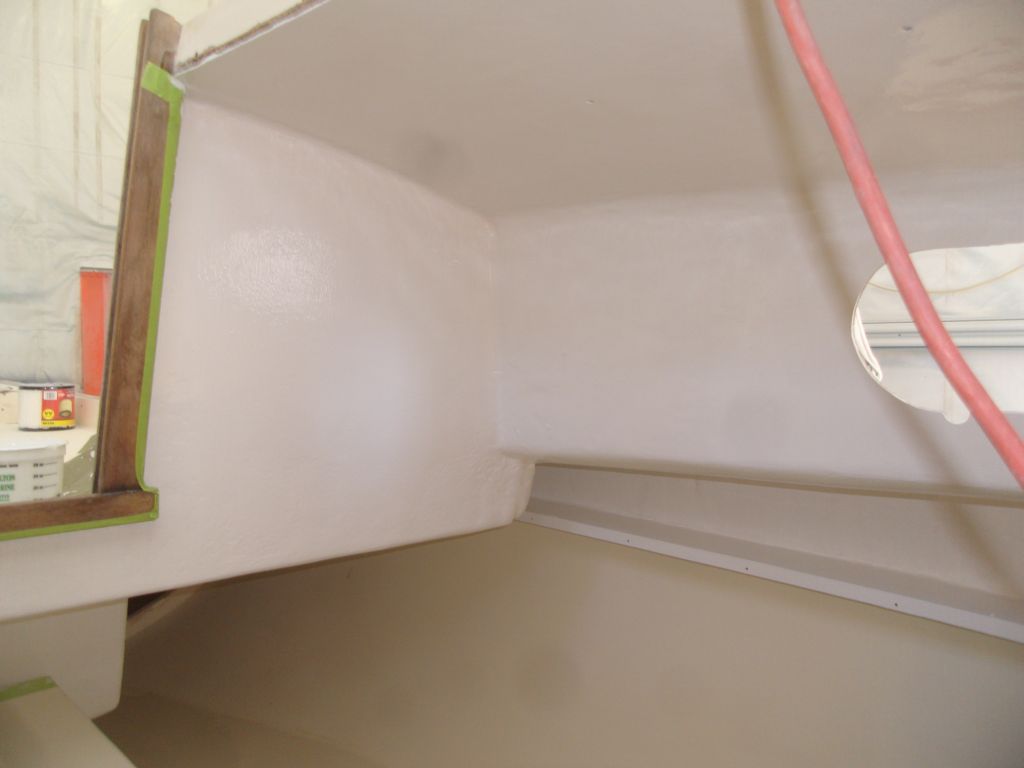
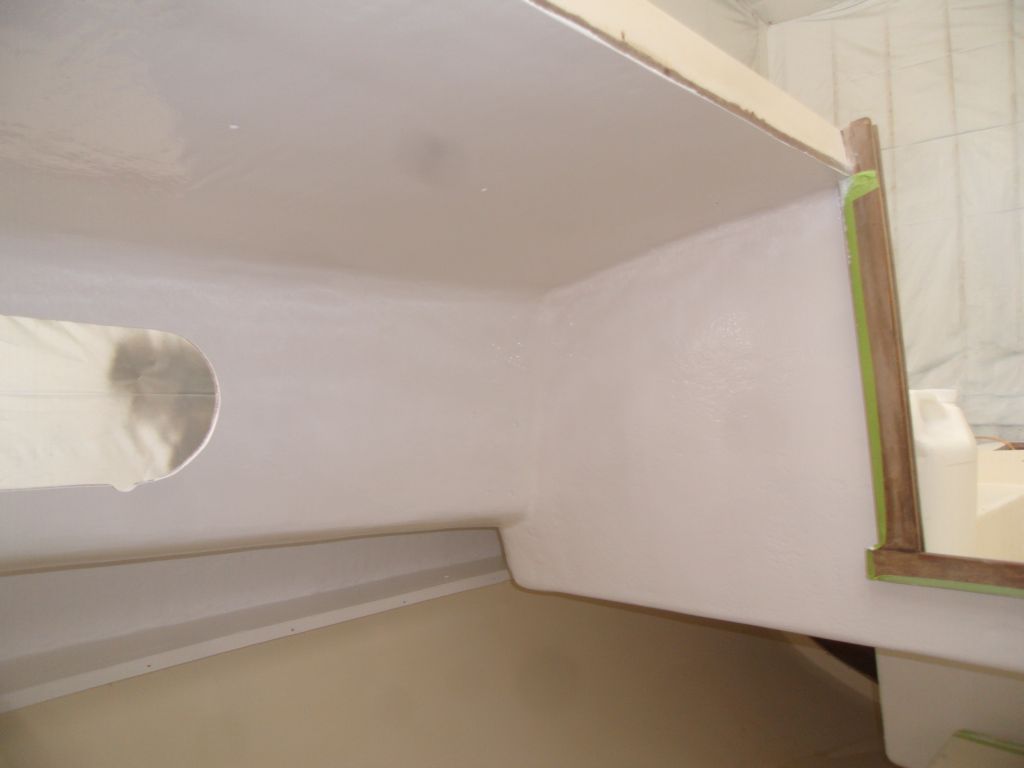
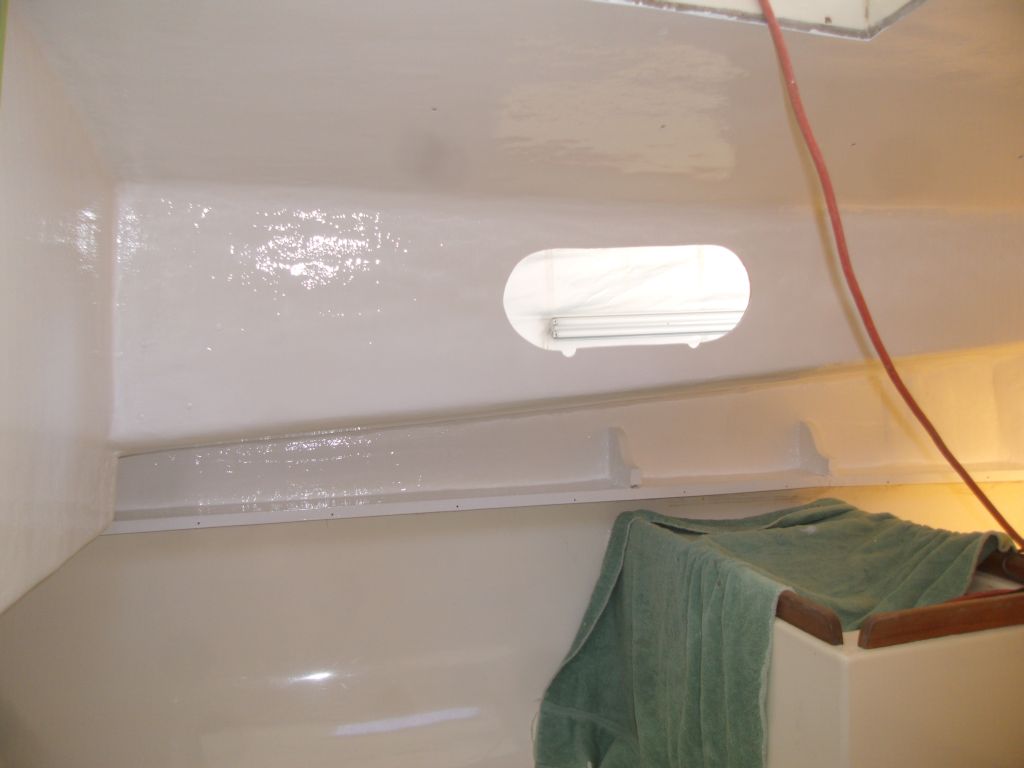
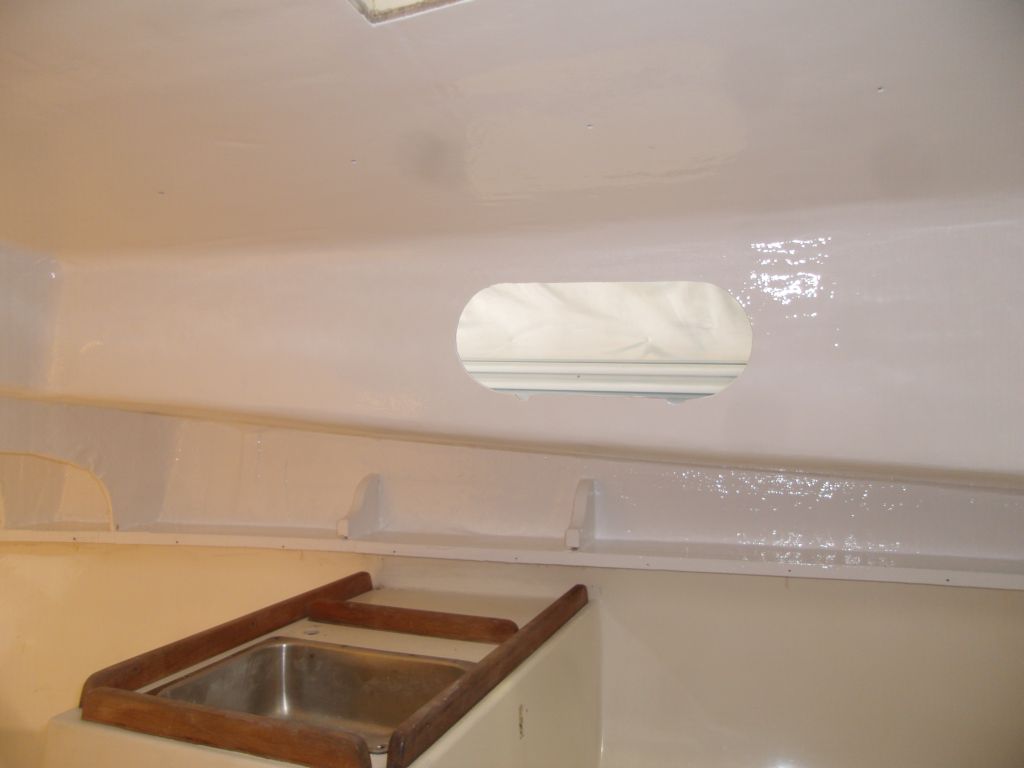
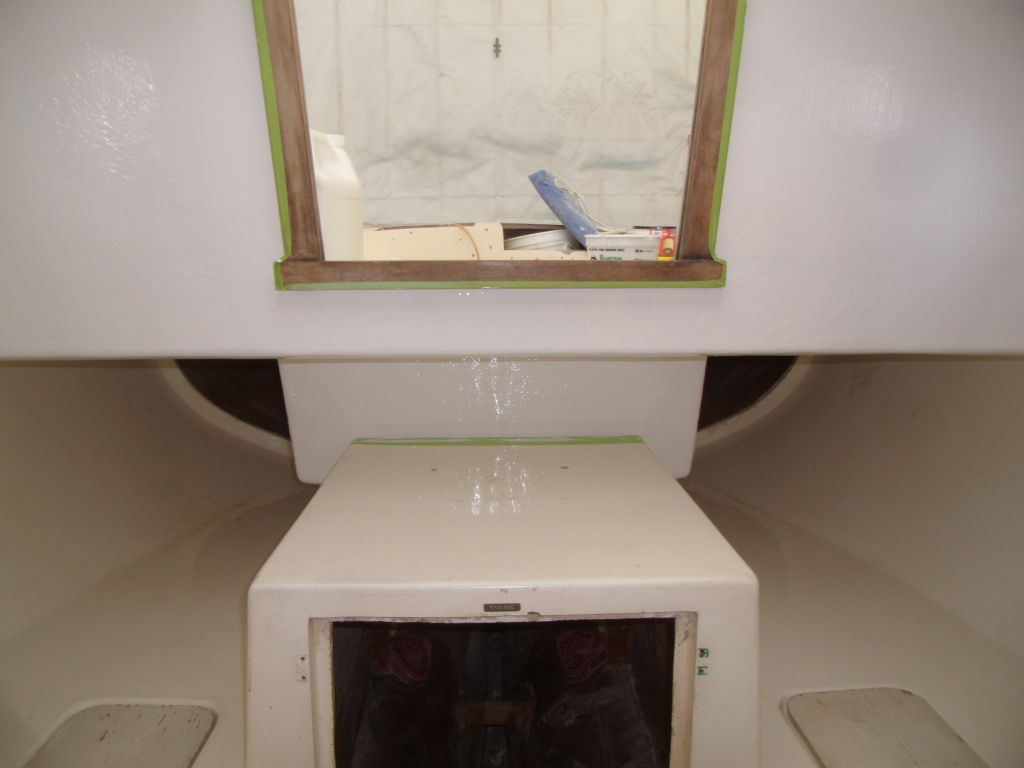
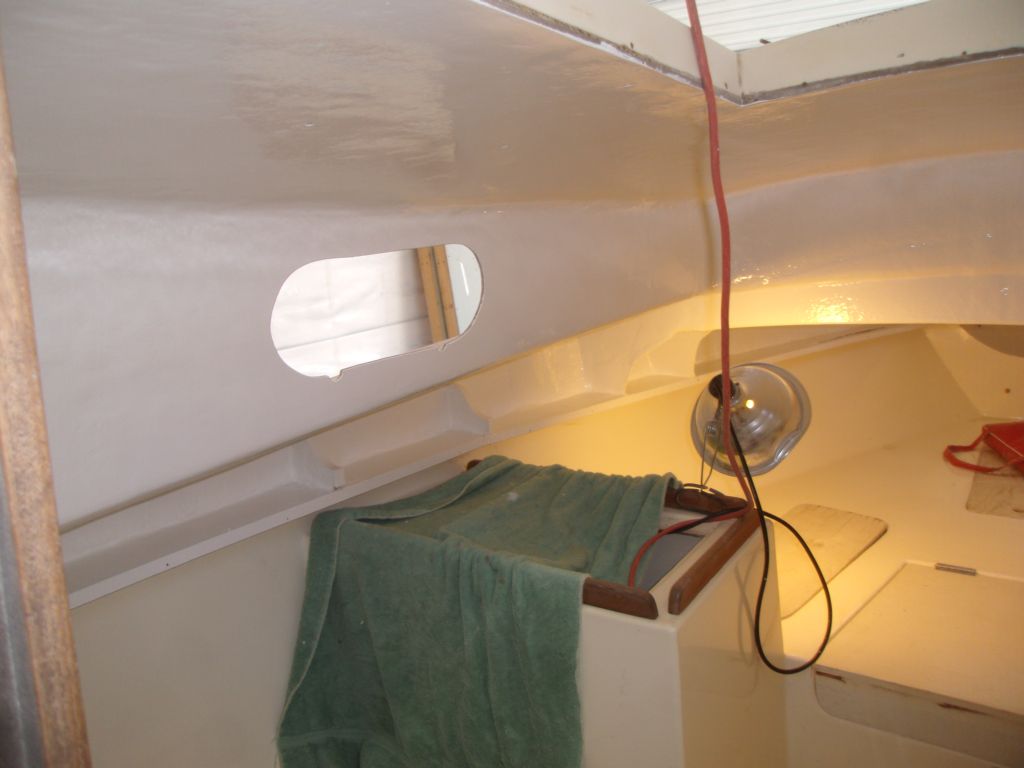
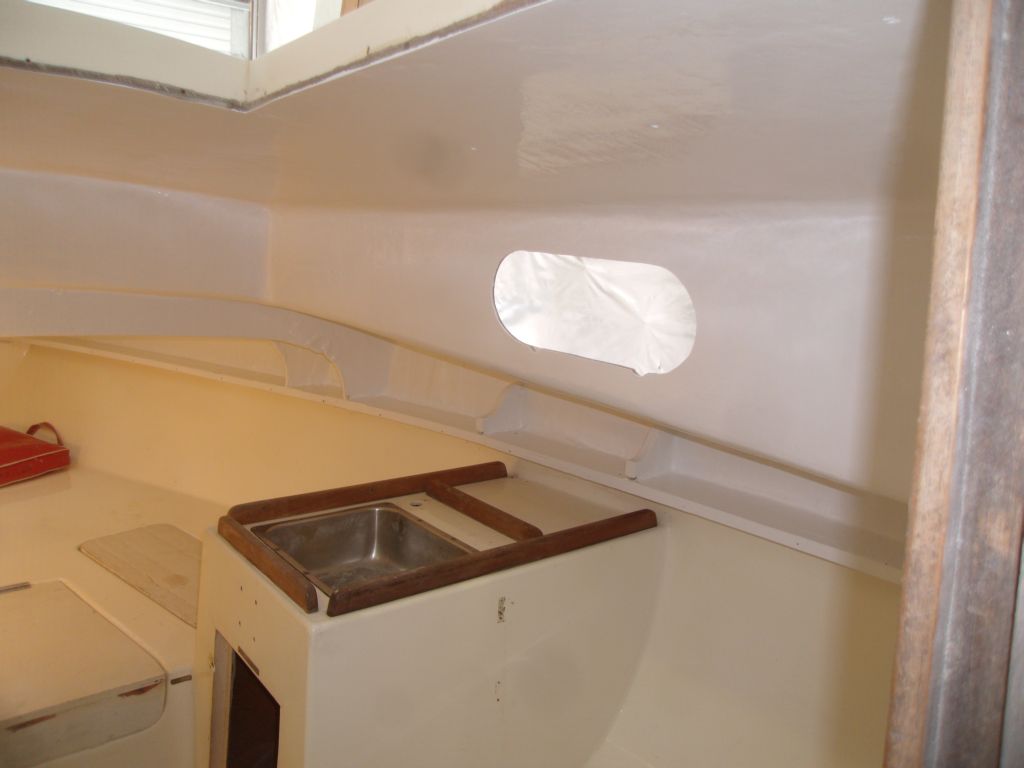
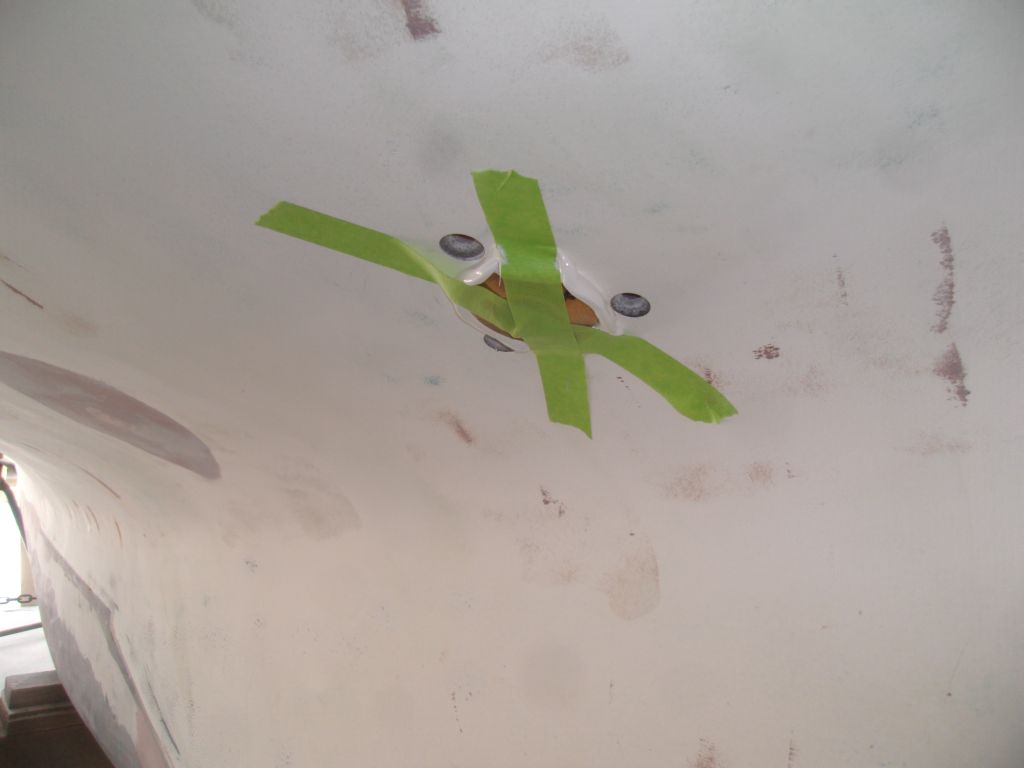
After a light sanding and cleanup, I continued work on the interior overhead, and applied a coat of semi-gloss white paint to all areas. Because the paint was still wet when I took the photos, it appeared more glossy than it would when the paint fully dried.


Afterwards, I worked on a few odds and ends, including solvent washing all the woodwork I sanded earlier and preparing my order for new teak lumber, among other non-photoworthy things.
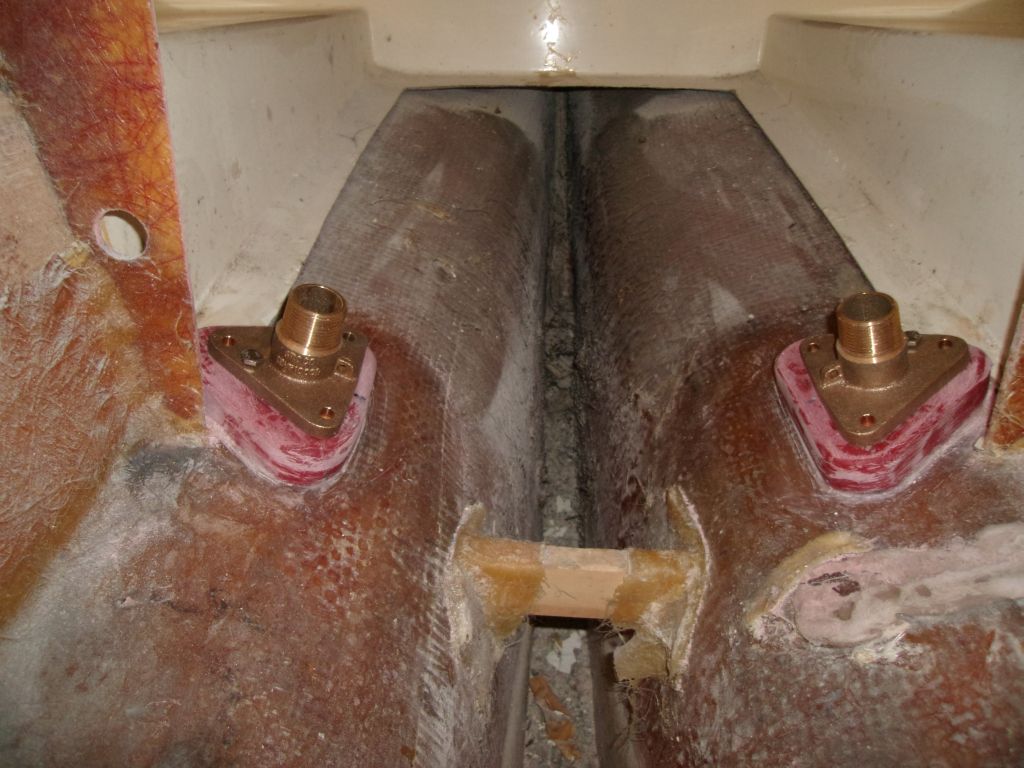
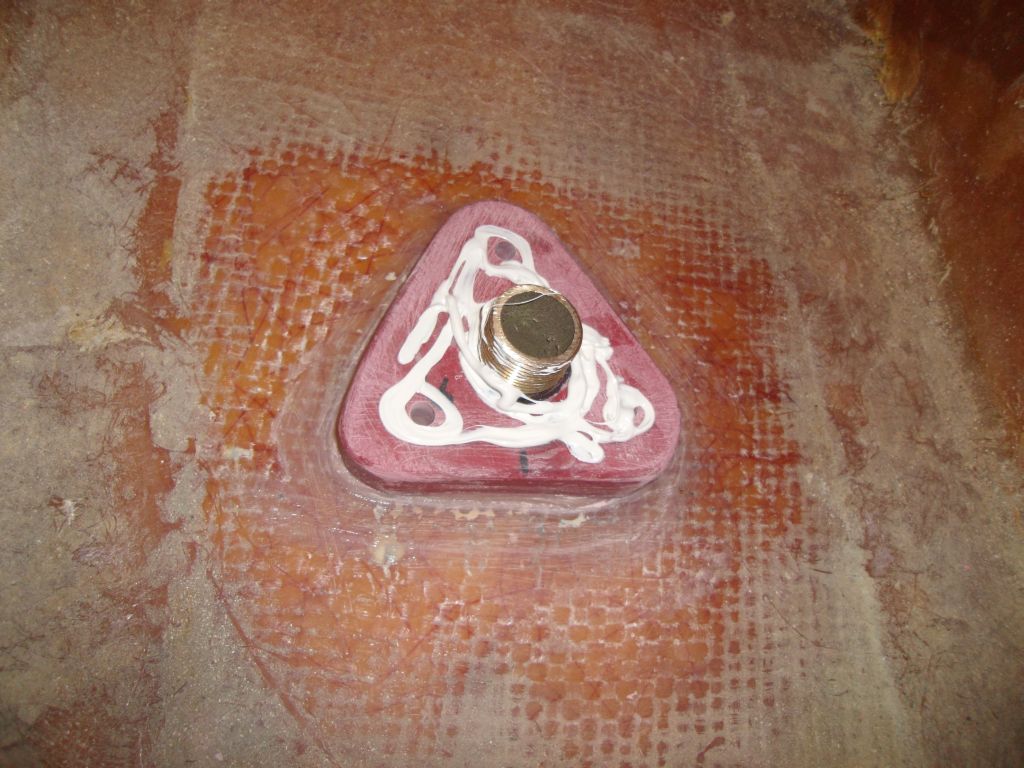
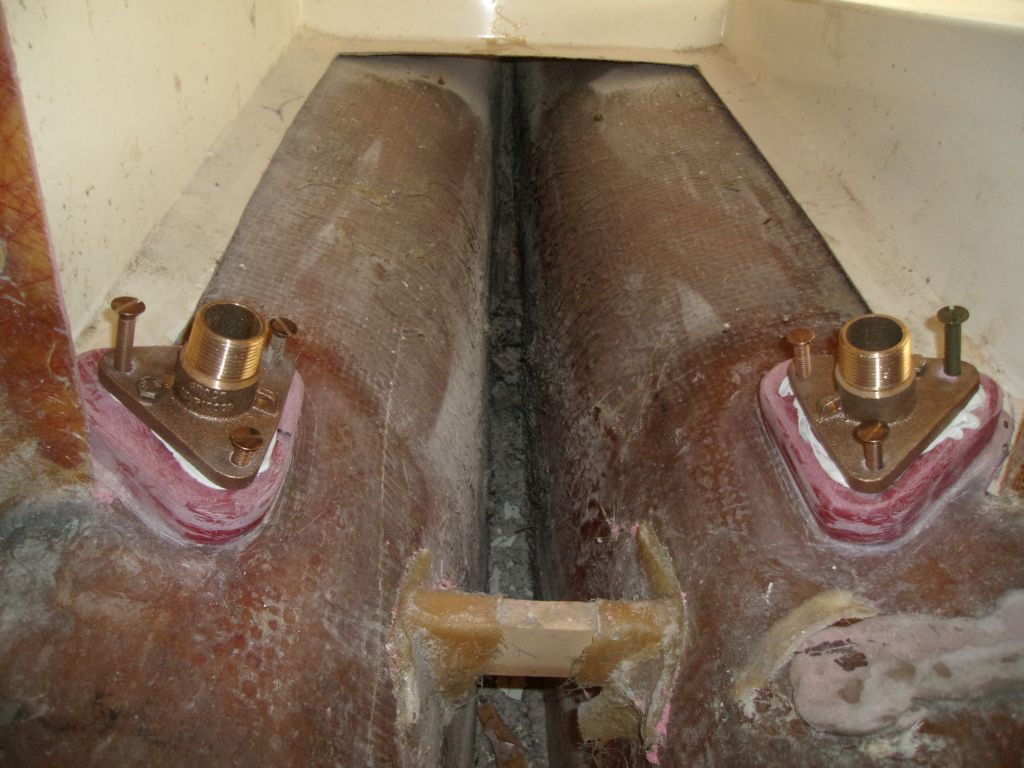
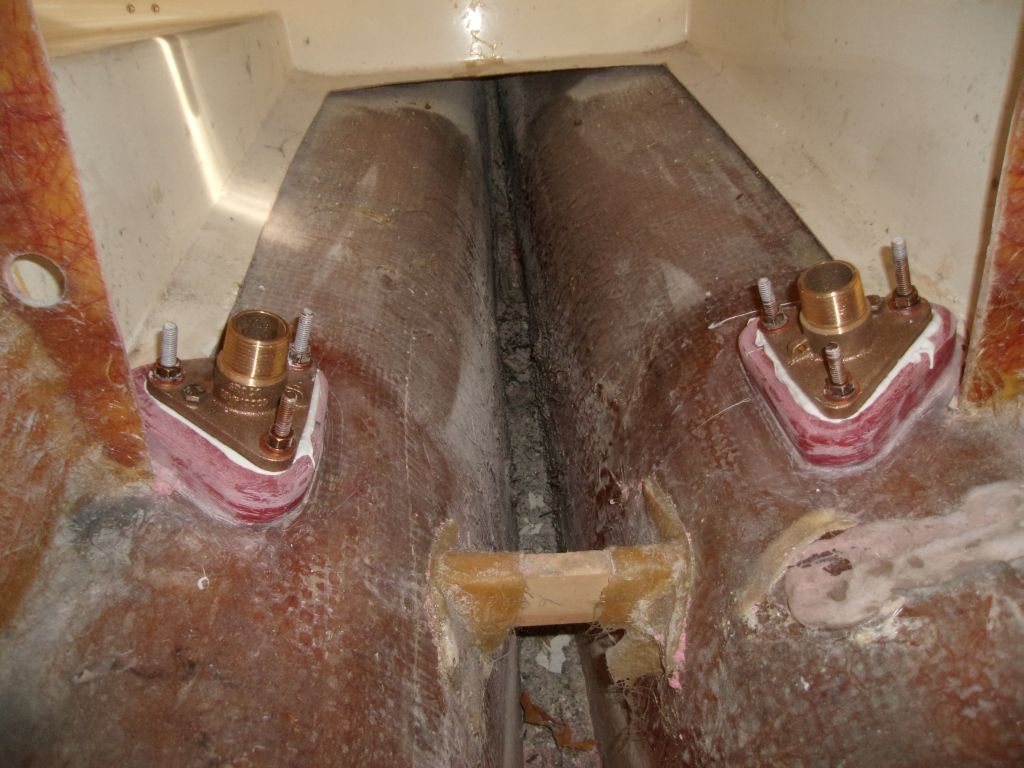
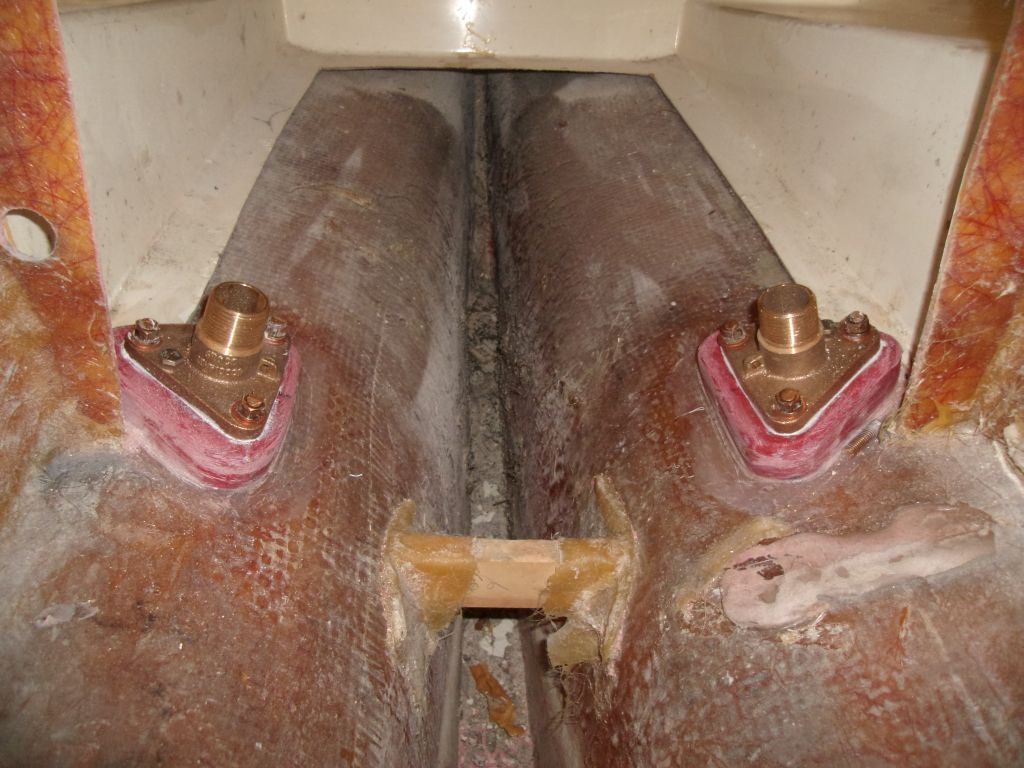
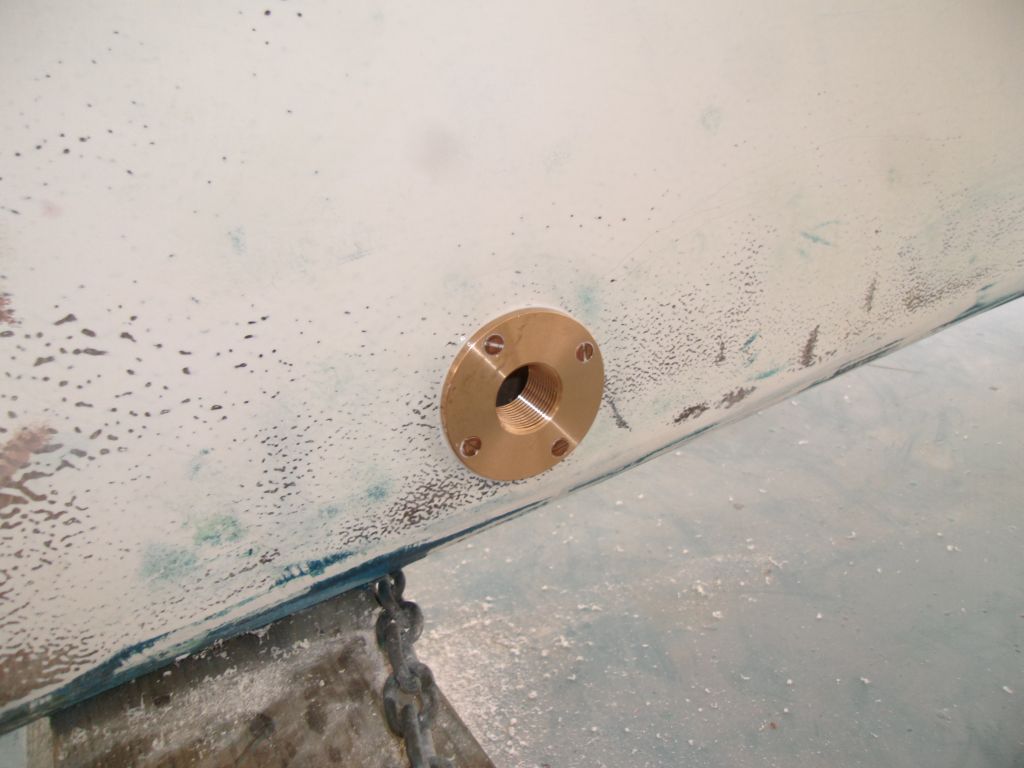
I spent the afternoon installing the new through hulls. For each of the three fittings, I followed the same basic procedure, usually working on all three at once to streamline the process.
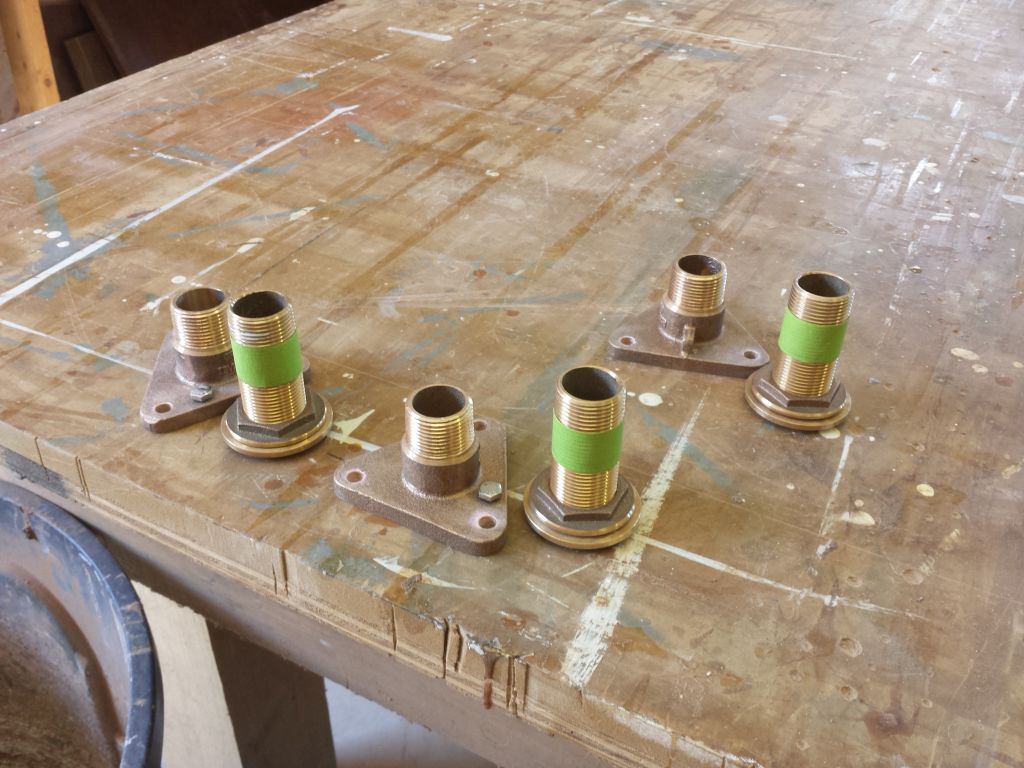
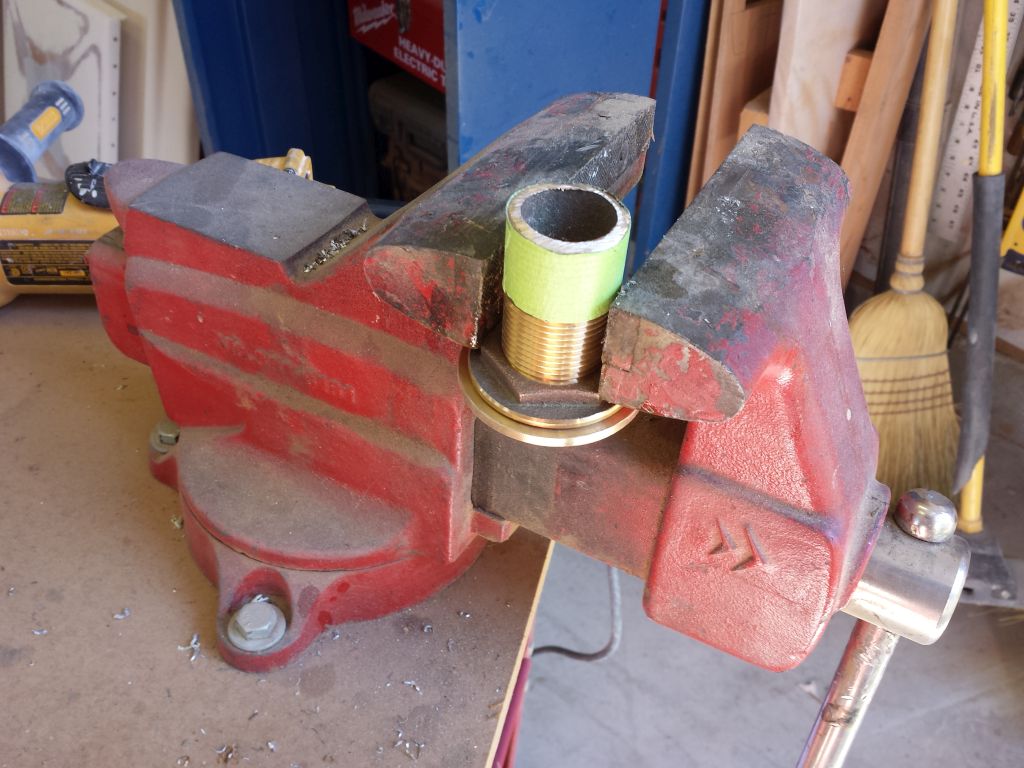
To begin, I test fit the three through hull fittings and the flange adapter bases. The through hull stems were longer than needed for the thickness of the hull and the backing plate, so I'd have to shorten them by some amount. By marking the threads where they came through the backing place and screwing on the base to its full extent, I could determine how much stem length I'd have to cut off. I repeated this for all three fittings.


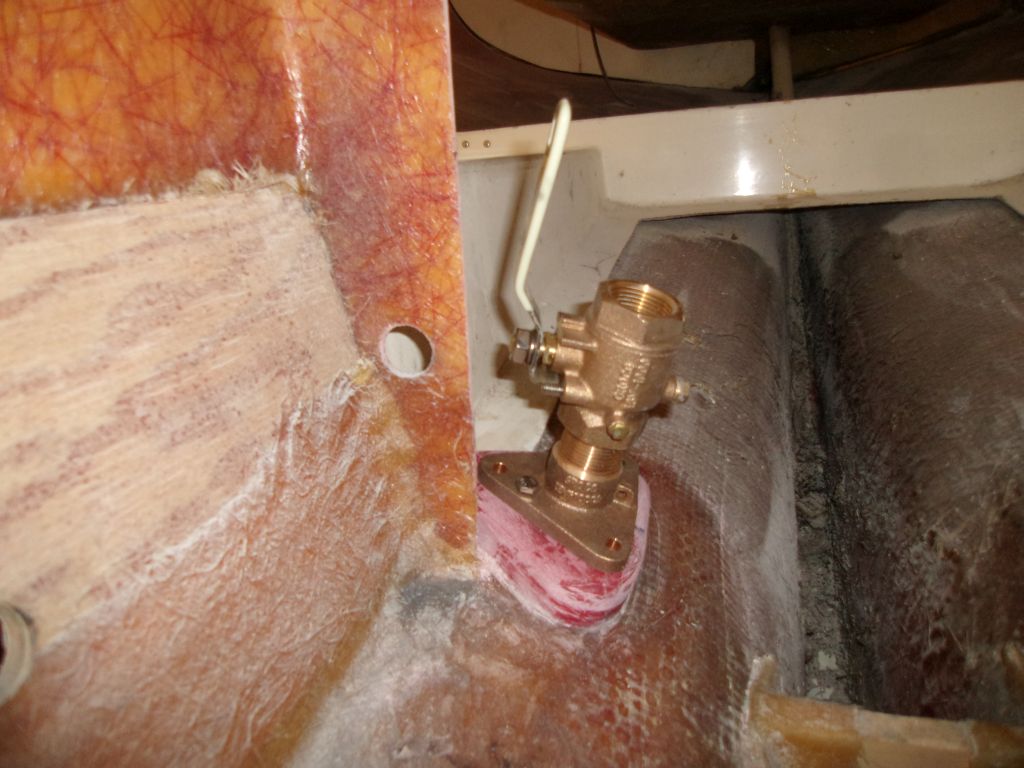
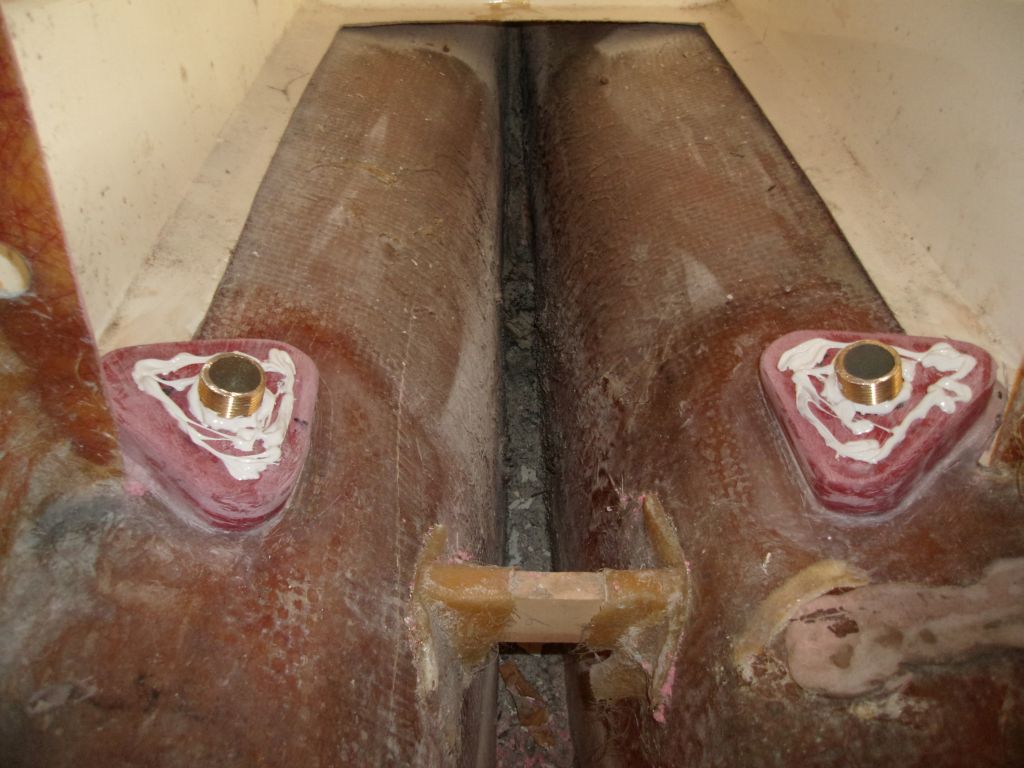
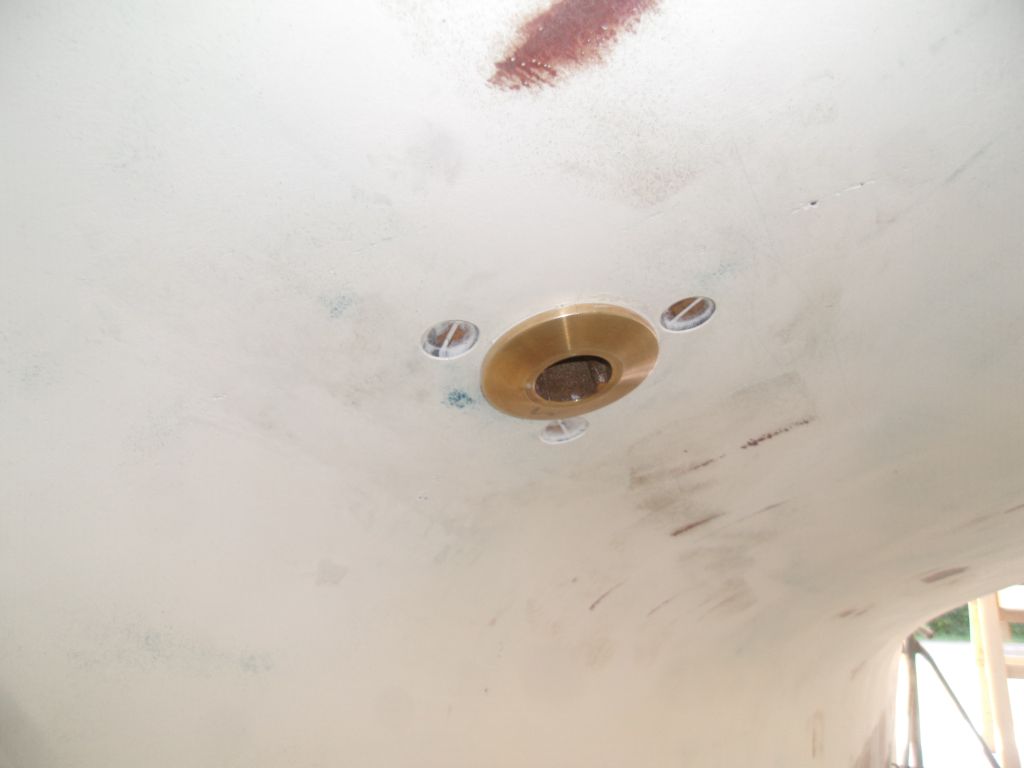
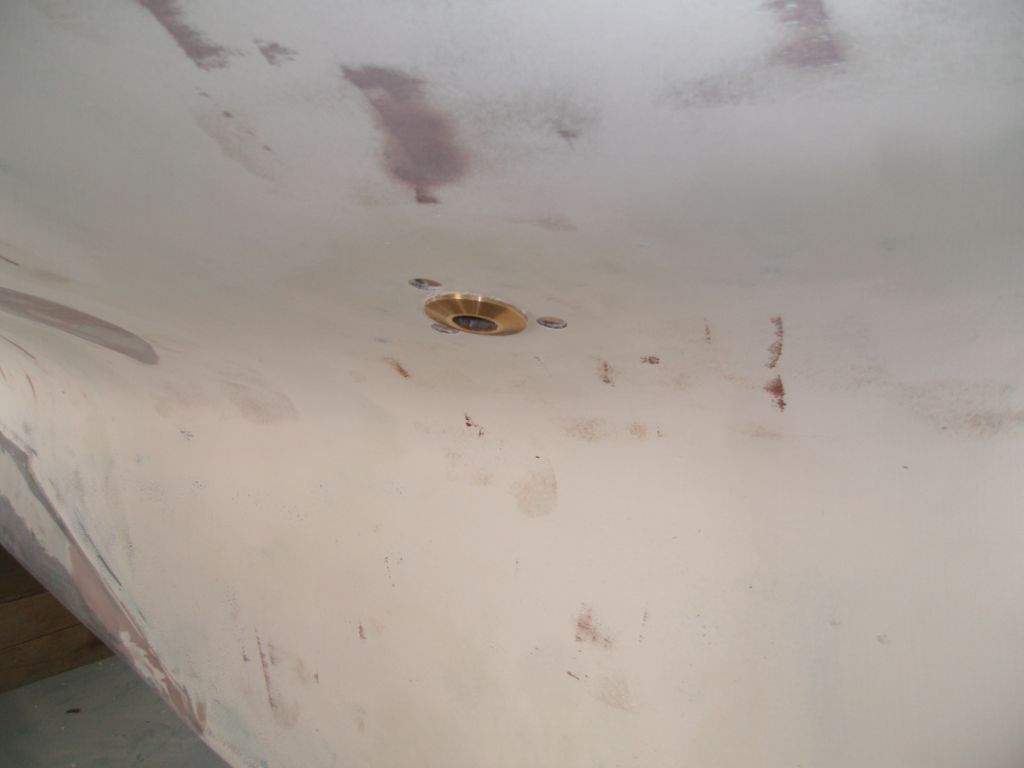
While I had the bases and through hulls screwed together and aligned, I drilled the three bolt holes required for each base. There was plenty of room around the galley sink drain fitting for later installation of the valve and tailpiece, but I checked both the scupper locations, which had tighter clearances, to ensure that the valves and 90° tailpieces would fit on after the base was installed: they did. This would make installation of the through hull and base easier, as I'd not have to work around preassembled valves.
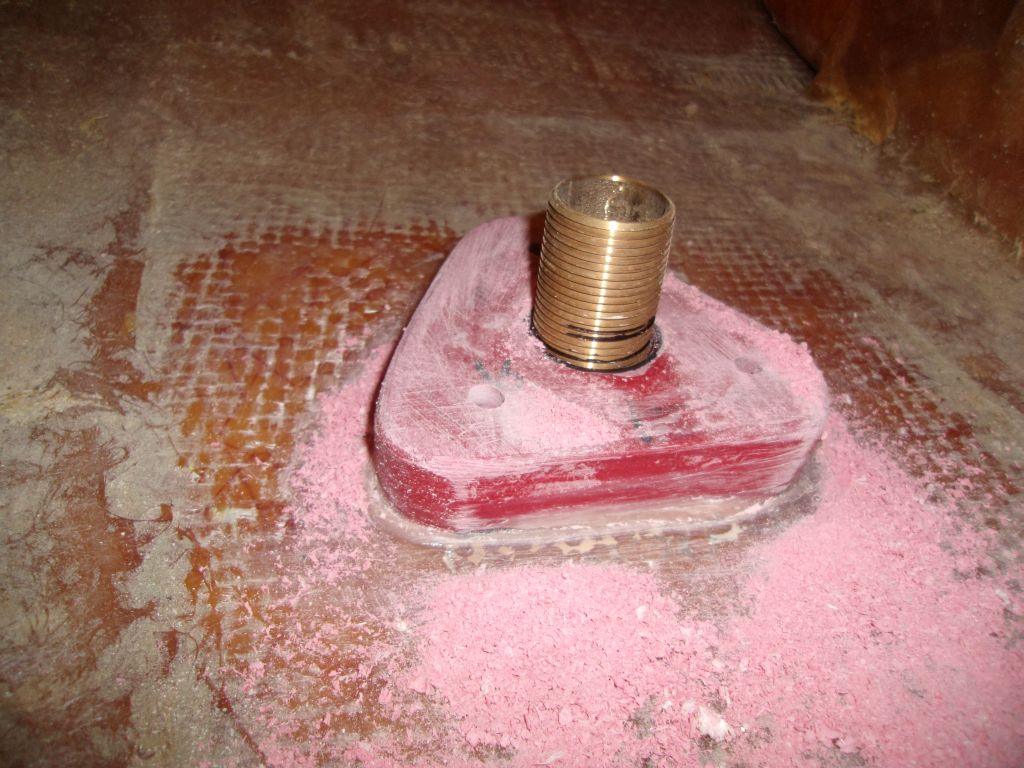


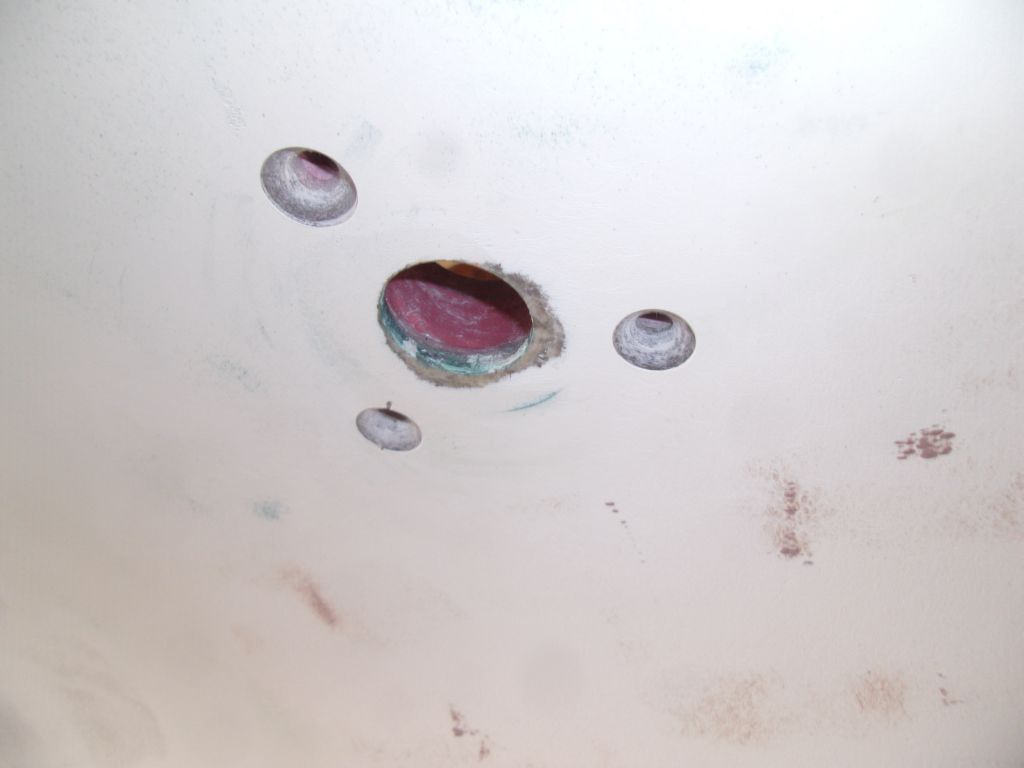
Outside the boat, I milled countersinks at each bolt location to allow the bolt heads to recess.
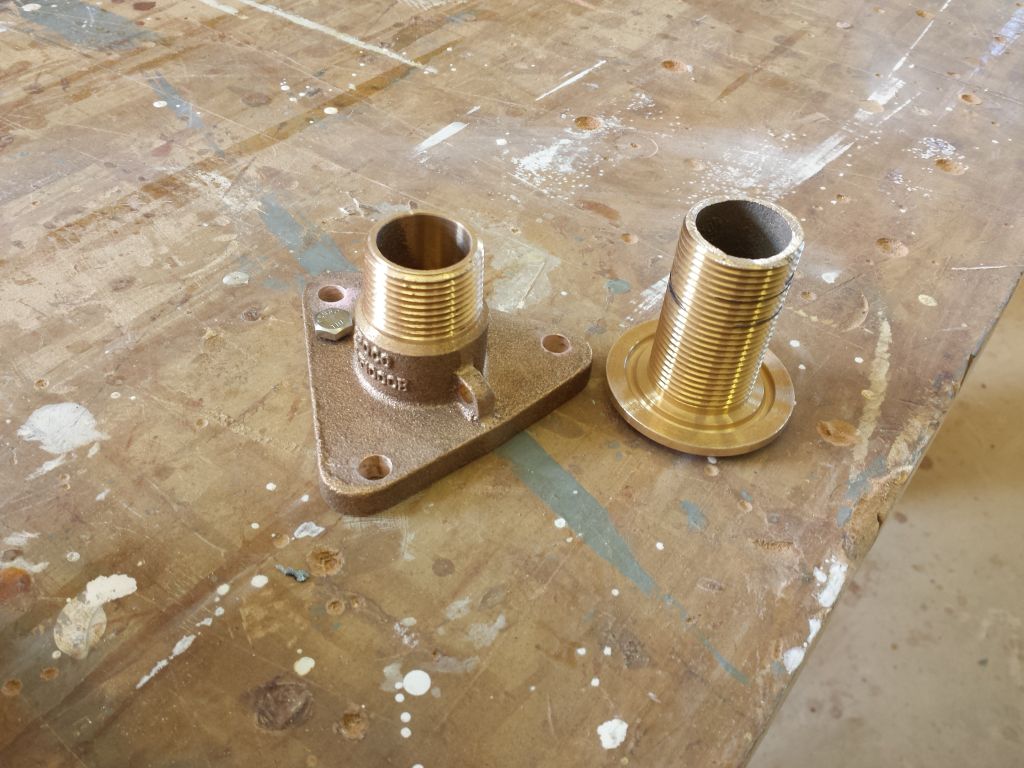
Next, I cut off the excess stem length for each of the three fittings.
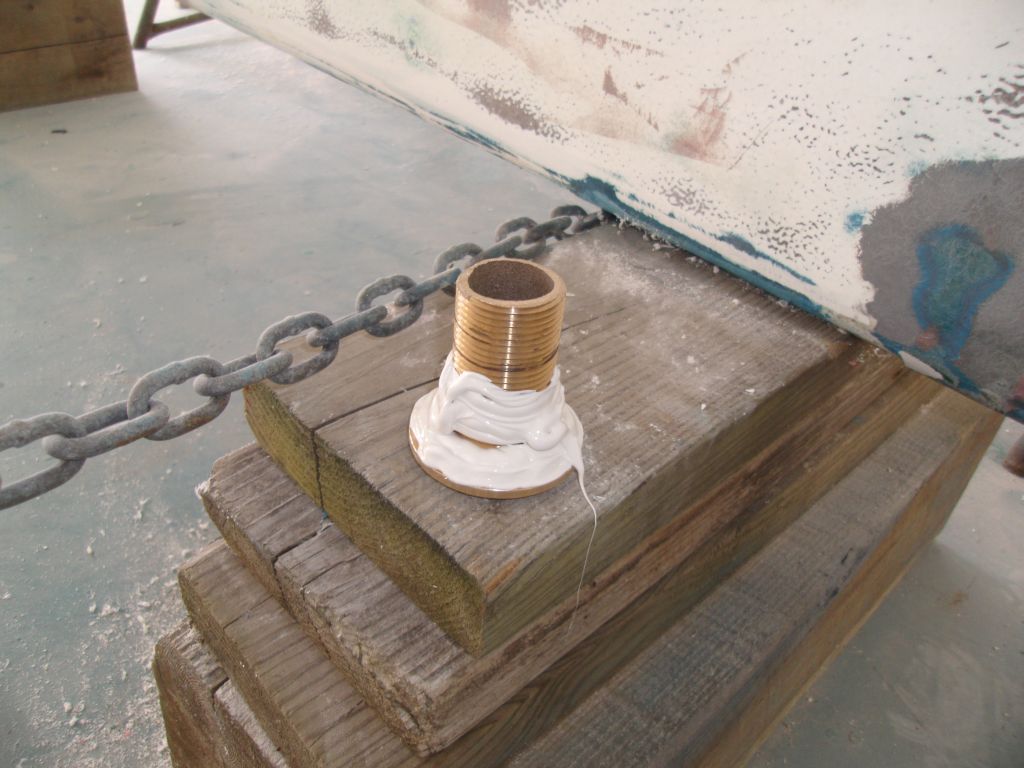
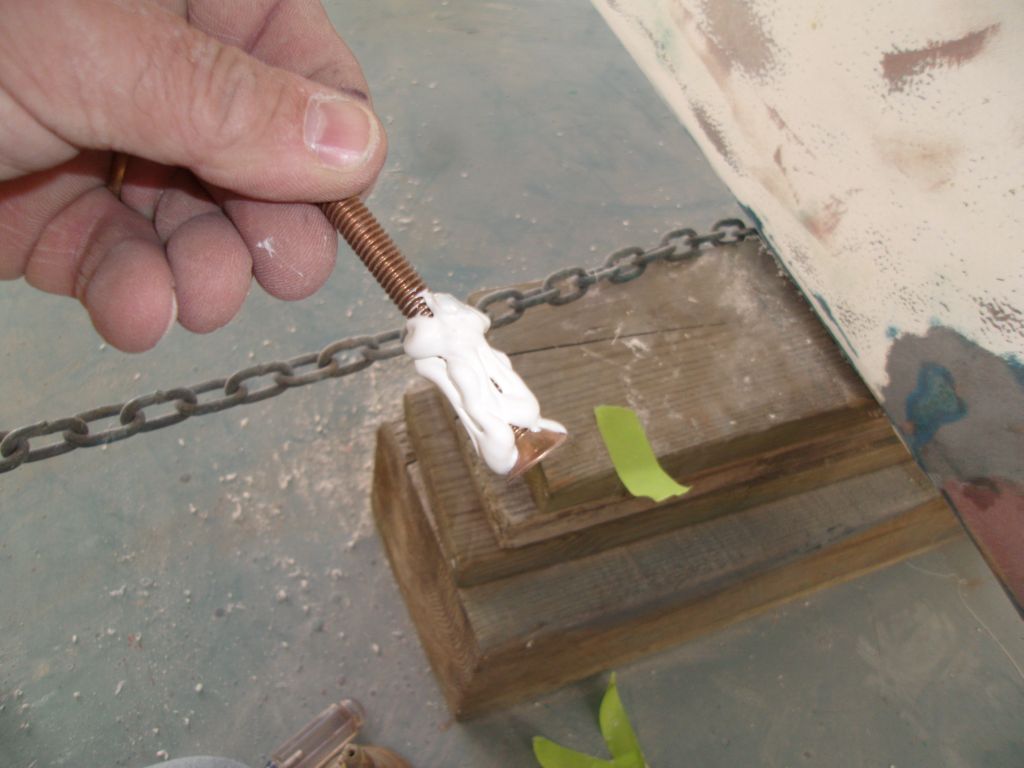
To install the fittings, I began outside the boat, where I applied heavy beads of sealant (4200) to the inside of the mushroom flange and up the stem, then inserted the fittings in their holes, securing them temporarily with tape.
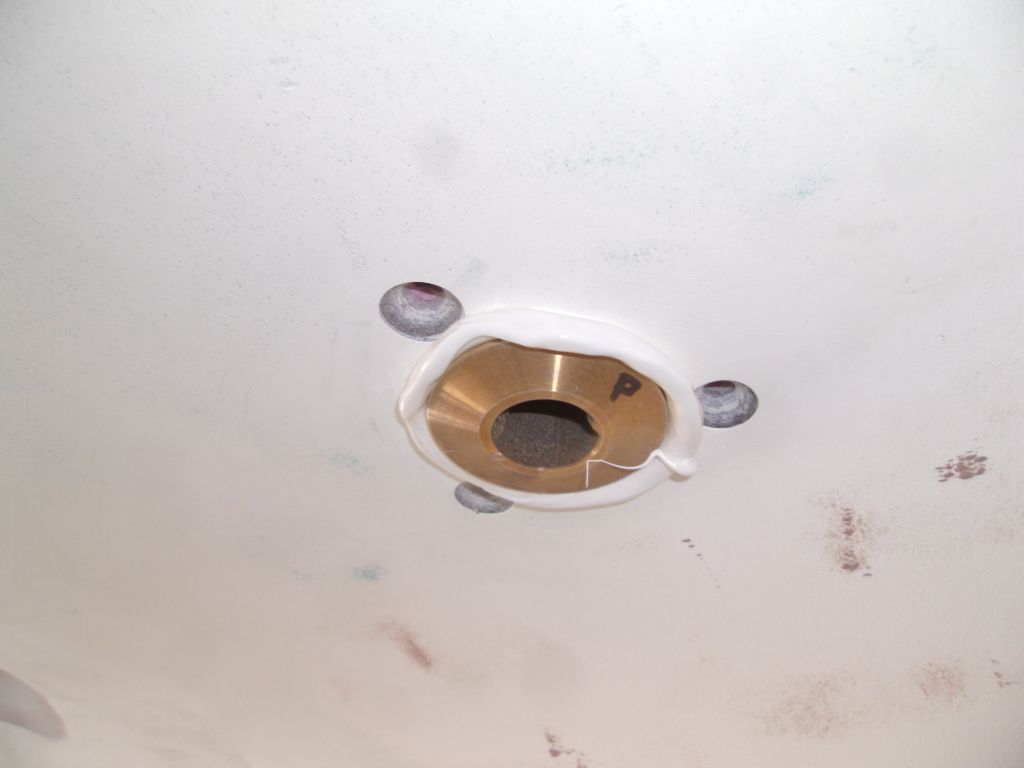
Inside, I applied more sealant around the stem where it came through the backing plate, and also around the bolt holes and perimeter of hte base, after which I threaded on the base most of the way, till I'd aligned it properly with the holes. To hold the base in position, I inserted temporary bolts from inside.
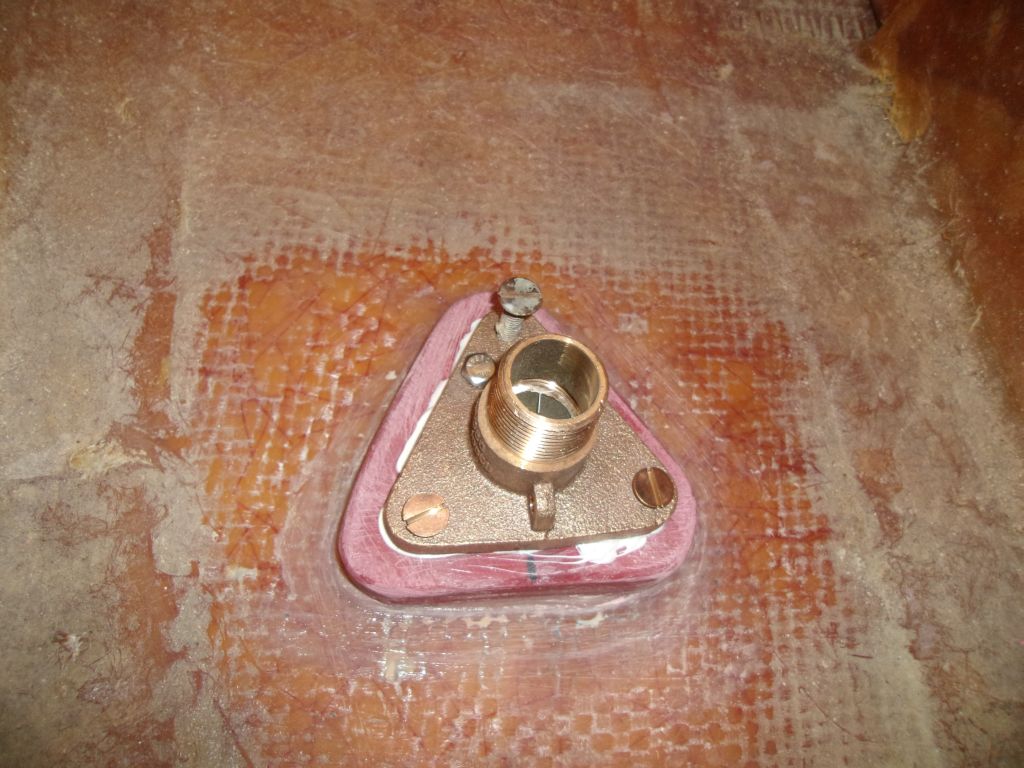
Back outside, I prepared the actual bolts for installation with plenty of sealant, and inserted them in their holes, pushing out the temporary ones in the process; I taped over the bolts to prevent them from falling out, though the sealant was stiff and sticky enough to hold them on their own. Then, using a special tool, I tightened the mushroom fitting the rest of the way into the base within.
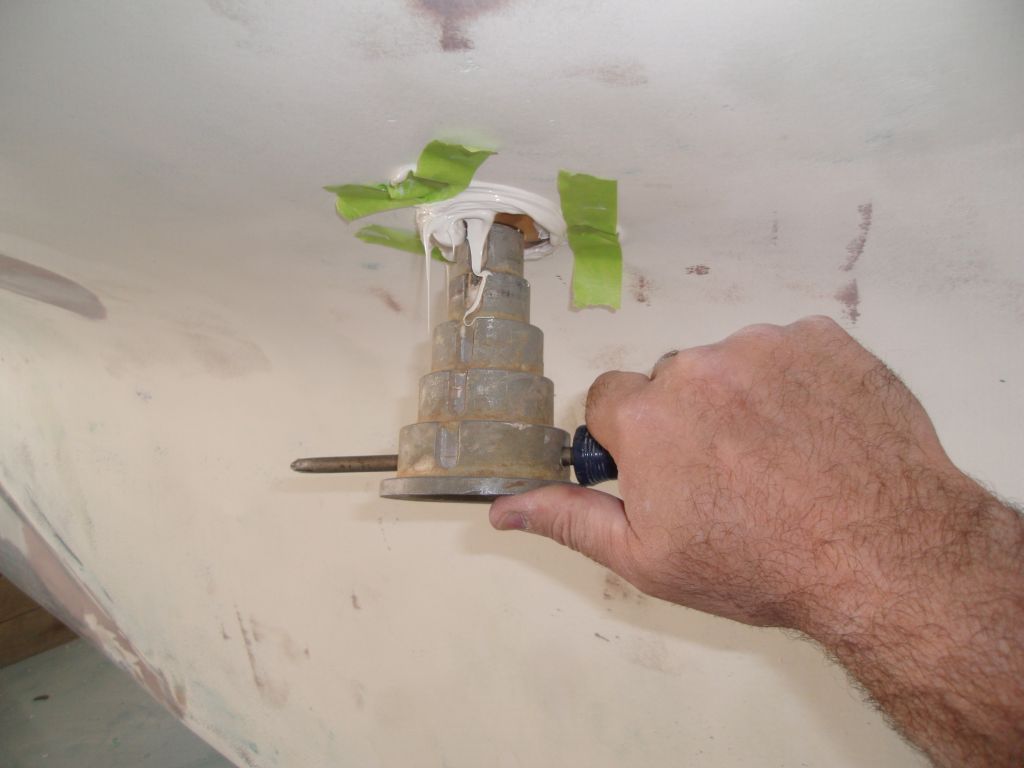
Back inside, I installed nuts and washers on the bolts, and tightened them down, after which I cleaned up excess sealant inside and out and, finally, cut off the excess bolt length.


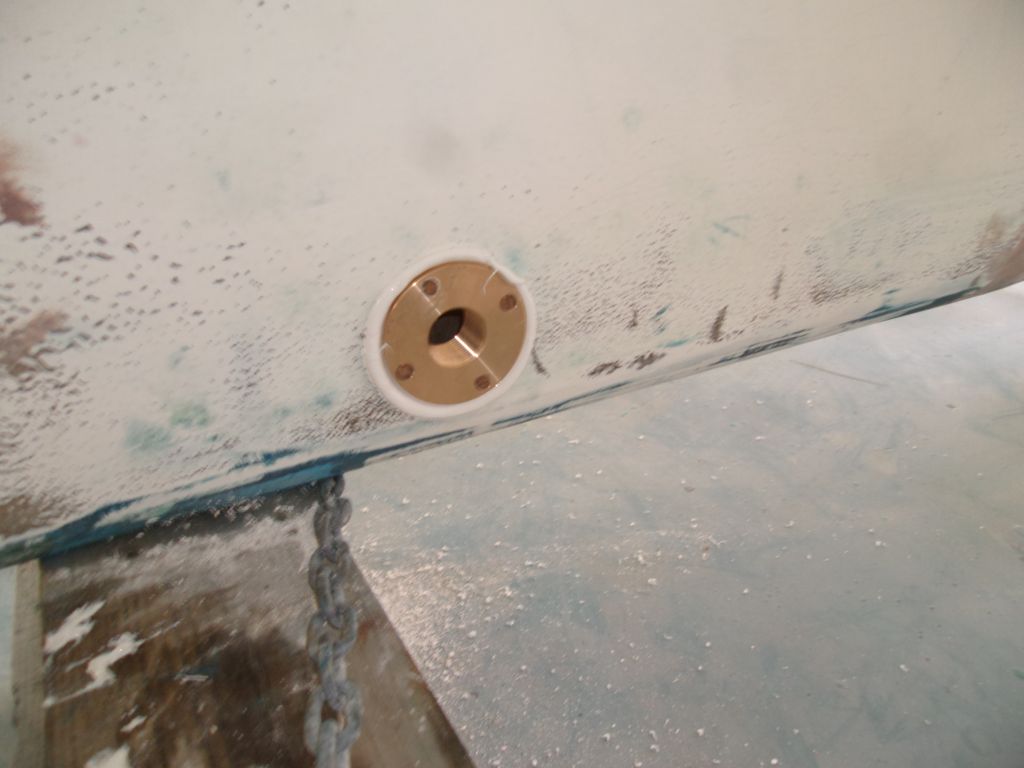
One fitting remained: the garboard drain. Here, I drilled and tapped the keel for #10 fasteners, then installed the fitting in a heavy bed of 4200 with four bronze screws.
Total Time Billed on This Job Today: 7.5
Hours
