110 Cookson Lane | Whitefield, ME 04353 | 207-232-7600 | tim@lackeysailing.com
Ms Lynne G | Monday, September 15, 2014
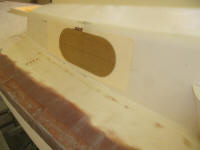
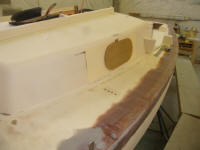
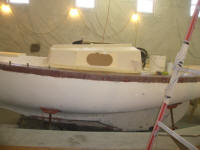
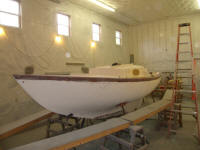
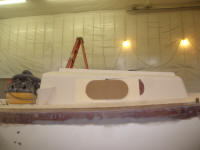
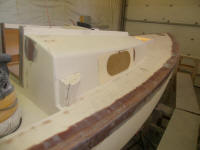
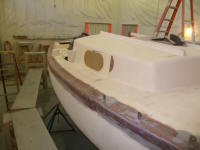
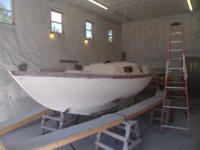
First thing, I made some minor adjustments to the proposed portlight alignment. The owners had requested moving them back a bit, to avoid the appearance of crowding at the forward ends, where the sheerline and cabin trunk angle began to visibly pinch room for the ports. I played around with a few locations before settling on centering the port templates 2" aft from where they'd been, which I felt looked best but wasn't overly extreme or oddly off-center either. I left the "horizontal" layout line position as is. I sent photos off to the owners for their perusal.
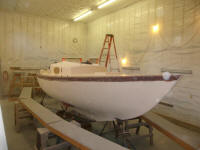
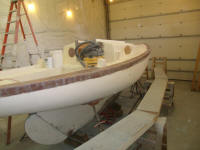
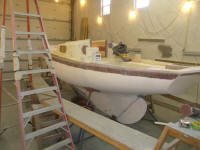
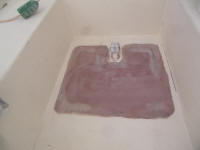
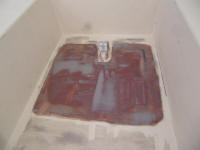
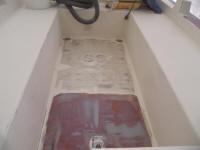
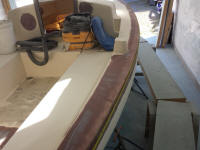
Meanwhile, I completed another round of sanding on the gunwales and cockpit as needed, this time with 120 grit on a vibrating sander. This mostly completed the gunwale work, other than a few small lows that I found, and brought the newly-repaired cockpit sole close to its final contours.
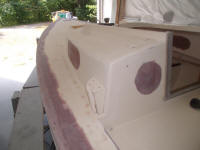
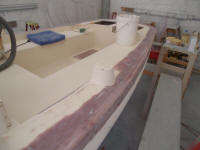
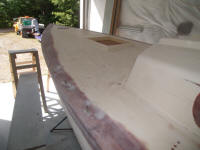
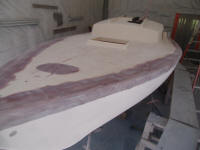
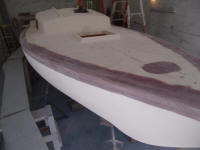
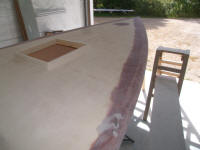
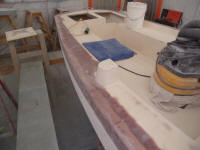
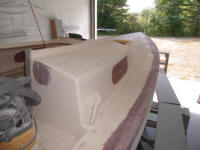
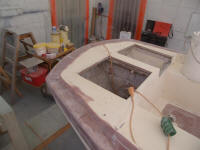
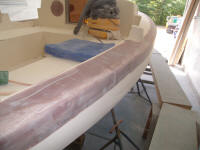
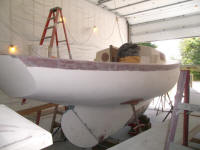
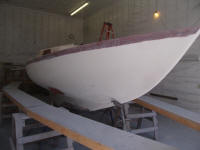
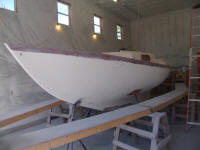
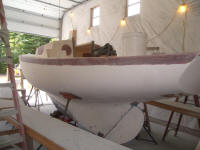
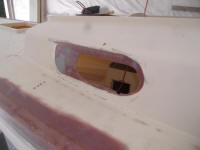
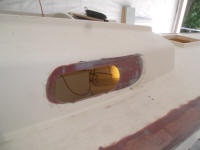
With further feedback and approval from the owners on the ports layout, I went ahead with preparing the actual cutouts. Switching to my cutout templates, I fine-tuned the position of the ports on each side of the boat, then made the cutout with a jigsaw.
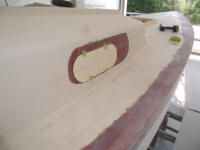
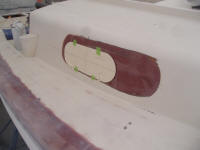
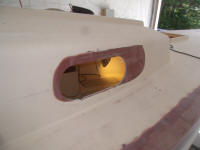
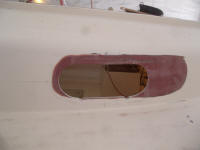
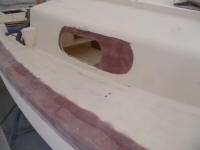
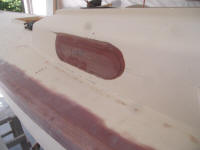
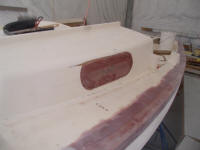
I test-fit one of the fixed bronze ports in place. These units featured 1-1/2" spigots on one side, which would match the opening versions of these ports, but in this case, after a previous discussion, the owners and I decided that the appearance would be best if I reversed the ports, inserting them from outside in and leaving the spigots on the inside.
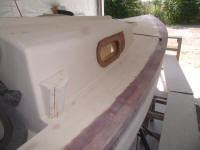
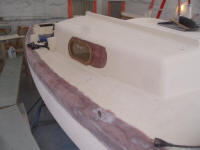
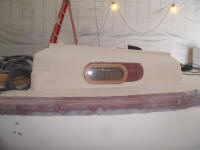
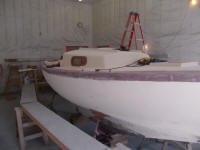
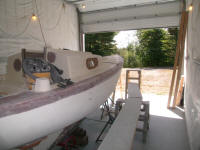
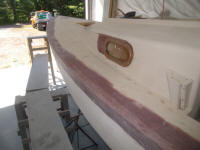
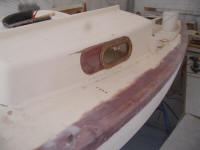
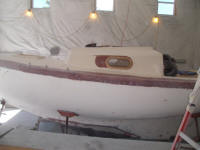
Here is how they looked from inside. With the thickness of the cabin trunk, about 3/4" of the spigot protruded, which posed no problem on the inside.
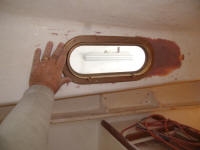
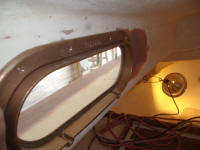
As a trial and for comparison, I installed the port the "right" way, as it were, with the spigot on the outside. I preferred the appearance when the ports were installed with the smoother, more flush "inside" surface facing out.
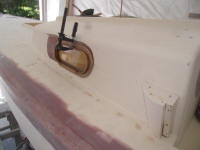
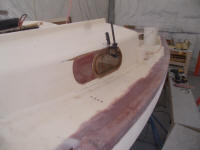
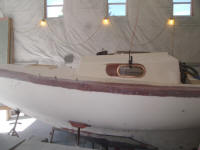
After putting away the ports, I turned once more to deck surface prep, and applied additional fine fairing compound to the recored cockpit, filling the remnants of sanded nonskid on the forward portion of the sole as well, and also to a few areas around the boat where I'd identified another round was needed--mainly pinhole filling on the remaining patches at the portlight locations (which I'd held off till the cutouts were made) and a few select areas along the hull-deck edge and taffrail.
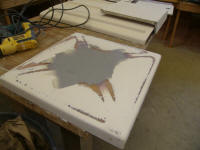
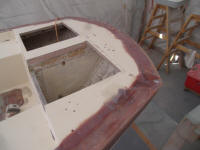
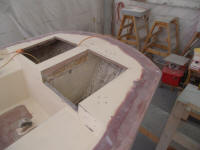
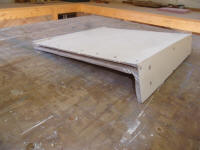
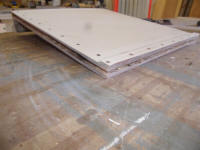
Next, I worked on the two after deck hatches, for the lazarette and engine well. The lazarette hatch required rebuilding, as the old core had been completely ruined and I'd removed it earlier. The top and bottom skins were in good condition, so rebuilding was a pretty straightforward matter of cutting a new piece of balsa core to fit, leaving it well clear of the edges and inside the bolt holes for the stainless steel edge strips that held the hatch in place when installed. After all the usual preparation steps, I installed the new core in epoxy adhesive, sandwiching it between the two skins as needed. I inserted four screws through some of the bolt holes to hold the top and bottom skins in alignment while I weighted down the assembly to cure.
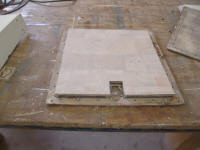
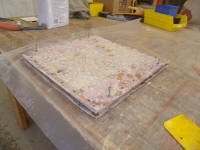
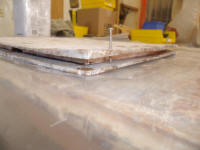
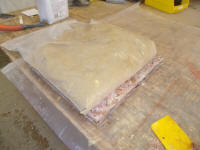
Meanwhile, I reamed out the exposed core from the edges of the engine well hatch; this core was in good condition, but it was ridiculous to have it exposed in this way. Later, after the new core sandwich on the other hatch cured, I'd fill the voids along the edges of both hatches with a thickened, structural epoxy mixture to seal the core and provide a hard edge to both hatches.
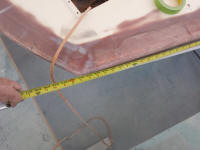
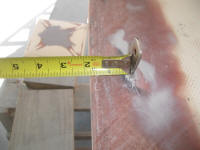
Preparing ahead for a wood order for the new toerails, taffrail, coamings, and other work, I measured the boat to determine how long the toerails would need to be (minimum 22'-7"), and an approximate maximum width, which would be determined in part by the chainplates' location 1-1/2" in from the newly-rounded deck edge.
Total Time Billed on This Job Today: 7.25
Hours
