110 Cookson Lane | Whitefield, ME 04353 | 207-232-7600 | tim@lackeysailing.com
Ms Lynne G | Thursday, September 4, 2014
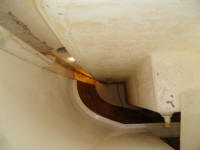
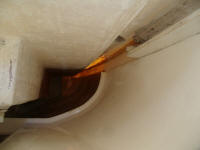
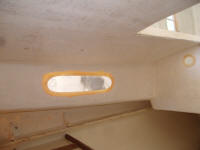
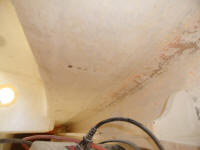
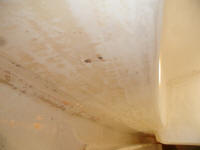
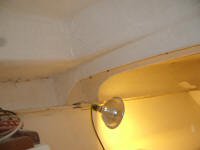
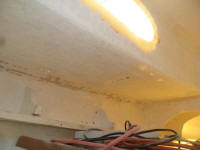
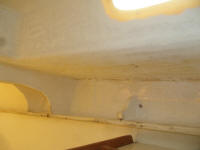
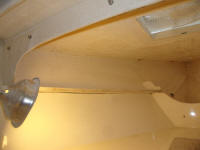
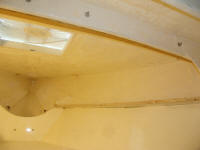
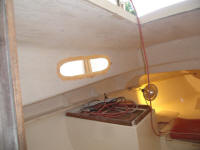
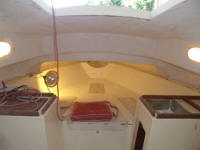
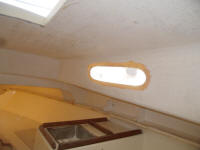
I spent the morning working in the cabin, the last area requiring significant sanding work. While the interior was in fairly good condition overall, the overhead areas--which were unlined fiberglass, in contrast to the interior pan/liner that formed the bunks and rudimentary cabinetry--featured lots of peeling paint and needed to be redone.
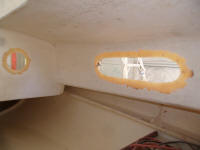
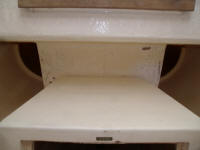
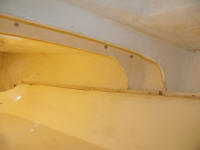
Beneath the paint was a heavy layer of textured gelcoat from the factory, and it appeared that incomplete preparation of the original surface had contributed to the failures in some areas. I sanded all overhead surfaces, and the top portion of the hull from the gunwales down to the shelves that defined the top of the molded liner portion of the interior, removing loose paint and abrading the surfaces as required to accept new primer and paint later in the process.
Around the port openings and instrument holes in the aft bulkhead, I also removed the original gelcoat finish to expose raw laminate, the better for accepting the fiberglass patches that I'd soon be installing.
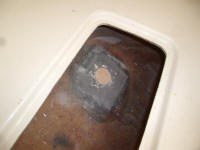
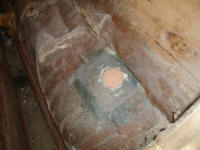
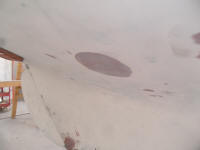
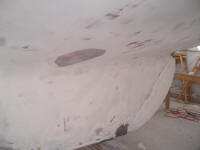
While I was working within, I prepared the insides of the two through hull holes that I'd patched from outside, and also cleaned up around the remaining three to prepare all areas for their next respective steps.
Back outside, I got back to the exterior portions of those two patched through hulls, and sanded the final application of fairing compound I'd installed earlier, along with a section of the starboard topsides where I'd skim-coated a region of small gelcoat gouges.
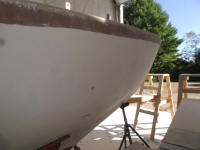
The two aft lockers in the cockpit--the port motor well and starboard storage locker--were messy inside, and I sanded the surfaces to later accept new paint. There was also some work coming up to deal with the exposed and partially damaged core at the edges of these factory openings.
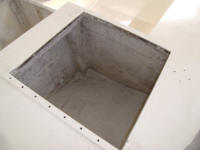
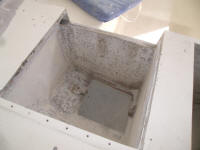
To begin preparations for refinishing the various removable deck hatches, (motor well, companionway slide, and forward hatch), I removed the existing hardware and set it aside.
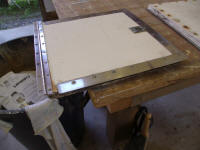
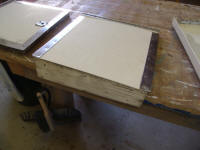
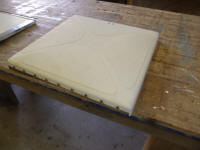
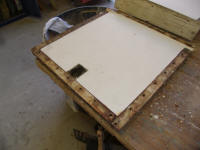
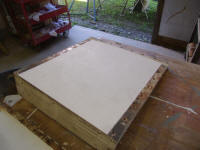
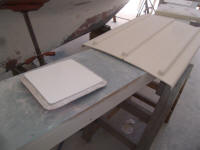
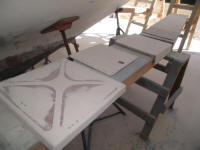
The lazarette (starboard) hatch, also with exposed core edges, was badly damaged by moisture intrusion, and in fact the core material was completely saturated. The motor well hatch featured similar construction, but its core material, although exposed, was still in good condition. It would be easy to rebuild the lazarette hatch using existing components (top and bottom skins), since with four exposed edges I could peel apart the skins from the ruined core in no time flat, after which I scraped off the core. I'd rebuild the hatch similarly, but with solid and sealed edges.
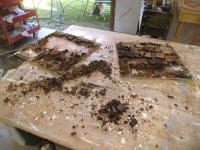
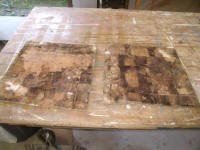
With all the pieces thusly prepared, I sanded them all as needed, inside and out, along with the hull plug from the motor well, to prepare for repainting and rebuilding as needed in each case.
Afterwards, with most major sanding work now complete, I cleaned up a bit to get ready for the deck repair work that was coming up next.
Total Time Billed on This Job Today: 7.75
Hours
