
110 Cookson Lane | Whitefield, ME 04353 | 207-232-7600 | tim@lackeysailing.com
Ms Lynne G | Tuesday, October 28, 2014
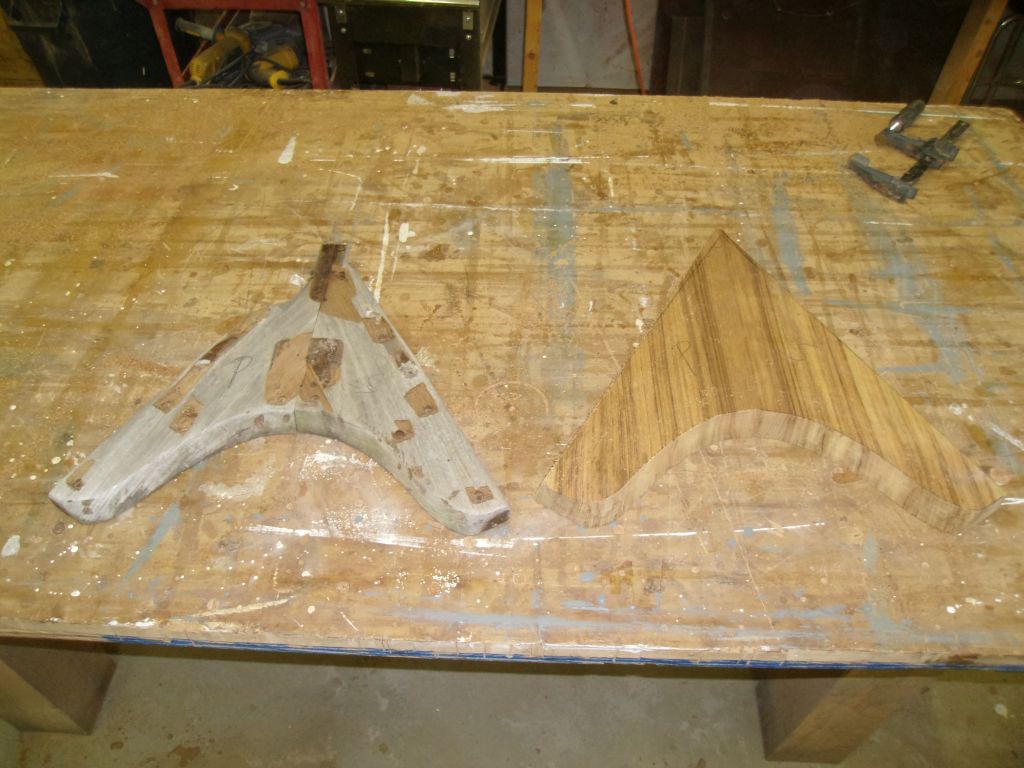
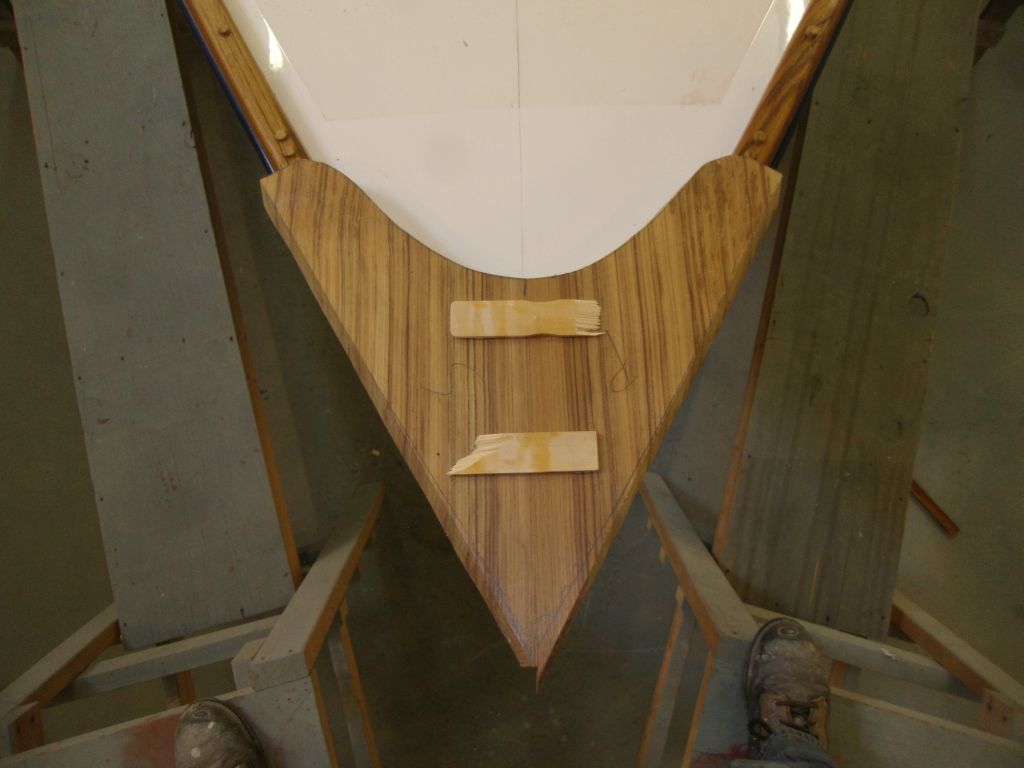
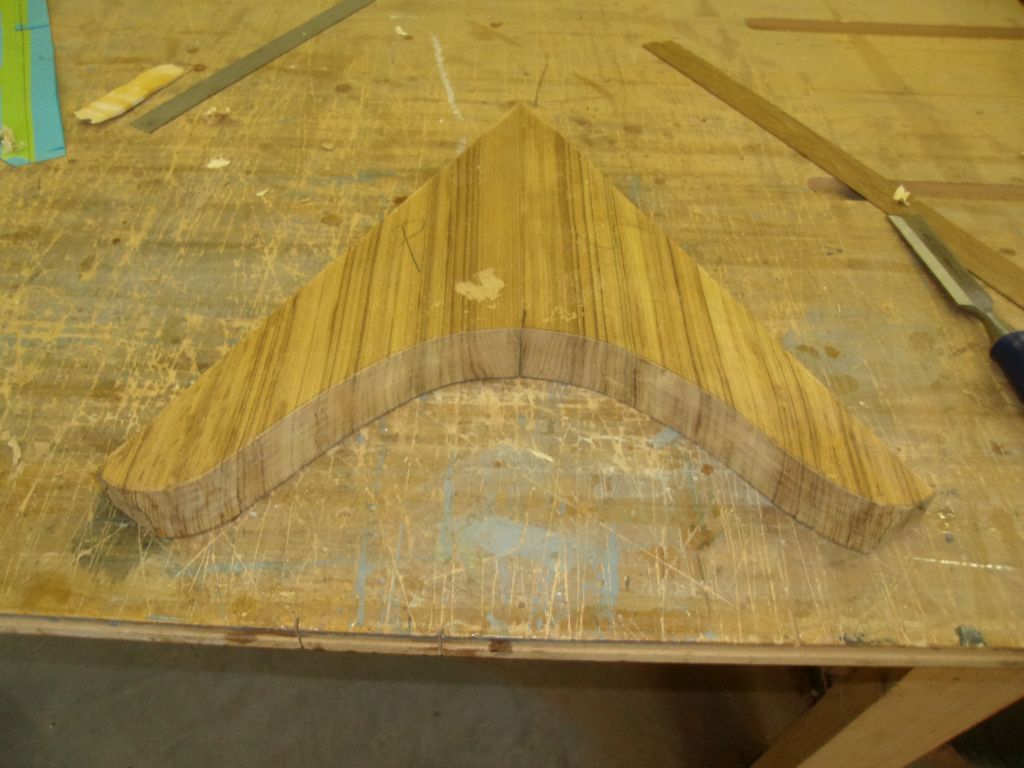
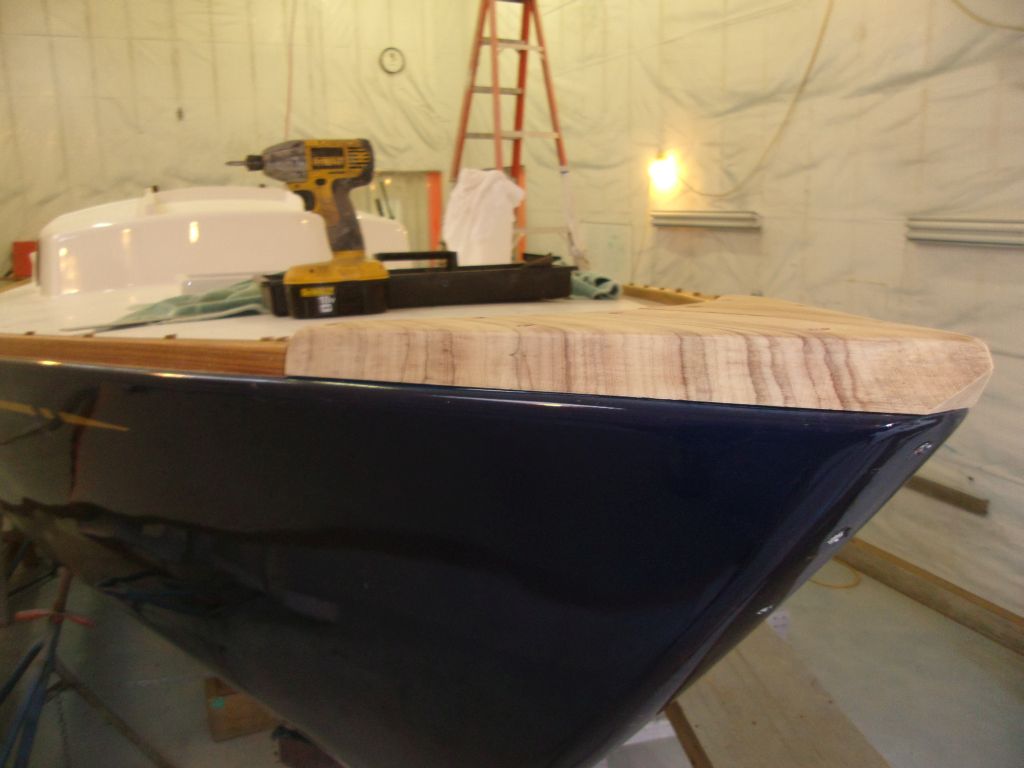
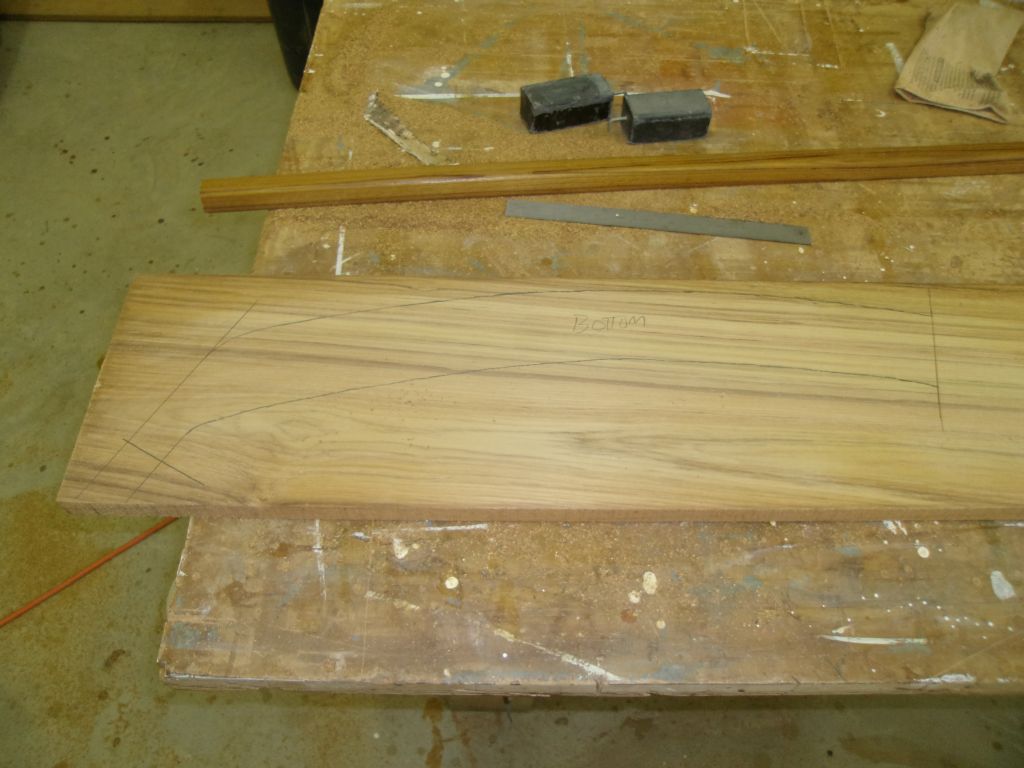
First thing, I planed down a piece of raw teak stock to the thicknesses needed for the stem and taffrail. With the board thusly prepared, I used the original stem pieces as a rough template for new pieces, which I left somewhat oversized for the moment. To help with basic layout, I temporarily glued the two sections together with wood scraps.
Up on the boat, I test-fit the assembly in its approximate position, after marking a centerline down the deck to help align it properly. Once I was satisfied with its position, I marked the ends on the top of the toerail, indicating where I needed to cut the toerail.

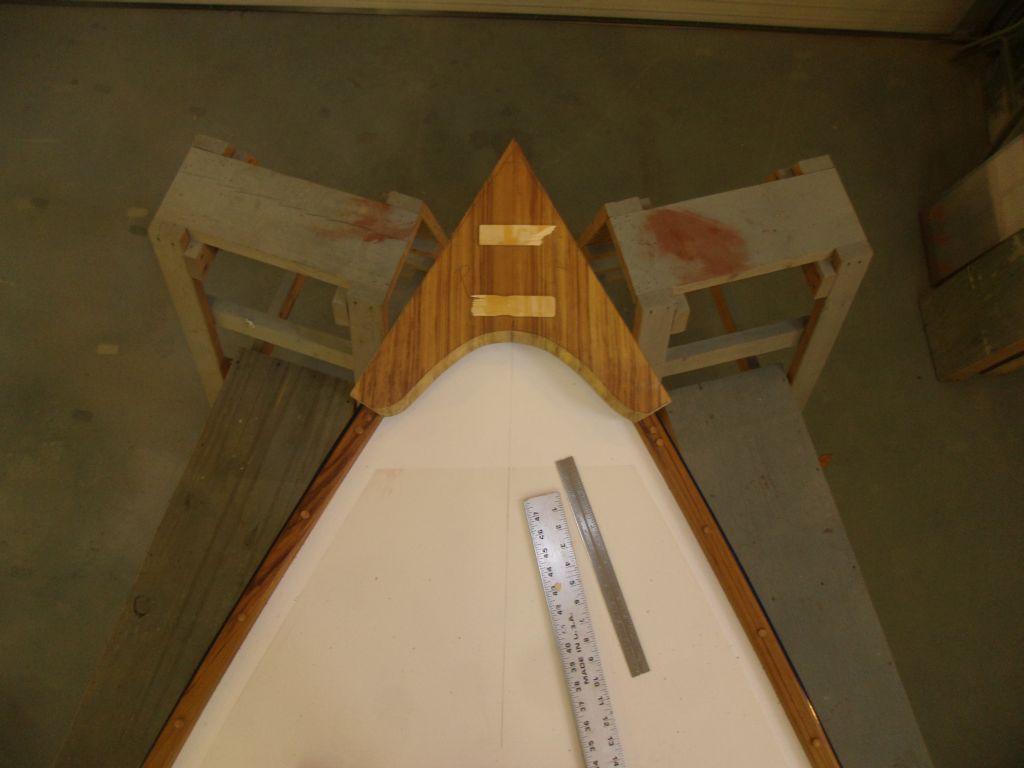
Next, I carefully cut through the toerails at the marks, and removed the forward sections. This gave me the room to set the new stem assembly in its proper position for final sizing and shaping.


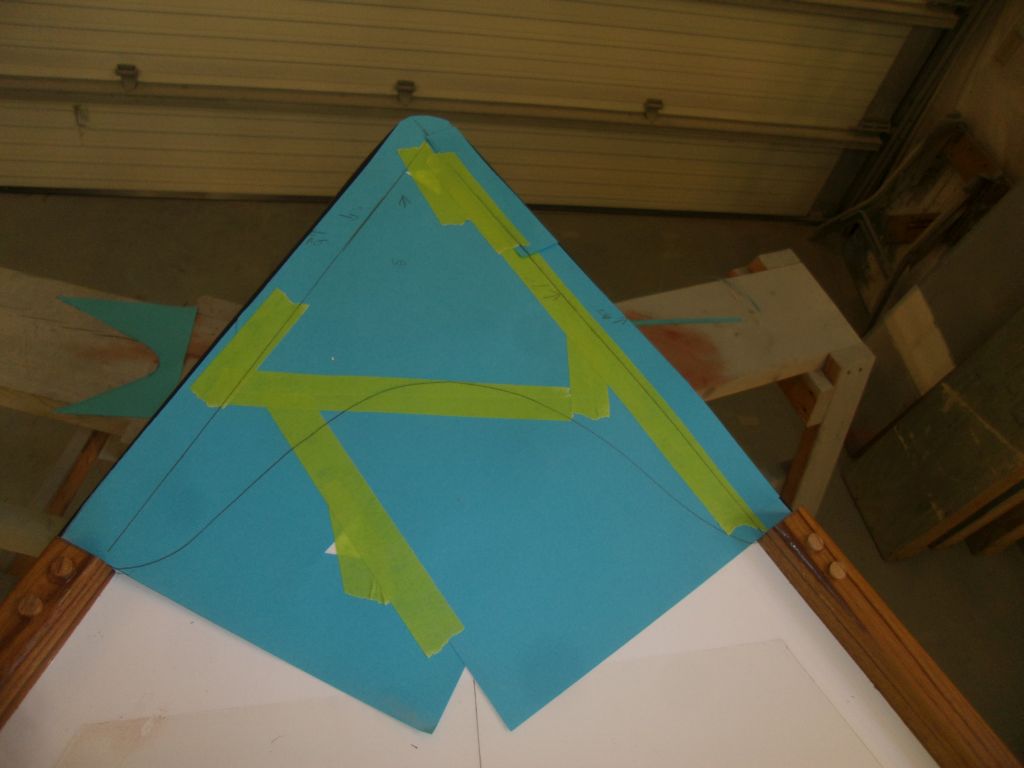
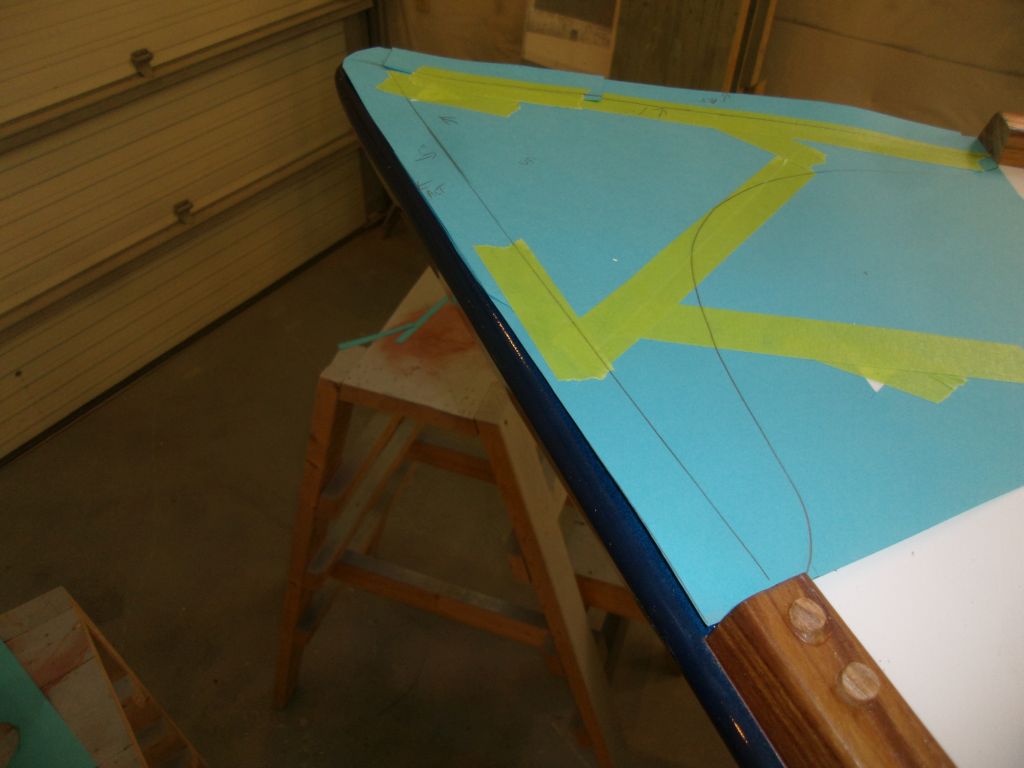
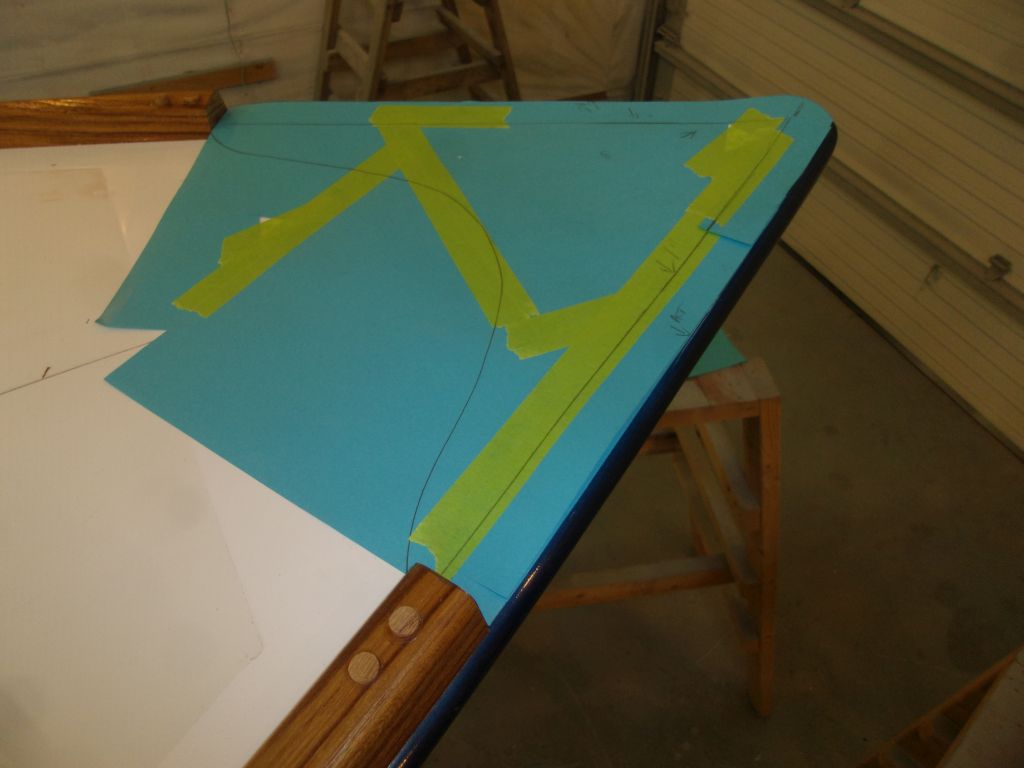
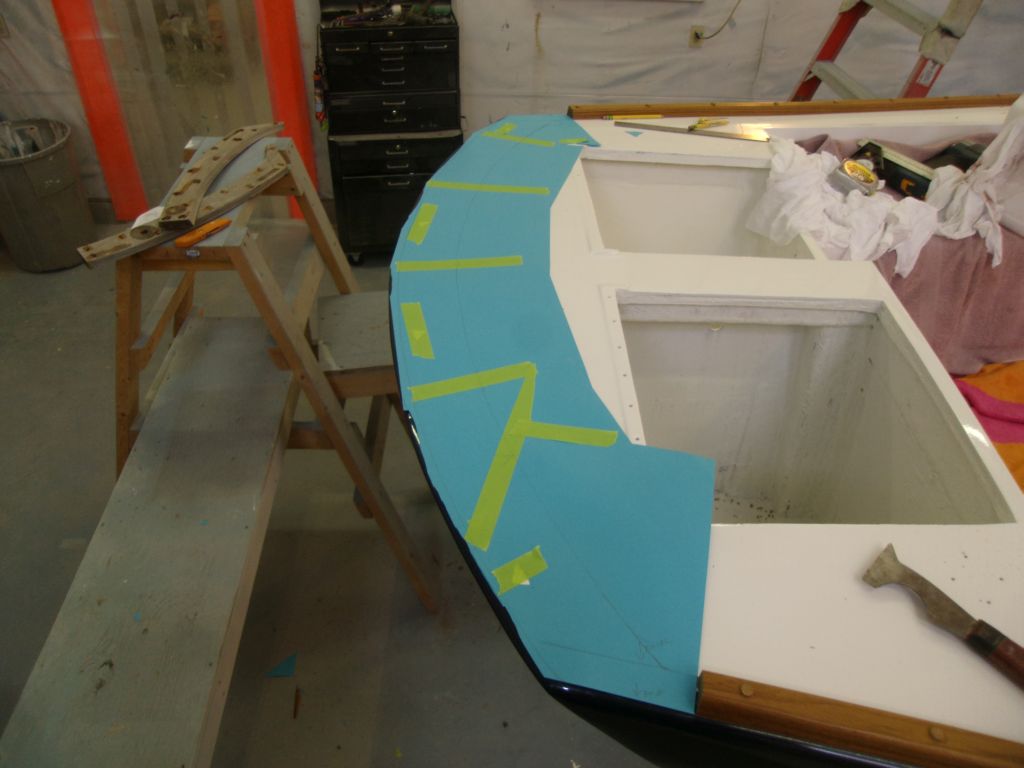
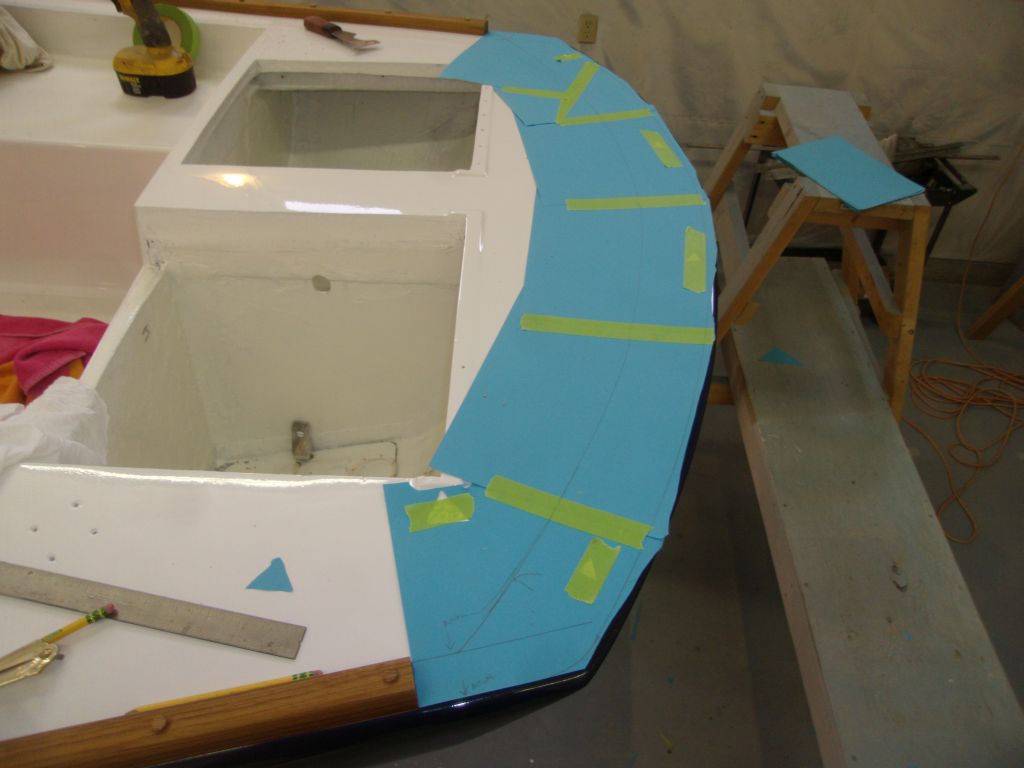
I taped some paper over the deck, from which I could make a pattern of the required shape of the bottom of the stem assembly. I set the assembly atop the paper and marked out the curved aft side, then used a ruler to extend the lines leading forward from the outboard edges of the toerails towards the point of the stem, keeping a consistent reveal at the rounded gunwale edge.
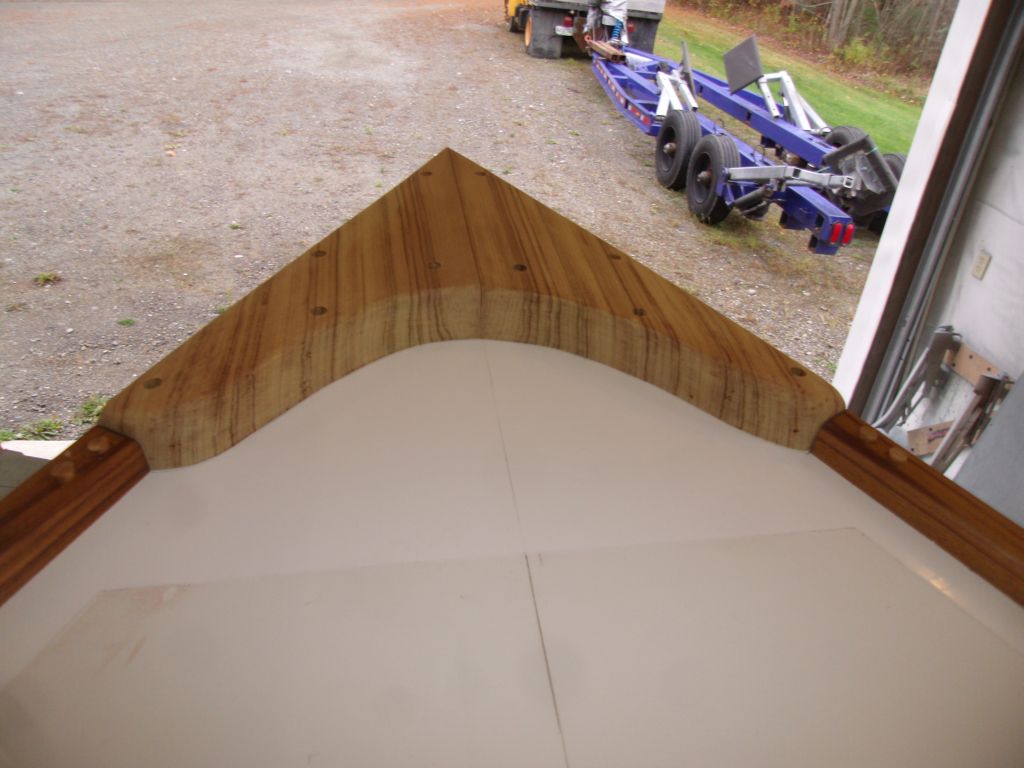
After cutting out the pattern, I had an accurate shape of the bottom of the stem, which I then transferred to the oversized wood blanks and made the final cuts with a 10° bevel on the sides to match that of the toerails.

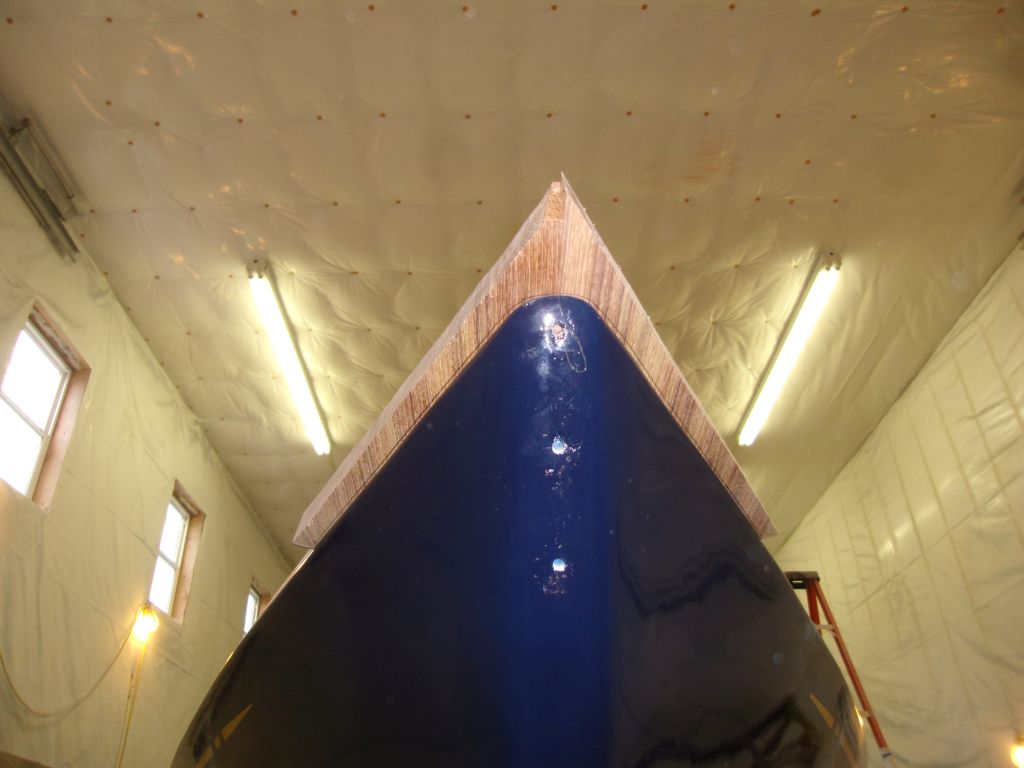
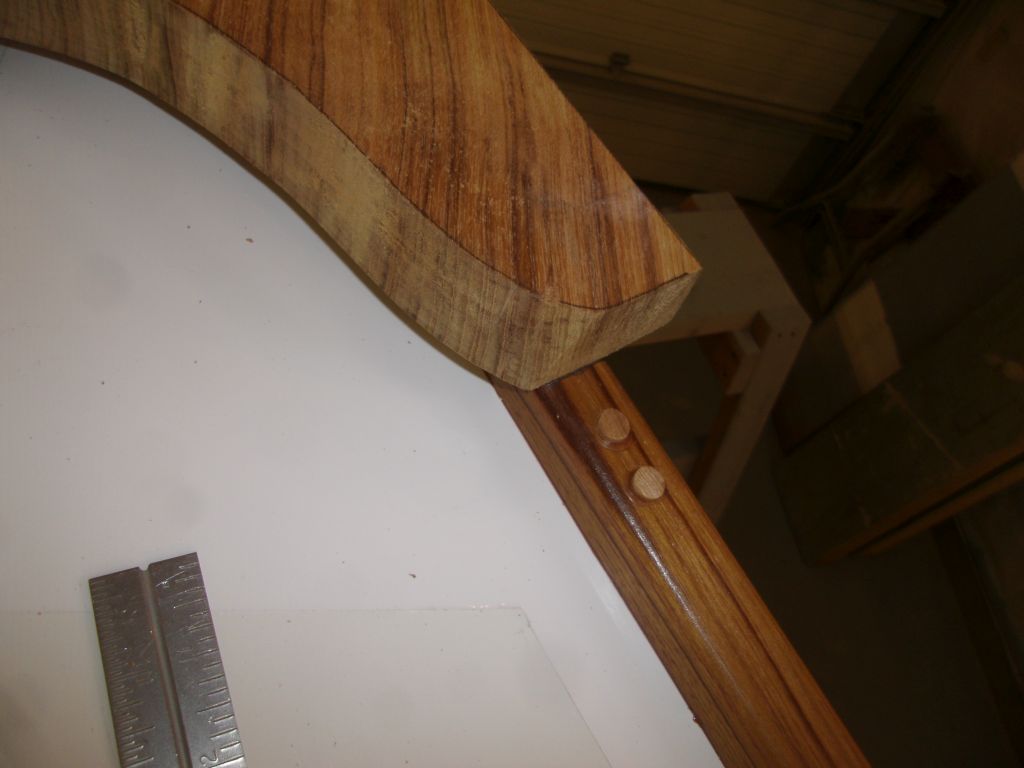
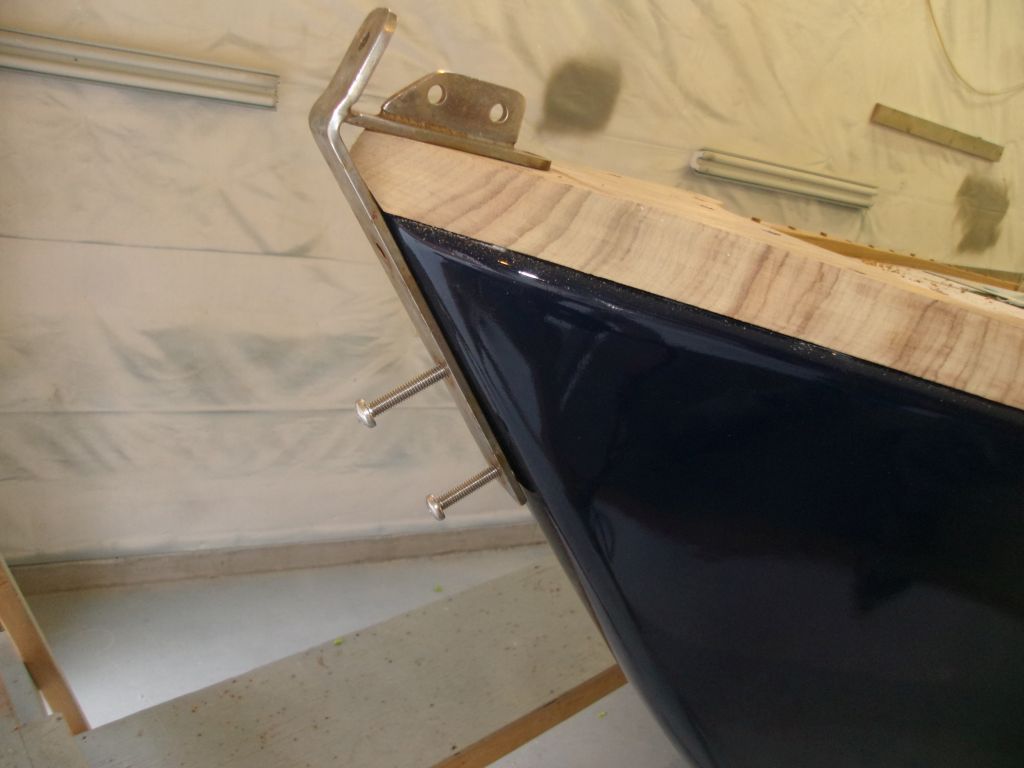
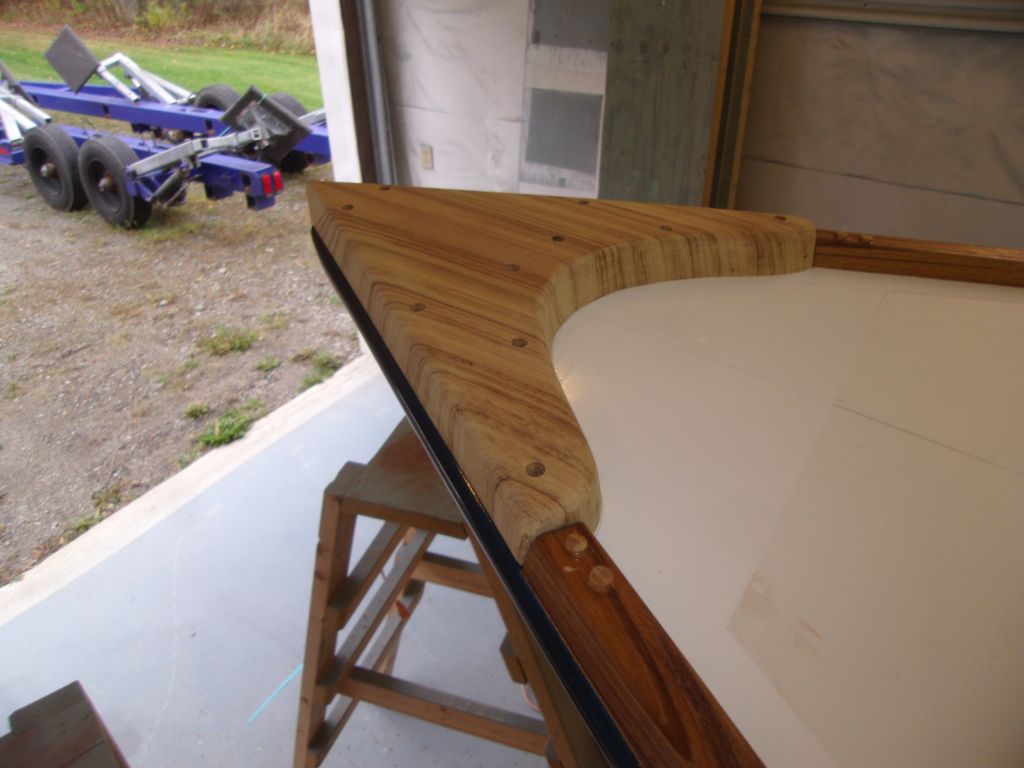
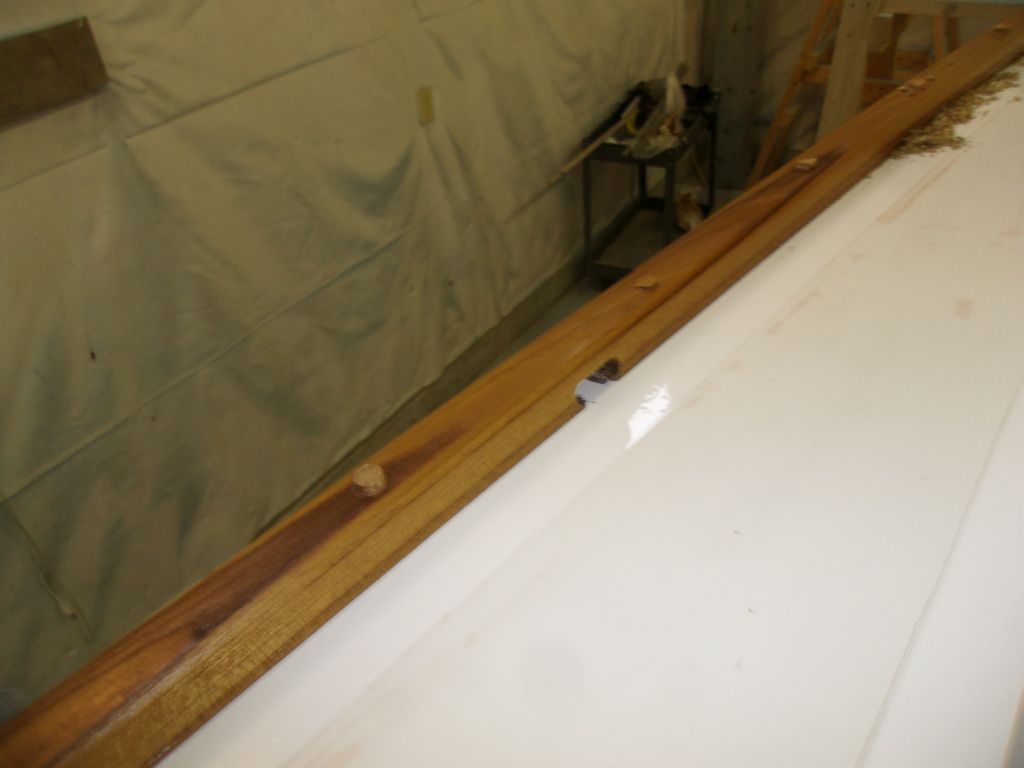
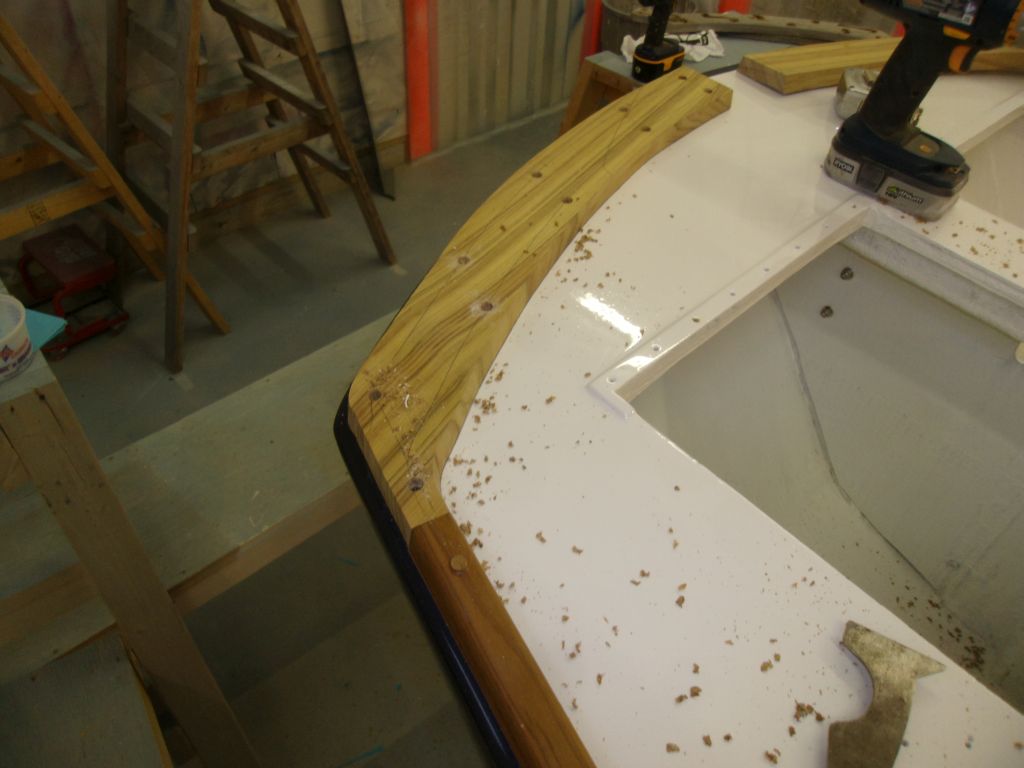
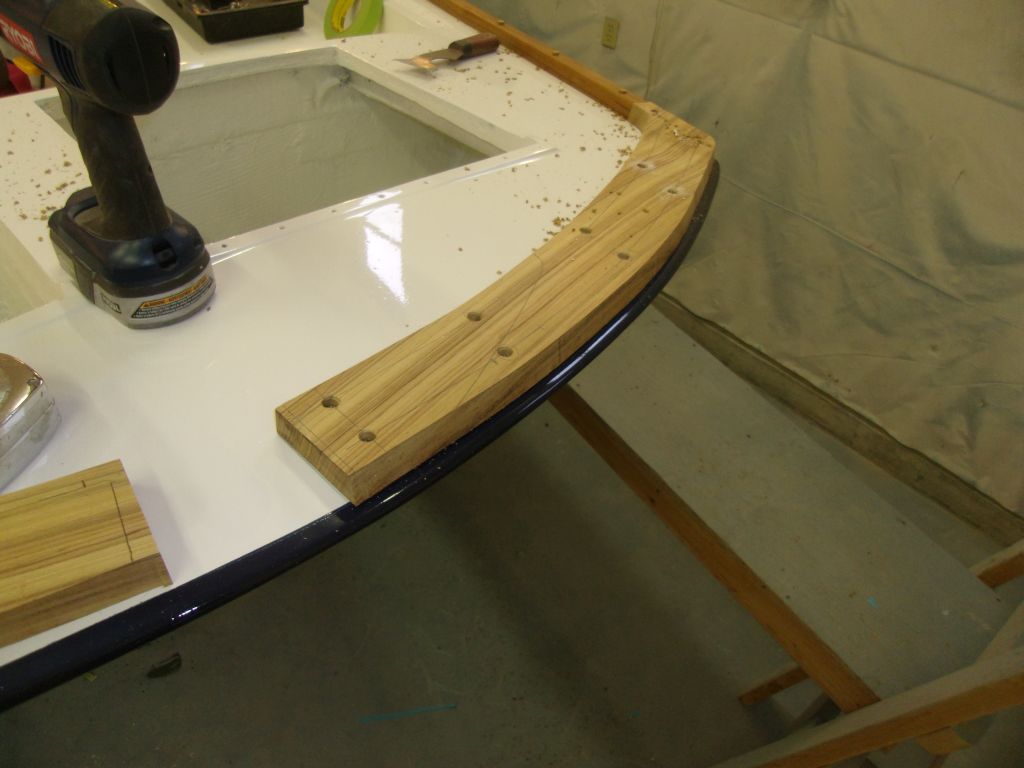
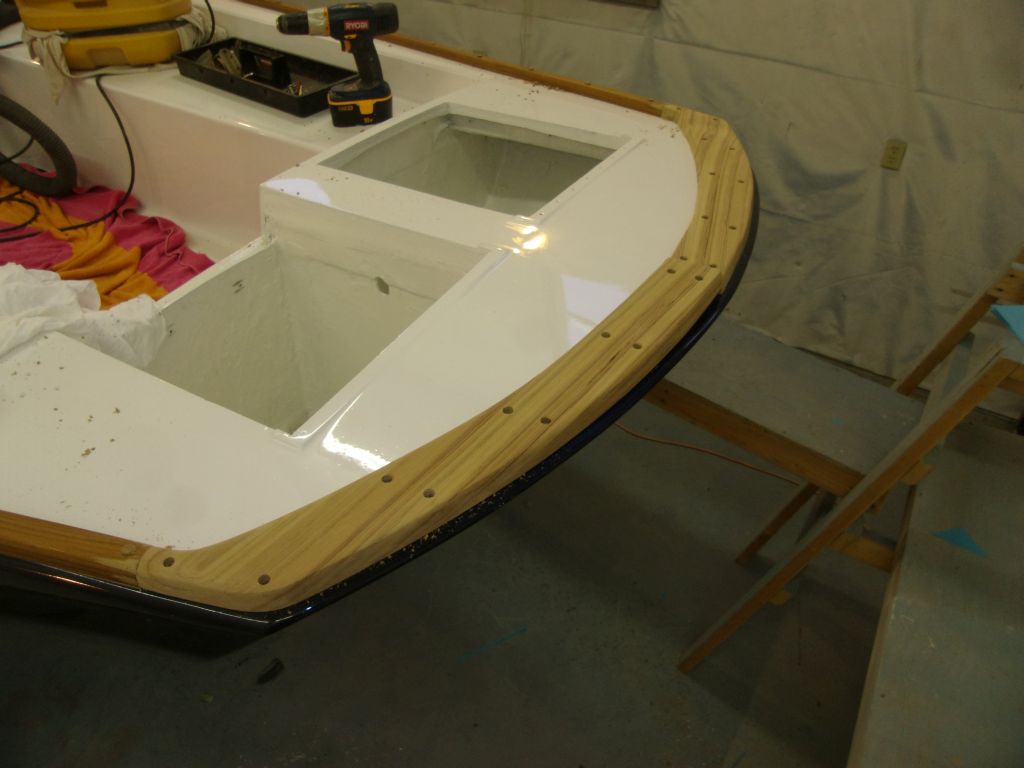
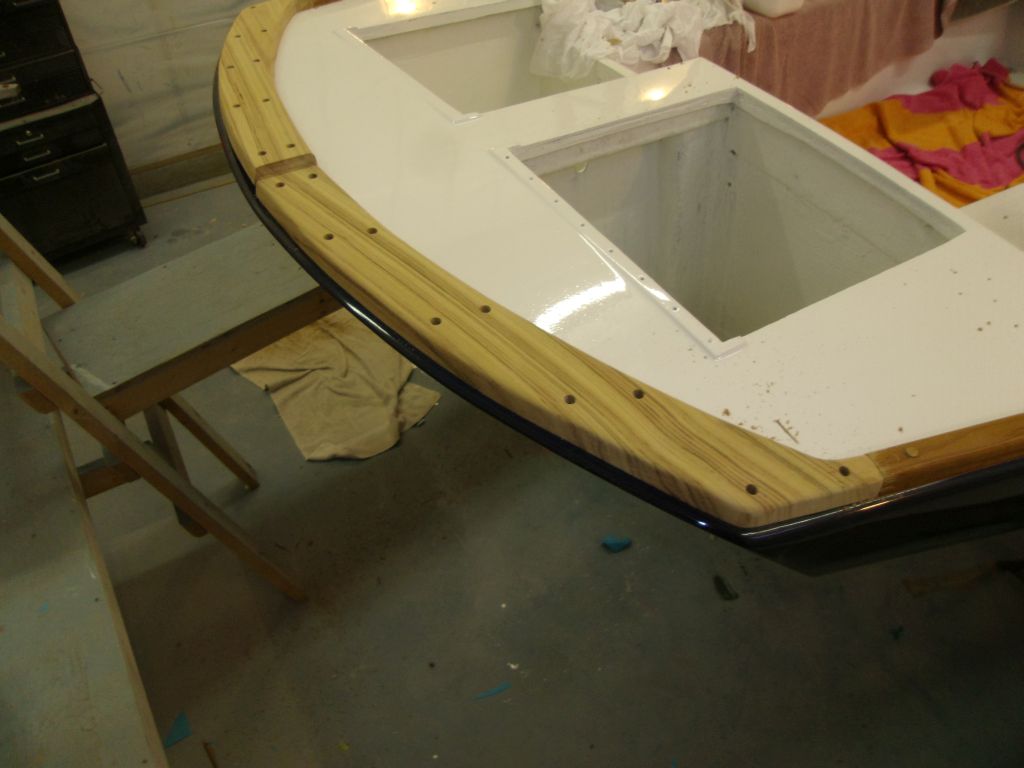
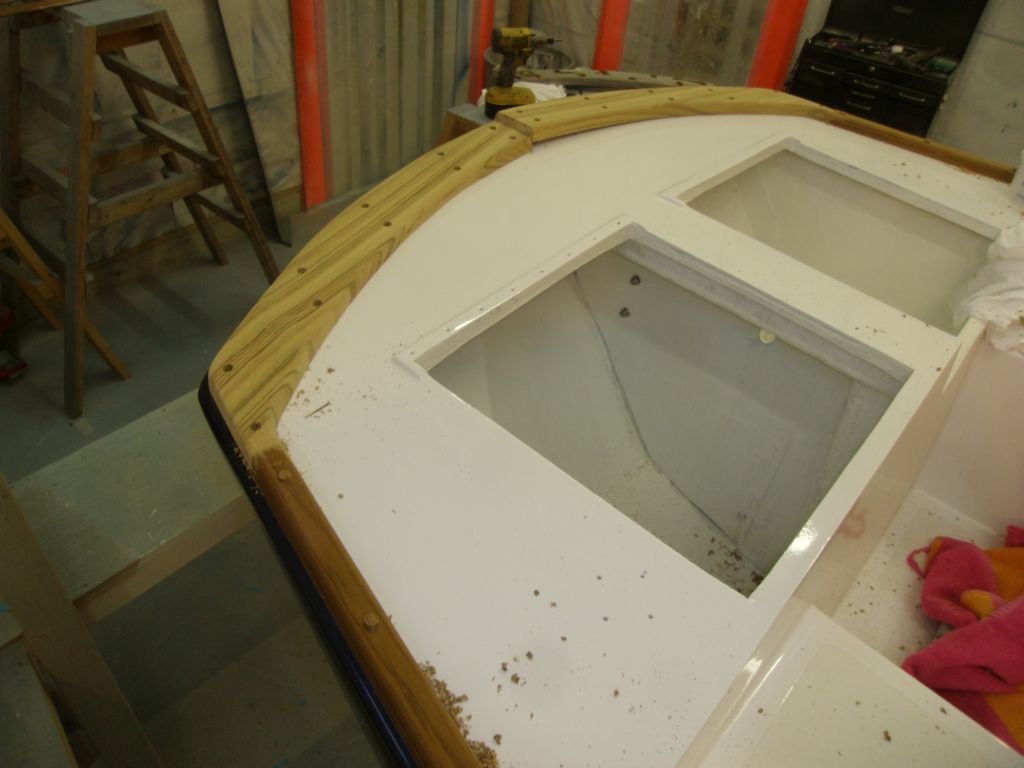
With the newly-cut pieces in place, I marked the toerail profile on the two aft edges to give me a guideline for final sanding and shaping. By design, the stem was somewhat thicker than the toerails, which was necessary since the stem supported the stainless steel headstay chainplate where it wrapped over the bow.

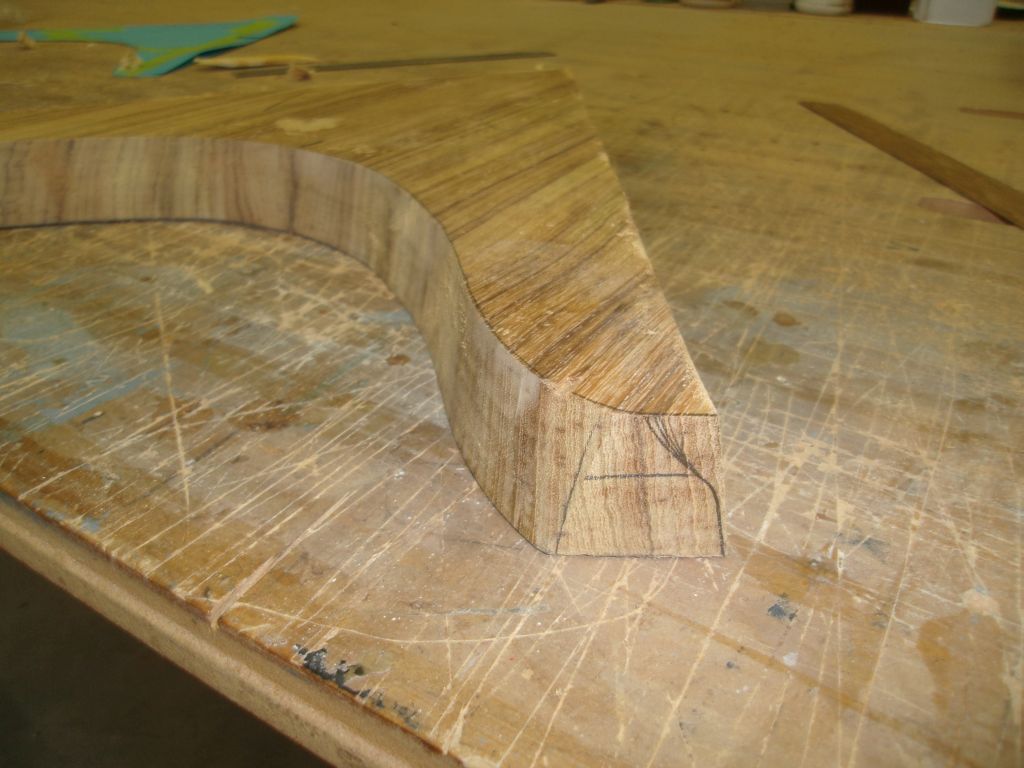
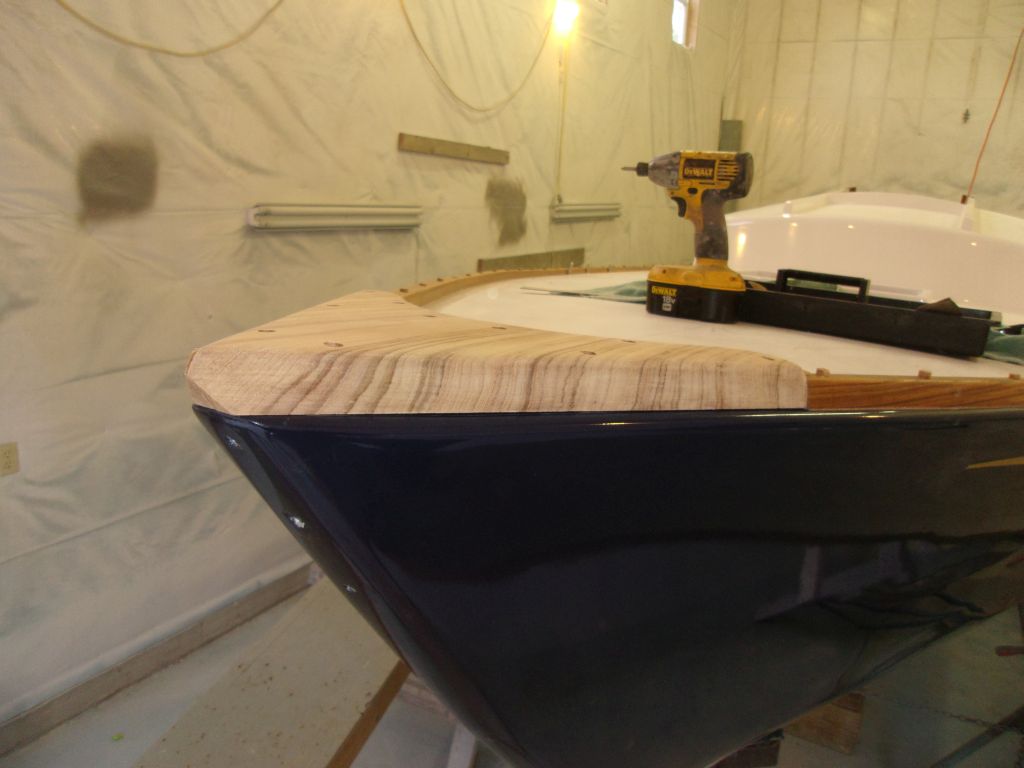
Before final shaping, I laid out screw locations and prepared all the screw holes so I could temporarily install the stem to test-fit the headstay chainplate and do some final shaping in place as needed. The stem piece was just a little too thick (I'd purposely left it this way) for the chainplate to properly align with its mounting holes, so I carefully shaped the forward end with a sander till I had the thickness just right, and could align the bolts in the chainplate. Afterwards, I shaped the rest of the piece to match the forwardmost section, creating just a slight downward contour towards the sides.


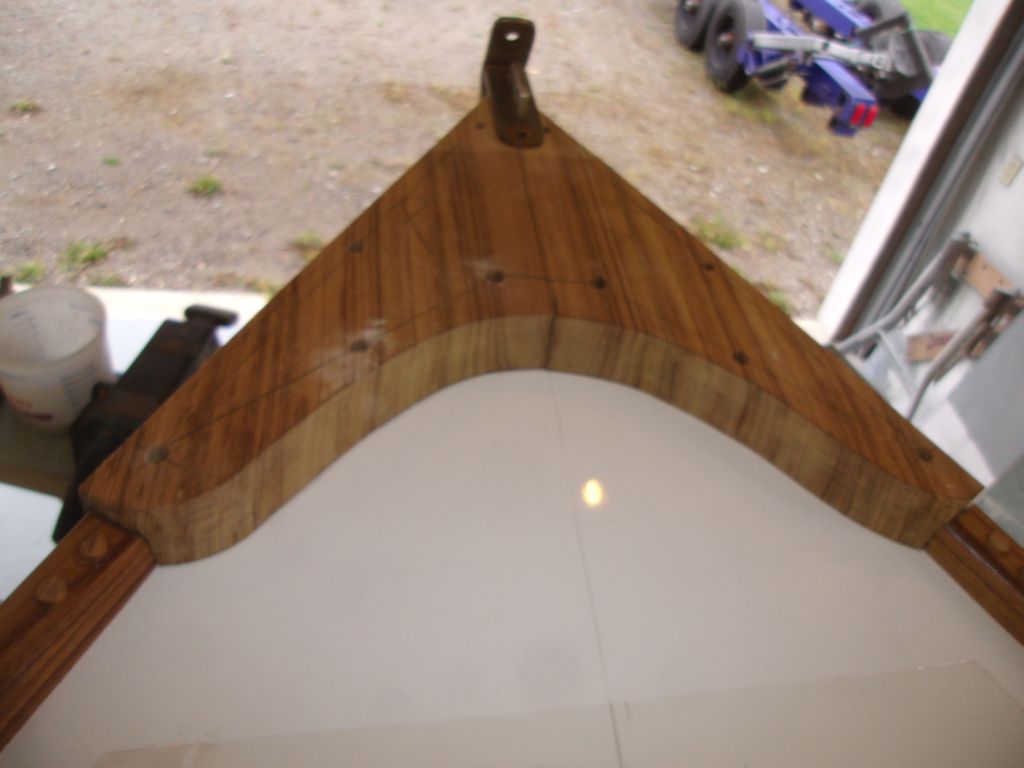


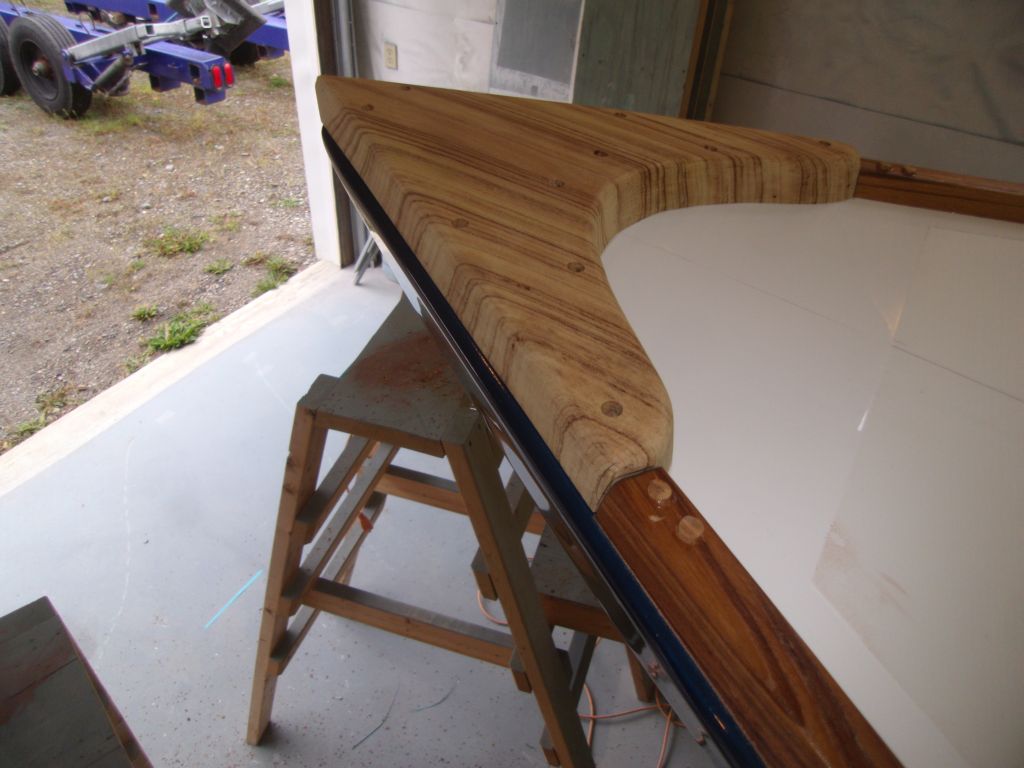
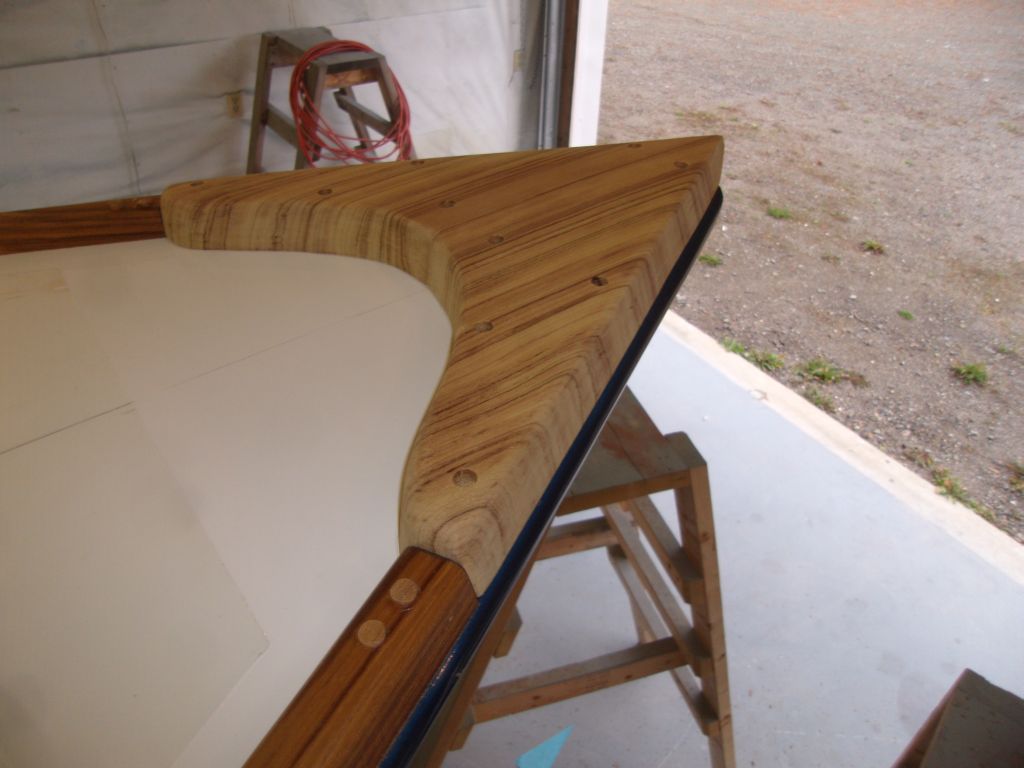
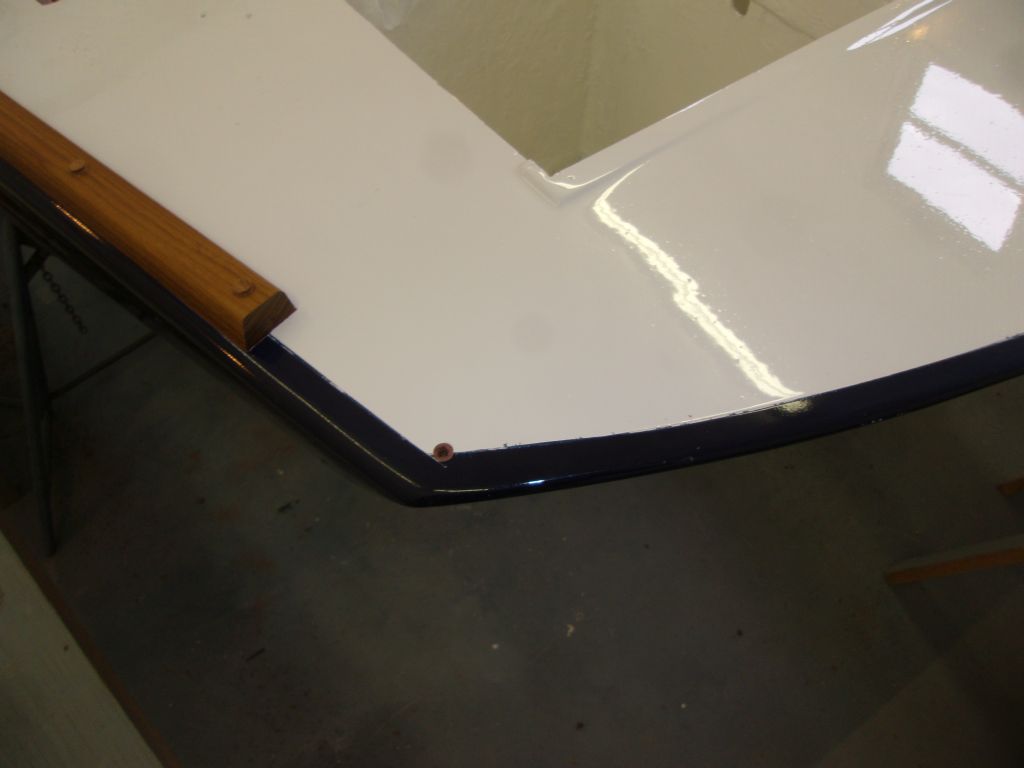
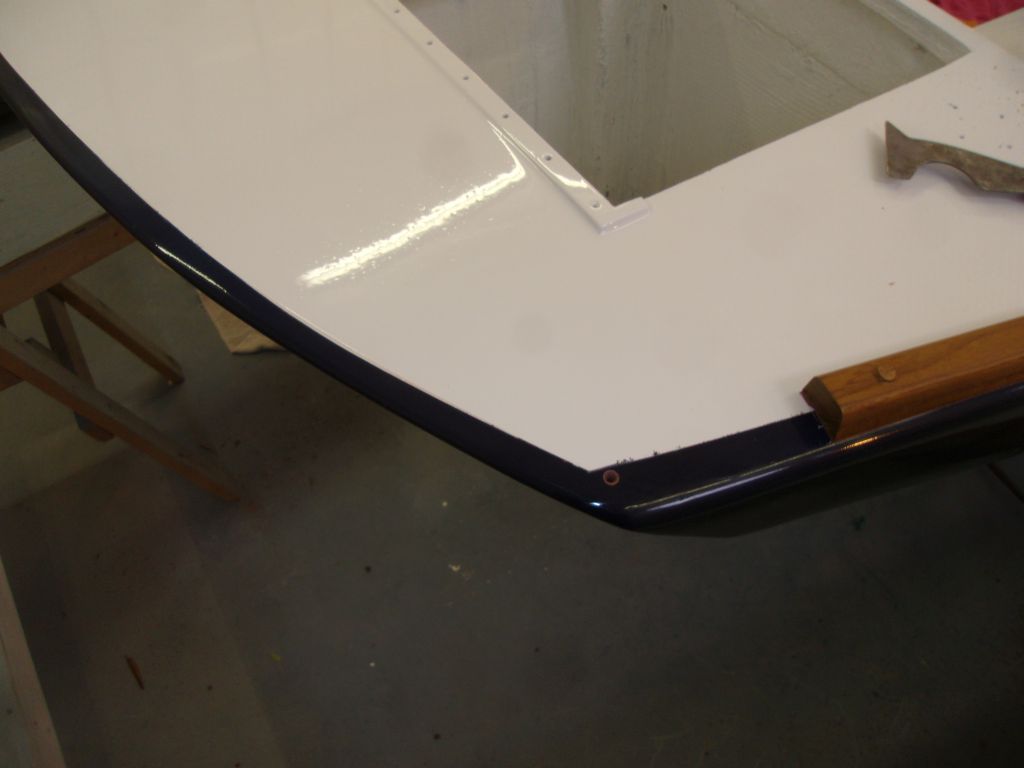
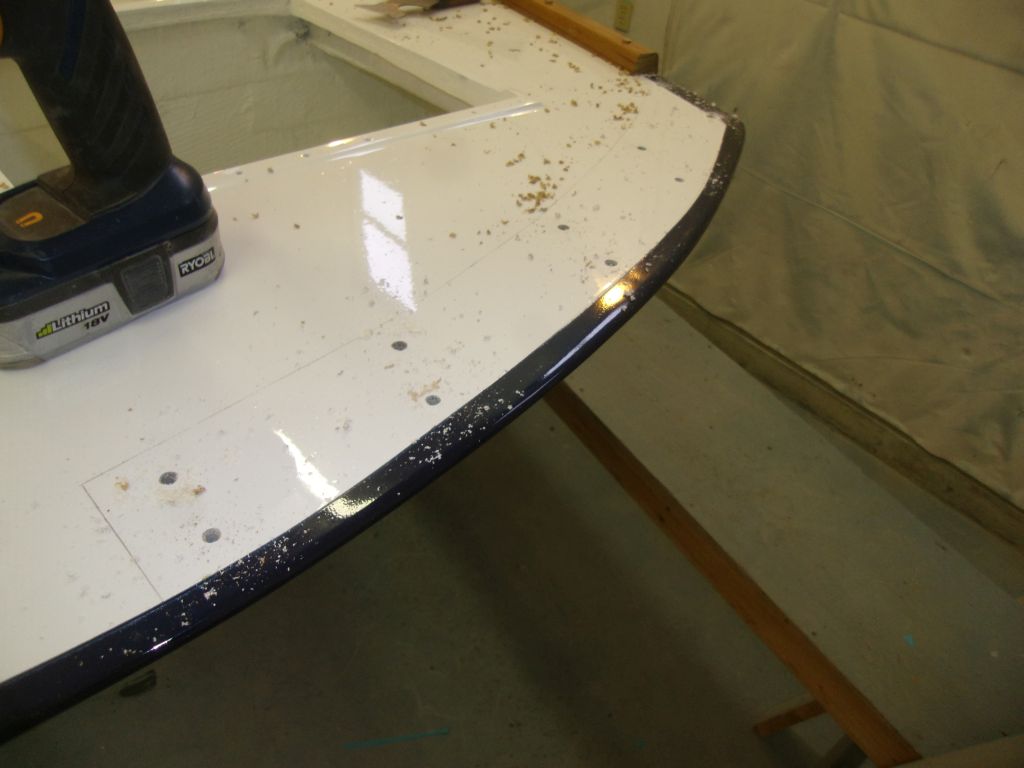
Then, I removed the pieces down to the bench, where I sanded them smooth and rounded over the edges as needed. Finally, with the sanding complete, I applied a sealer coat of varnish to all sides.

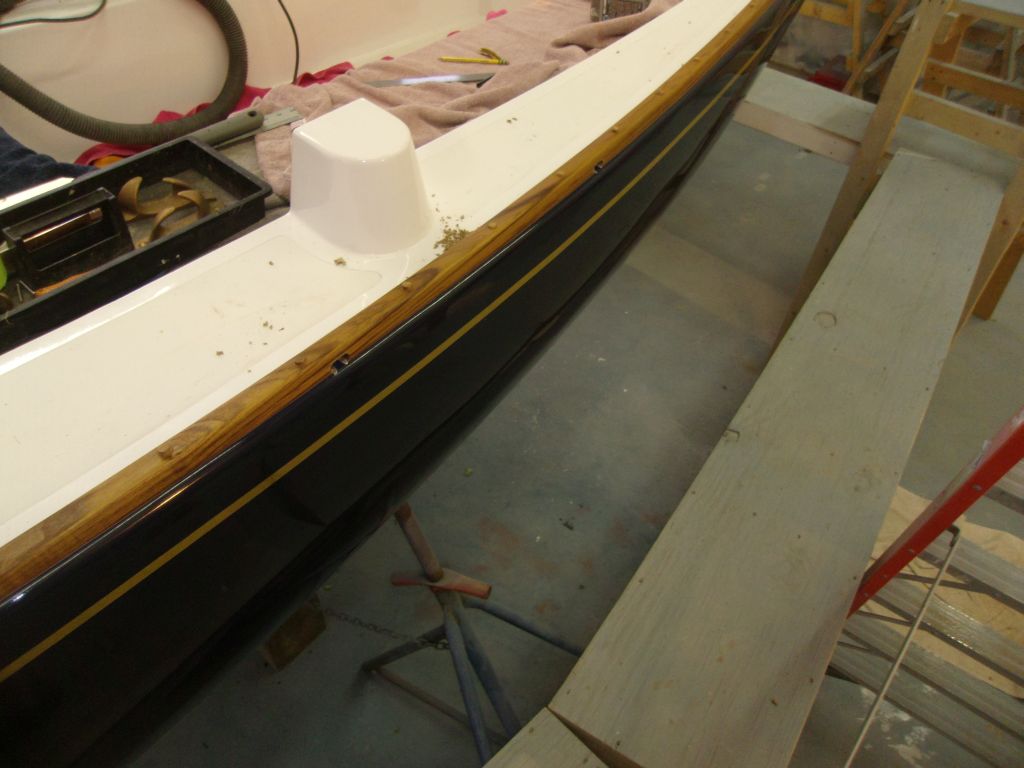
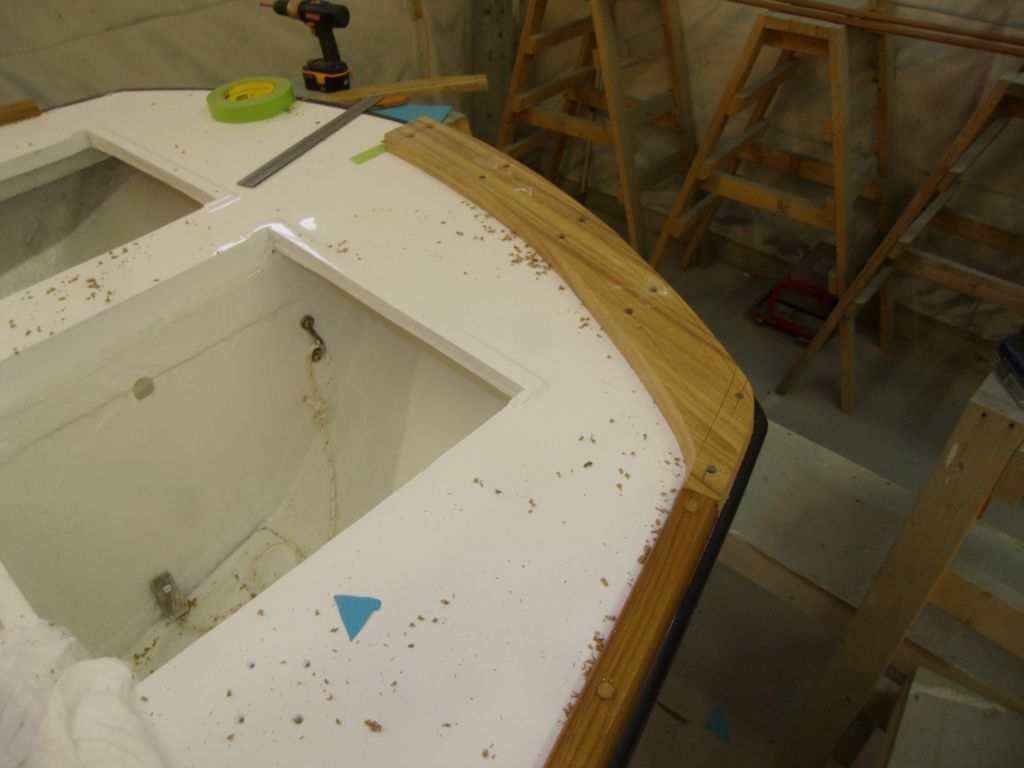
To allow deck drainage, the toerails needed scuppers at the low point of the sheerline. Consulting old photos, I determined the basic positions of the original scuppers and used this as a guide for locating the new ones. To help make the marks, and also to ensure that the scuppers would be out of the way of the eventual genoa track bolt holes, I used the tracks to mark the scupper locations, as these tracks were what helped register the scuppers' locations in the original photographs.
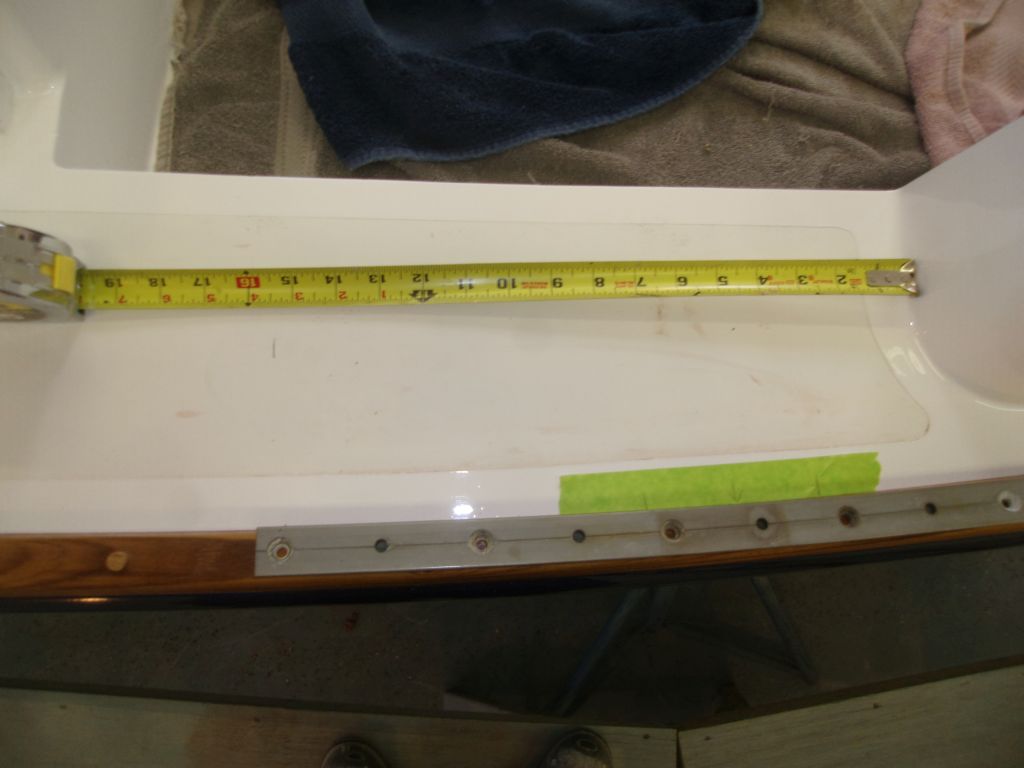
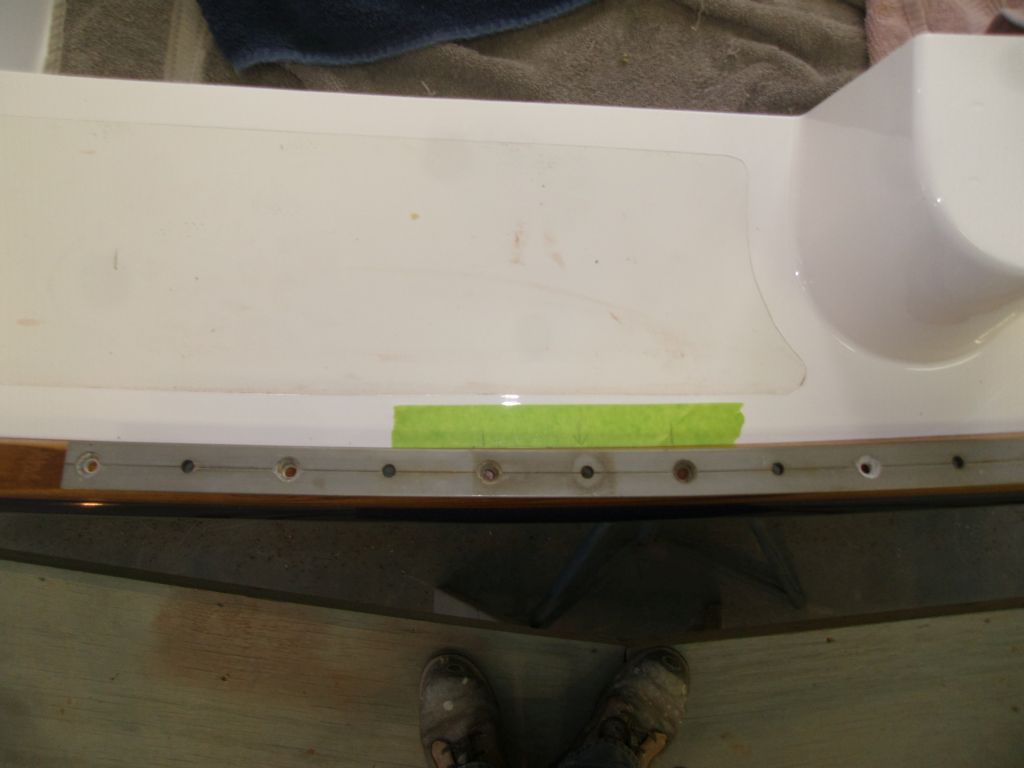
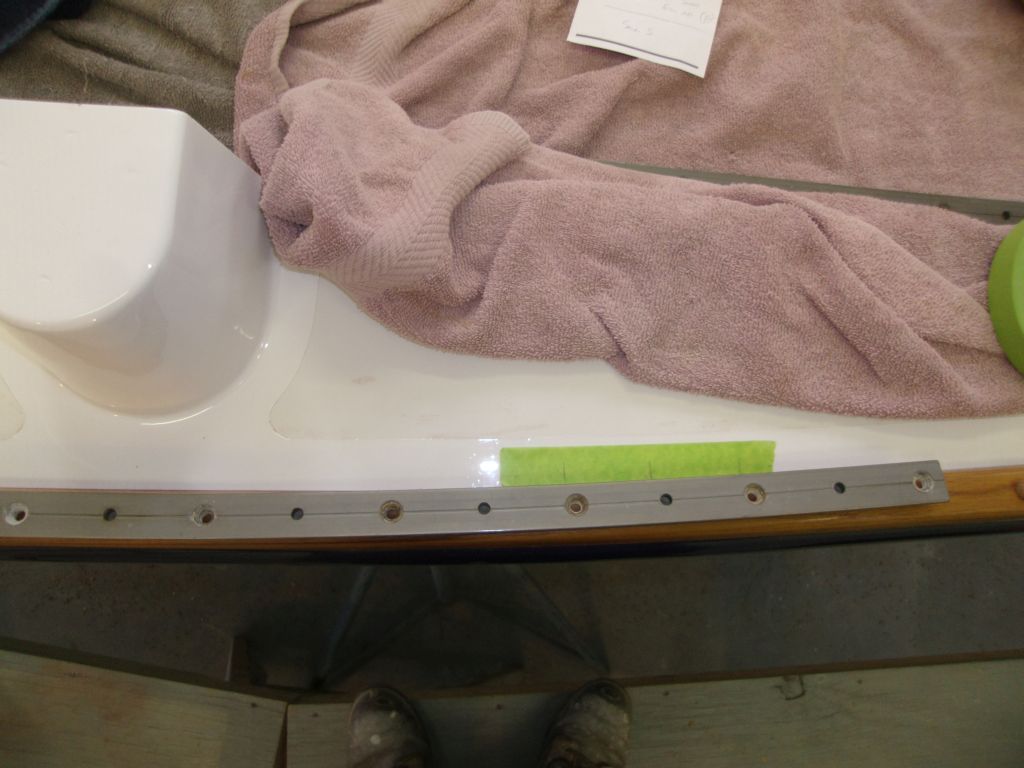

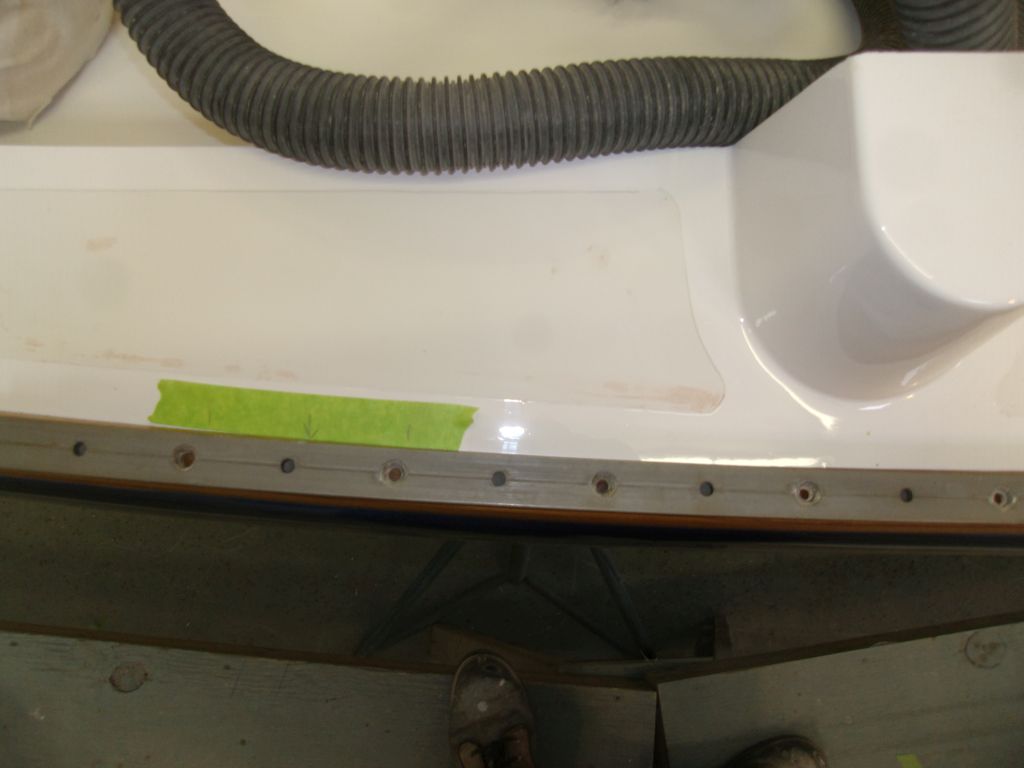
With a 1" rule, I marked both sides of the toerail at each of the four locations (two per side), then carefully drilled through the bottom of the rail from both sides with a 3/8" bit, and chiseled out the excess, finally sanding the outside edges smooth as needed.
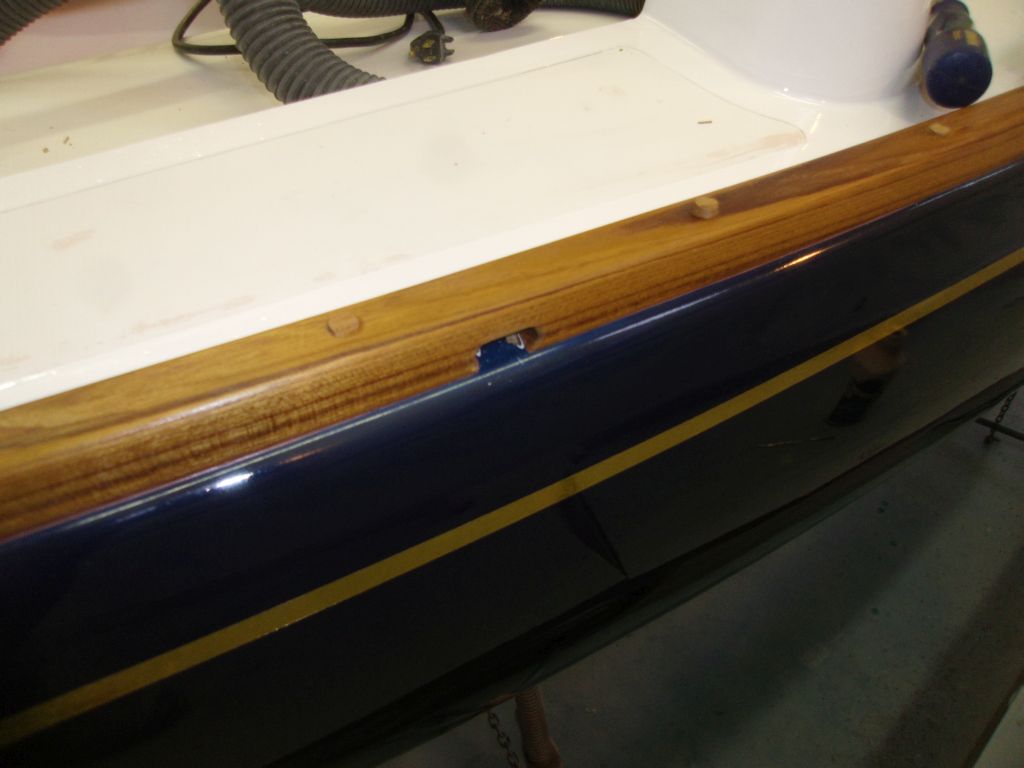
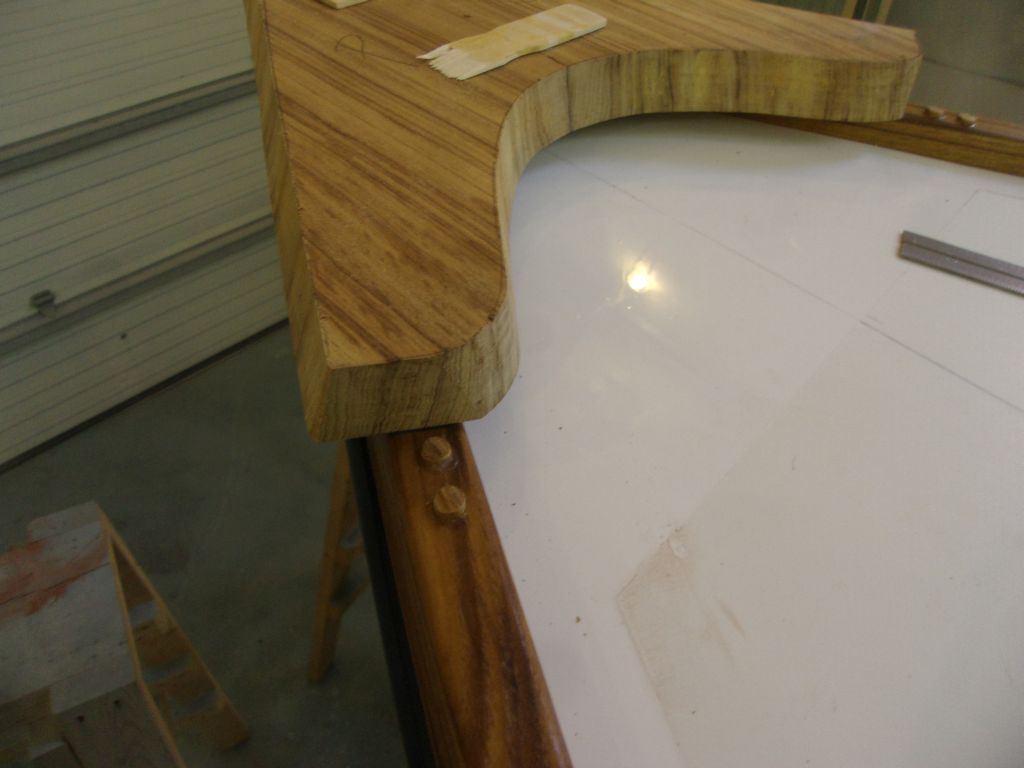
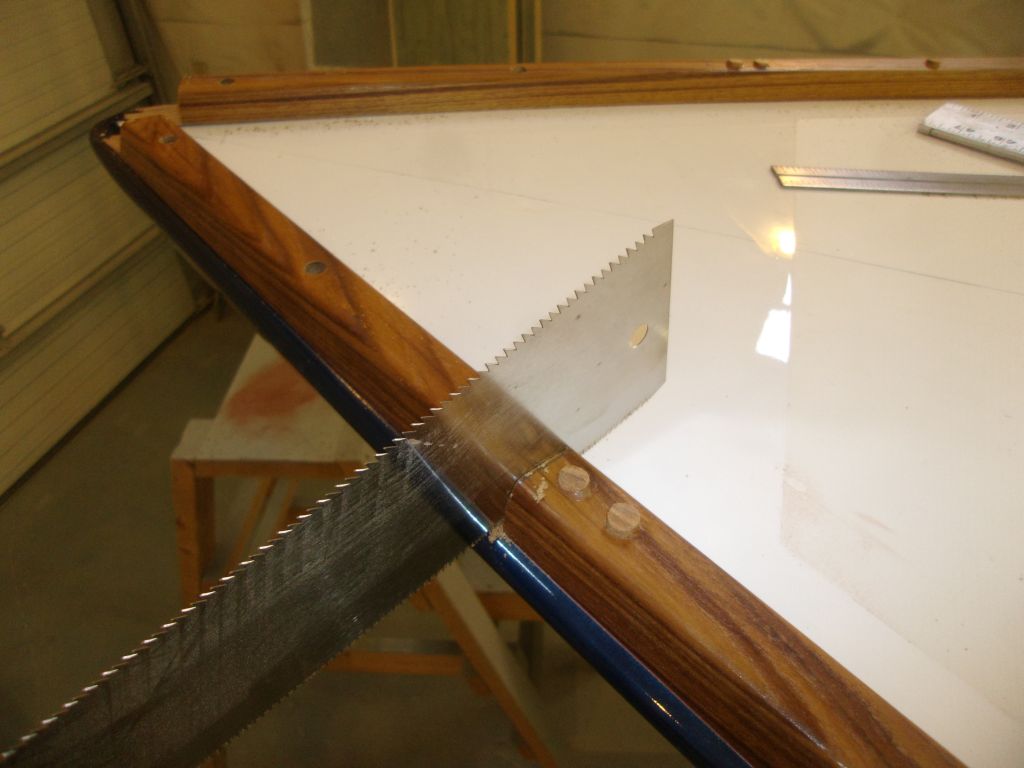
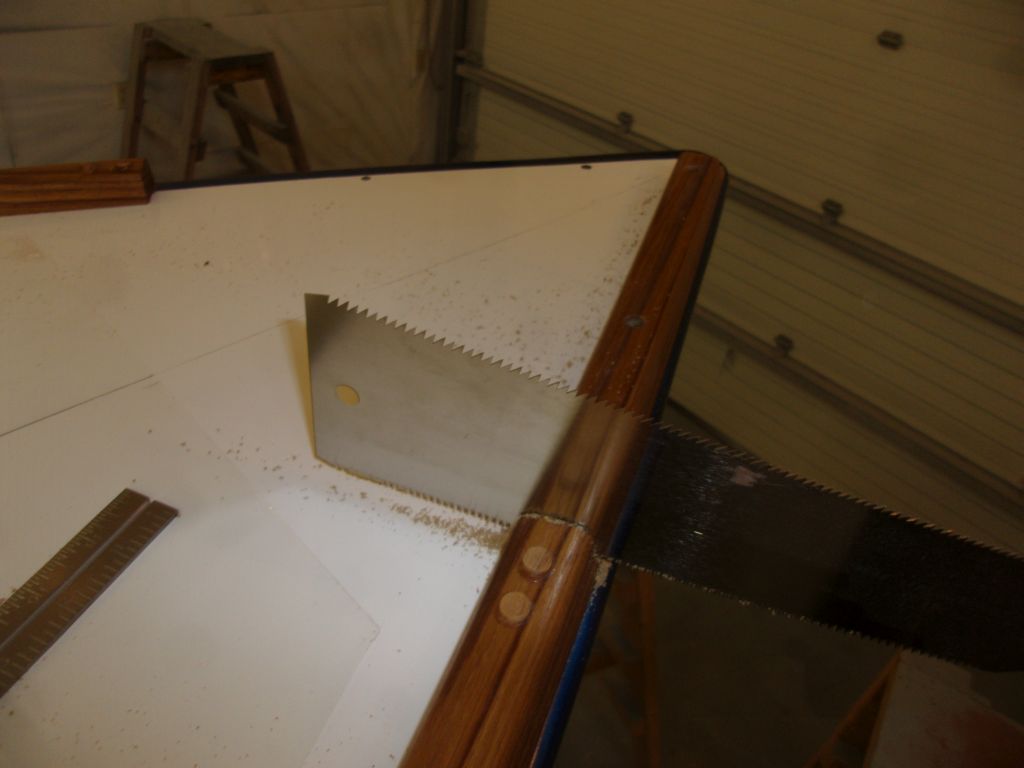
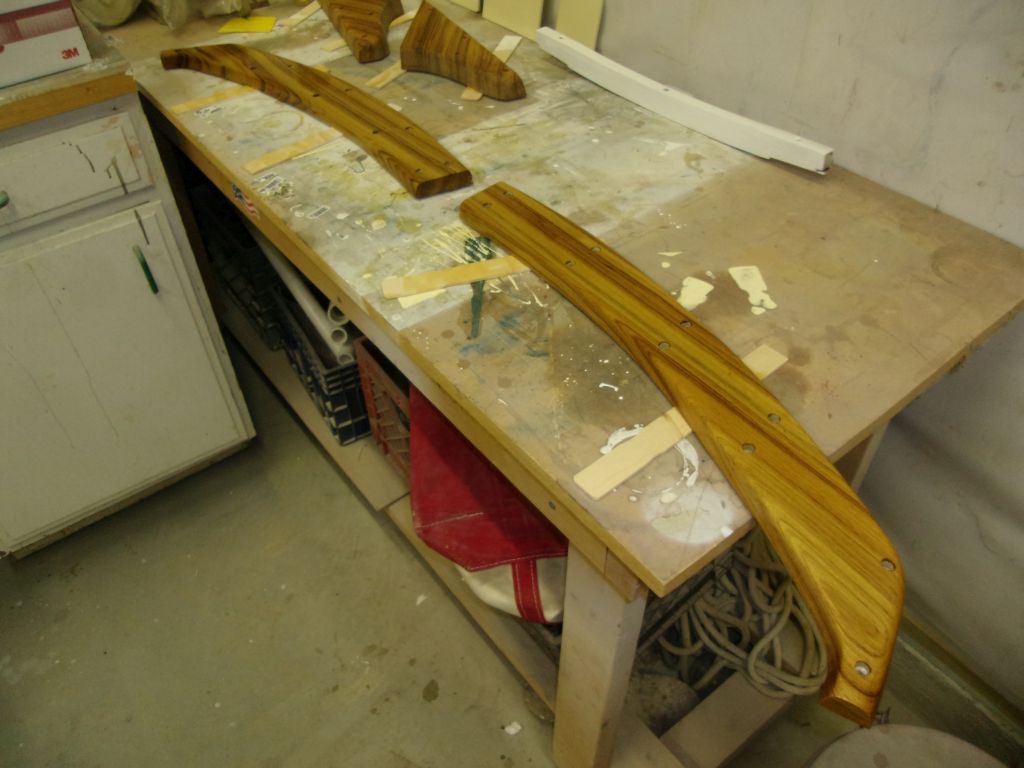
Making better progress than I'd anticipated, I moved on to the taffrail, which, like the original, I'd make in two sections to account for the deck camber and the curvature of the transom. I used the original pieces as a conceptual guide, but let the reality guide the final process.
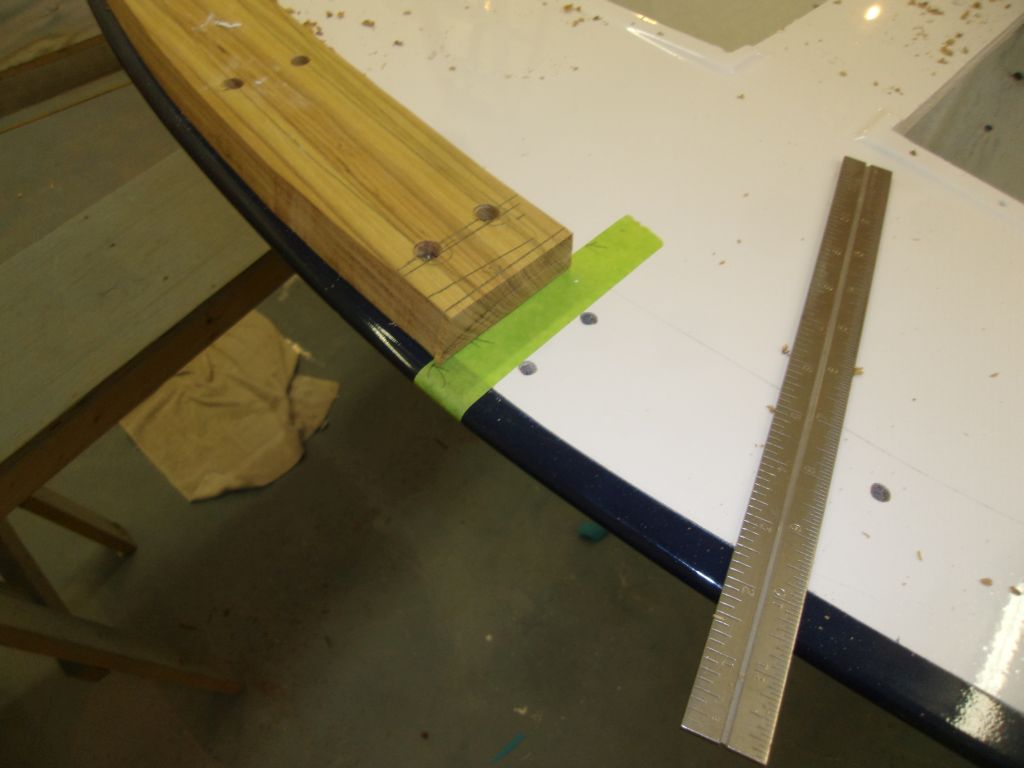
To begin, I measured out a location on each side of the toerails and cut off the rail just aft of existing fasteners, about 6" forward of the transom corners, then removed the unneeded sections and cleaned up the remaining sealant.
I created a paper pattern of the area, and scribed two arcs off the transom to define the inboard and outboard shape of the taffrail.

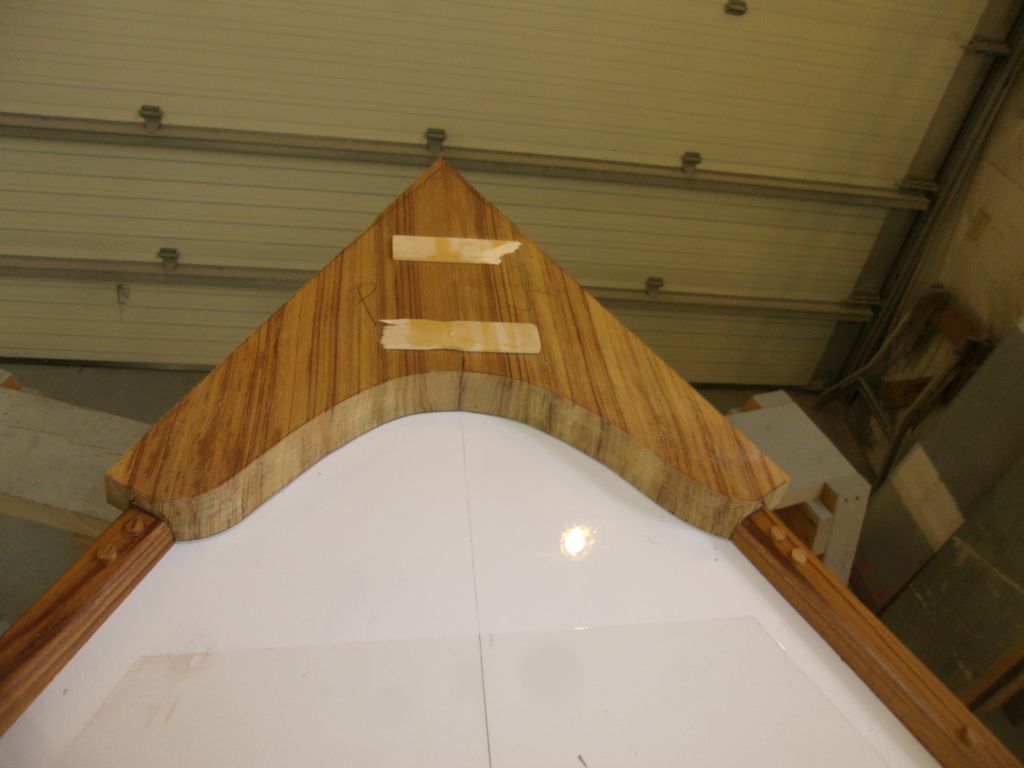
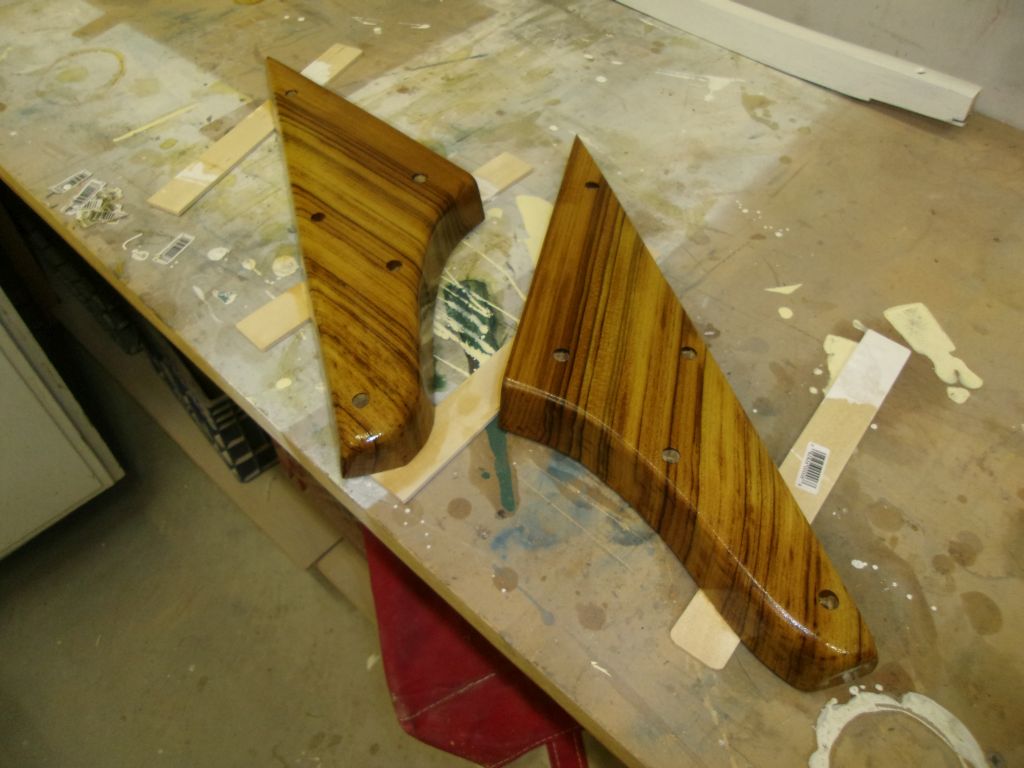
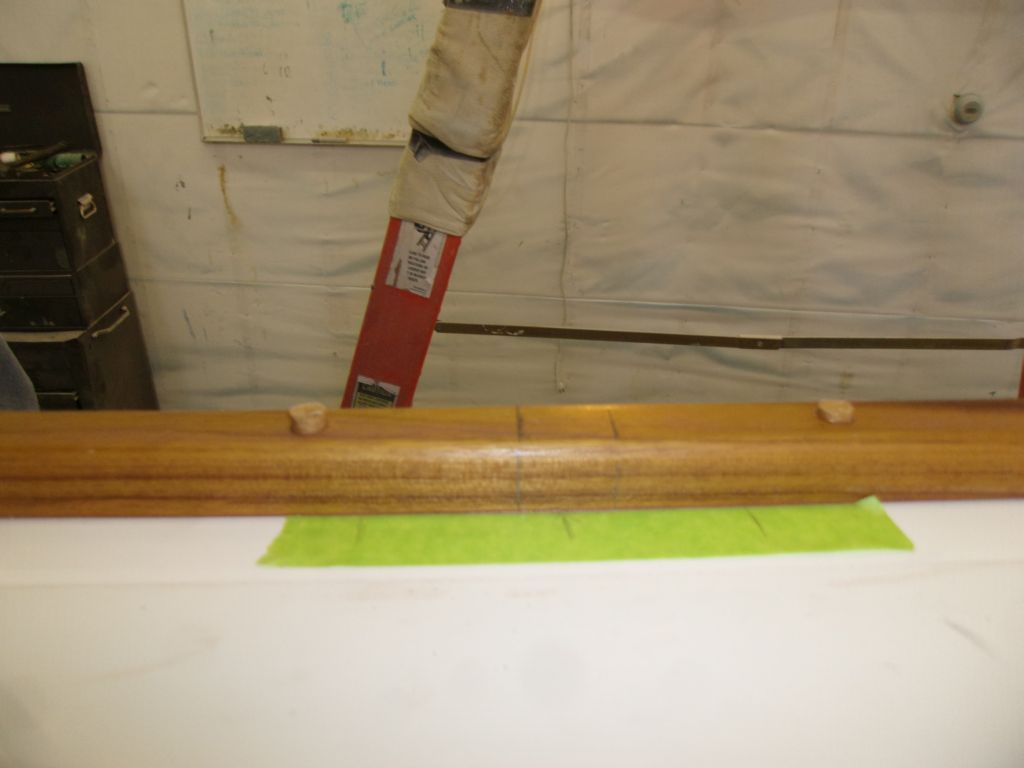
Back at the bench, I cut out, then transferred, the patterns to my piece of teak stock, and cut out the blanks with 10° bevels on the sides, again to match those of the toerails. Then, I set about test-fitting the two pieces, which, because of the deck camber, required me to screw them in place as I went in order to bend to the shape of the deck at the centerline. I did one piece at a time, as I'd cut the centers just a bit long and knew that the meeting joint would require fine-tuning.
After marking the end of the starboard piece where it met the centerline, I removed the piece and repeated the process with the port section, then noted where it crossed the mark on the deck (demarked with a piece of tape for clear visibility).


With both pieces on the bench, I made the final cut on the port piece, at the new mark where it crossed the boat's centerline, then sanded the pieces smooth and rounded edges, after which I made one more dry-fit to check both pieces. Note that in these photos I'd already started unscrewing the port section when I remembered to take pictures, so that is why it stands proud of its compatriot in the center.
Finally, I applied a sealer coat of varnish to both sections, and all sides.

Total Time Billed on This Job Today: 8
Hours
