
110 Cookson Lane | Whitefield, ME 04353 | 207-232-7600 | tim@lackeysailing.com
Ms Lynne G | Monday, November 3, 2014
Note: With a new shop camera with which I was unfamiliar, I found afterwards that several photos I took throughout the day were blurry, many un-usably so. Apologies in advance for the resulting missing or slightly-blurred photos.
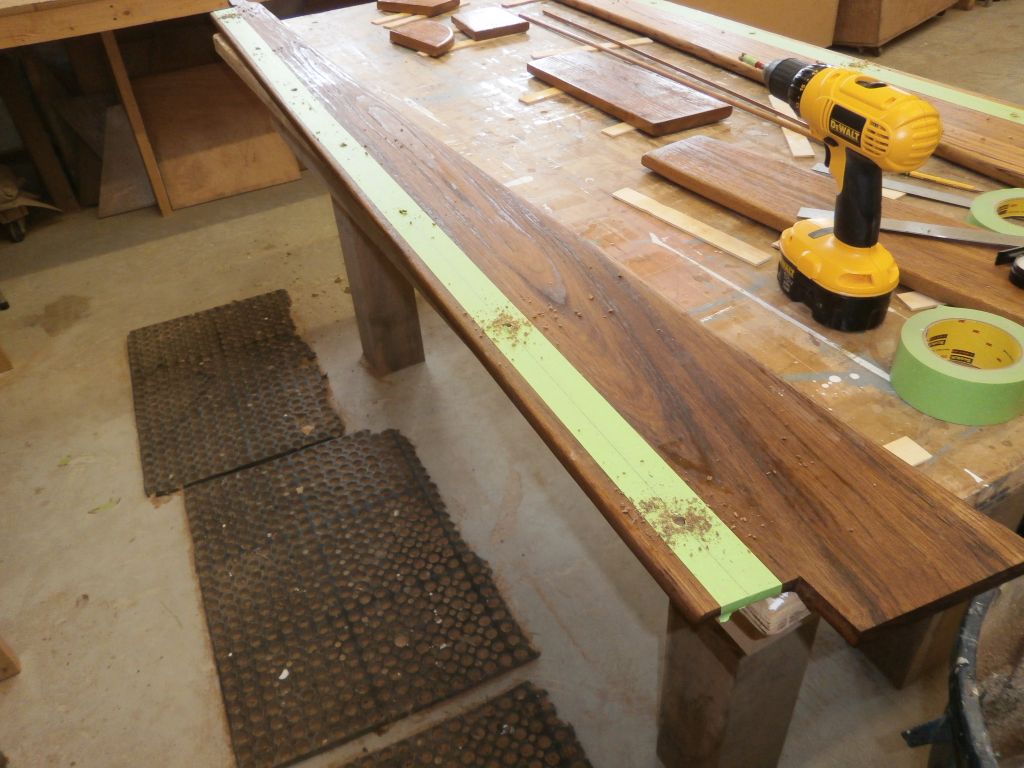
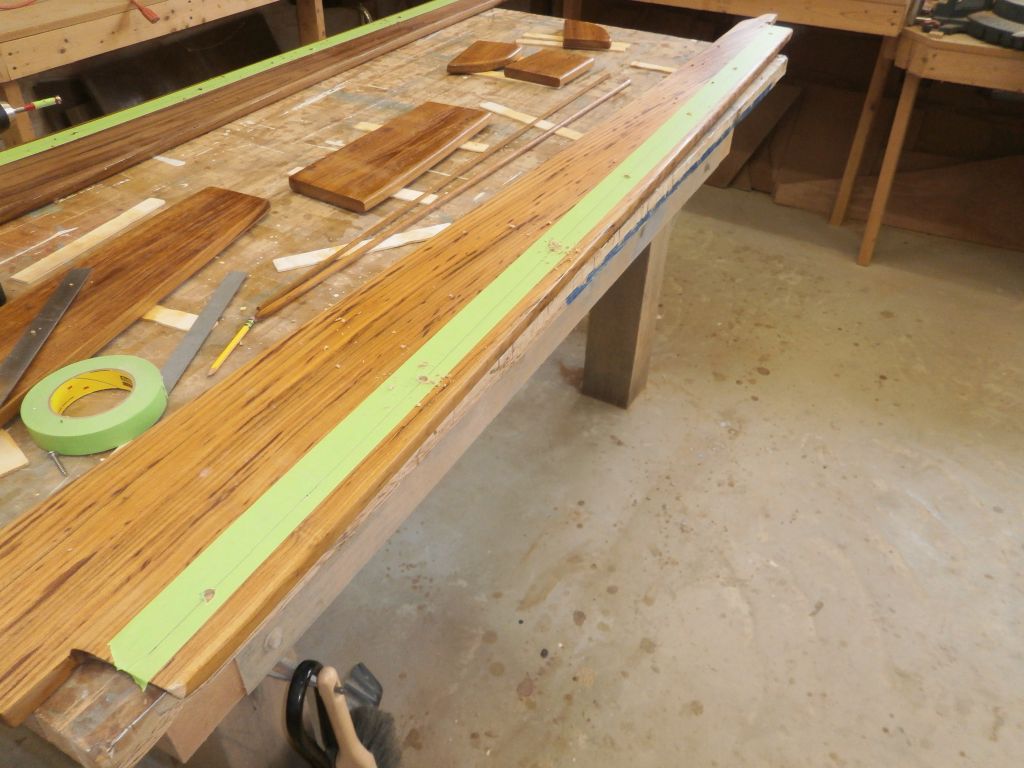
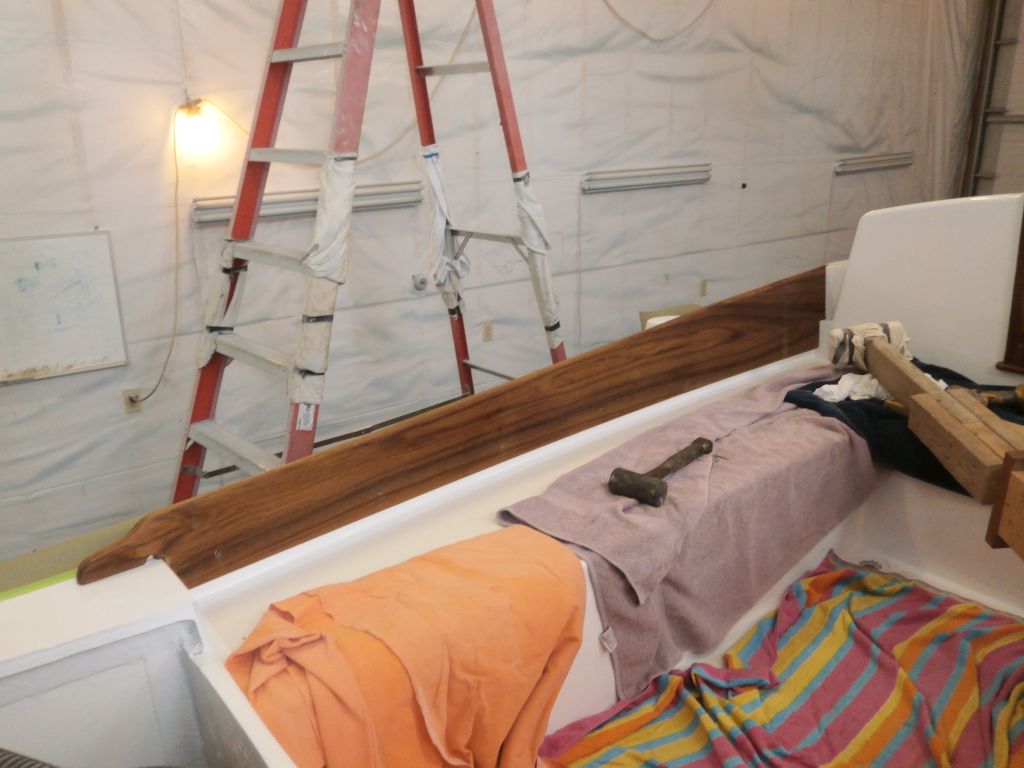
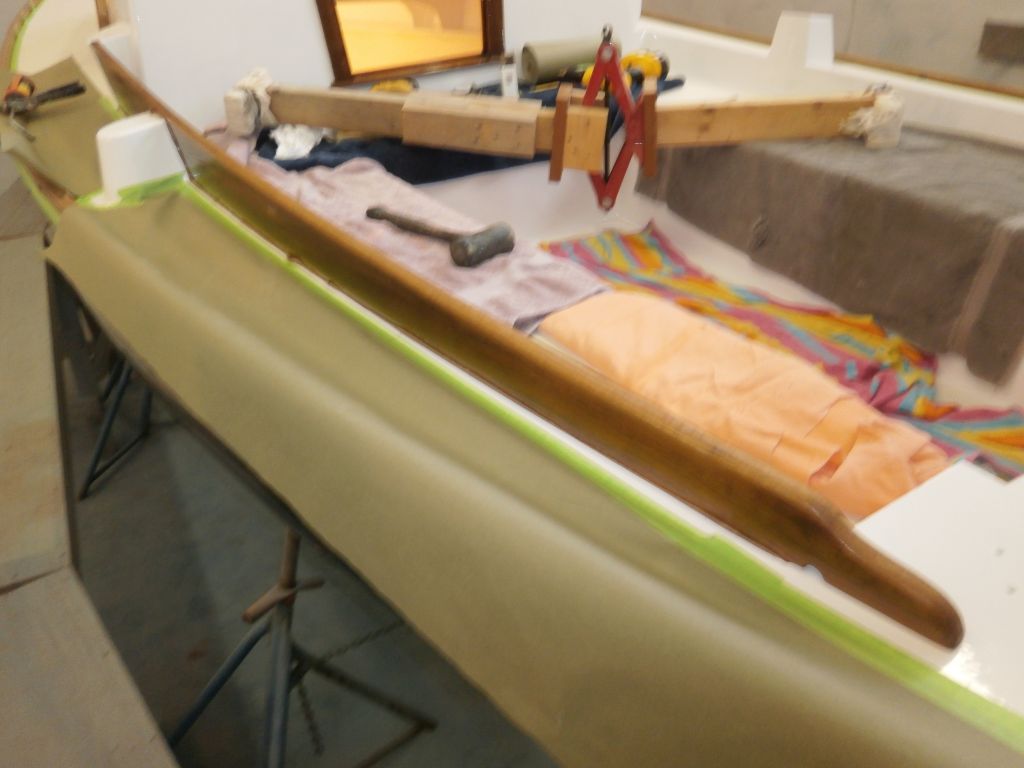
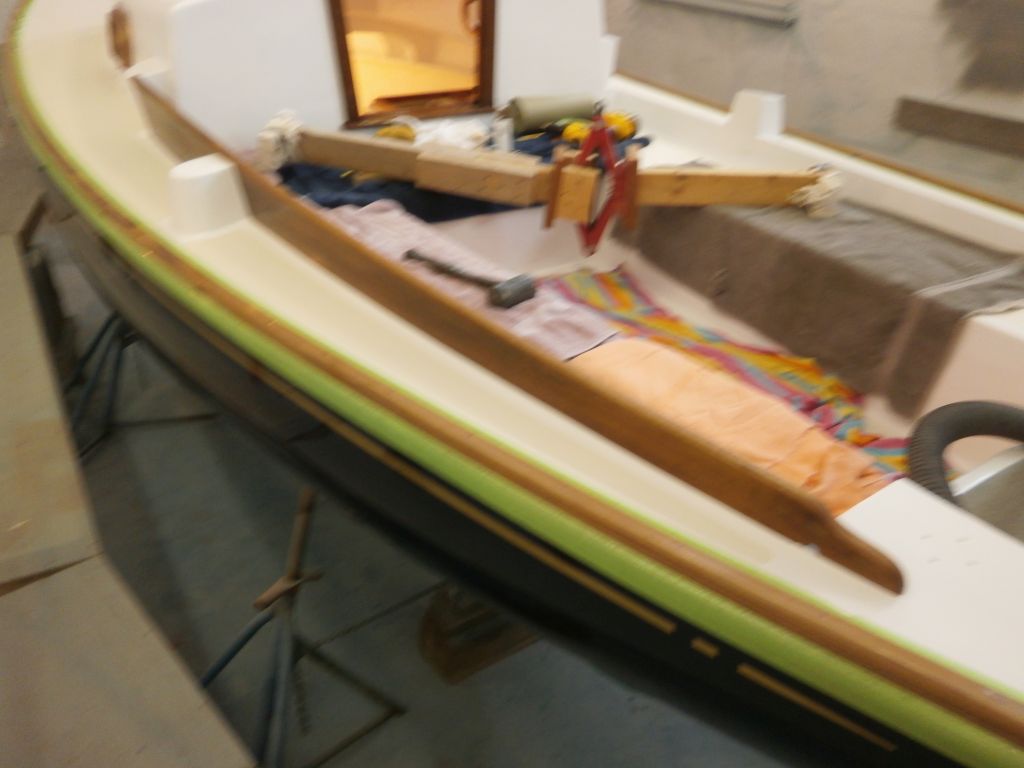
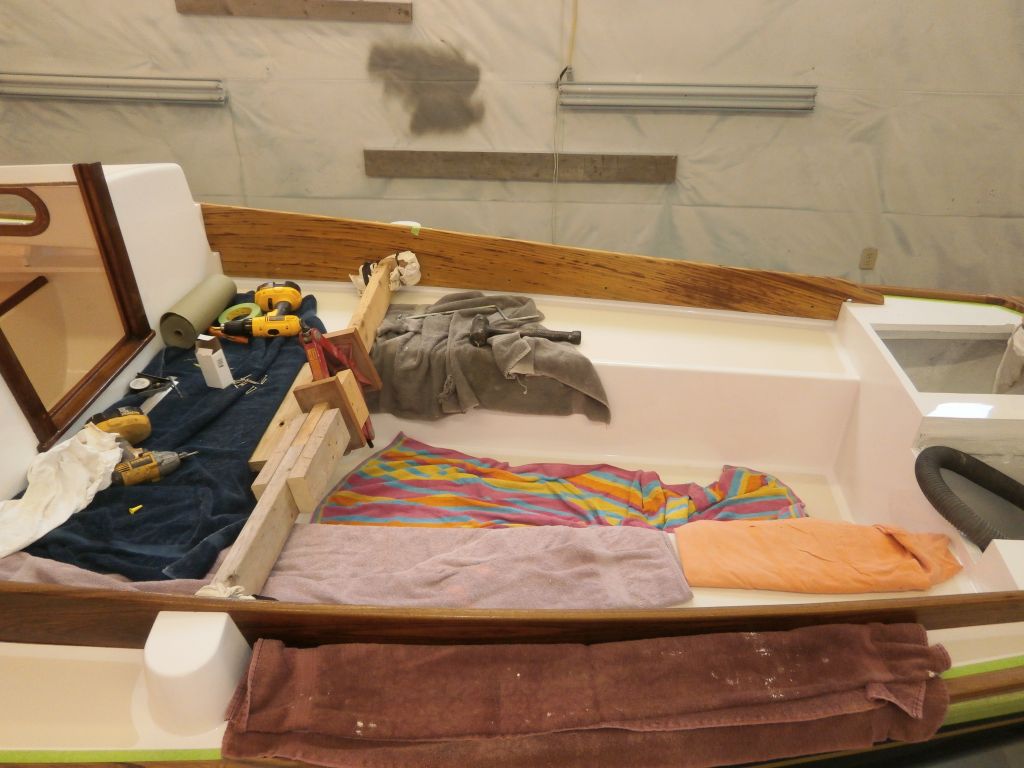
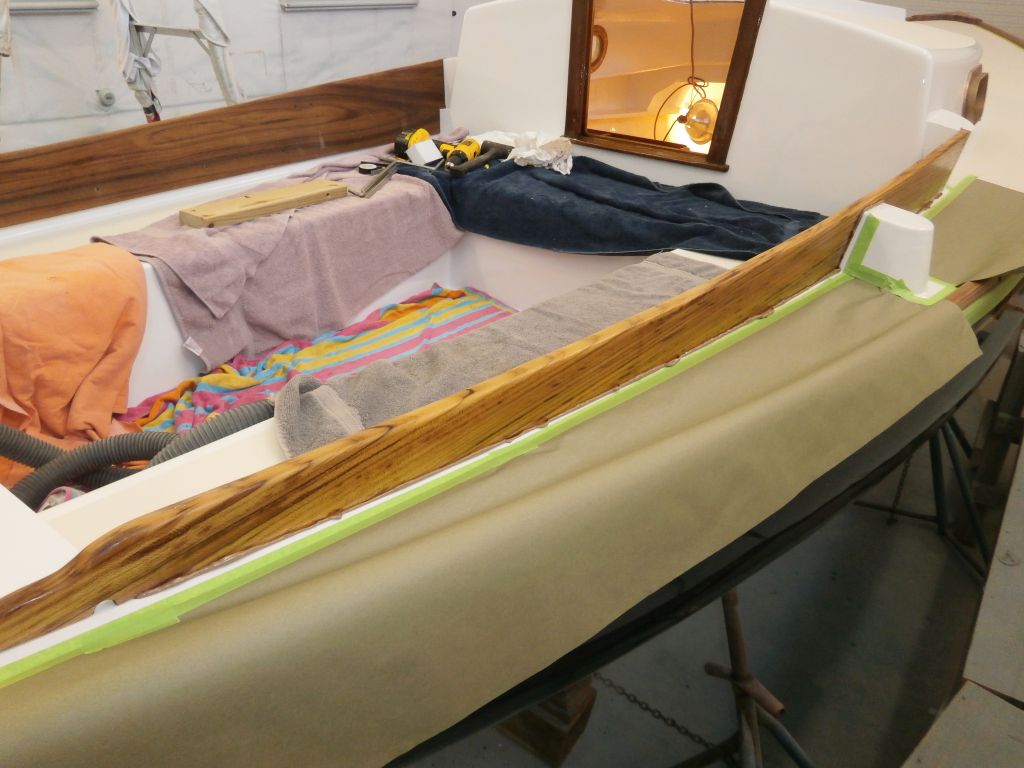
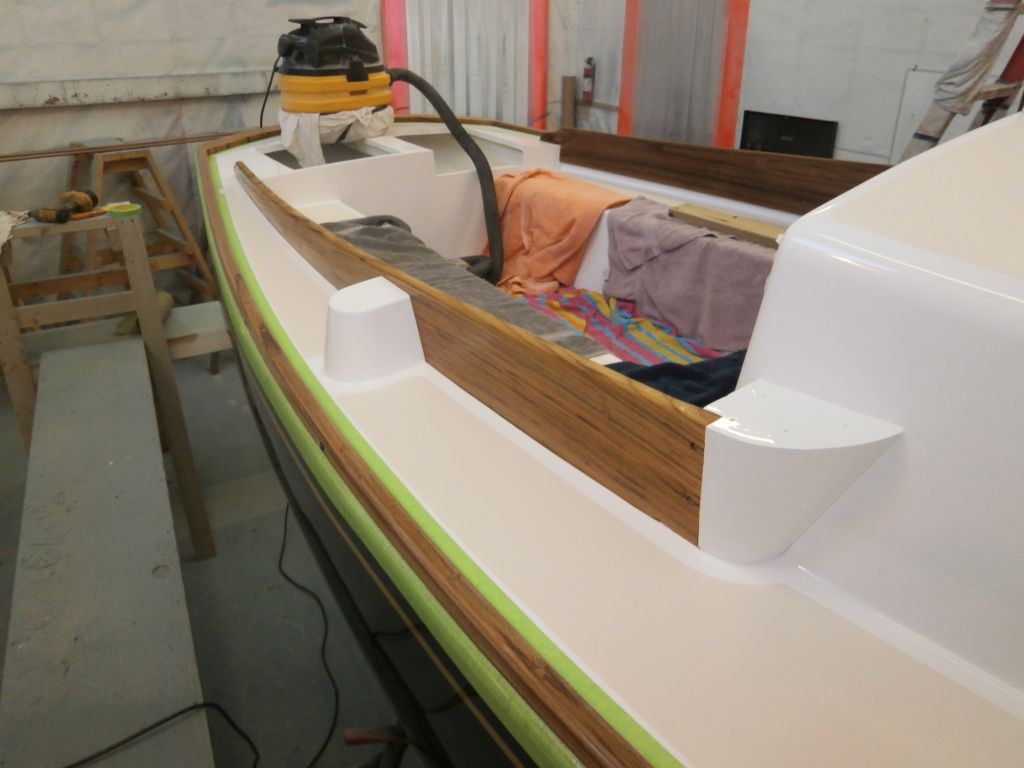
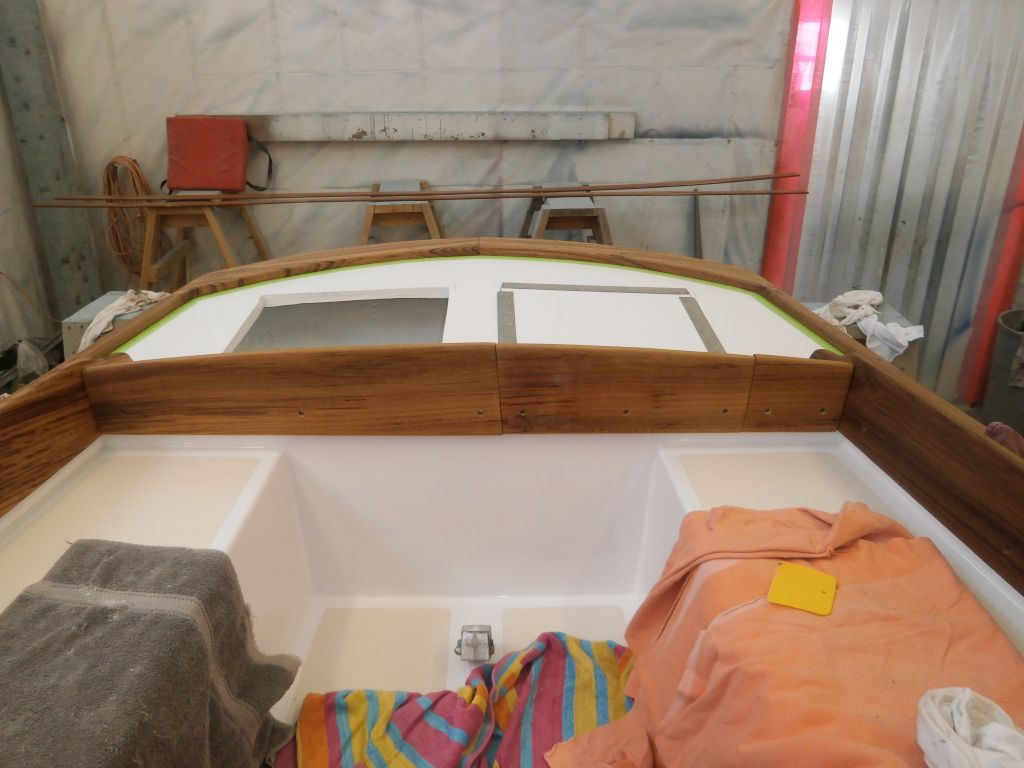
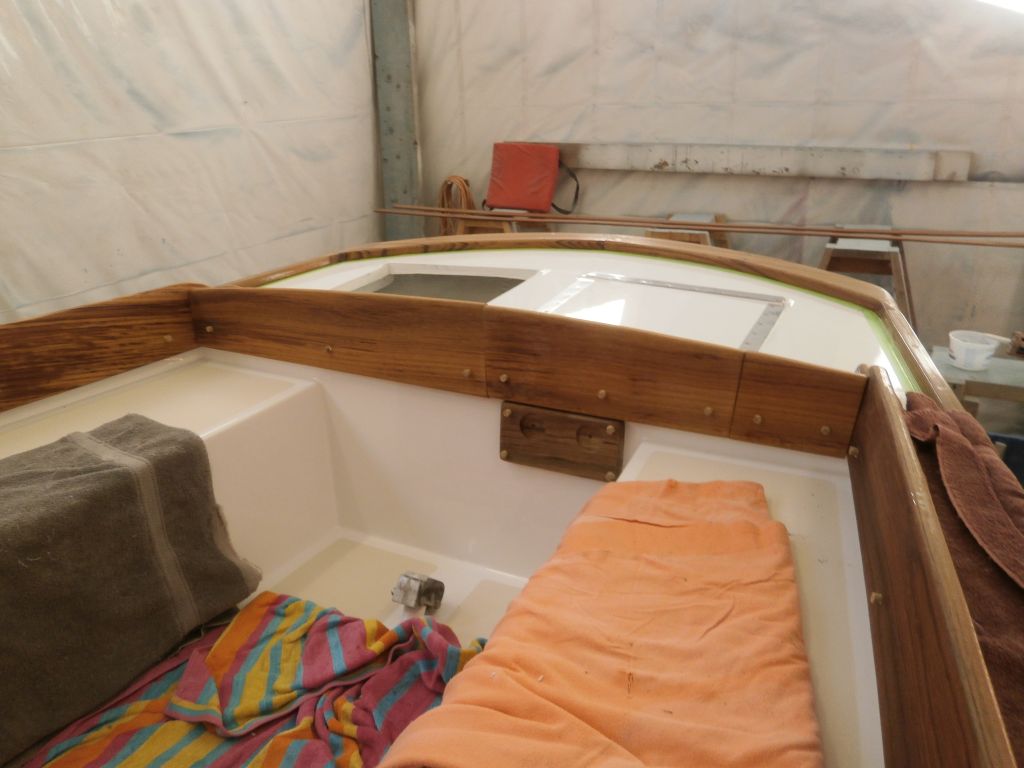
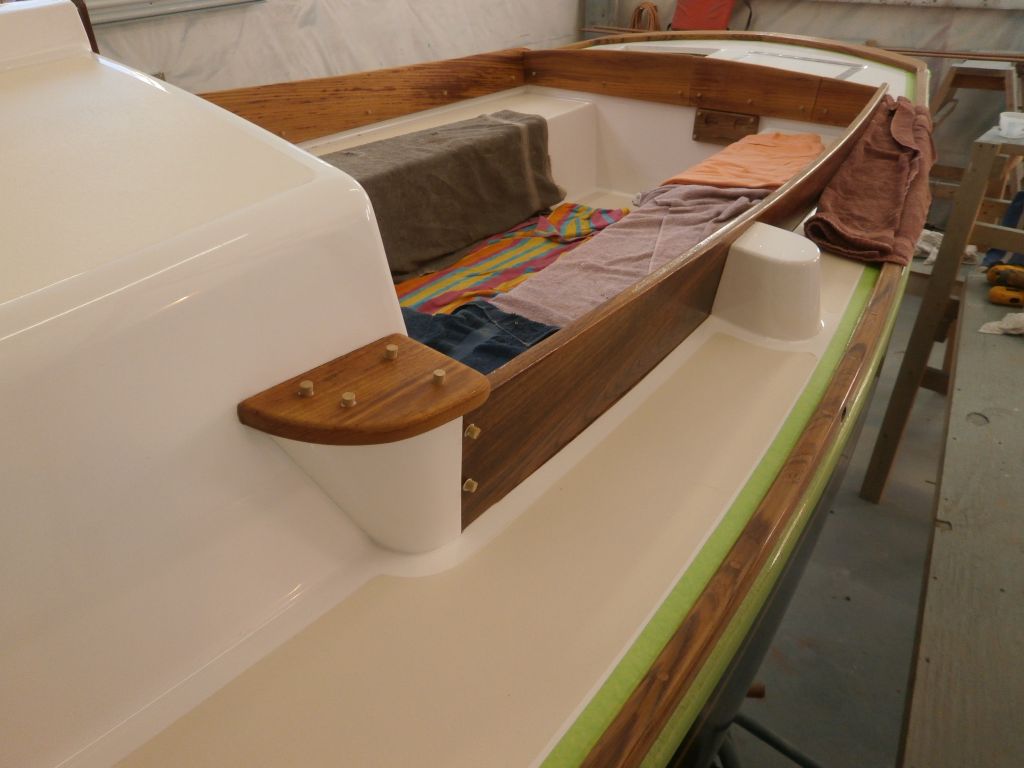
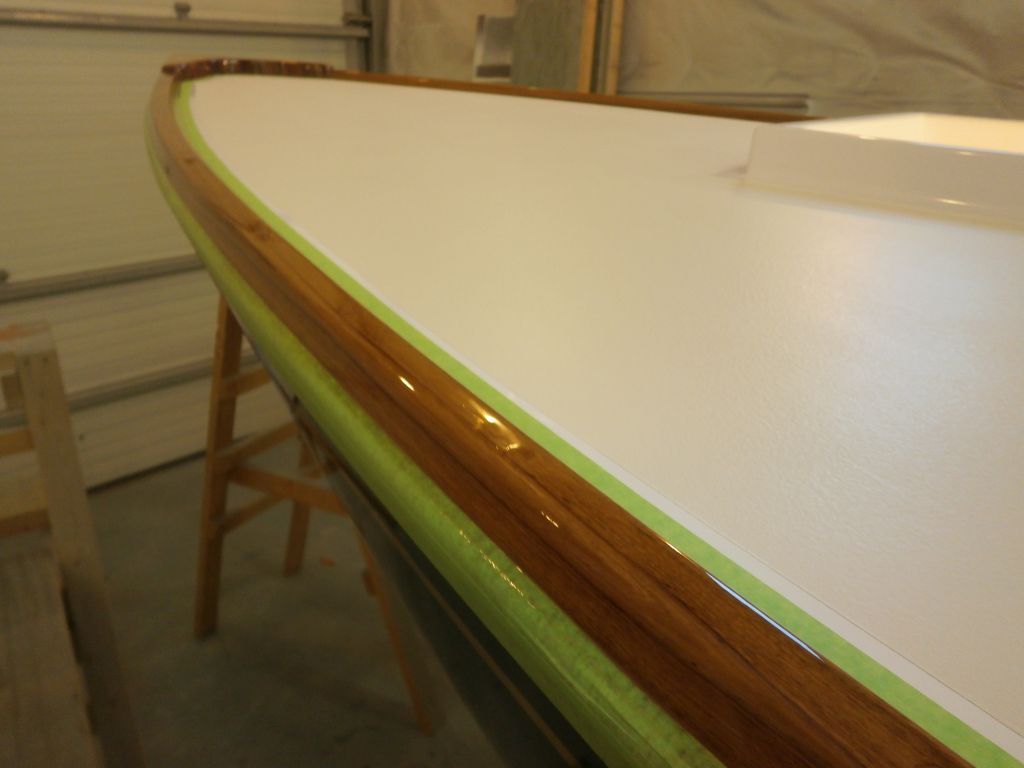
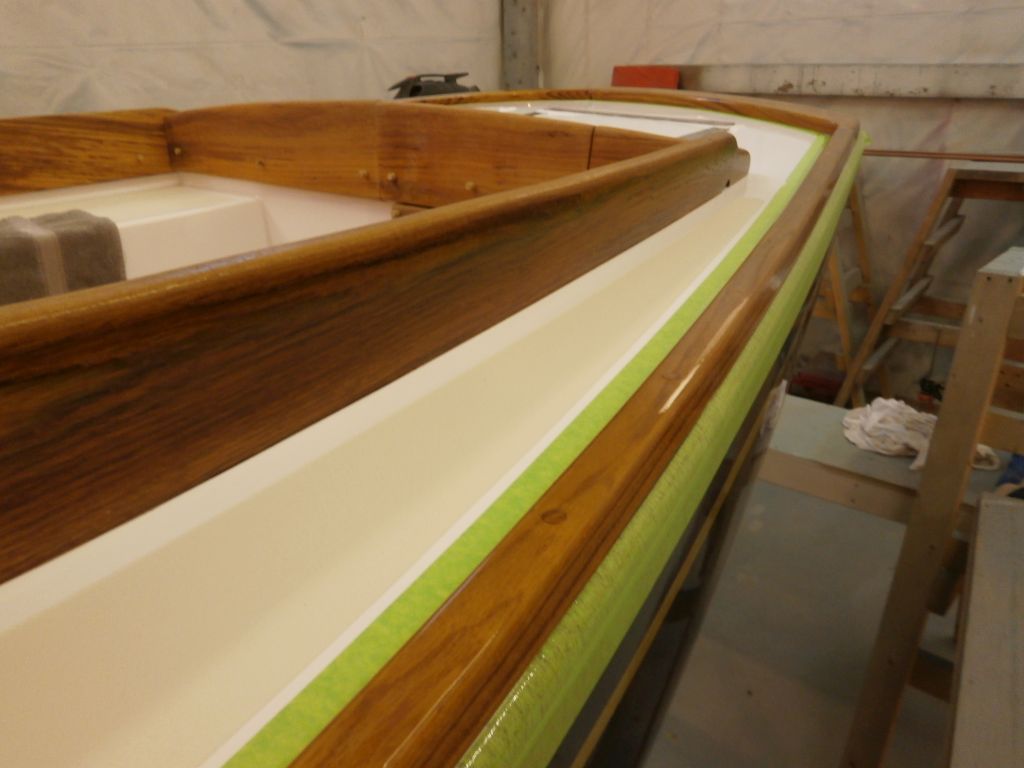
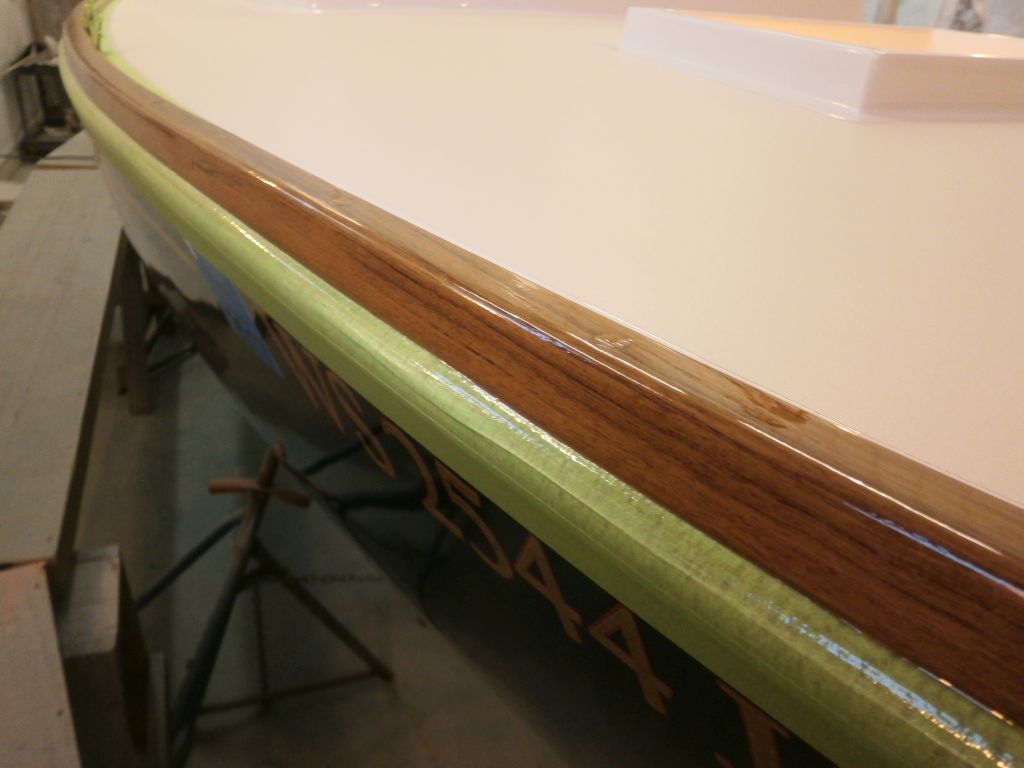
The main event of the day was coamings installation. To begin with the side coamings, I marked out screw locations along the based of each coaming, then bored 3/8" bung holes and a pilot hole for the screw shanks. The tape was just for marking purposes.
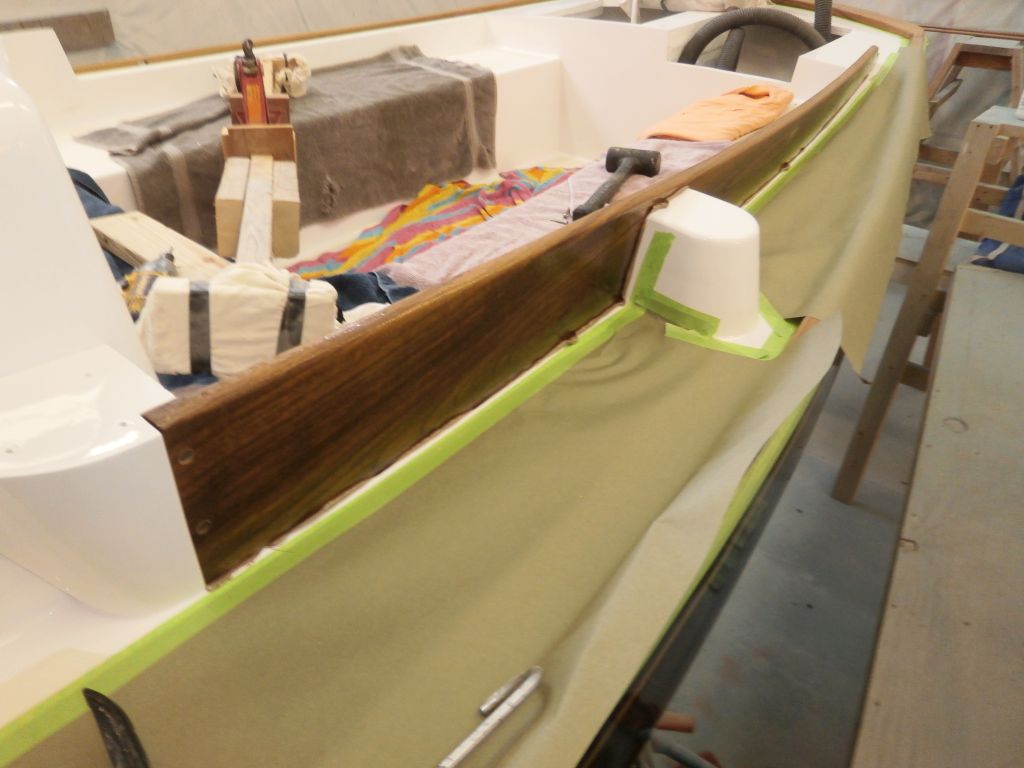
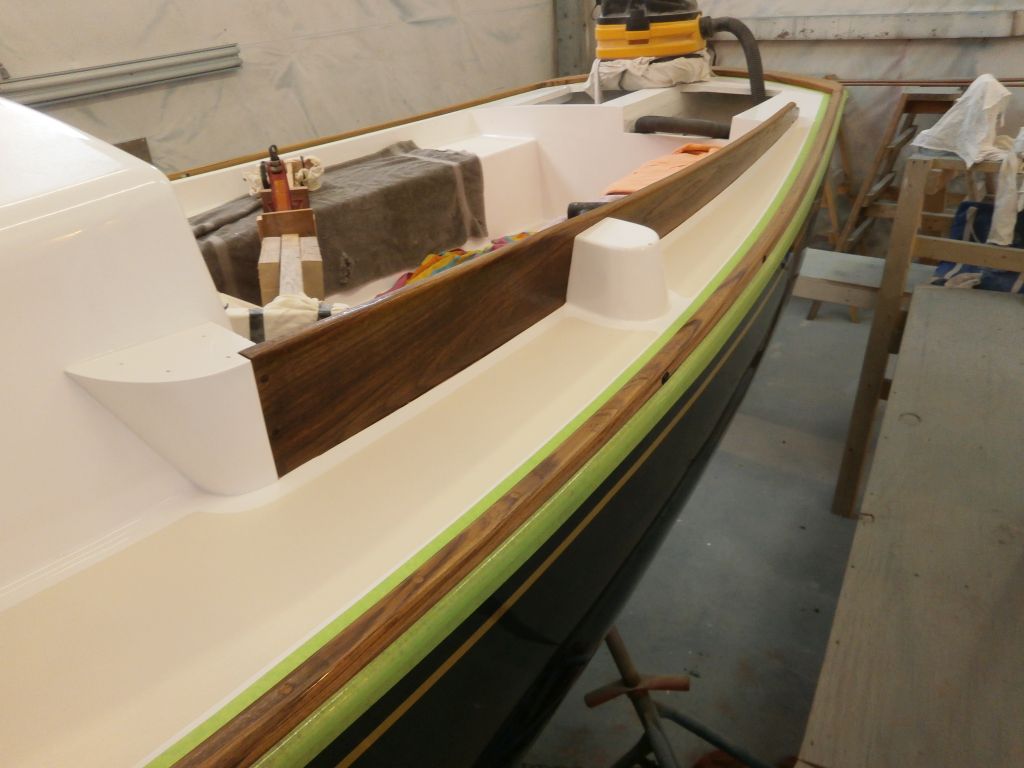
One coaming at a time, starting with the port, I pressed the coaming into position along the side of the cockpit, and drilled smaller pilot holes into the fiberglass and molded-in backing behind, as well as at the forward edge into the molded return blocks. I used tape to mark the position of the winch island so I could drill a pair of screw holes from the back side (in order to get them in the right locations). Then, I removed the coaming, prepared the winch island holes, and, with the coaming back in place, predrilled pilot holes in the islands for those screws. Then, I removed the coaming once more and milled shallow countersinks at each screw location, cleaning up afterwards.
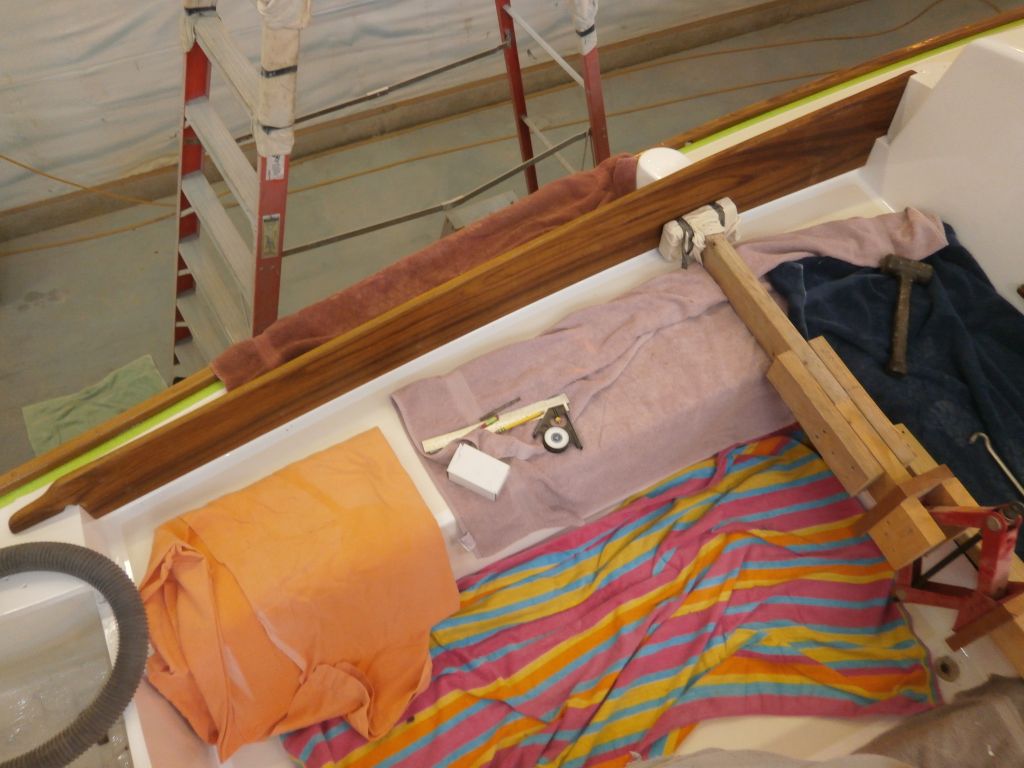
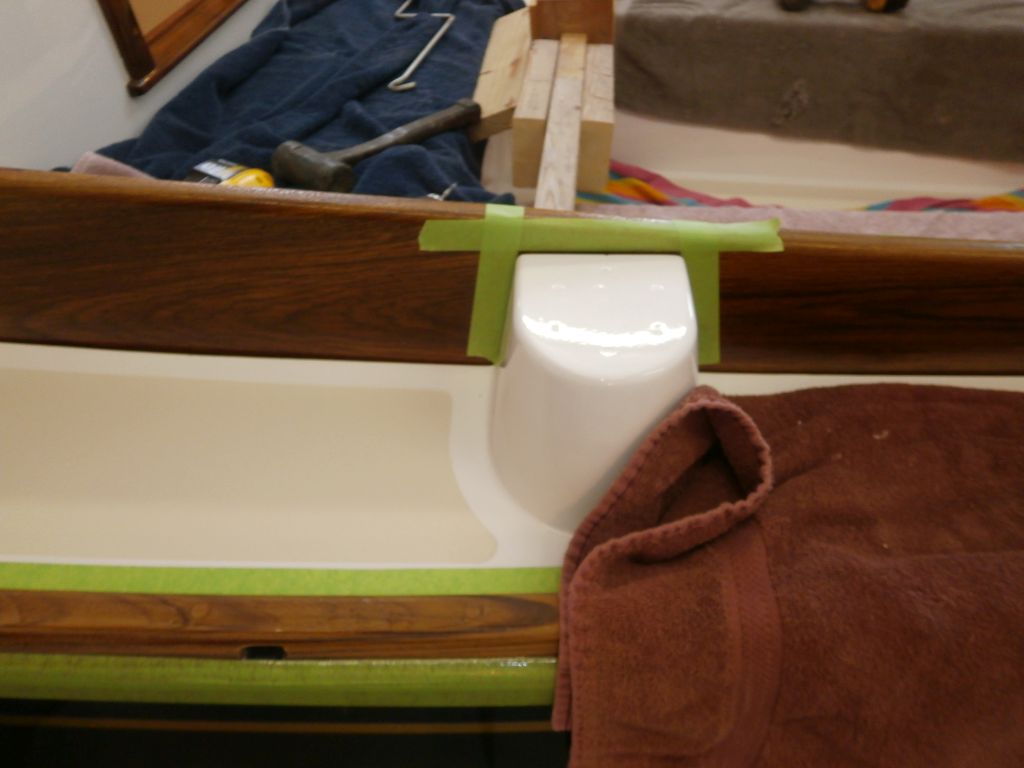
I applied a good bead of sealant (polysulfide to allow the coamings' removal someday should one so choose) along the top edge along the outer deck, and at all the screw locations, then reinstalled the coaming, screwing it down securely with W10 pan head screws. Afterwards, I cleaned up the sealant squeezeout.

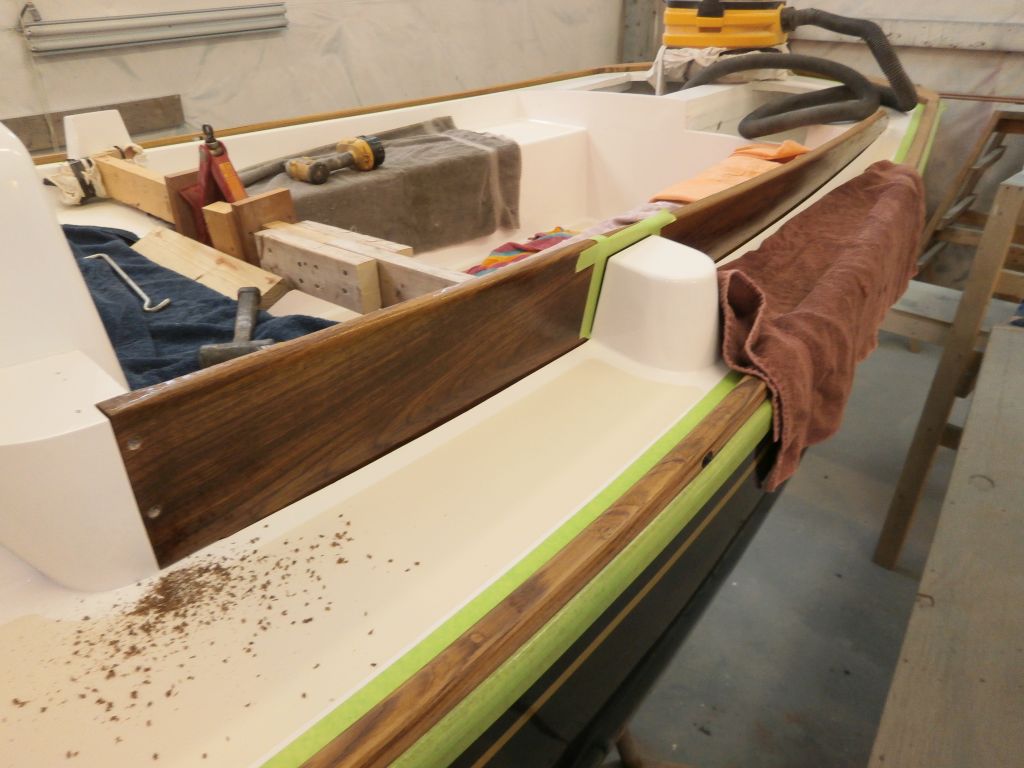
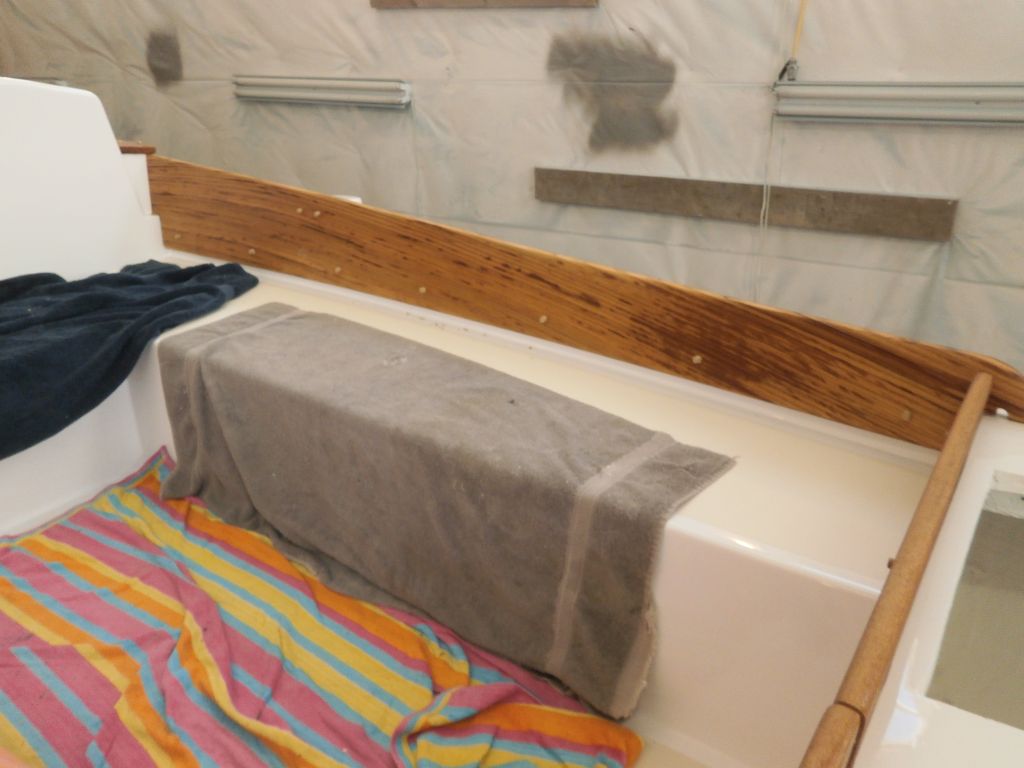
Next, I repeated the whole process with the starboard coaming.
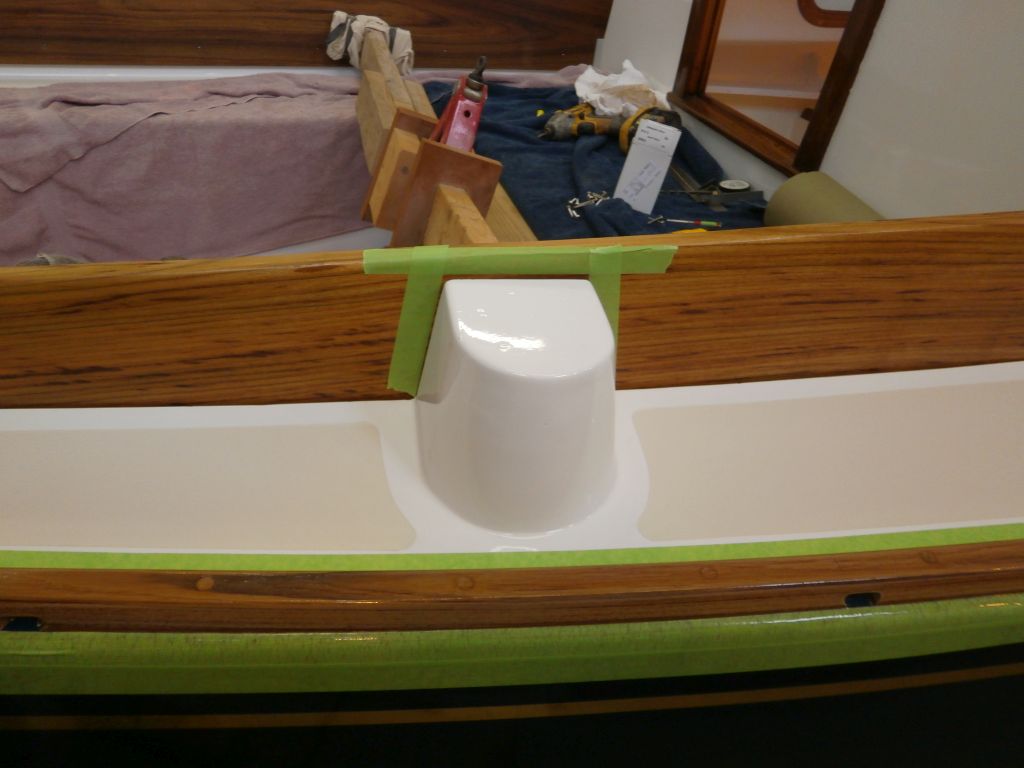
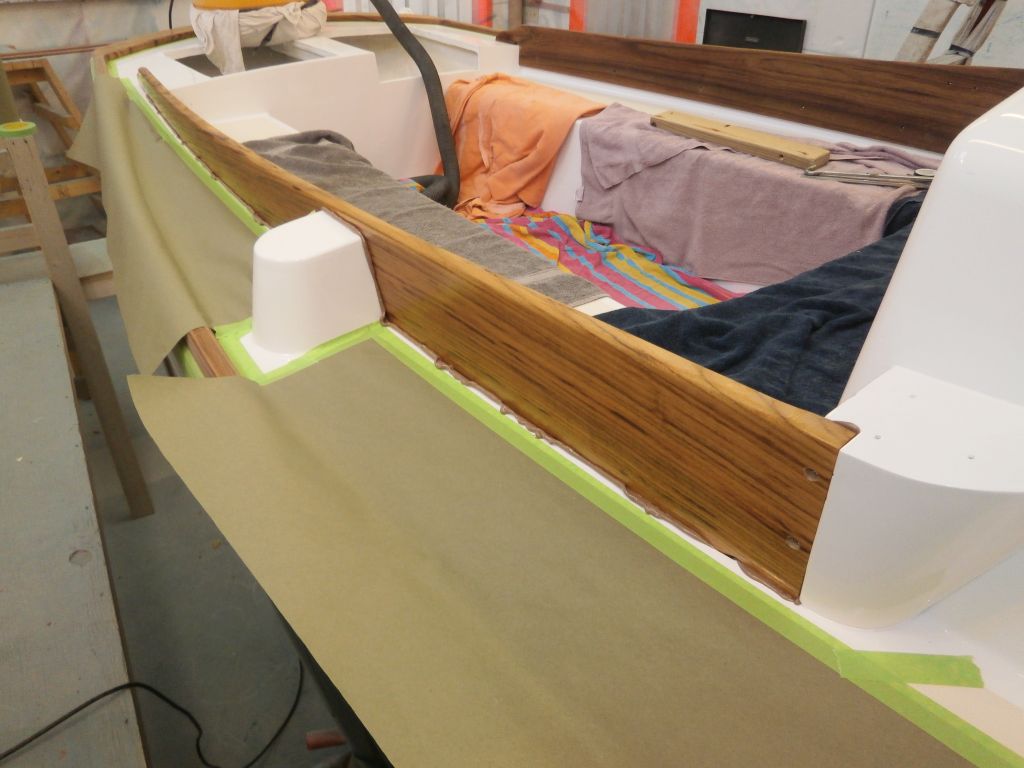
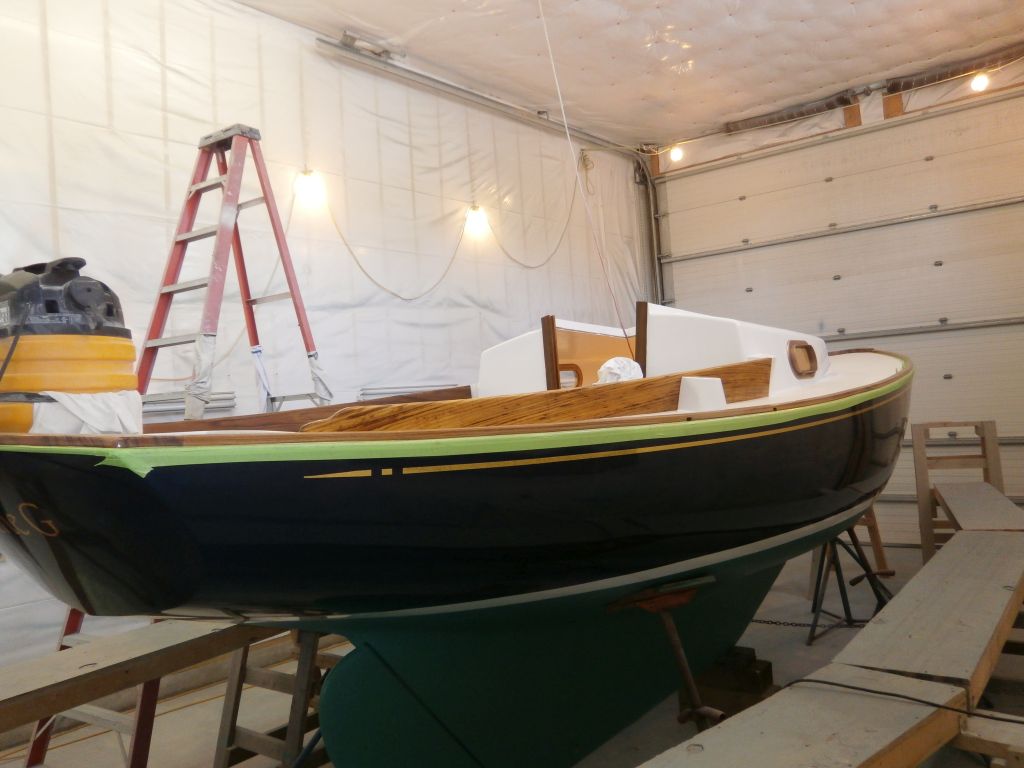
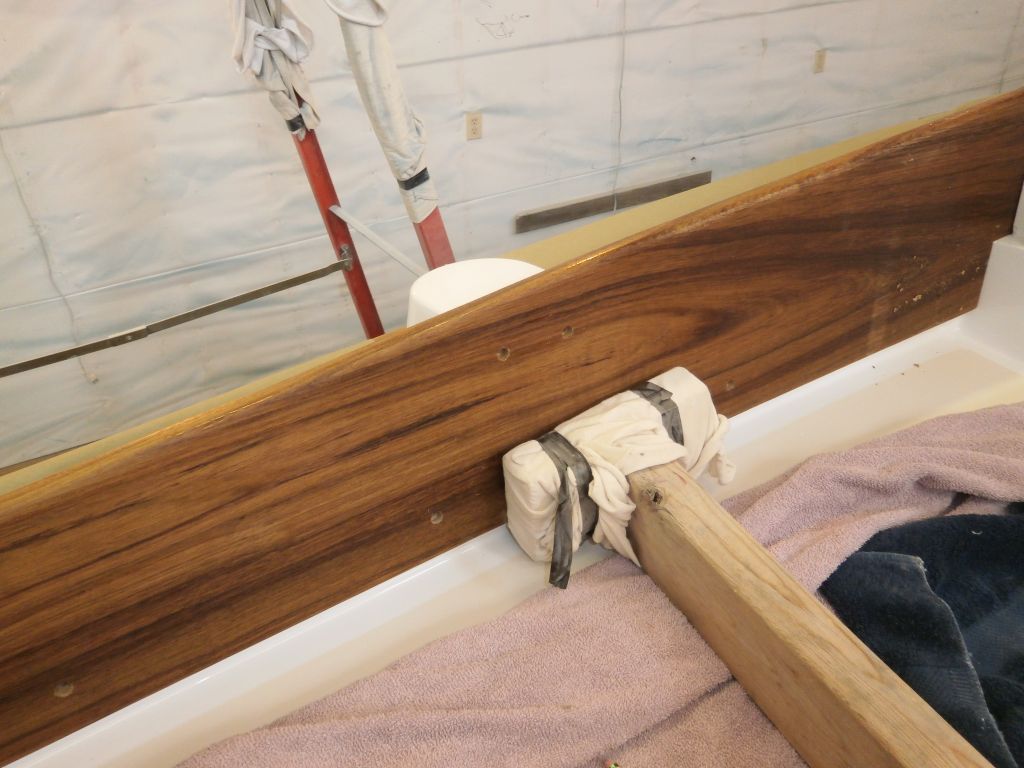
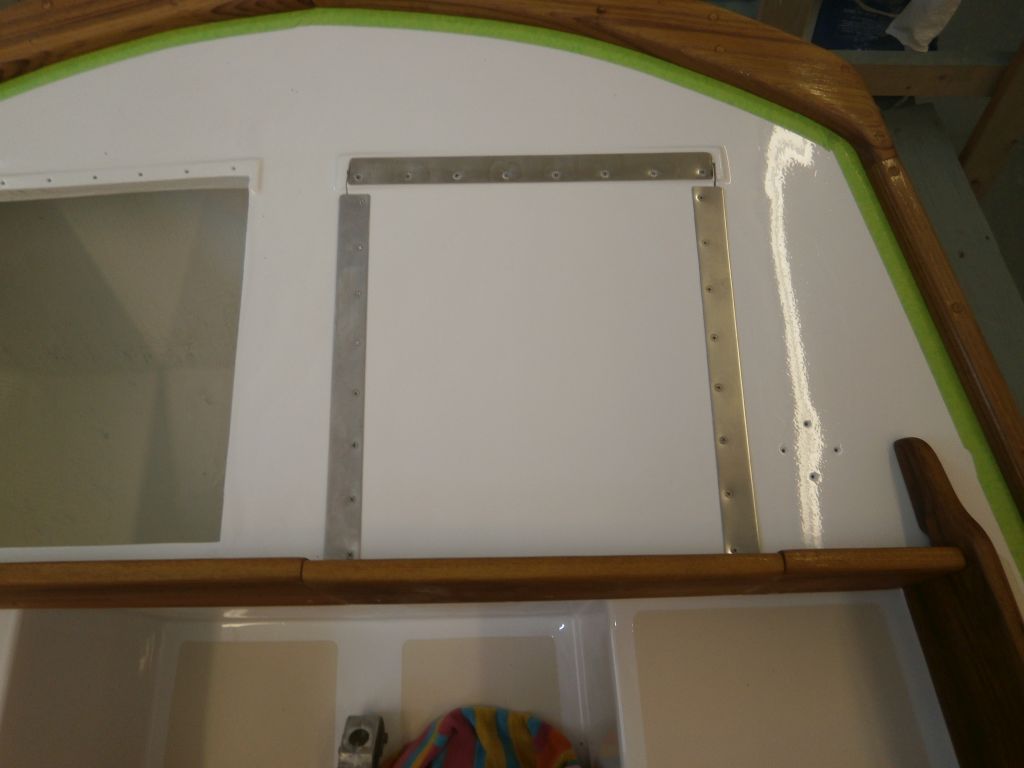
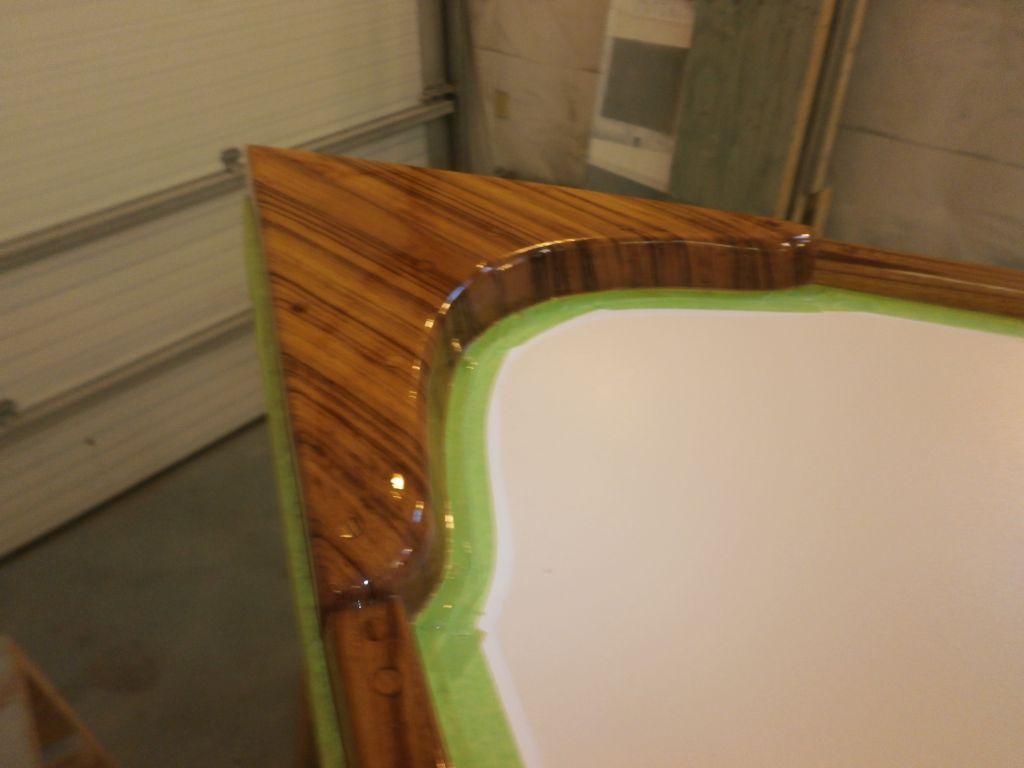
I moved on to the aft coaming, which comprised three separate pieces. In order to lay these out correctly, I first went ahead and installed the slim stainelss steel strips on the engine well hatch--two of which were original equipment, the third was new for this refit, along the aft side of the hatch where we eliminated the original hinge. These strips were required to hold the hatch in its proper position; I installed them with new bolts and sealant.
With the engine hatch in place, and some reference marks drawn on the backs of the three coaming pieces (referenced off the original pieces first), I drilled the requisite screw holes to secure the sections, then, after final preparations, applied sealant and fastened the coamings permanently.
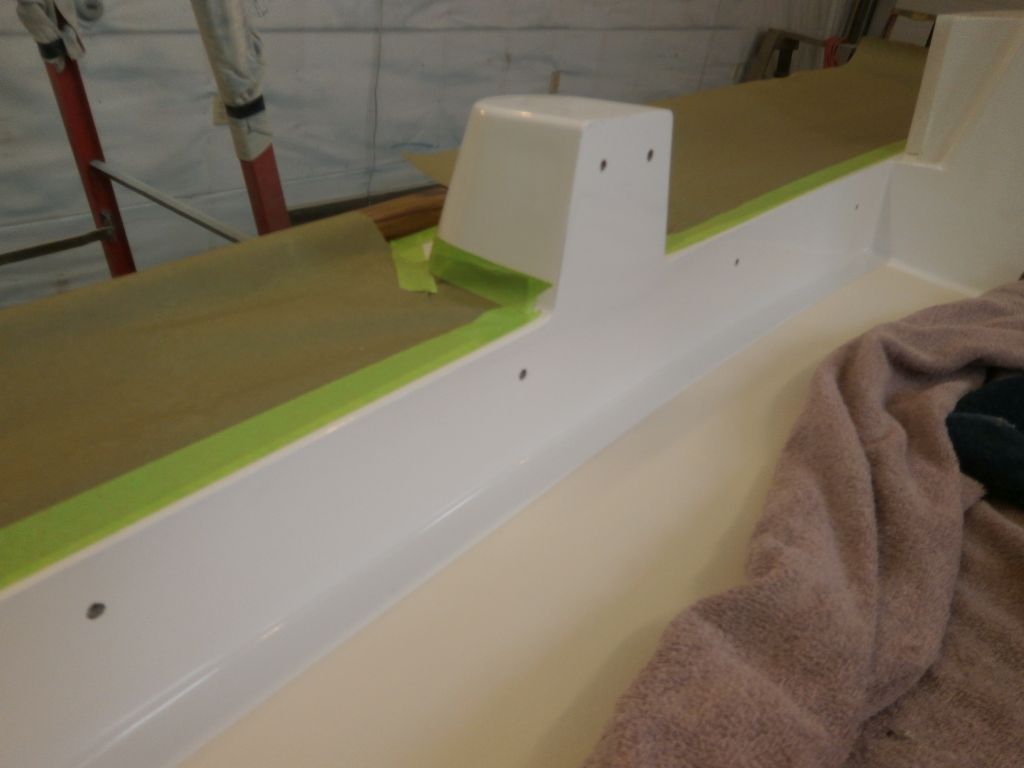
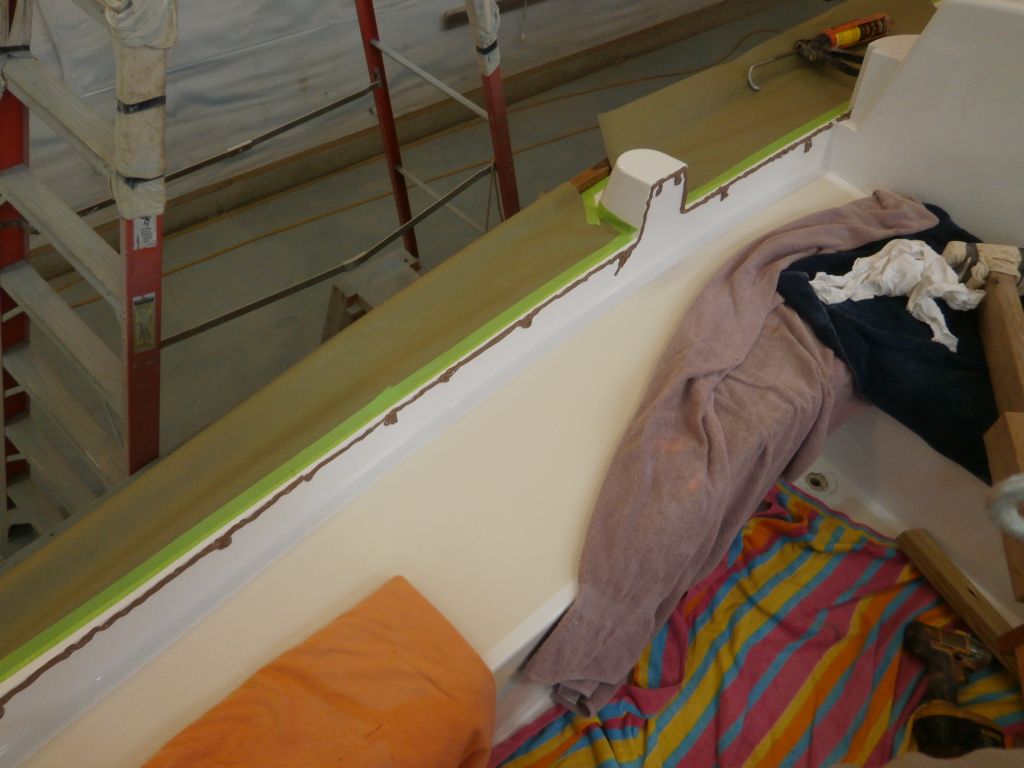
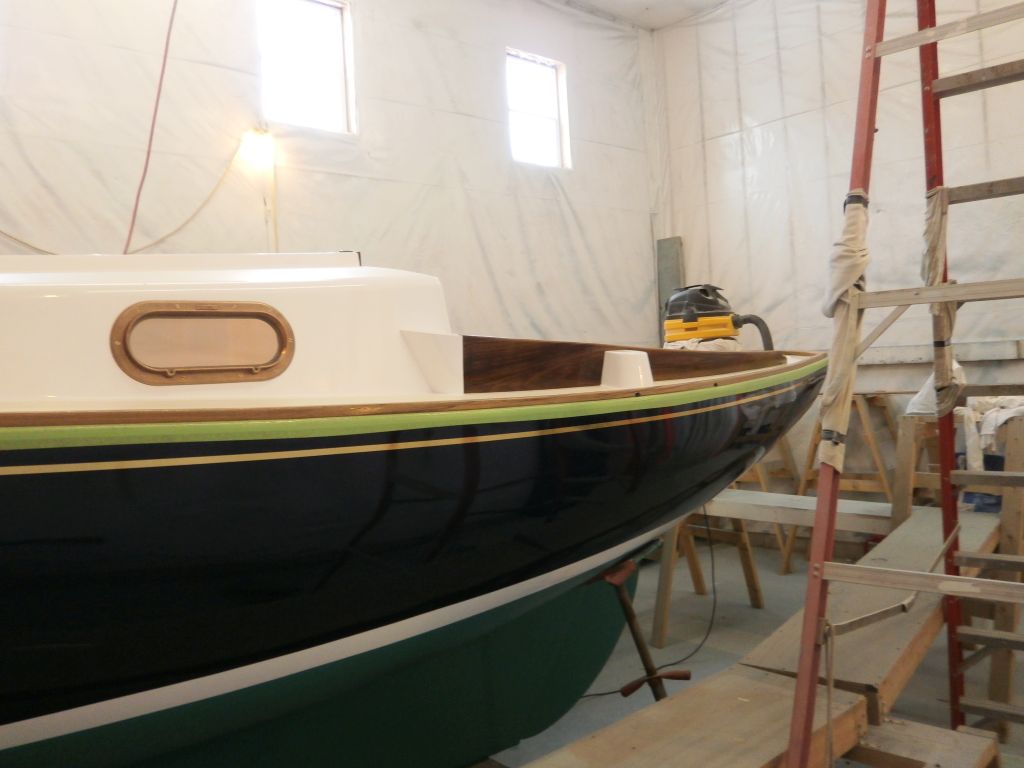
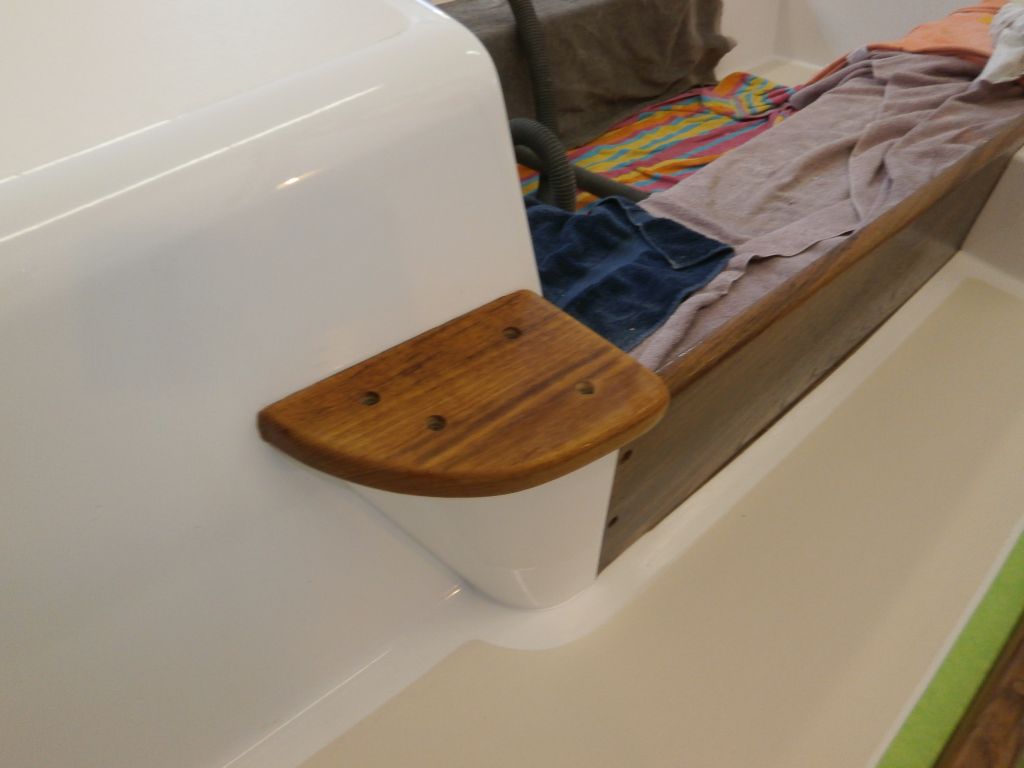
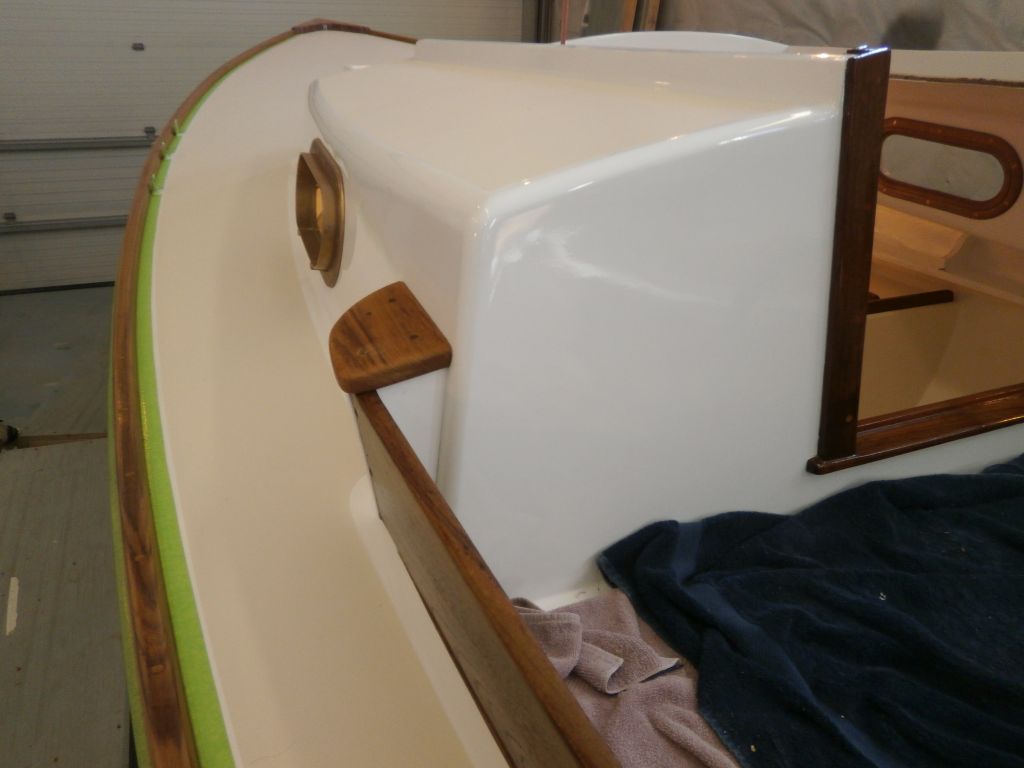
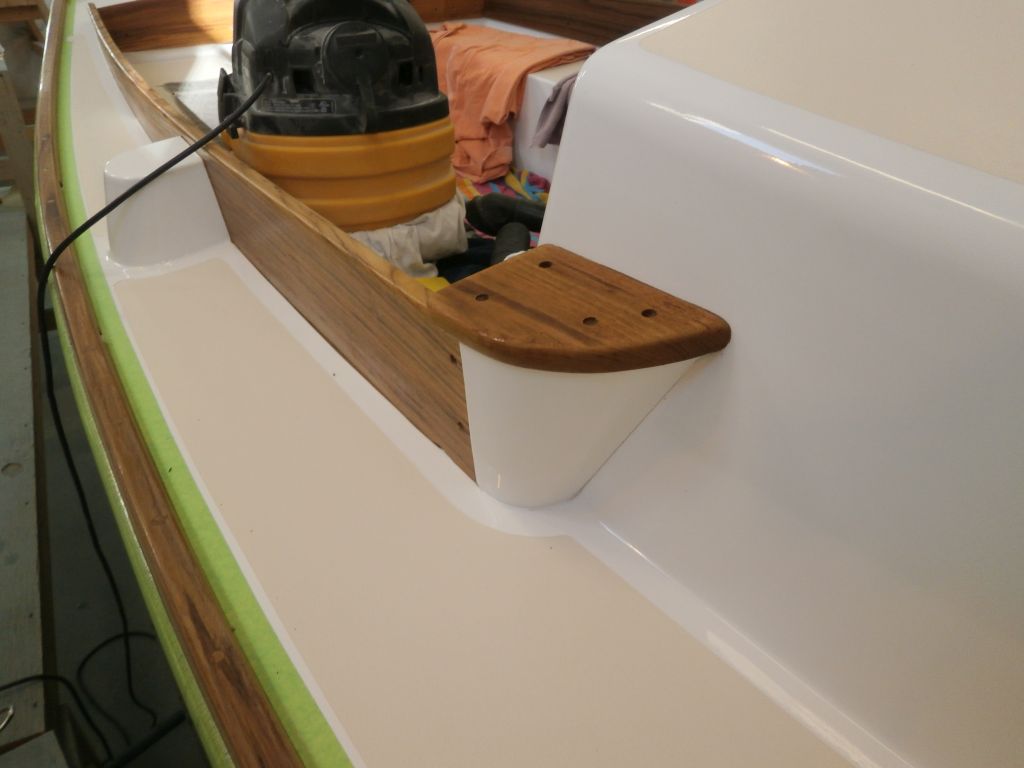
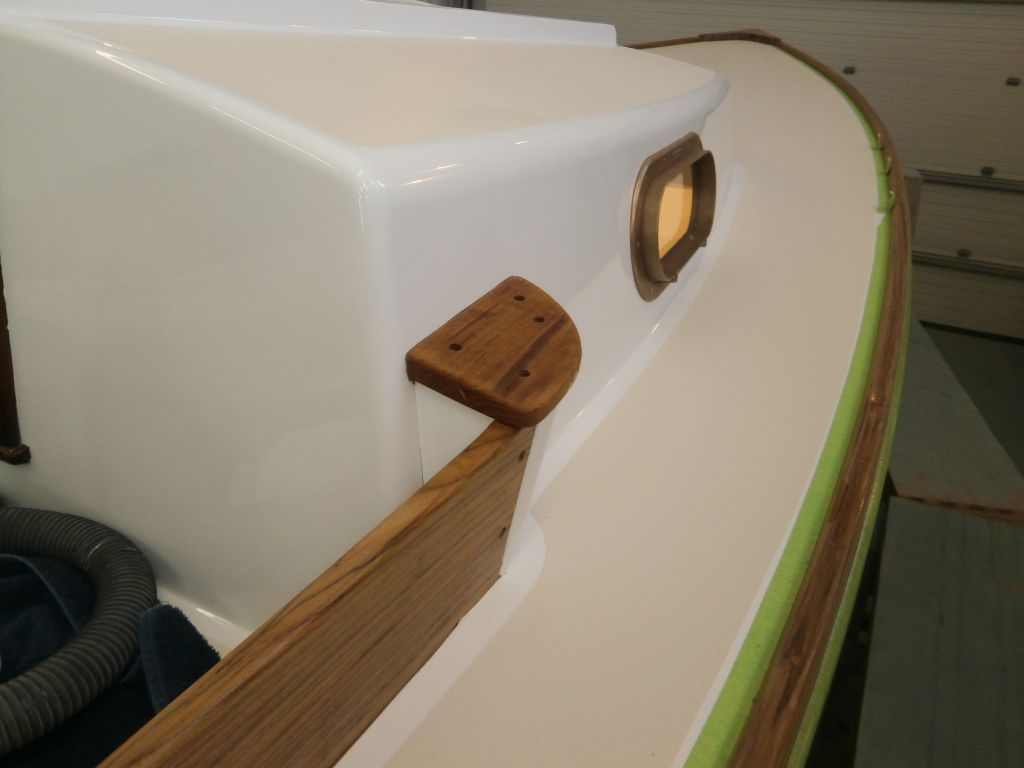
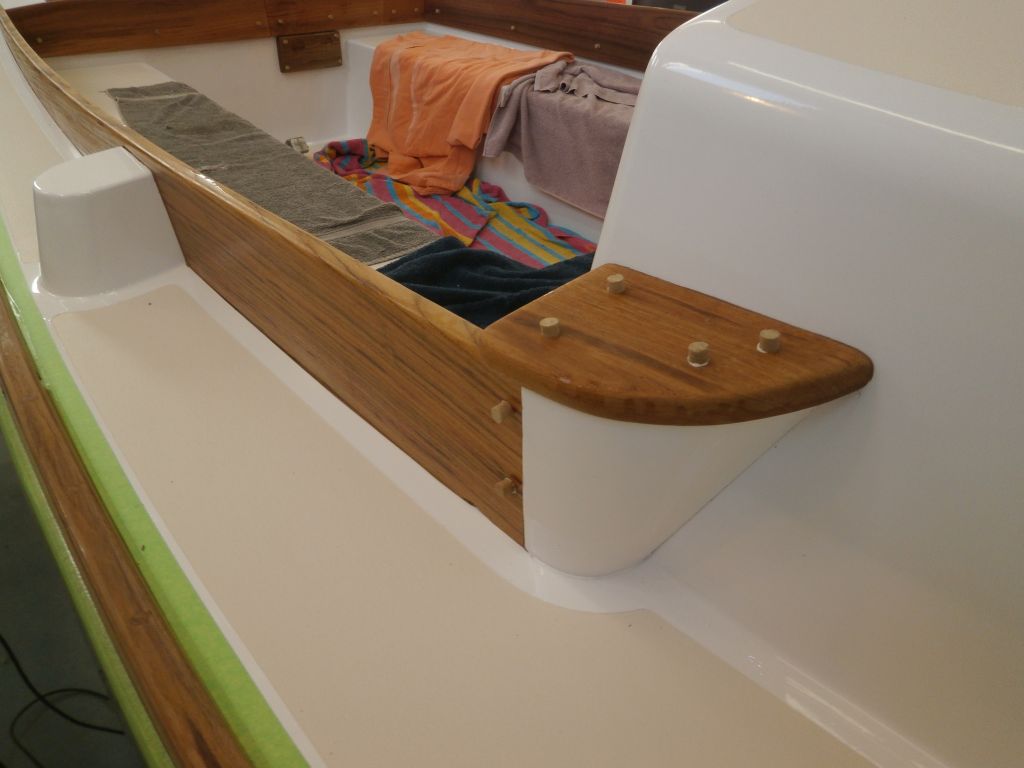
At the forward ends, to cap off the molded coaming return blocks, I installed teak caps that I'd made to match the originals. As with the other sections, I predrilled the bung-and screw holes first, then pilot holes into the return block, and finally installed the pieces with sealant and screws.
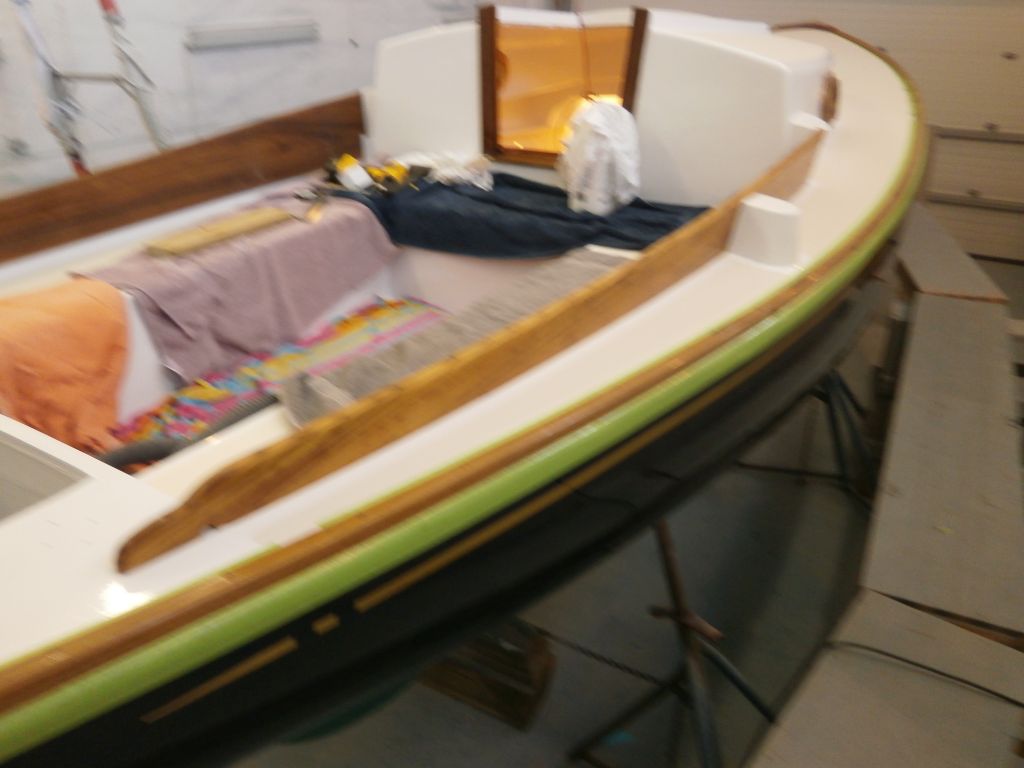
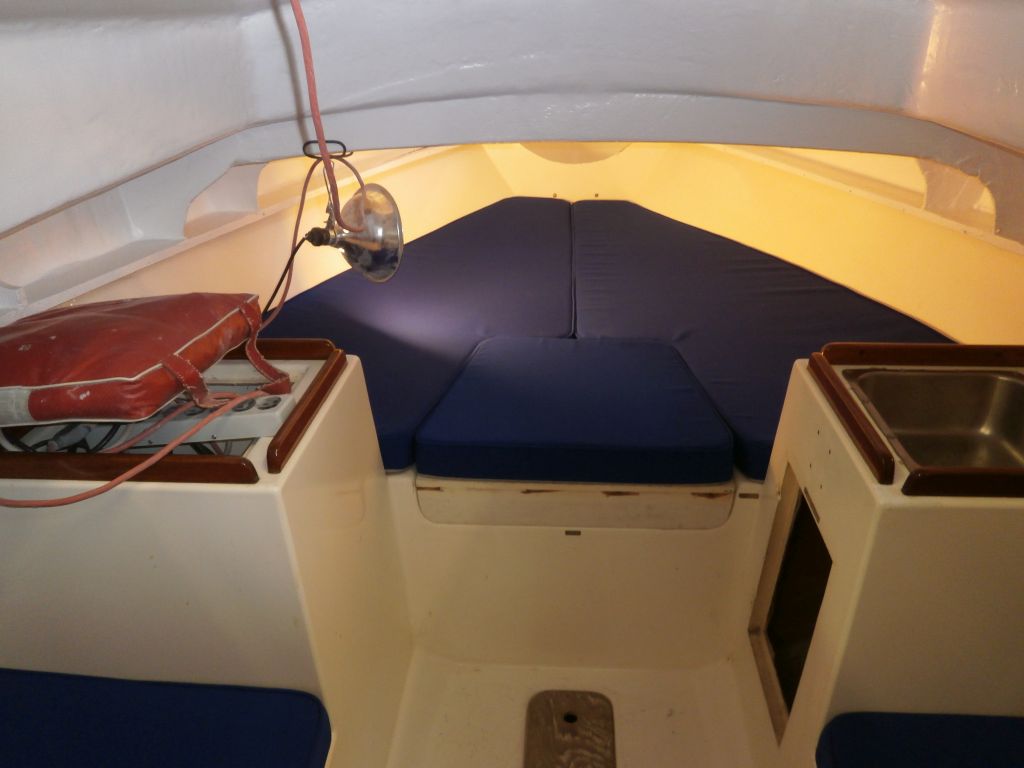
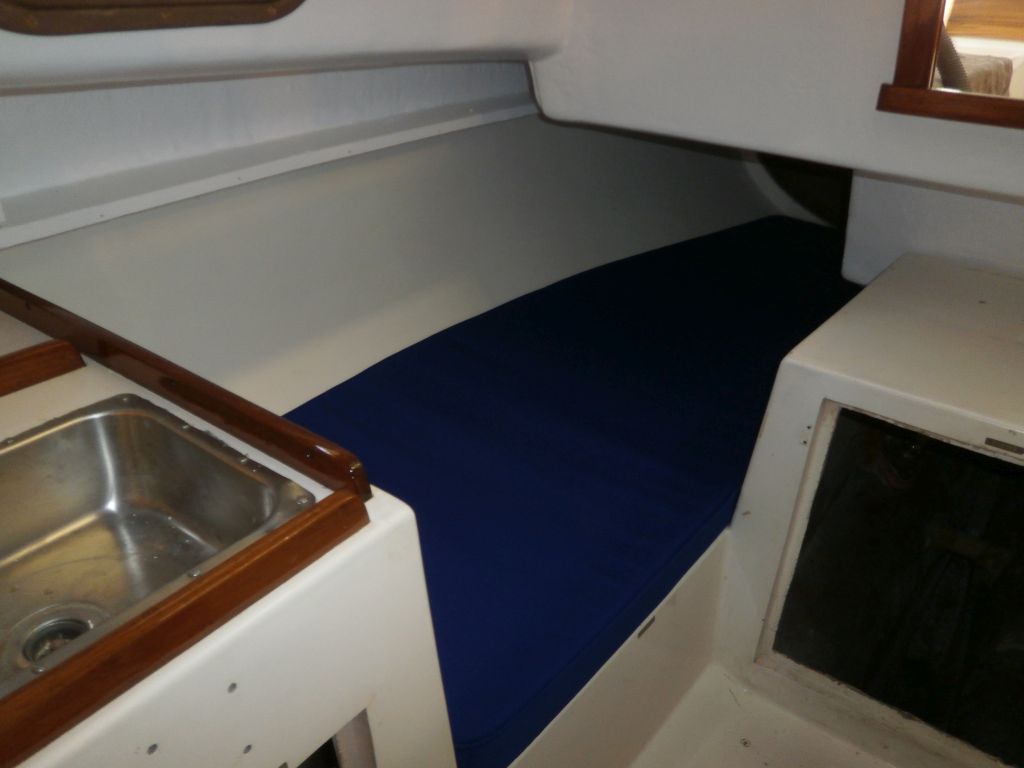
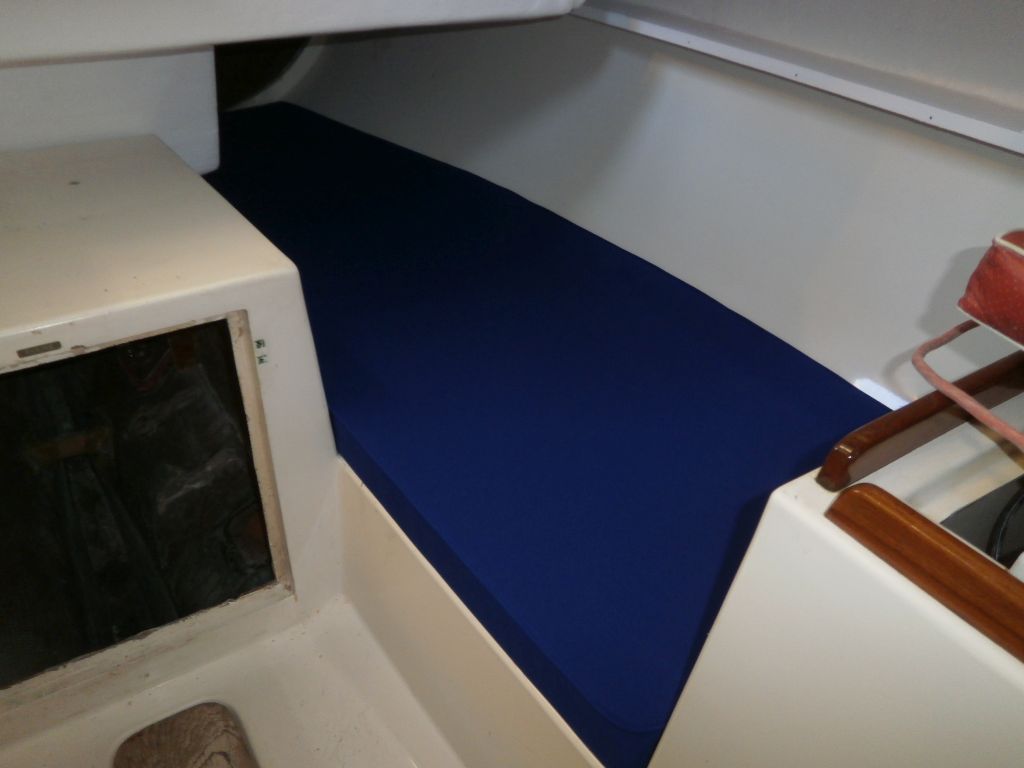
The new interior cushions, fashioned from a Sunbrella fabric called True Blue, arrived from the upholsterer. After a test-fit, I stored them safely elsewhere for the duration of the project.
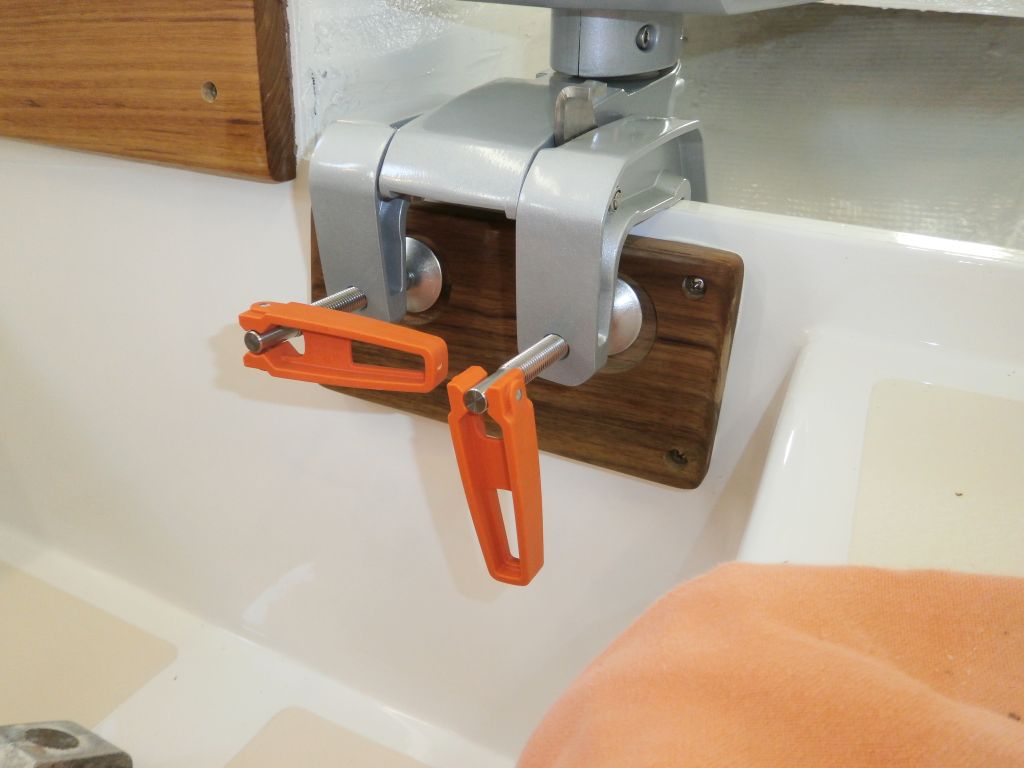
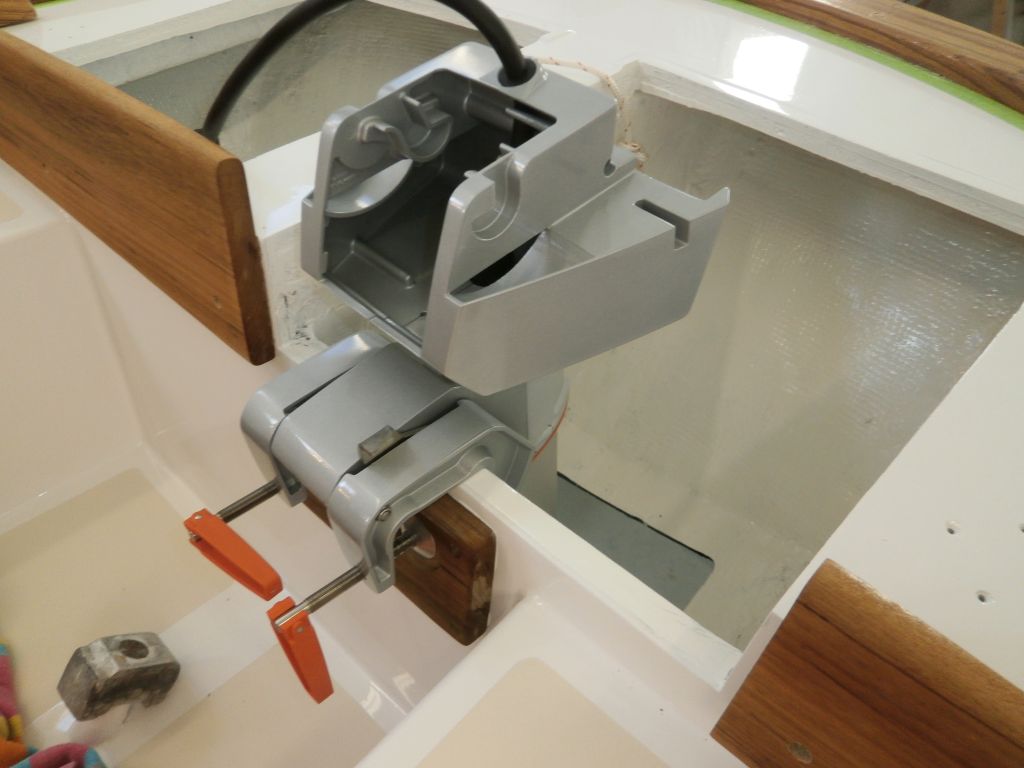
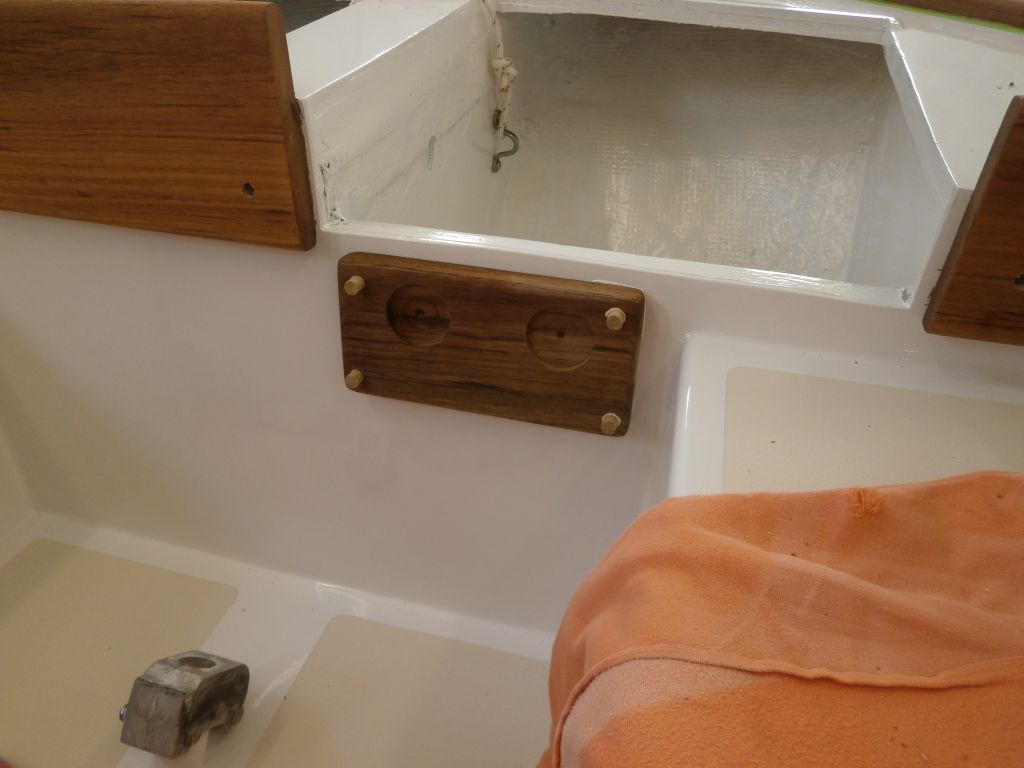
To help secure the outboard motor, and prevent undue slippage of the clamps, I made a bare teak block for the forward side of the engine well, located to accept the two motor clamps. As a further means of holding things securely, I bored two shallow holes to accept and align the clamp pads. I installed the block with four screws and some sealant.
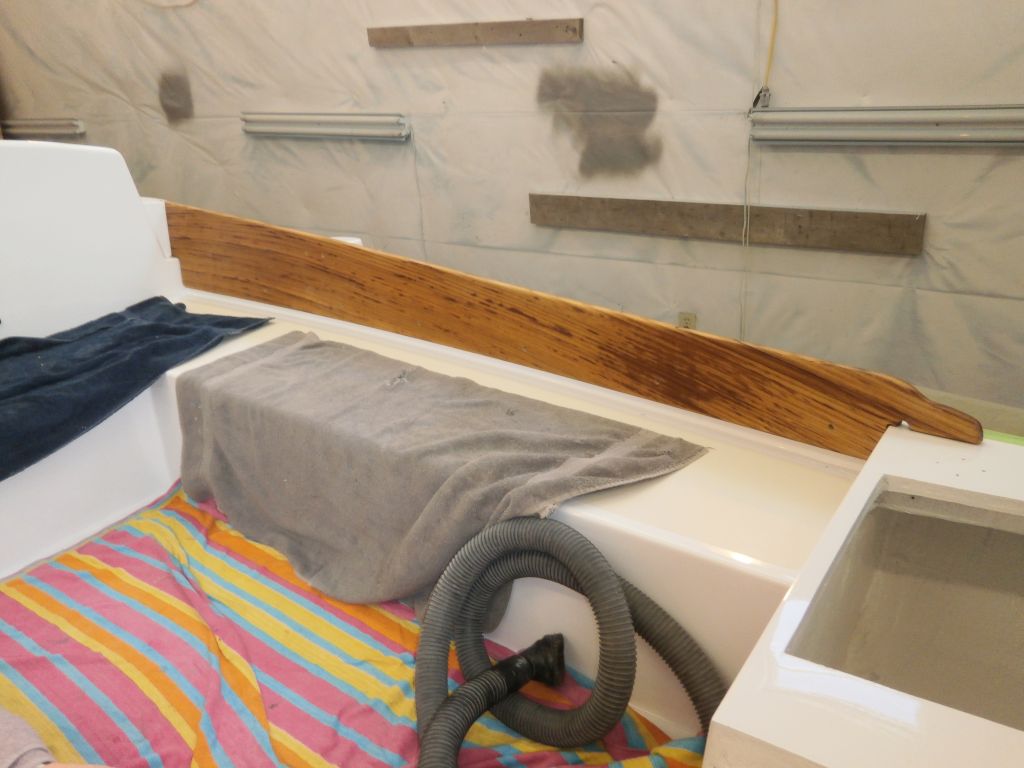
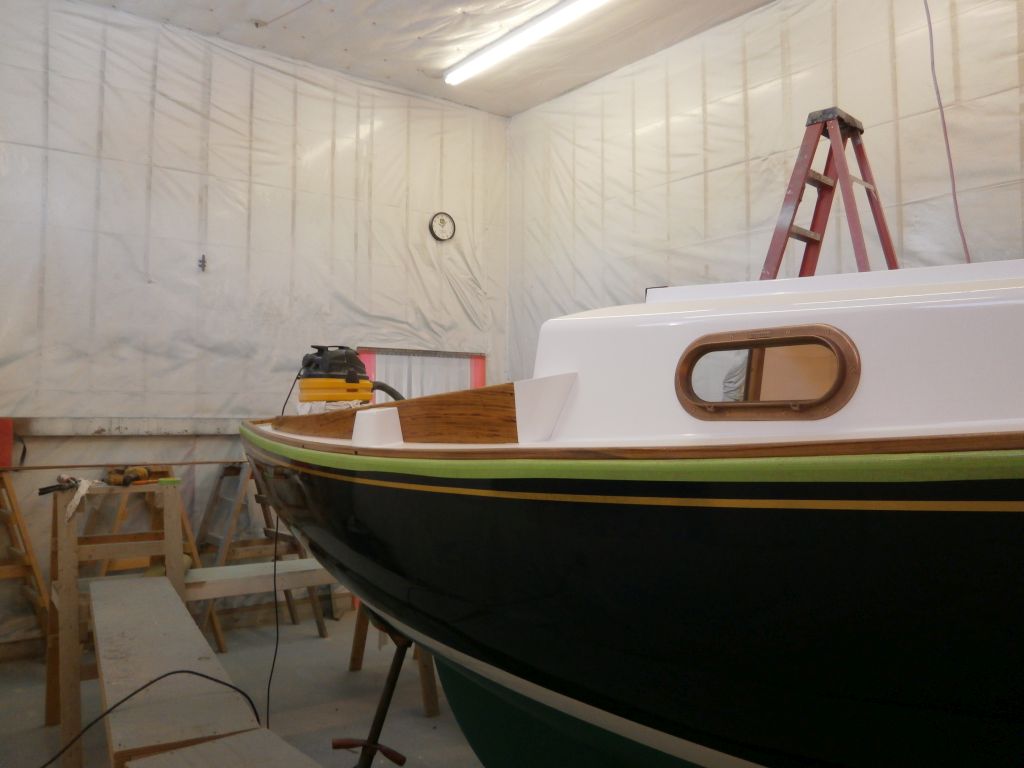
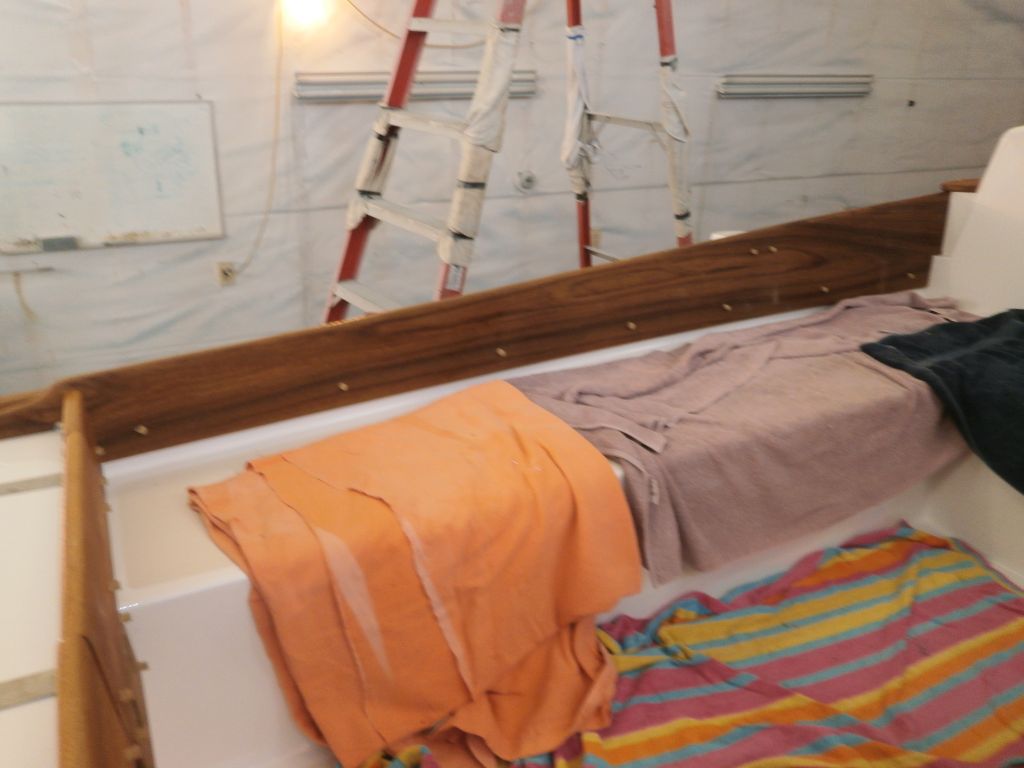
Next, I installed teak bungs in all the screw holes in the new coamings, and in all areas as required.
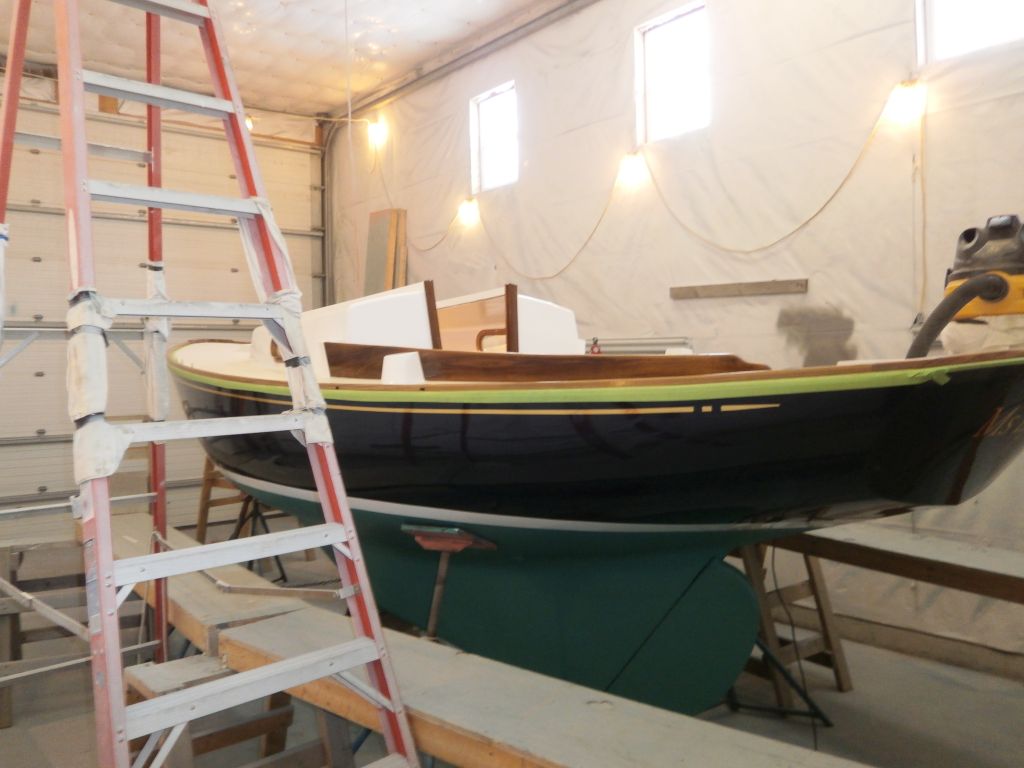
By now it was growing late, so I made final preparations for the toerails and a few other small brightwork bits, and applied another coat of varnish to these areas. Additional varnish on the new coamings would have to wait till I could trim the bungs and sand, and till the sealant had had a day or two cure time.


Total Time Billed on This Job Today: 7.75
Hours
