| Kaholee Refit |
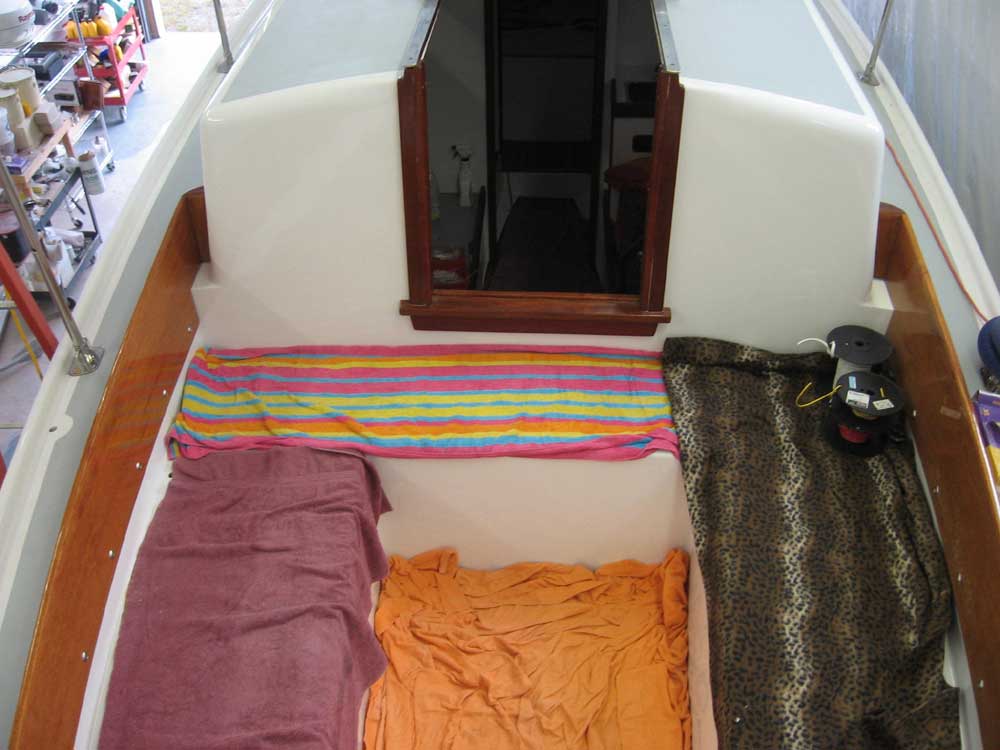
September 6, 2007 Today, I worked on a variety of things on board, from electrical to plumbing to trim. With the cabin sole complete, I recut and reinstalled the door trim between the saloon and the head; I had to shorten these pieces by about 5/16" to account for the new thickness of the cabin sole. Then, I installed trim pieces, which I had previously milled and finished, to the door opening between the head and v-berth, to cover the plywood edges. |
|
|
I spent a little time on the plumbing system, mainly to determine how to mount the two faucets required at the galley sink. An older brass hand-pump faucet that had been in the boat before seemed to be inoperable, with loose parts rattling about inside. I dismantled it to find a stainless steel check ball, but couldn't determine how or where it was supposed to be, and couldn't access the base of the faucet. Since it seemed as though this faucet might not be usable, I refrained for now from installing it, though I left room for this or another hand-pump manual faucet to be installed later. I did install the hot/cold faucet intended for port use with the pressure water system, a simple matter of drilling a couple holes through the countertop for the faucet supplies. Then, I applied sealant around the base of the faucet and installed it permanently. I left it slightly off center to accommodate some sort of additional manual faucet later. While in the process, I noted several adapters I'd need for the eventual plumbing, and placed an order for the required pieces so that they'd be on hand when needed. |
|
|
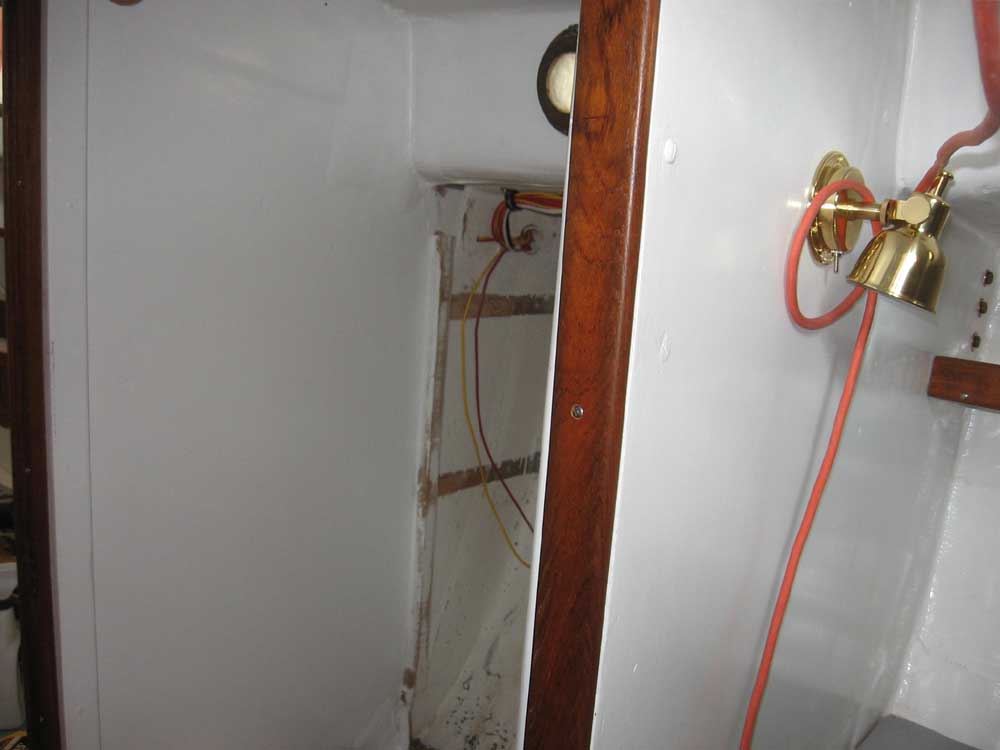
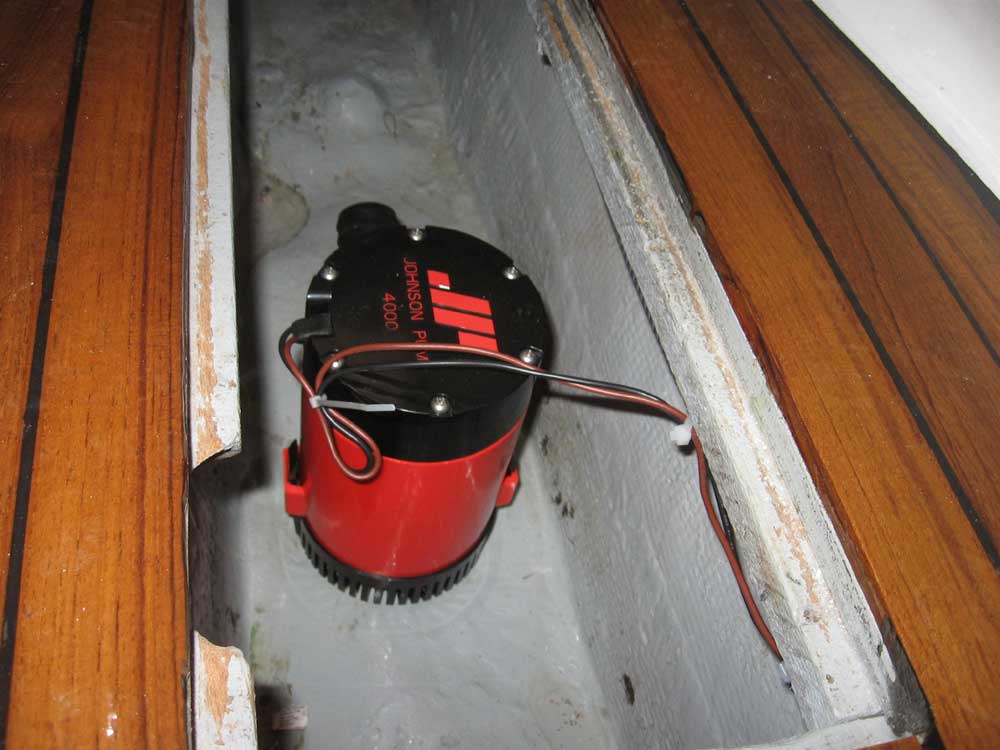
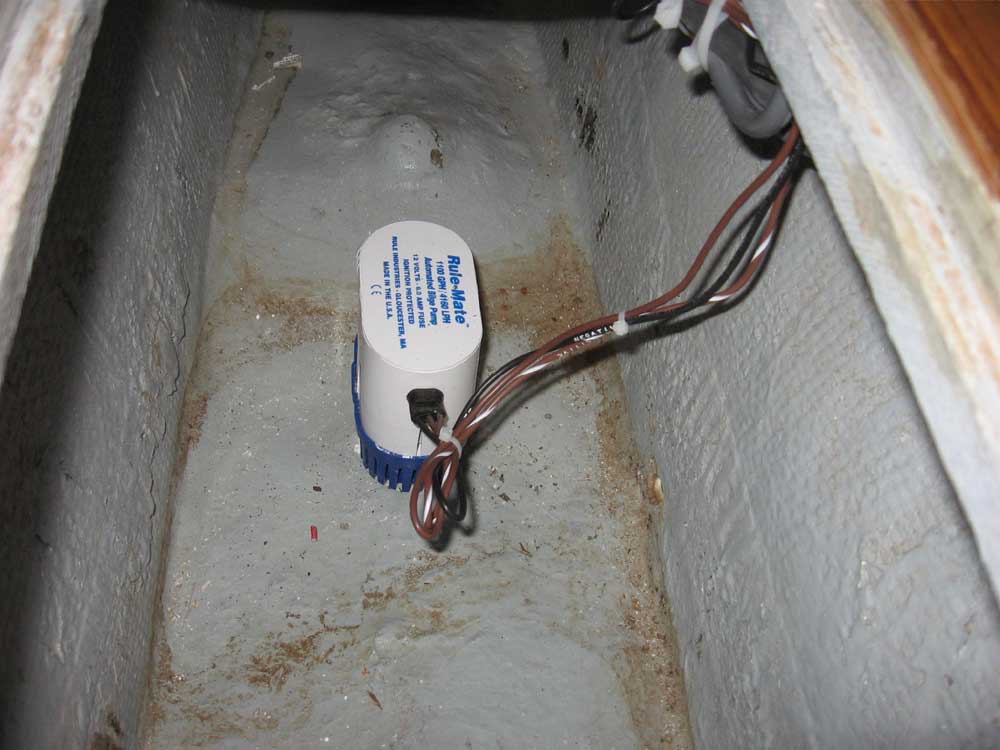
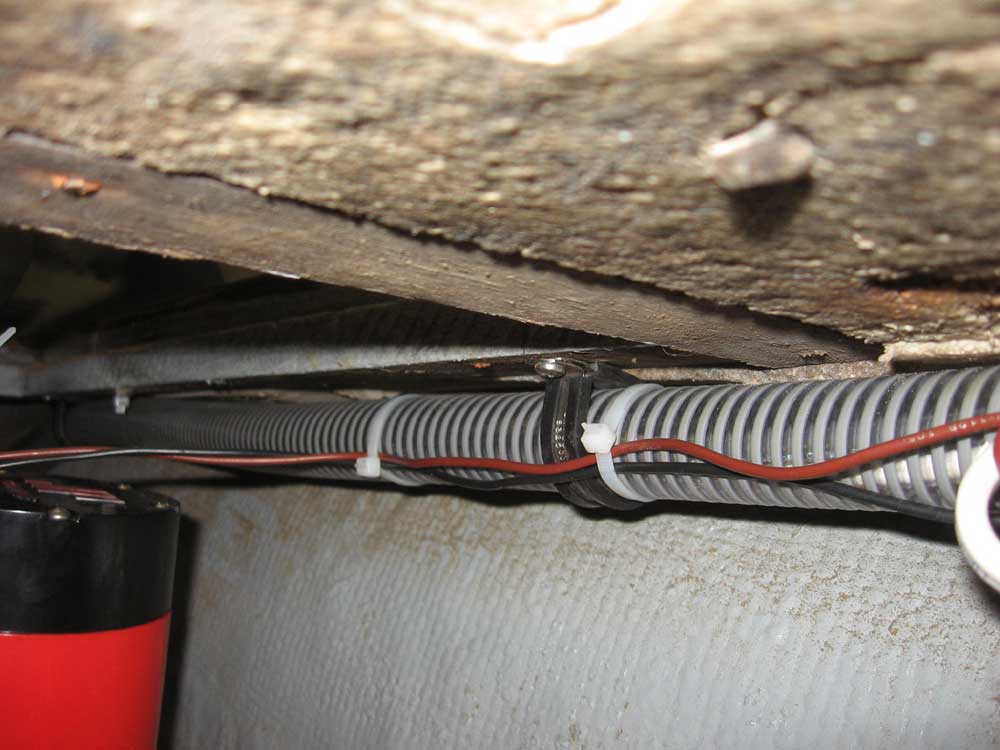
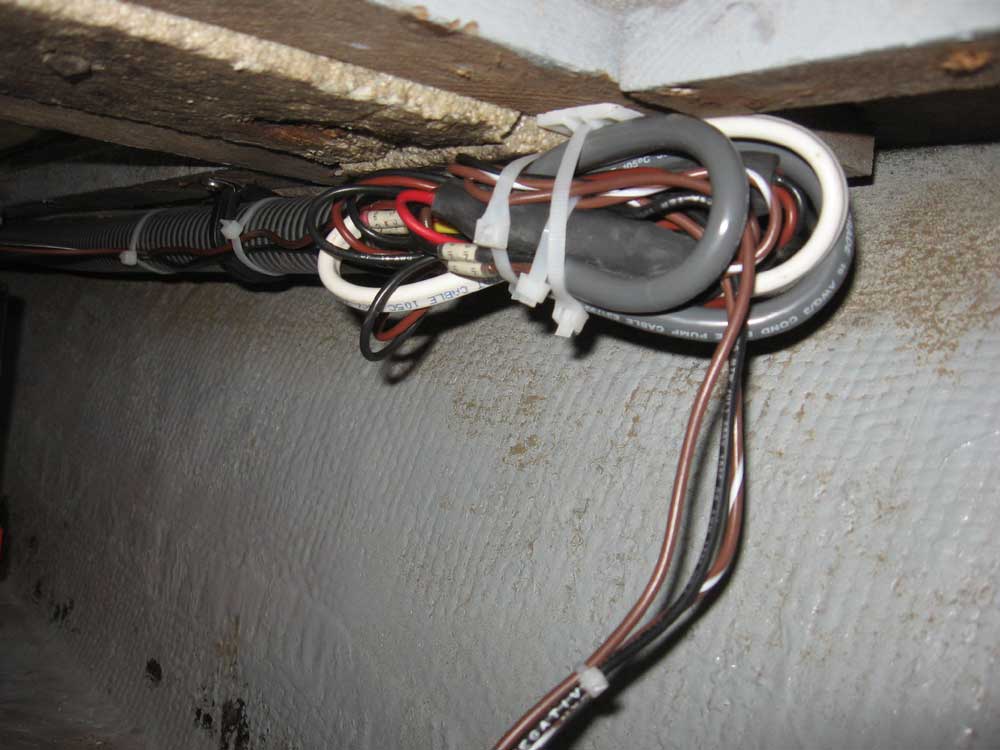
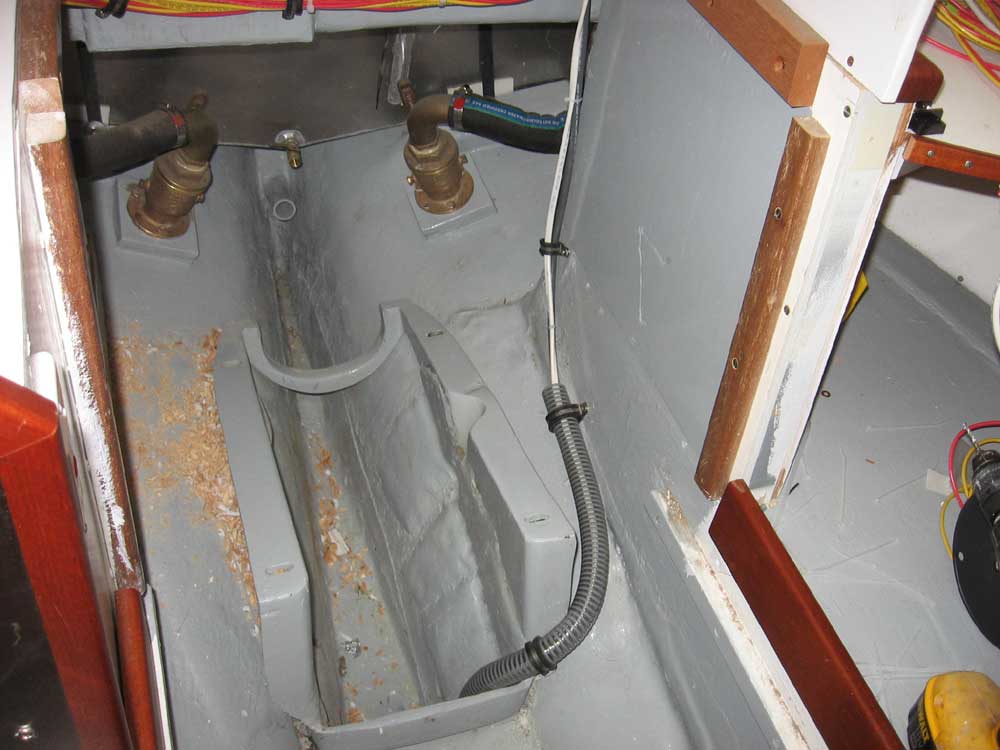
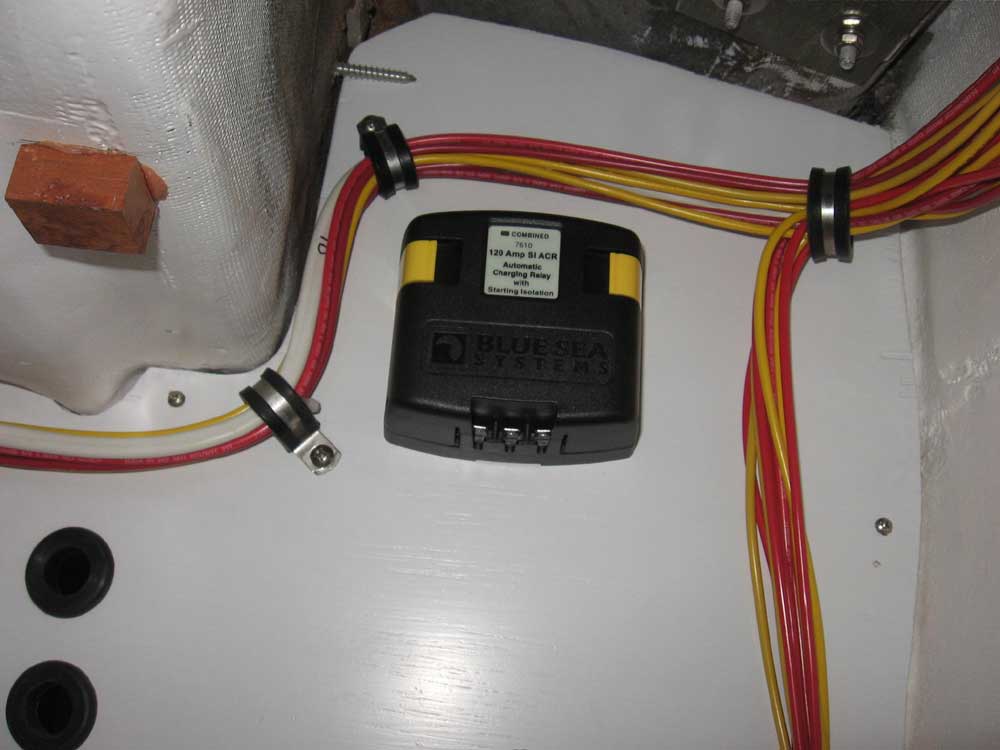
Next, I installed two electric bilge pumps: a Rule 1100 GPH automatic pump (with built-in float switch), and a Johnson 4000GPH emergency pump. I installed the smaller pump at the deepest point in the bilge so that it would handle all nuisance water and keep the bilge as dry as possible; I installed the larger pump a bit further aft, where the bilge was shallower, since this pump is intended only for emergency dewatering. In each case, I secured the pump bases to the bilge with short screws and sealant. Now it was time to wire the bilge pumps. I like to minimize the opportunity for moisture in the bilge to affect the requisite wiring for the pumps, and so for this purpose, as well as to provide a safe and protected wire chase for the wires, I installed a length of 1" hose between the engine room and the bilge, securing it with stainless/rubber lined clamps to the underside of the cabin sole. Through this hose, I ran a sheathed 2-conductor cable for the emergency pump (which has on/off switching only), and a 3-conductor sheathed cable for the automatic pump. I made all the wiring connections with the usual number labels and adhesive-lined heat shrink connectors, and then to further protect the wire connections I installed a length of heavy-duty heat shrink over the entire spliced area. Then I secured these connections as high as possible in the bilge. At the aft end of the wire chase, I led the hose and wires around the engine foundations and off to the port side, securing it as necessary before leading the cables up to the electrical panel area. |
|
|
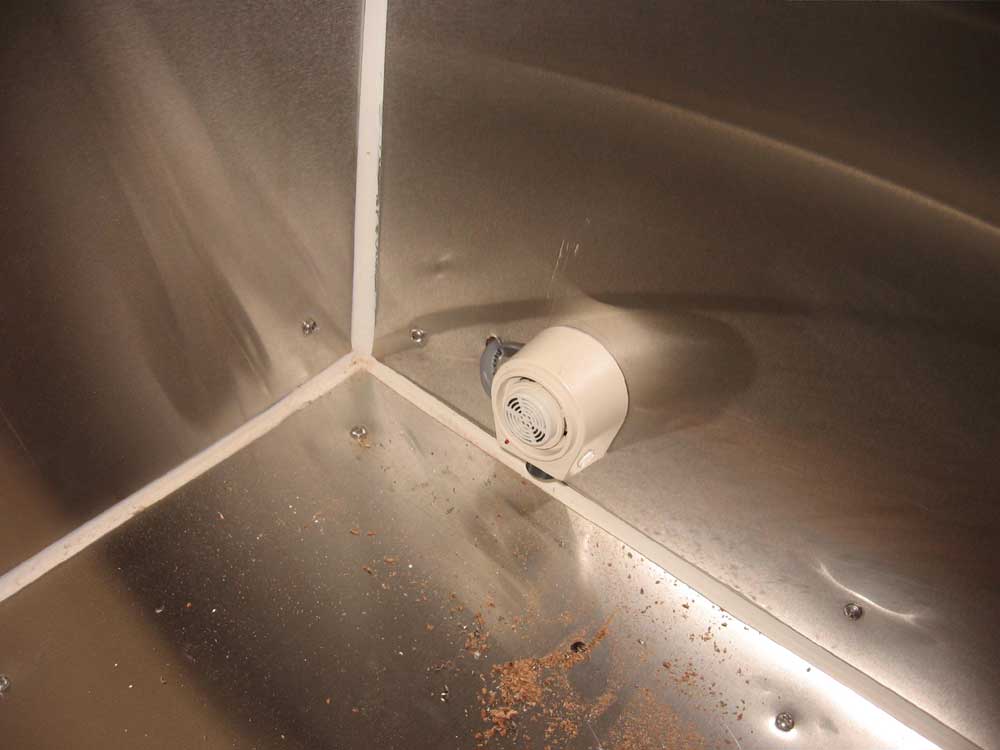
I discovered a few additional wire runs that I had to make: wires for the 12-volt solenoid switch for the propane system, as well as for the propane vapor alarm sensor. I ran a pair of wires from the panel to beneath the poop deck, where I left abundant cable for eventual connection later (the propane tank(s) are to be located somewhere aft); then, I ran some leftover 3-conductor cable to the stove surround, where I installed the LPG vapor alarm sensor in the back corner. |
|
|
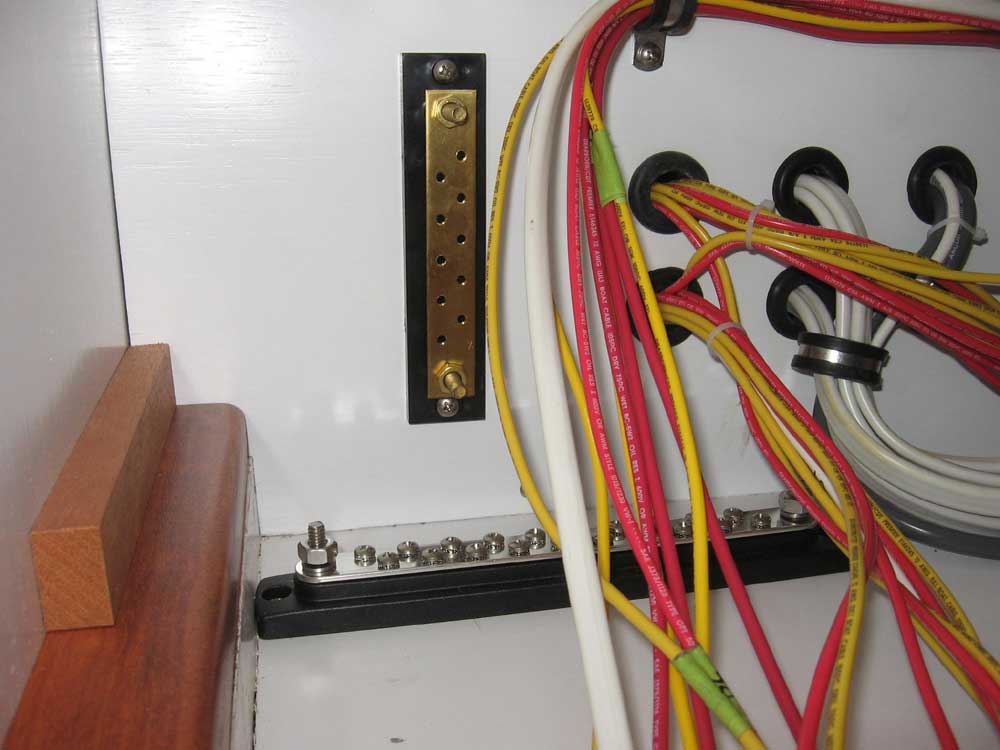
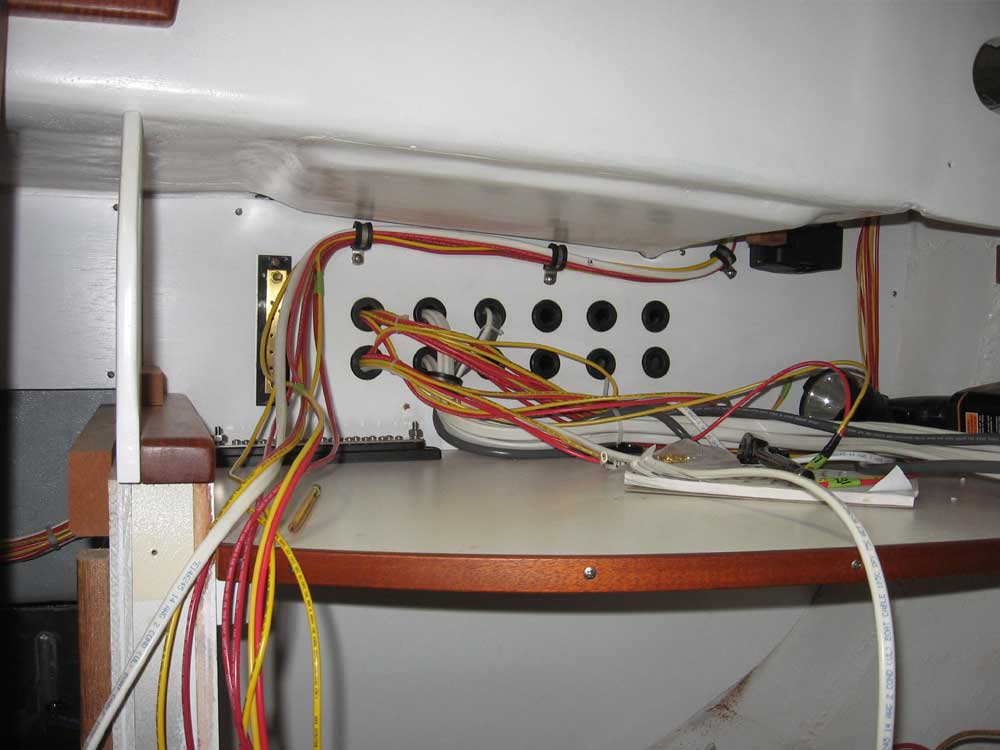
I spent most of the rest of the day working on finalizing some of the wire runs, and beginning to organize and clean up the wires coming into the panel area at the nav station. My first step was to isolate the wires for the various cabin lights, since with so many conductors I like to lead them all to a separate positive buss before making a single connection to the circuit breaker on the actual panel. Then, I determined how to route these specific wires, and where to locate the buss to best advantage. I installed this positive buss, plus a negative distribution buss (grounding bar), and clamped some of the wires into their final position. |
|
|
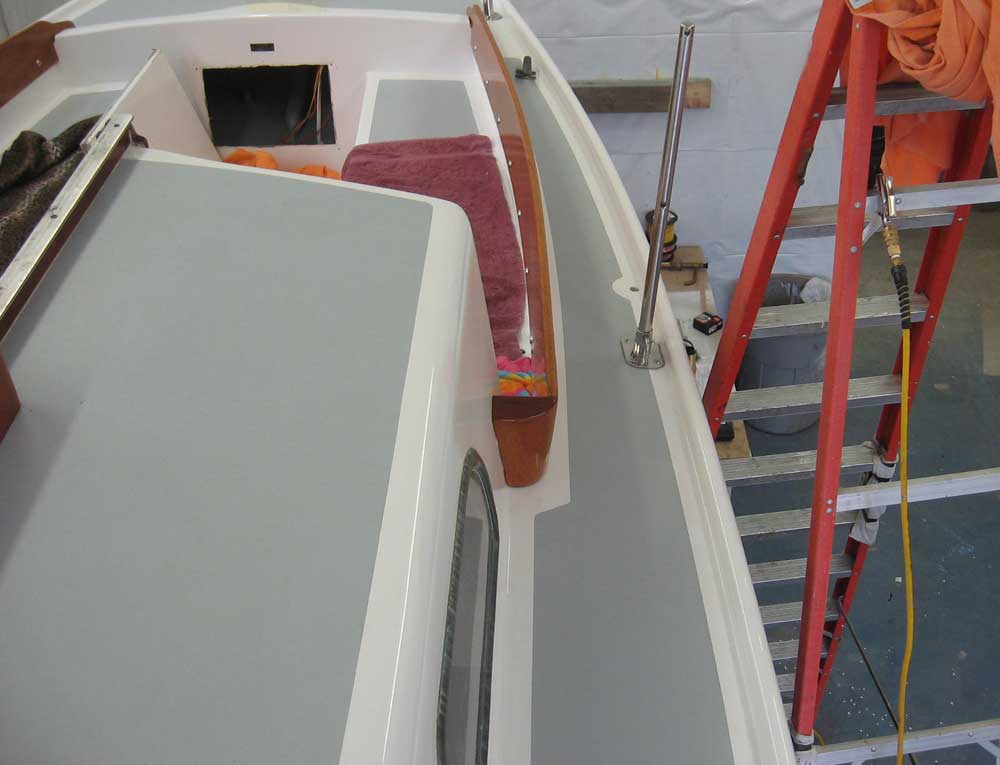
It was getting late, and I wanted to install the new cockpit coamings, so I decided not to get into any of the final wire connections at this point. Instead, I focused on the coamings, which I wanted to install now for a few reasons: first, the boat's owner was coming for a visit starting on Saturday, and I thought the coamings would look nice; second, they have to be installed sometime anyway; and third, they'd be needed in the near future as we work to design and have fabricated a new dodger and bimini for the cockpit, with the initial meeting with the canvas shop scheduled to occur on board on Monday morning. On each coaming, I first used one screw to temporarily pull the coaming into the curve against the cockpit side, so that I could mark where the coaming blocks contacted the cabin trunk. Once this was done, I removed the coaming again and drilled two holes through the cabin trunk for screws that would secure the coaming block from inside the cabin. I applied sealant to these areas, and then permanently installed the coamings. |
|
|
|
|
|