| Kaholee Refit |
April 11, 2007 I worked on the new coamings first thing, so that I could free up some of the mahogany at the ends of the raw coaming boards. I used some old coamings that I had on hand from another boat as general patterns, after determining that they fit Kaholee as well. (Kaholee's original coamings were in such poor condition that I had a hard time using them as patterns.) I just cut out the basic shape and set the coamings aside for now; this freed up 3' sections of the 13" wide boards that I needed for other uses. |
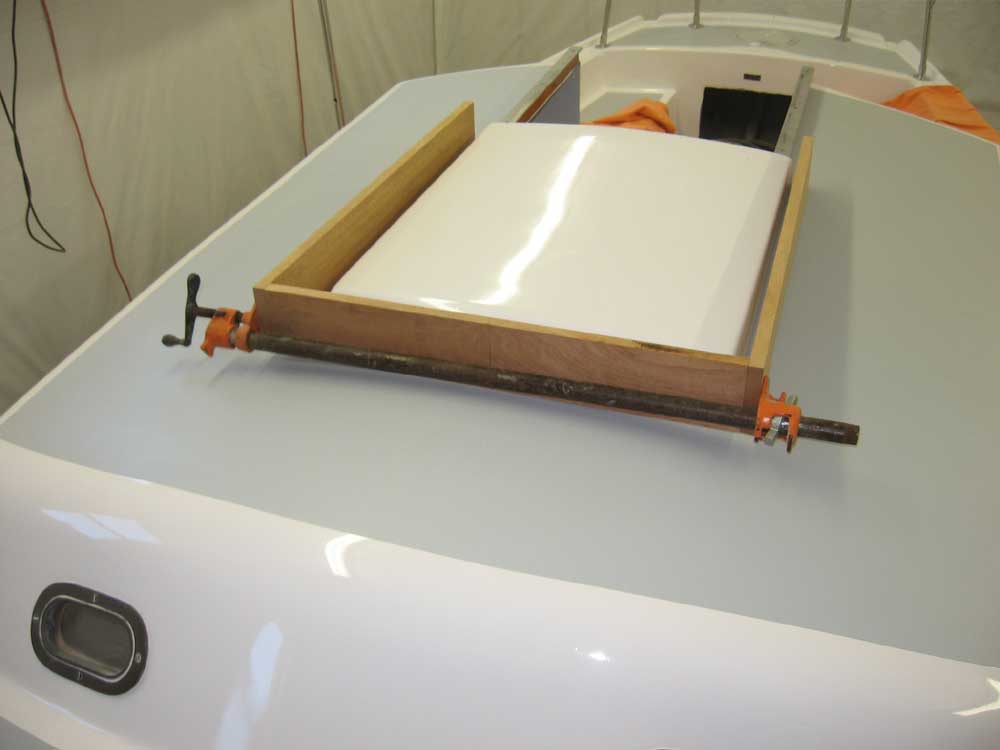
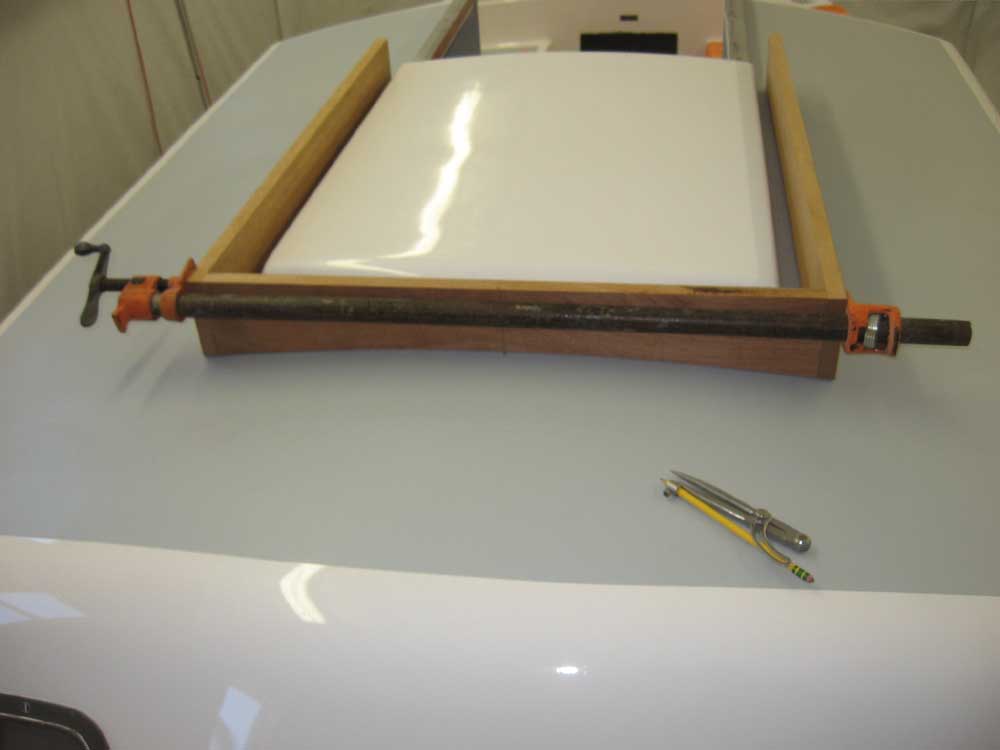
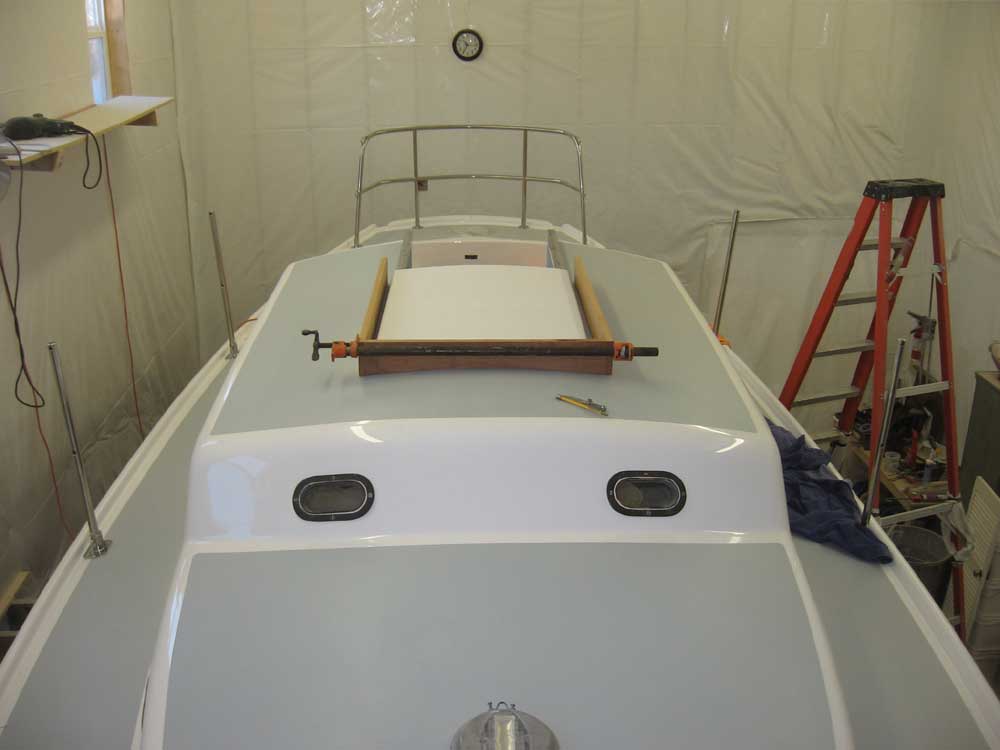
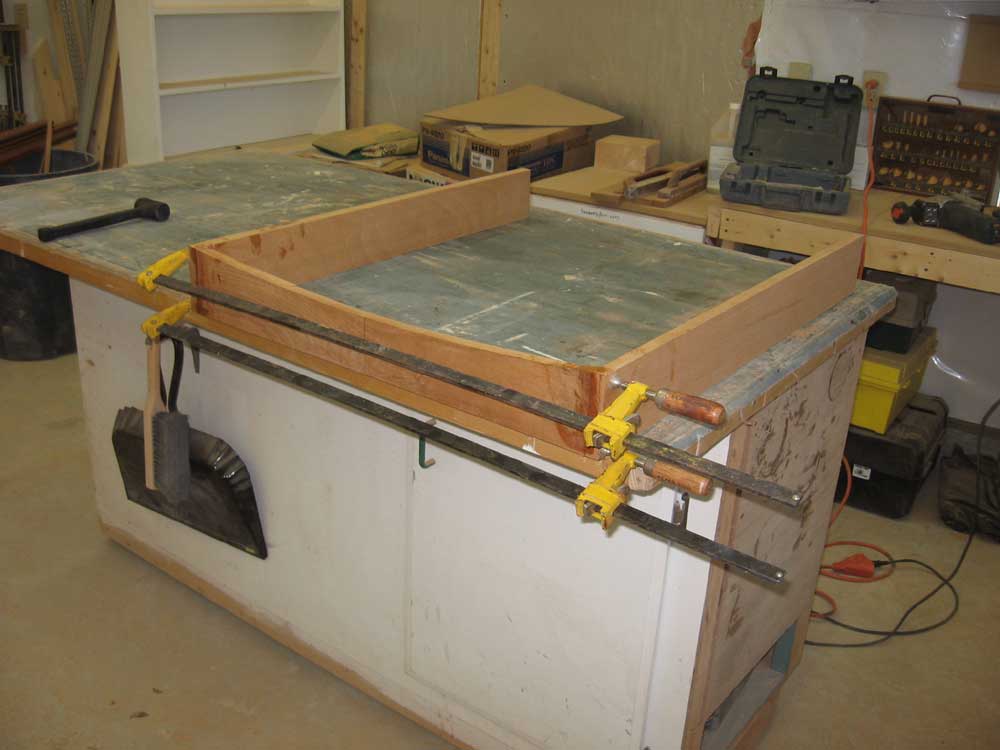
Next, I got to work on the sea hood. After double checking yesterday's measurements, I cut the two side pieces to size, and cut a bevel on the bottom edge that matched the deck camber. Then, I determined the width I needed for the sea hood and cut the end piece at the forward end, and clamped it temporarily in place between the two sides so that I could scribe the camber on this transverse piece; after cutting the curve, the raw frame of the new sea hood fit snugly to the deck on all three sides. |
|
|
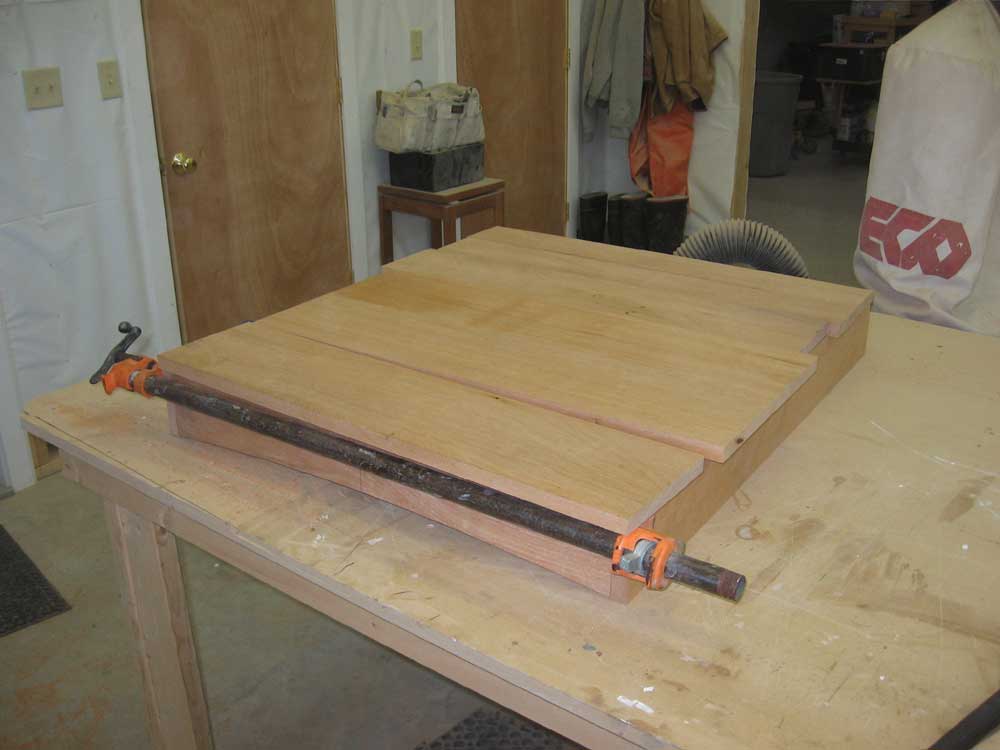
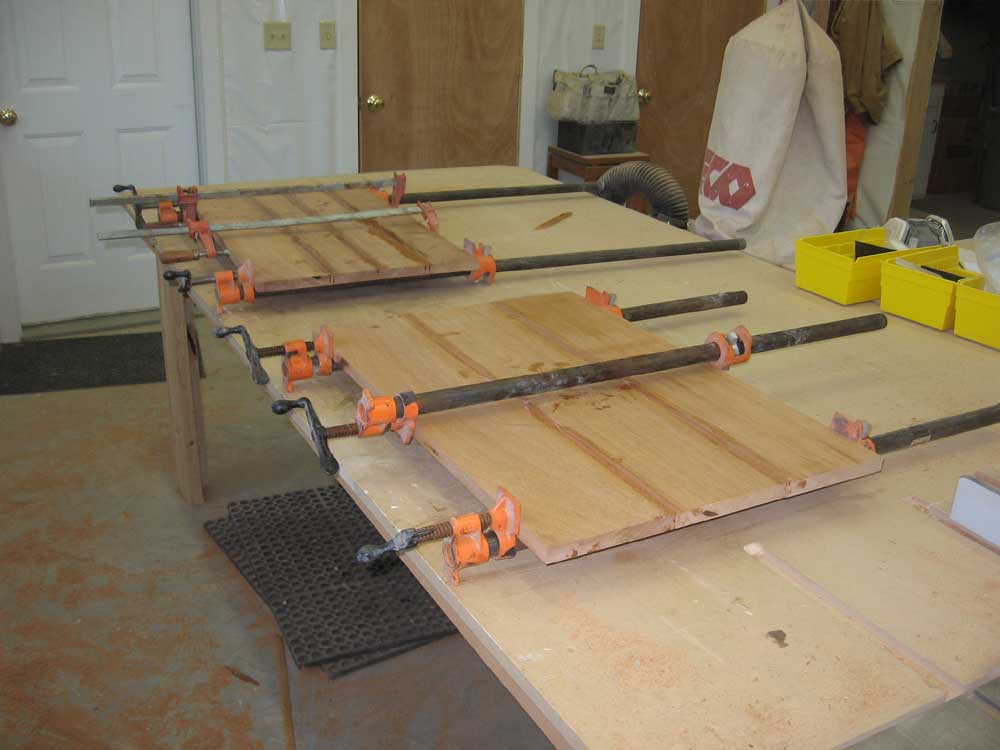
With the cutoffs from the coaming boards, as well as some other stock, I cut enough pieces to make a glued-up panel for the top of the sea hood. I made two separate glued-up sections, one containing four boards, the other three. I edge glued the boards with epoxy, and set the two subassemblies aside to cure. I also glued up the frame for the seahood and left it to cure. Later, I'll glue the two subassemblies together to make one large panel for the top of the sea hood, but it was too large to glue all the joints at once. |
|
|
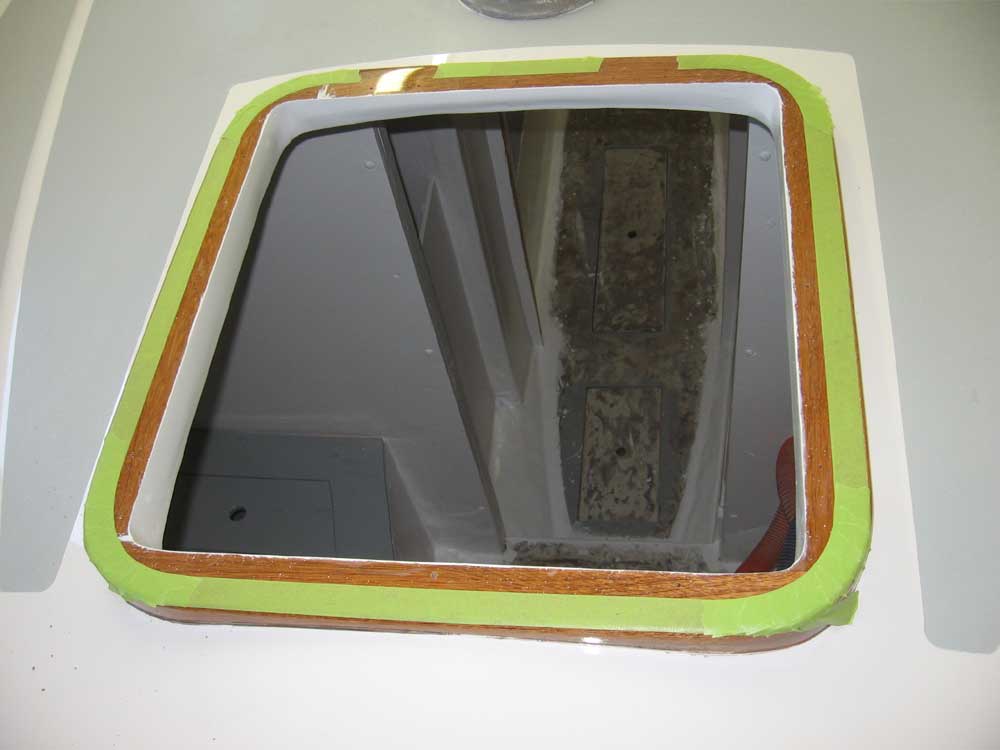
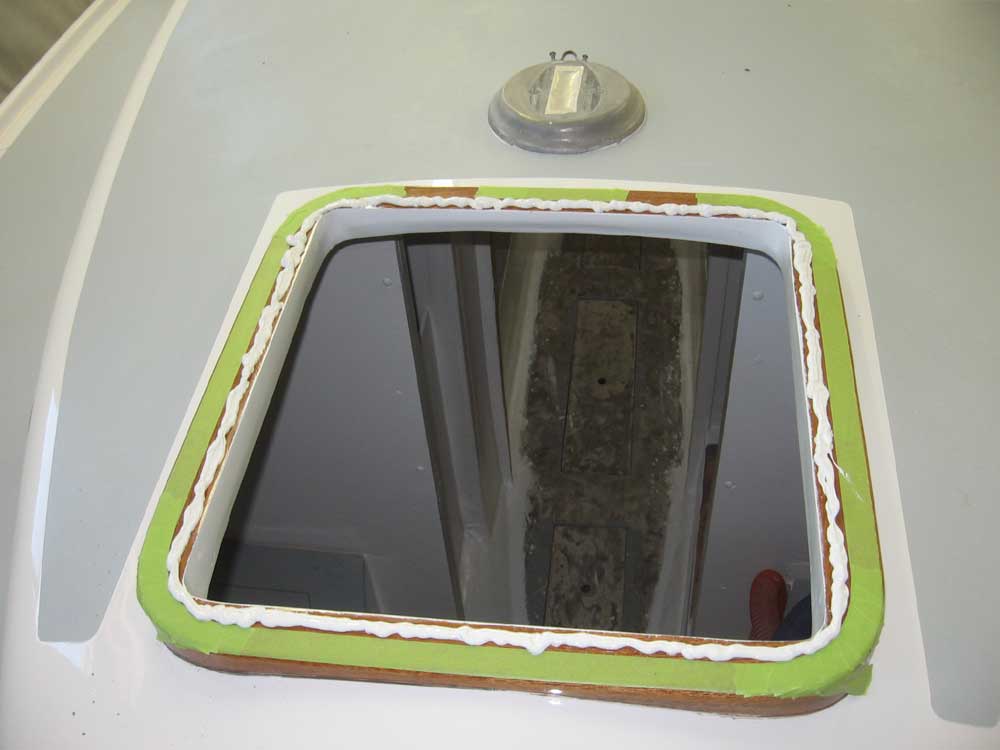
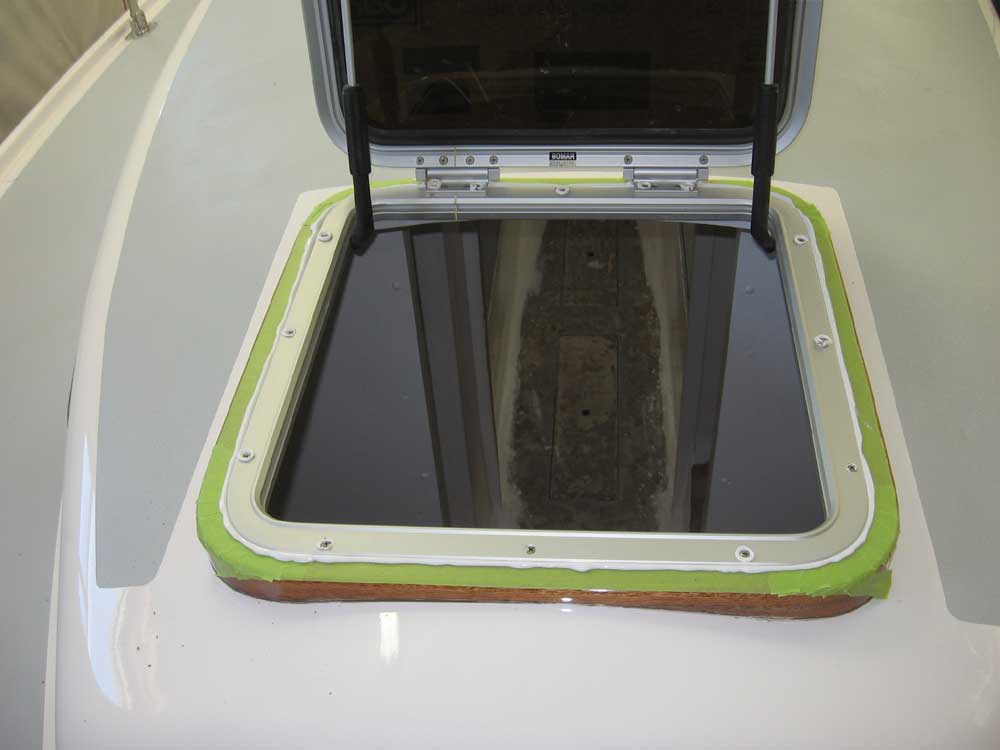
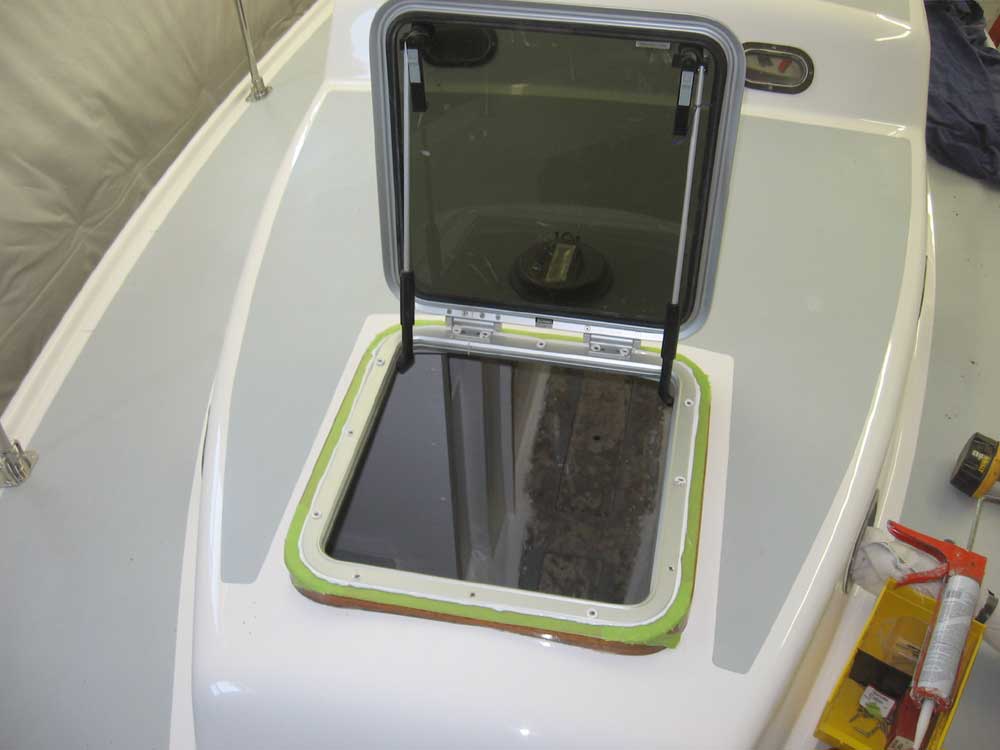
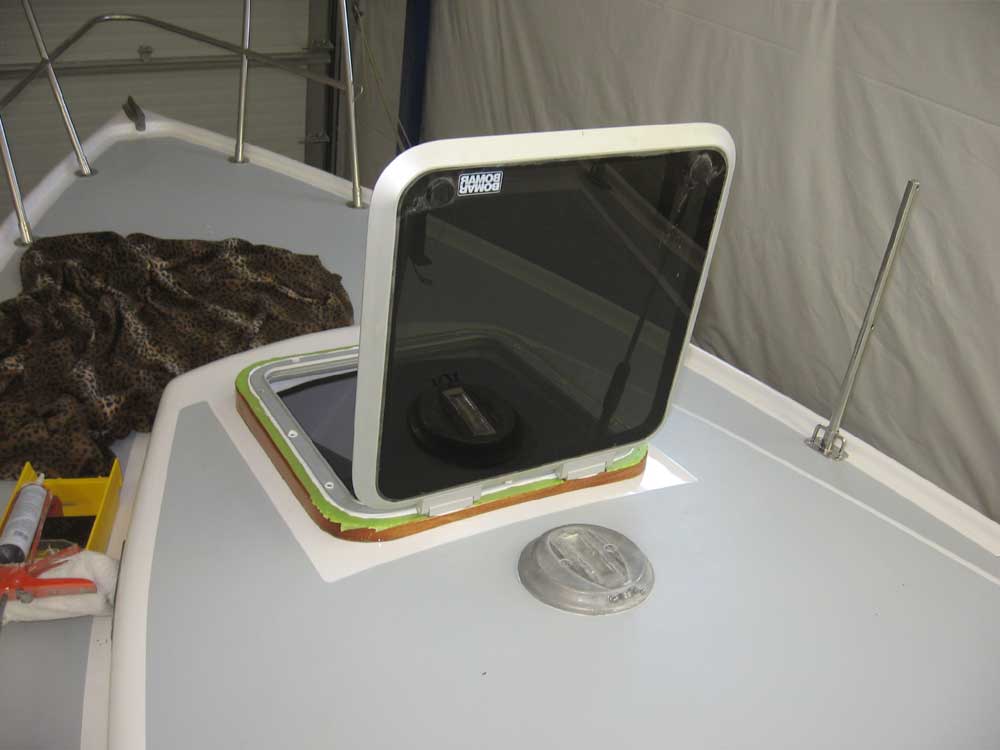
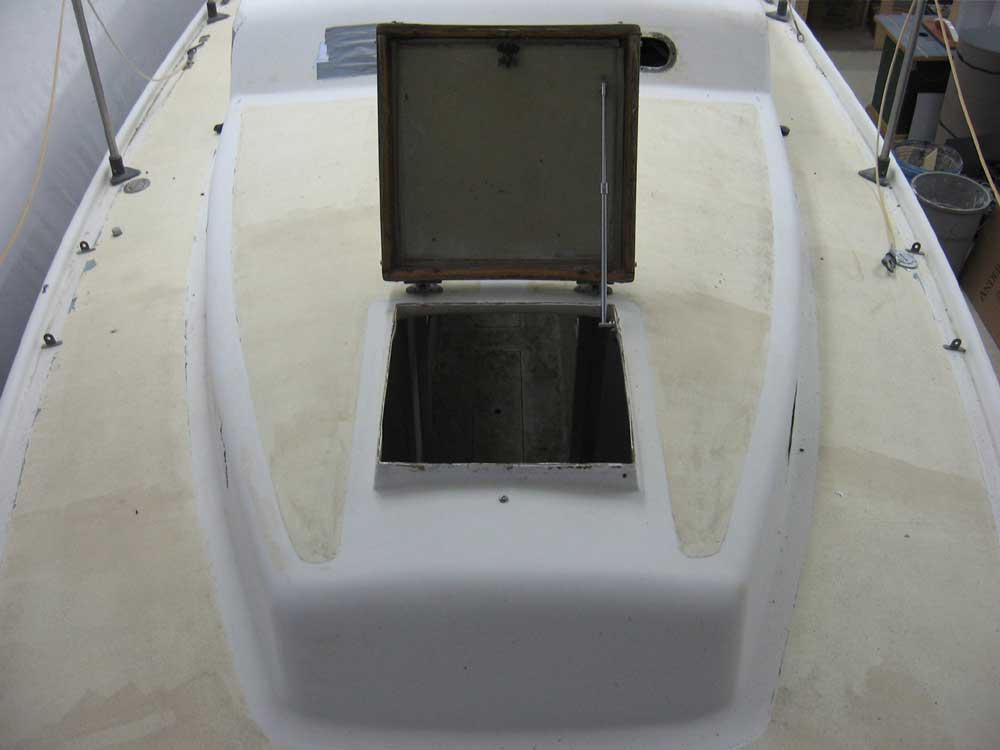
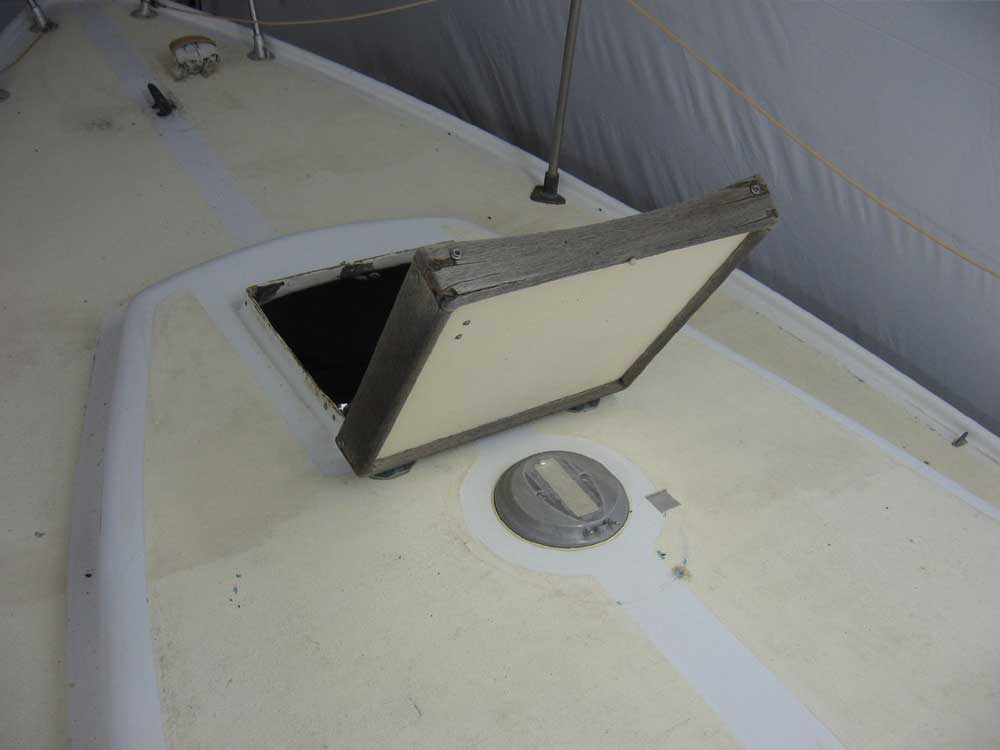
Next, I installed the forward hatch--a relatively straightforward operation. After testing the fit, I predrilled the fastener holes using a VIX self-centering bit in the countersunk screw holes in the hatch flange. I taped off the mahogany around the edge of the hatch flange, and then removed the hatch to apply a heavy bead of polysulfide. Then, I set the hatch in place and fastened it securely, leaving the caulk squeezeout to cure overnight or longer before removing. Lest we forget from whence we came, I have included a couple pictures of the old forward hatch (from December 4) directly beneath the new. |
|
|
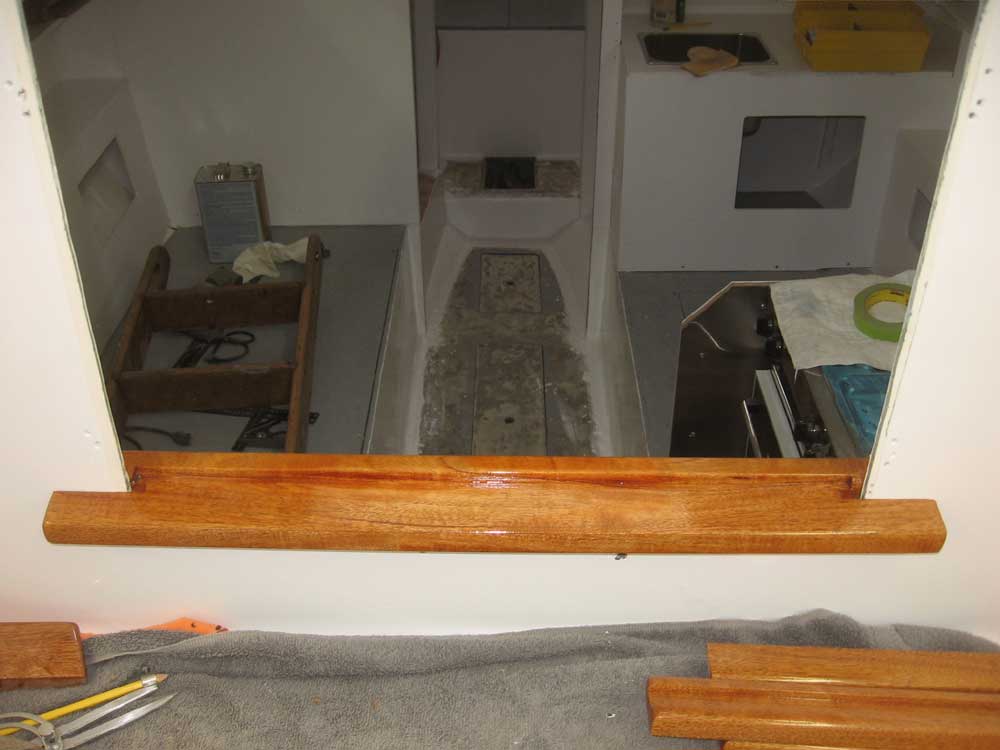
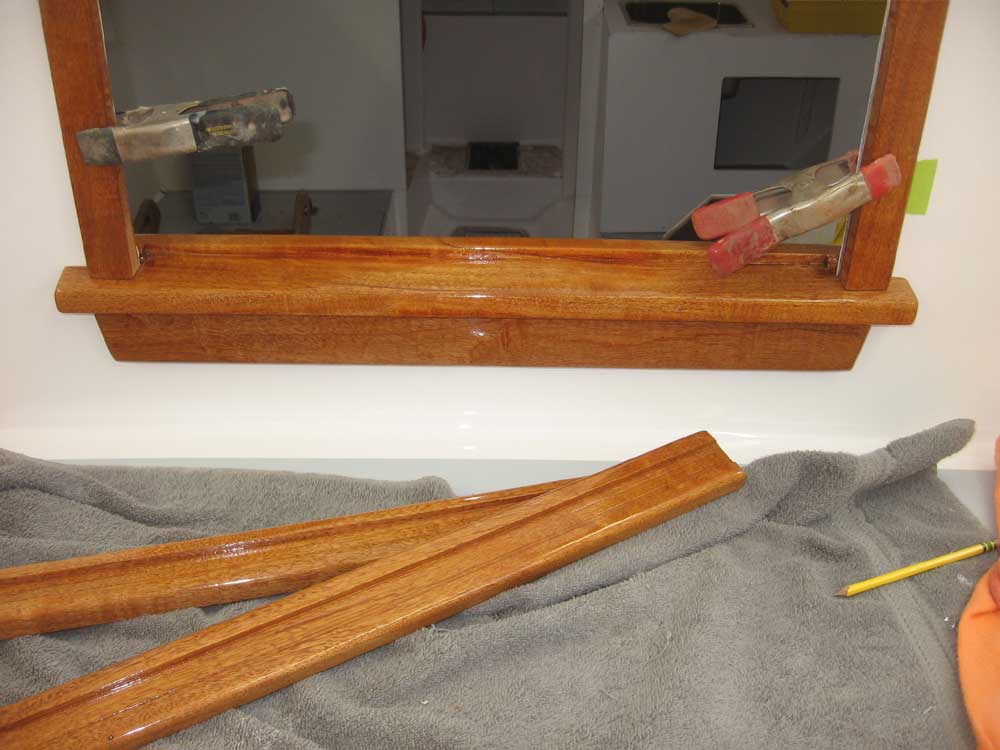
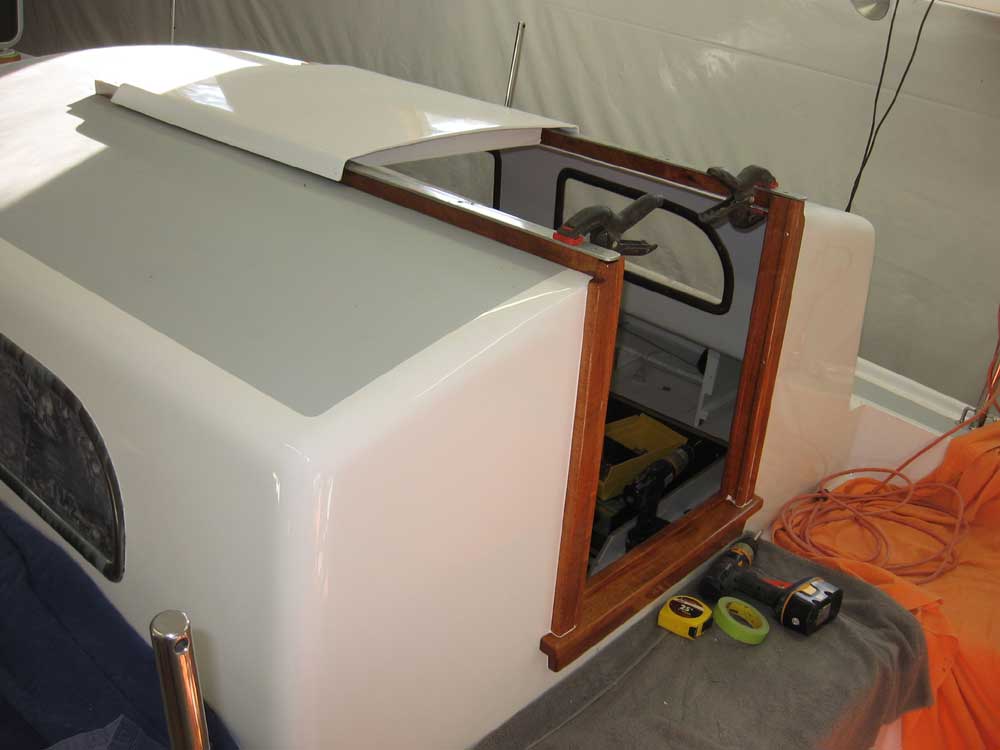
Afterwards, I moved on to the companionway trim, and installed the sill, stool, and the two exterior sides in a bed of sealant and screwed in place from the inside. With what remained of the day, I squared away the companionway hatch slides; with the trim in place, I had to make slight modifications to the aft end of the wooden supports for the slides so that they would fit correctly. Since I was awaiting a shipment of the proper screws for the permanent installation, I left these alone for now. |
|
|
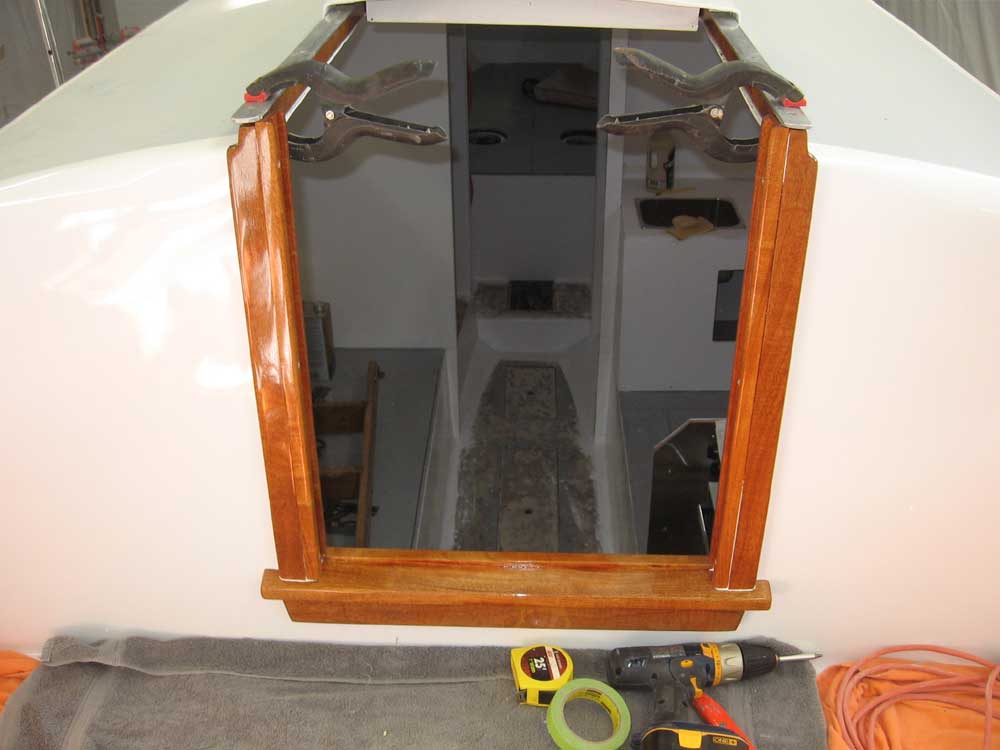
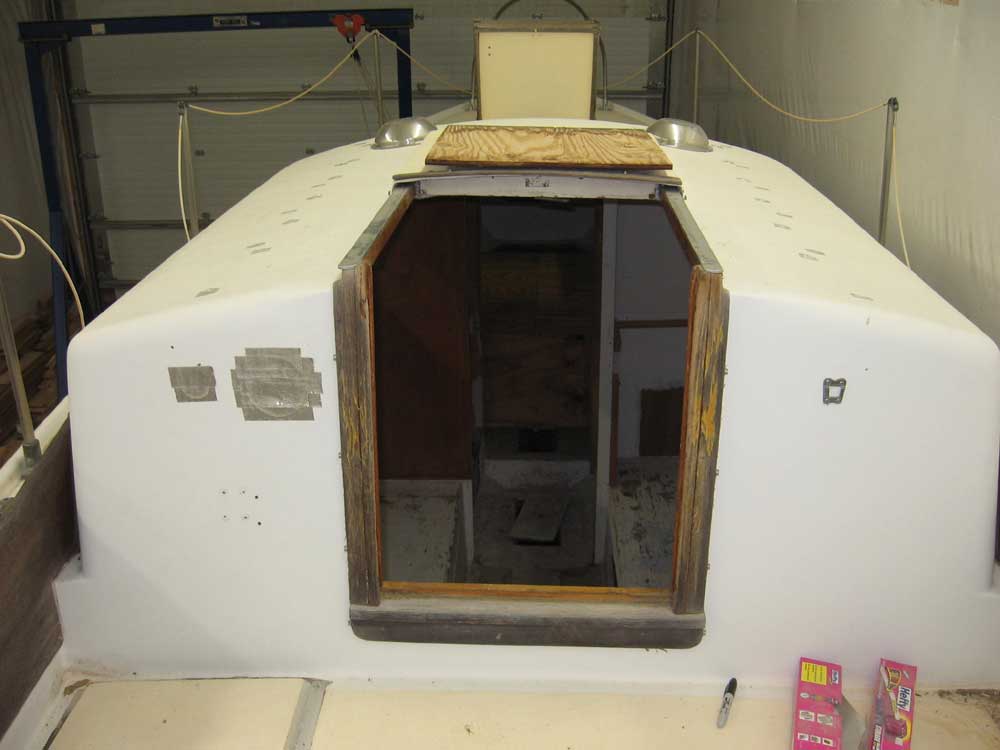
The new trim really started to bring the exterior of the boat together. As a refresher, I thought you might enjoy a before and after view of the companionway. The old is on the left.
|
|
|
|