| Kaholee Refit |
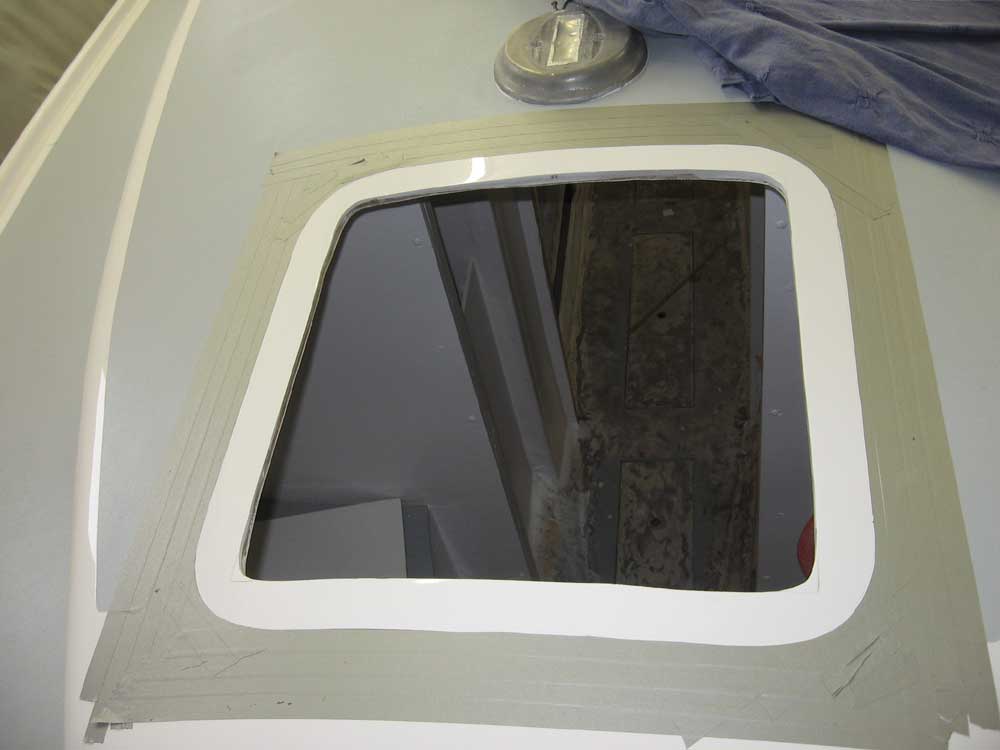
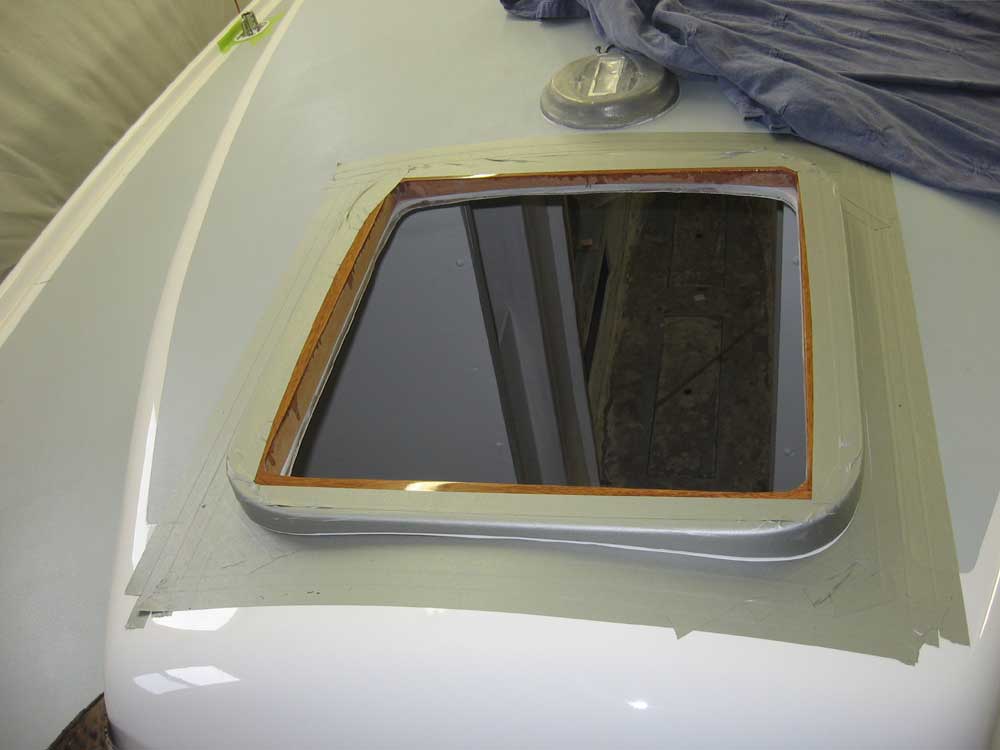
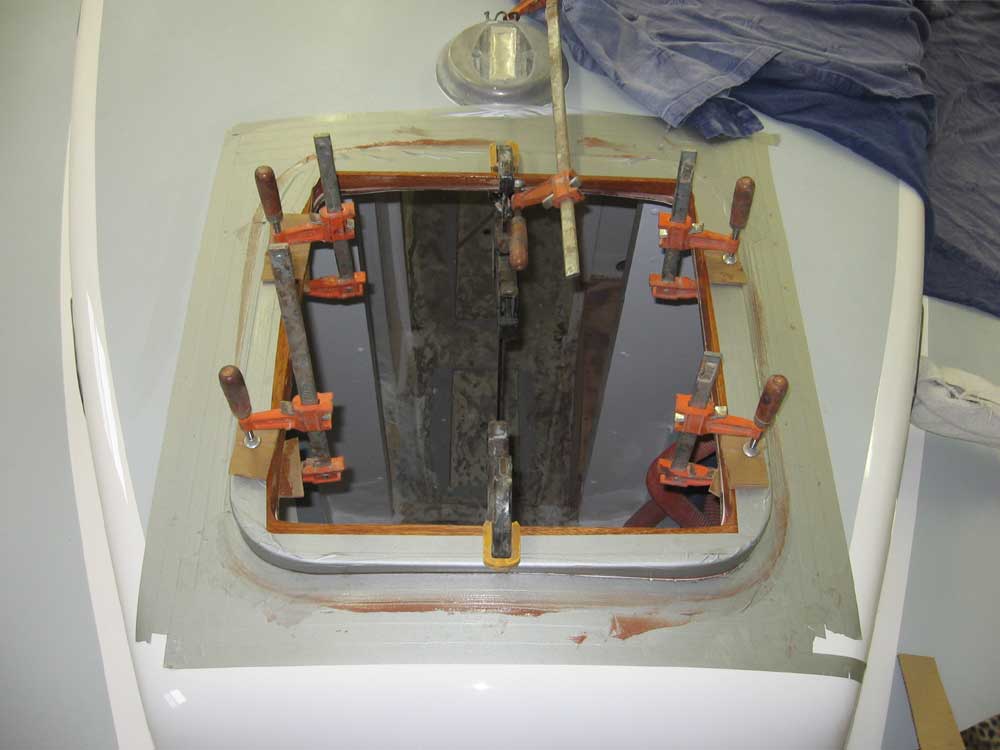
April 4, 2007 This morning, my first chore was to prepare for and install the forward hatch frame. Over the past week or so since I built the frame, I had built up 6-7 coats of varnish on the frame--enough for a good base and to protect the wood for the installation. I began by dry-fitting the frame, and then taping off the deck all the way around in a wide band--this to protect the deck from the epoxy I planned to use to adhere the frame permanently to the deck. I also masked off the wooden frame itself. After coarsely sanding away the deck paint within the perimeter of the tape line, I set the frame in a heavy bed of thickened epoxy and clamped it in place till it cured, carefully cleaning up the excess and forming a clean edge at the base of the frame as necessary. |
|
|
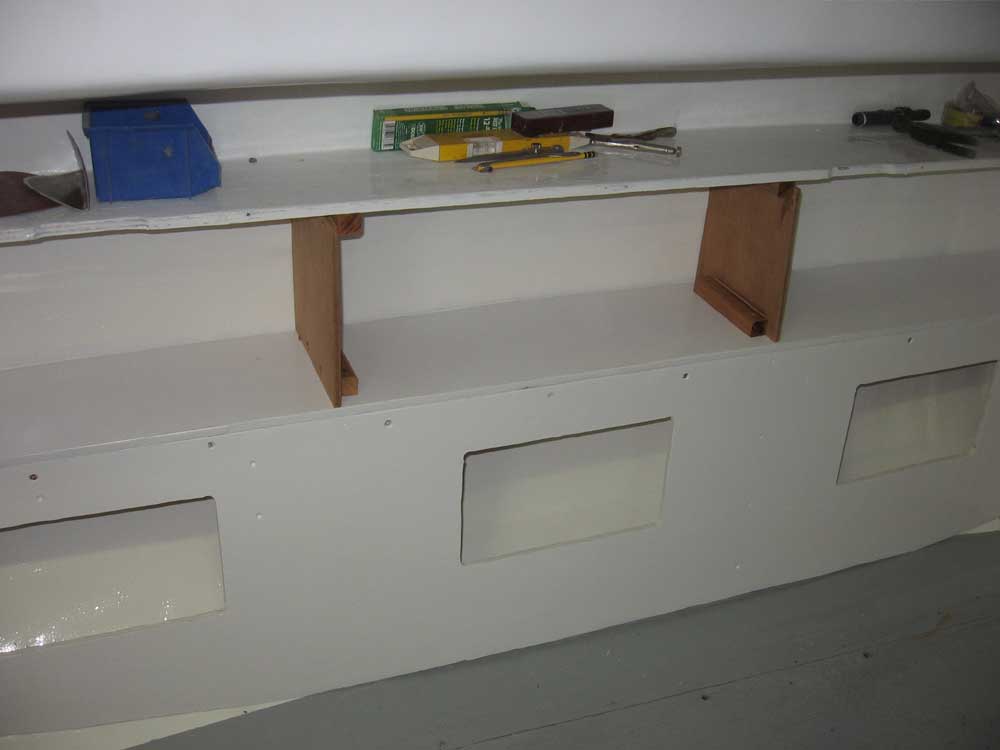
After I built the basic shelf over the port settee back, we had a slight modification to the plans for the area; what was originally slated to be an open shelf protected with a fiddle was now to become an enclosed storage area. To spruce up the appearance of this area, I thought it would look nice if I built it from solid mahogany--to be varnished--rather than more of the white-painted plywood. This approach would also prevent the need to purchase another expensive sheet of plywood, since I had no more remaining in stock, having exhausted the supply as planned during the bulk of the interior installation. To streamline the new add-on piece, as well as conserve material, I chose to resaw a board into slimmer dimensions--approximately 5/16" in thickness, or the maximimum half thickness I could obtain from the 3/4" thick stock. With the minimal height between the two supporting shelves, as well as internal dividers for additional support, this thickness would be adequate for the application. After measuring hte length of the shelf, I crosscut the appropriate amount of mahogany, trimmed the width to just over 6", and then resawed it on the table saw, forming two 5/16" boards, each a bit over 6" in width. Then, I edge-glued the board together, creating a piece a little over 12" wide, as required to cover the opening and also form the fiddle for the uppermost shelf, which would remain exposed. While I waited for the glue to dry, I built and installed two plywood dividers on top of the shelf, securing them with hardwood cleats to the two shelves forming the boundaries of the new locker. |
|
|
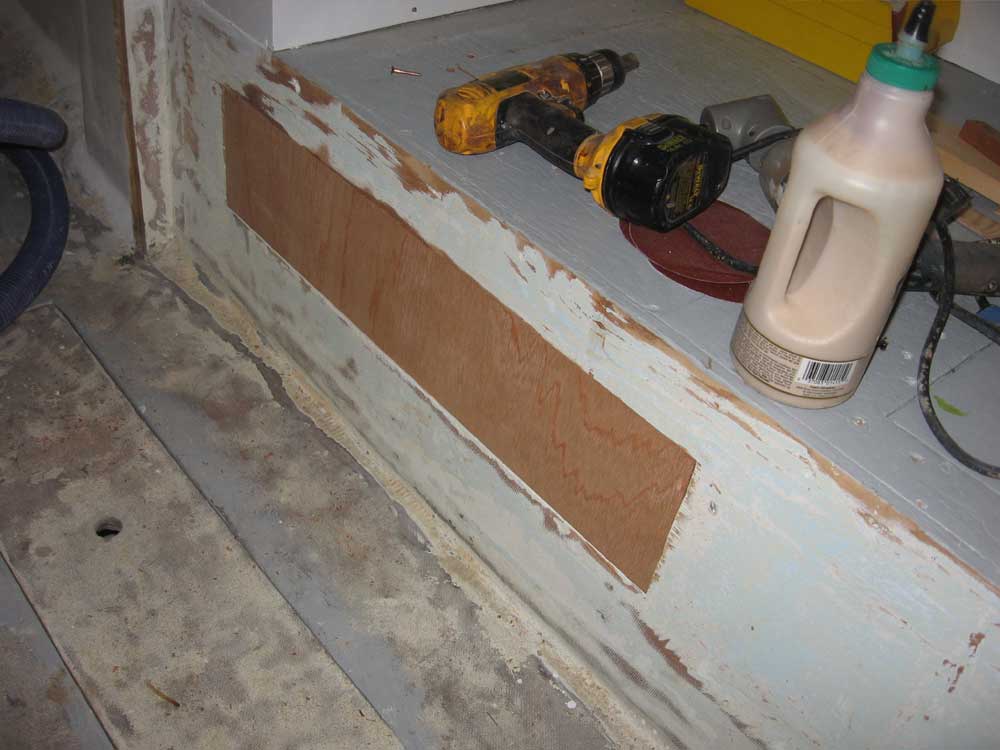
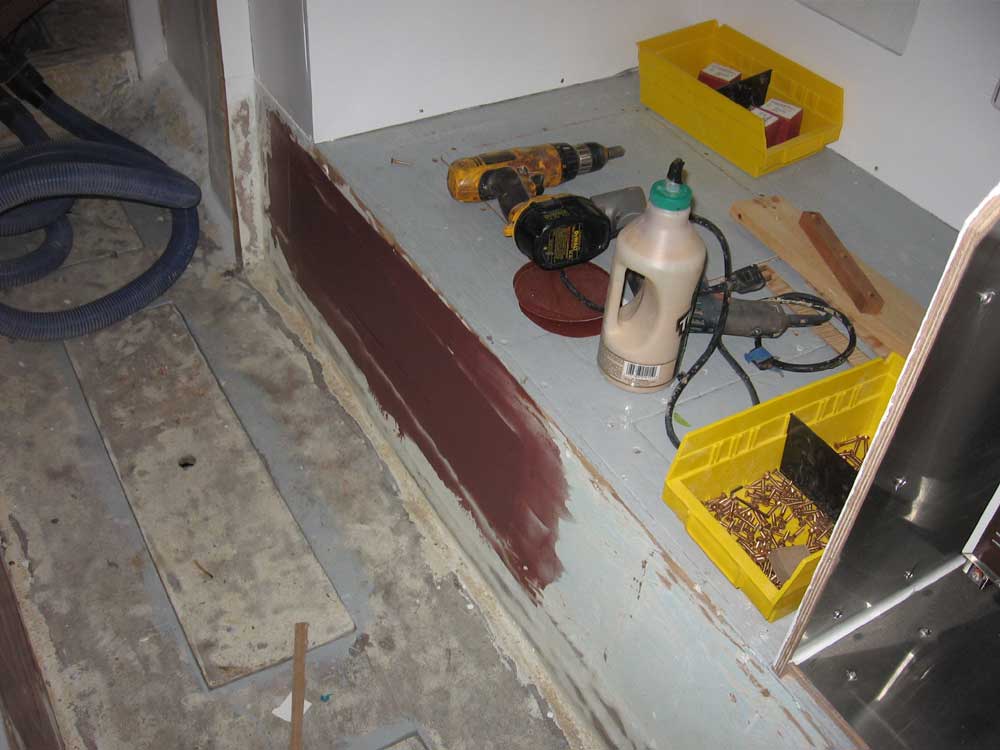
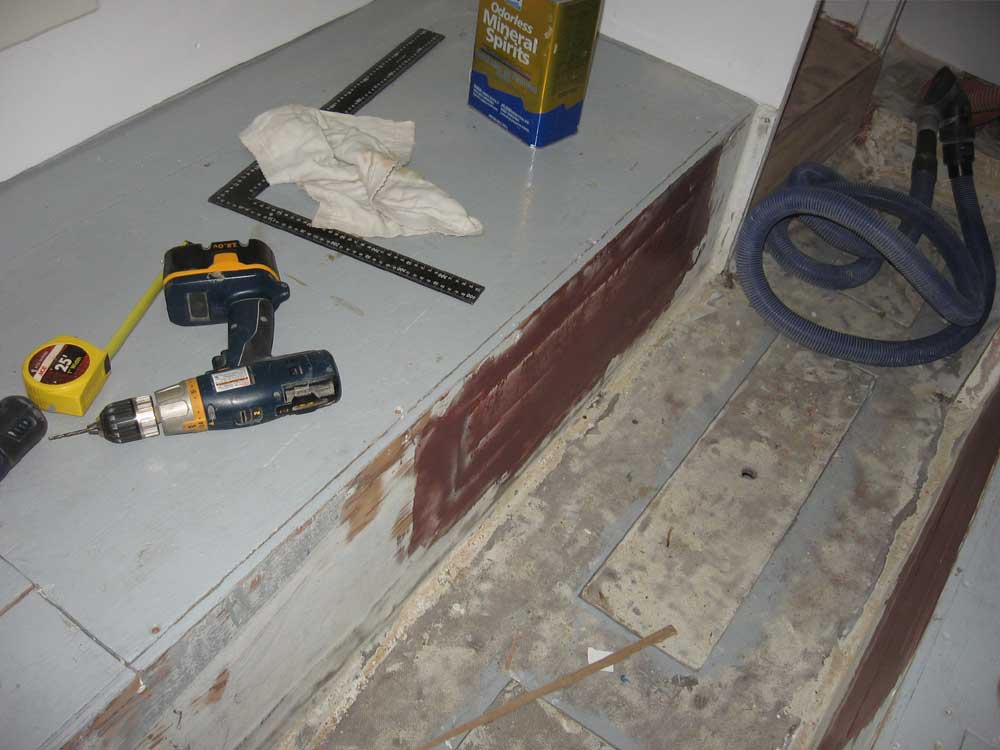
When the glue dried enough, I unclamped the boards and spent some time fitting them to the space at hand. Once I had the fit correct, I marked for three locker door openings to match the ones in the settee back beneath, and cut them out with a jigsaw. I set the piece aside for final sanding and shaping later. During the course of the day, I also cut and installed a plywood patch over the old drawer opening in the starboard lower settee, and then faired in the seam of this patch--as well as a pre-existing similar patch on the port side--to create a more pleasing appearance when painted. |
|
|
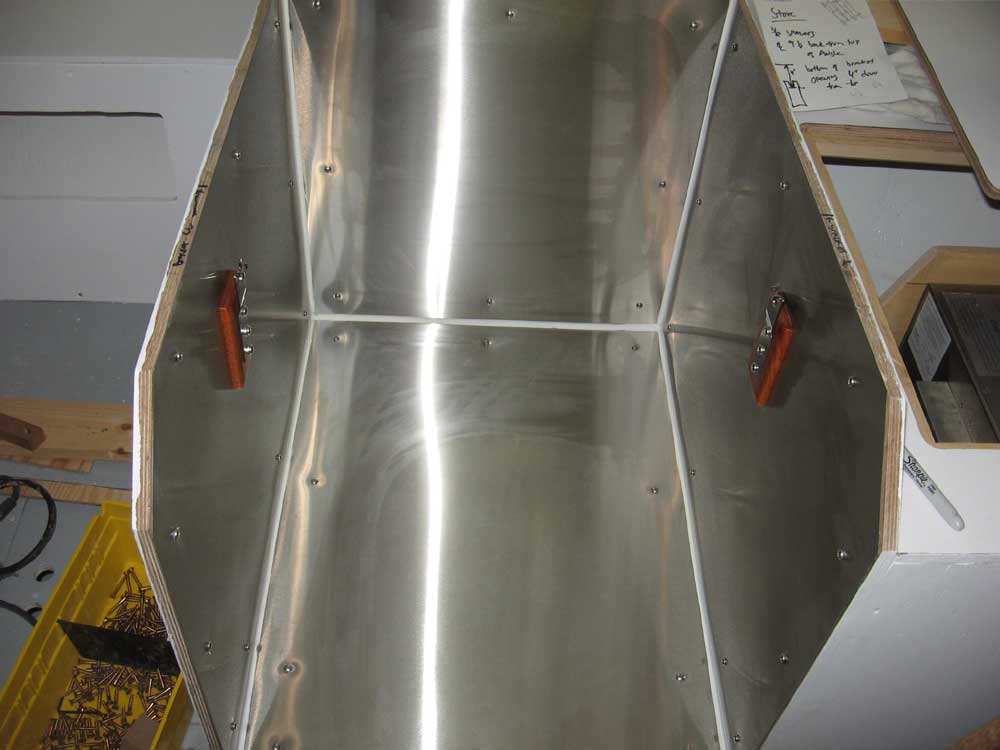
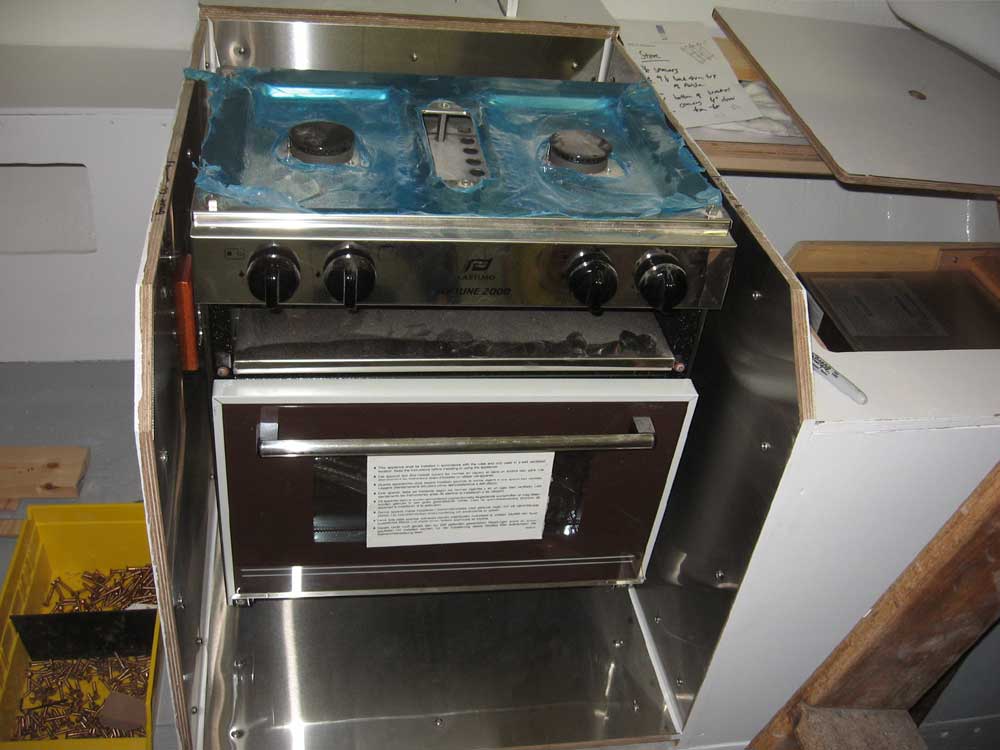
Armed now with the correct fasteners, I installed the two gimbal brackets for the stove, and hung the stove in place. Finally, I wrapped up the day with some additional paint and varnish on the ongoing pieces. |
|
|
|
|
|