| Iota Refit |
Thursday, January 31, 2008 I got a late start after running some errands, but worked my way through the day's list and more. I began with yesterday's epoxy filler on the hatches and hull, and sanded it as needed. A couple of the areas on the port side of the hull would require a second filling, but otherwise the hull was done. I refilled the low areas with more epoxy fairing compound and left them to cure till the 'morrow. |
|
|
|
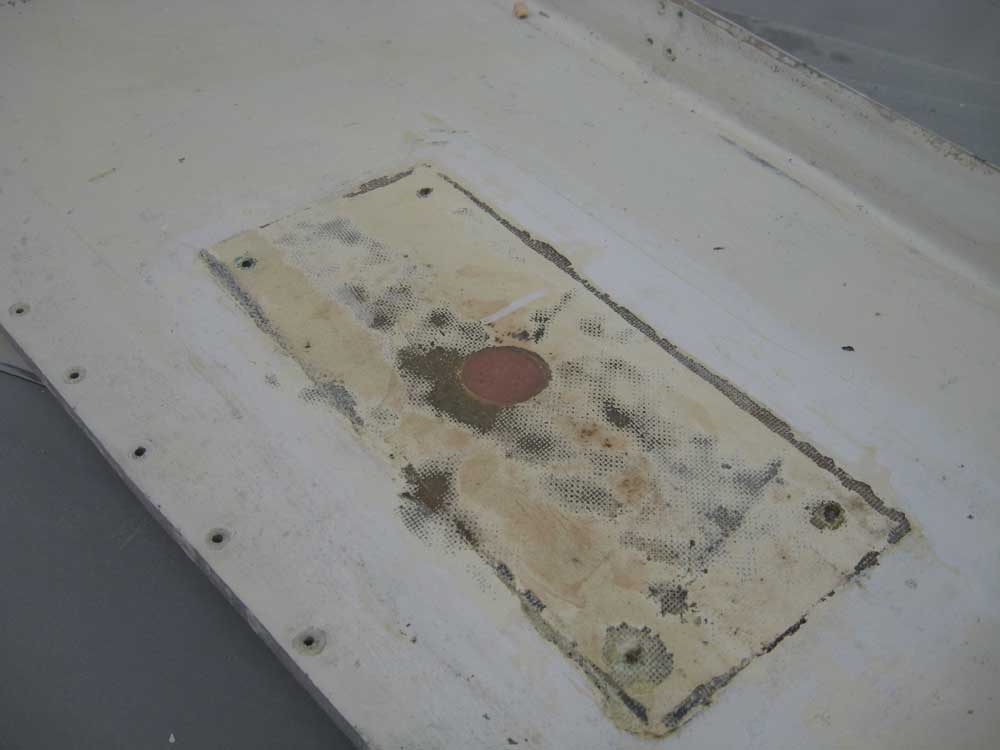
The starboard cockpit locker lid contained a ragged hole where the autopilot pin had been installed; I'd removed the socket earlier in the process. While the socket needed to be reinstalled and reused, I wanted to repair the hole and isolate it from the core within the seat lid. So to that end, yesterday I filled the old hole with epoxy so that I'd have a center point from which to drill, and after I removed the old, poorly-secured and rotten wooden backing block from beneath the lid, I drilled a 1" hole in the bottom of the lid with a Forstner bit, stopping when I'd removed the core but before I drilled through the top surface. I cleaned out the hole and filled it with thickened epoxy, which, when cured, would provide the necessary isolation from the surrounding balsa core once I redrilled the socket hole from the top later. |
|
|
|
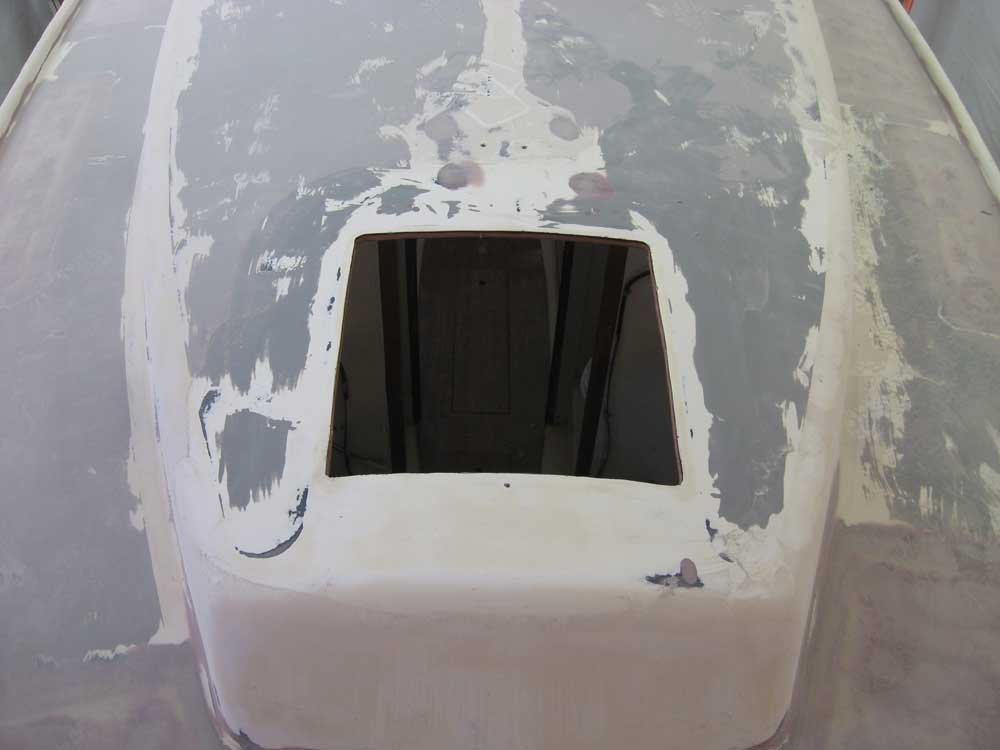
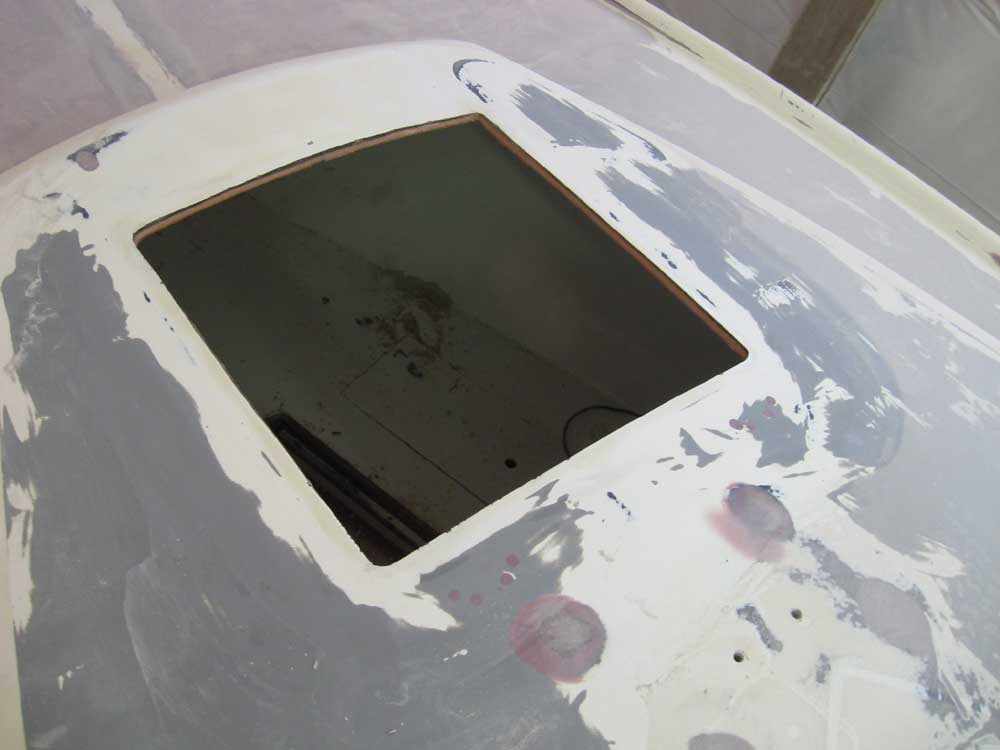
It was time to cut the opening for the new forward hatch. The owner specified a Bomar 139BM cast aluminum hatch, and while I didn't yet have the hatch on hand, I determined that I could make the cutout using the manufacturer's dimensions. Yesterday, I created a cardboard template to that size, so now I brought some tools up to the deck and first removed the old upturned hatch flange with a reciprocating saw. With the flange out of the way, I laid the template over the opening, centered it in the proper position, and traced it out with a pencil. Then, I used a jigsaw to cut the new opening in the deck, which was slightly larger than the old. Cutting the new opening exposed balsa core in good condition around the edges, as expected, and I removed the core 1/2" or so back from the opening on all sides so that I could install some thickened epoxy filler in its stead to protect the core from any future leakage through the hatch, should it occur. |
|
|
|
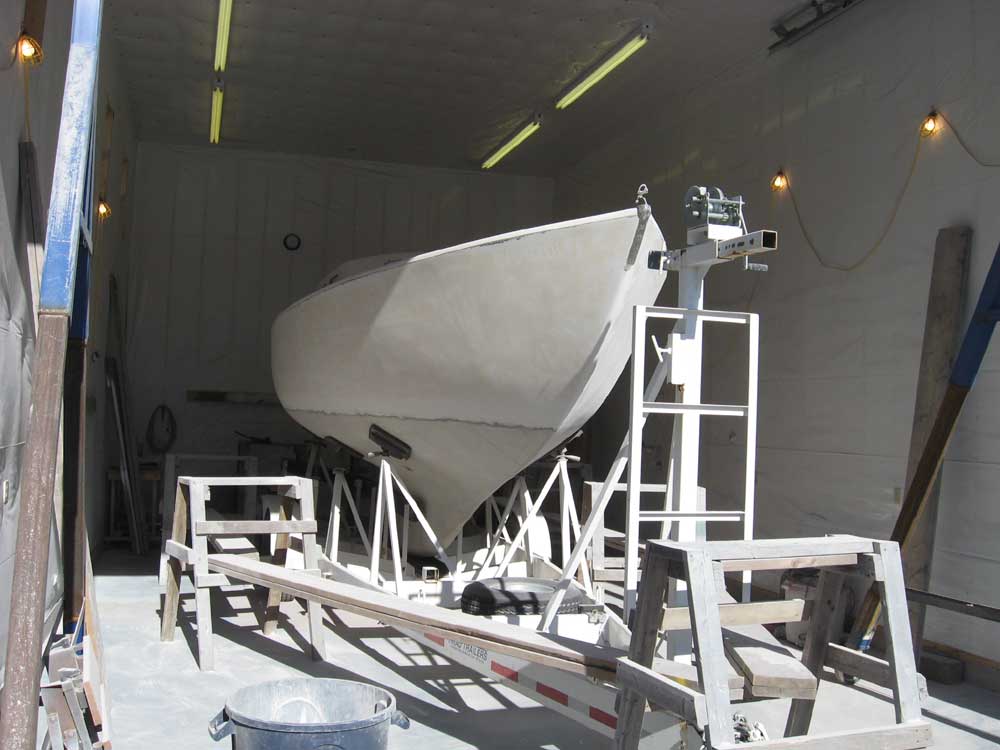
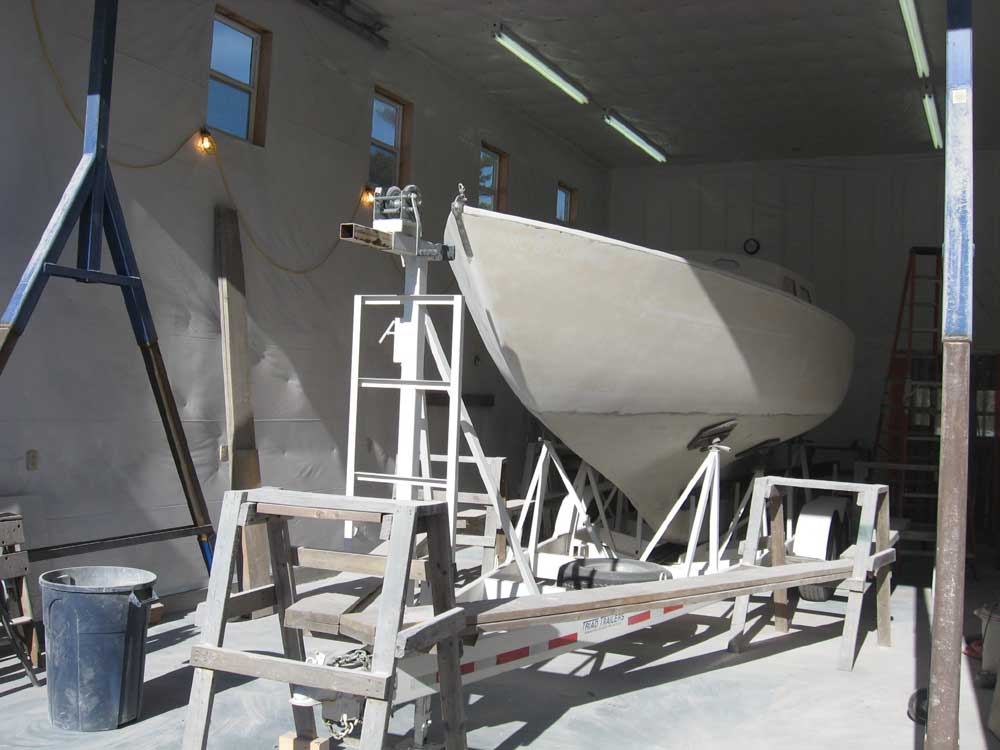
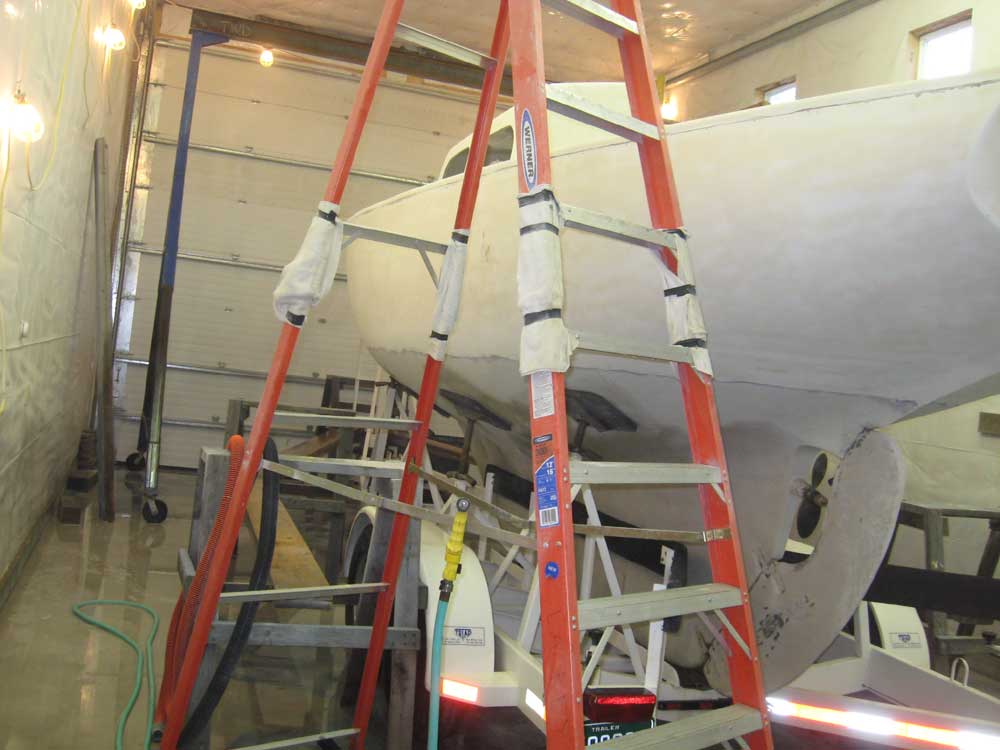
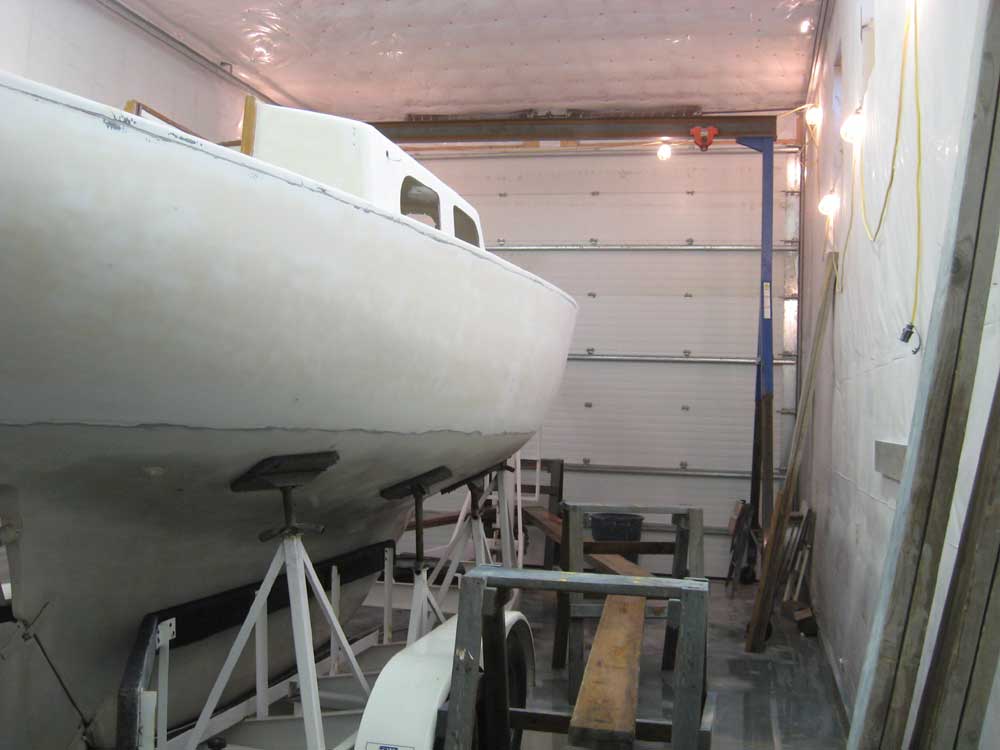
With all but some very minor sanding on the hull complete, I began the long process of cleaning up the shop to prepare it for the boat's upcoming primer application. With the big door open, I blew down the walls, ceiling, beneath the boat, and other areas to rid them of dust, and cleaned up the resulting piles. Once the air had cleared and the dust settled, I continued the cleanup by removing the old plastic from the port openings and elsewhere on the boat and thoroughly vacuuming out the interior, lockers and elsewhere as needed--at least as a first step. There'd be more vacuuming ahead as I continued the process. With the bulk of the standing dust gone from most areas, I washed down the walls, floor, trailer, and staging with a hose to remove residual dust and begin to settle the remaining dust overnight. Tomorrow would feature more cleaning and preparation as I continued to ready the boat for high-build primer. |
|
|
|
|
|