| Iota Refit |
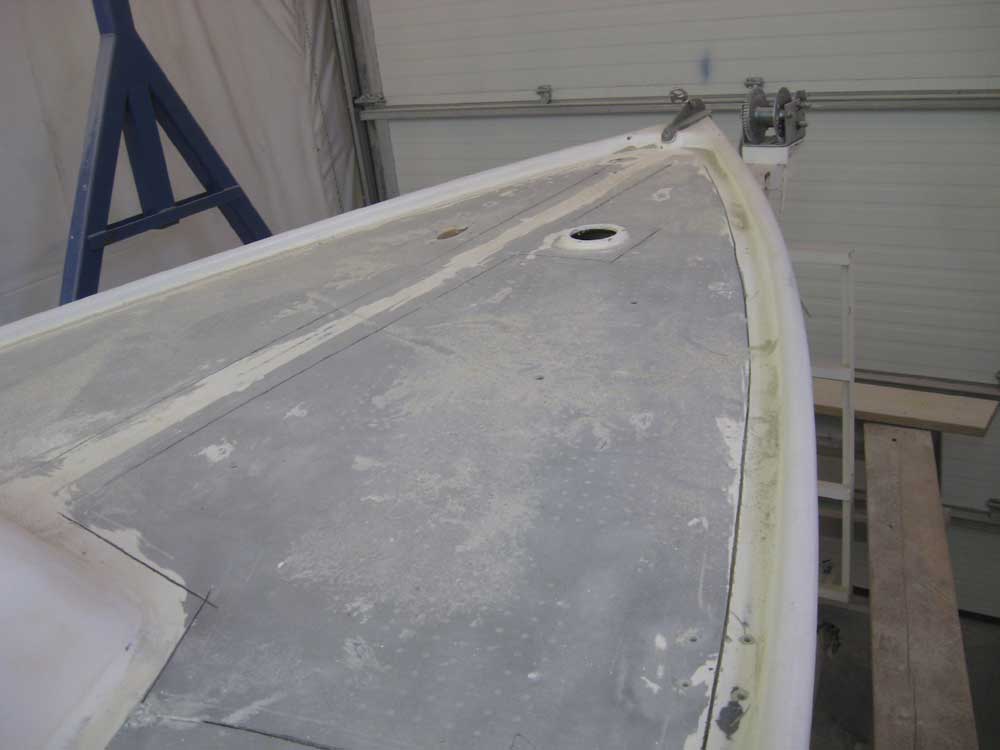
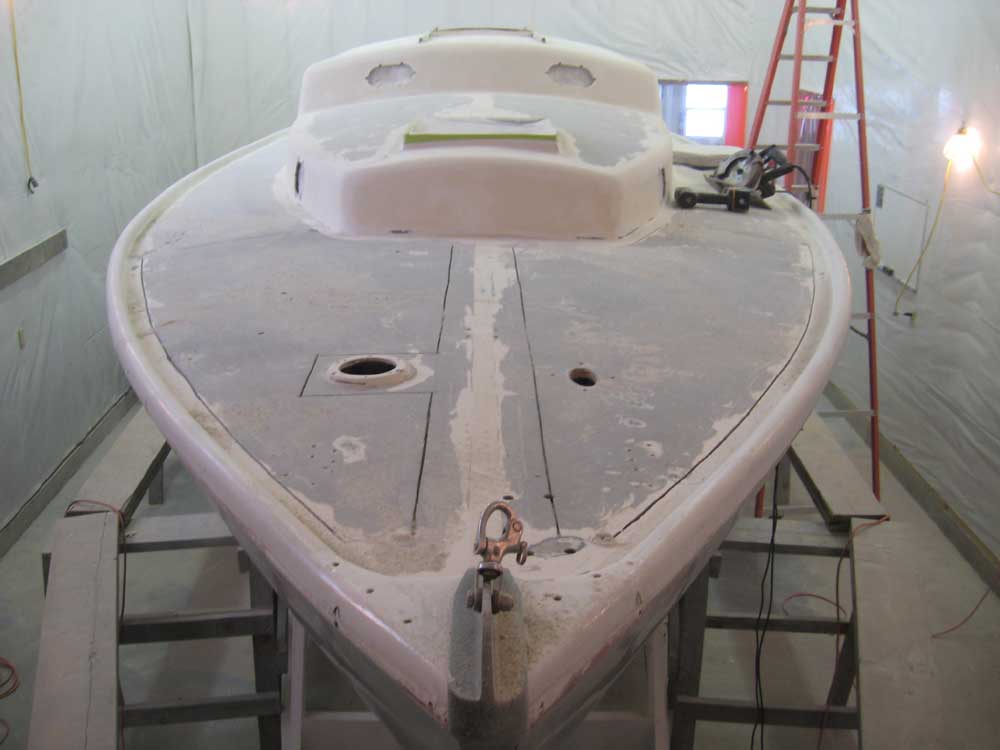
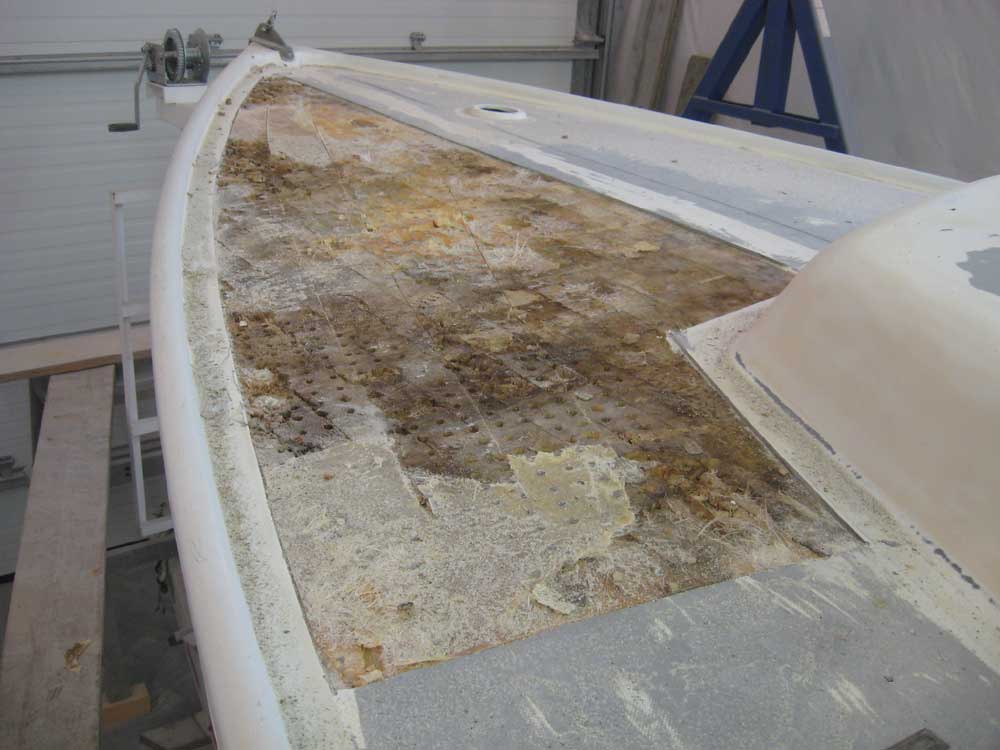
January 7, 2008 Today, I got started on the recore. I began by sounding the decks with a steel hammer to help locate areas that might require attention--or, depending on the severity, locate any areas that might not. As expected, I found that most of the port sidedeck and foredeck showed evidence of widespread core damage and/or debonding of the top skin from the core beneath. Sounding the starboard sidedeck was less conclusive, though core damage appeared less widespread at first inspection. In the event, I'd carefully reinspect all areas before committing to any cutouts. The coachroof wasn't part of the original project scope, but I sounded both areas anyway. I located a few isolated areas of suspect nature on the forward section, though nothing serious. On the upper, aft section, the area to starboard that contained a "drill and fill" sort of previous repair still showed evidence of minor flexing and non-bonded or partially compromised core material in and around the regularly-spaced holes plugged with resin. But any repairs required to the coachroof would be minor in nature, and for now I left things alone. |
|
|
|
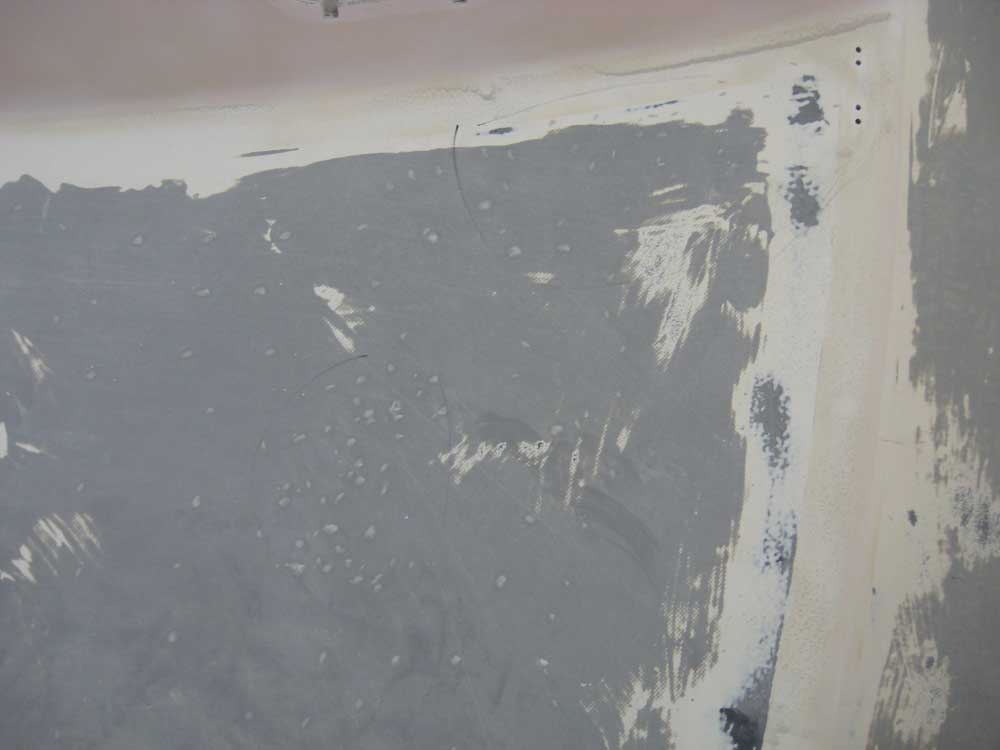
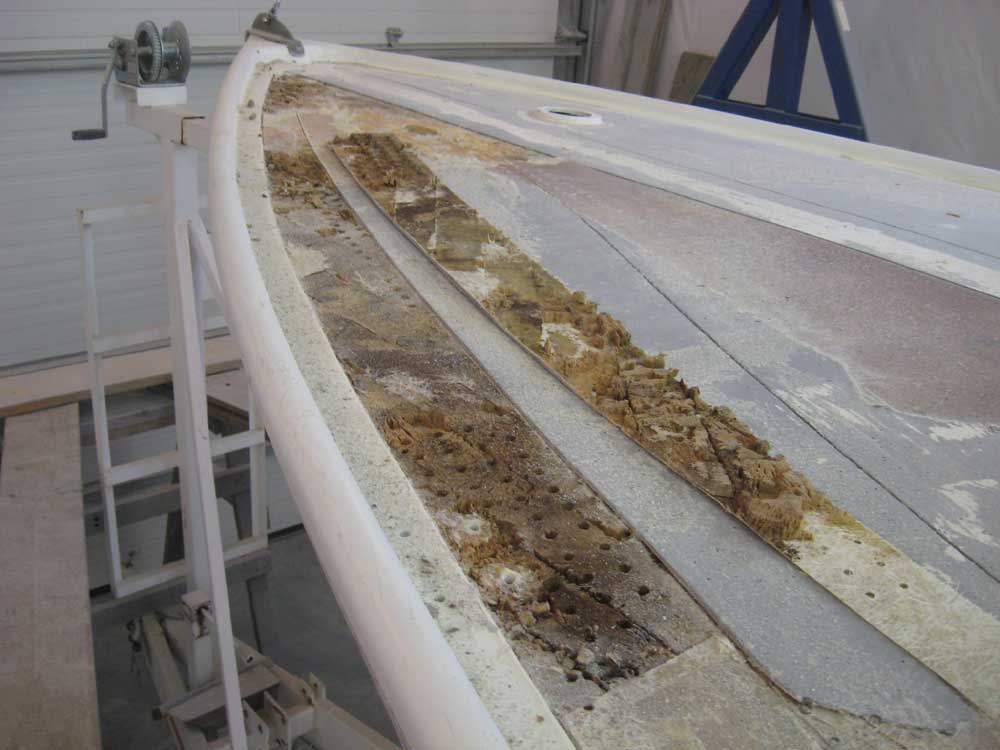
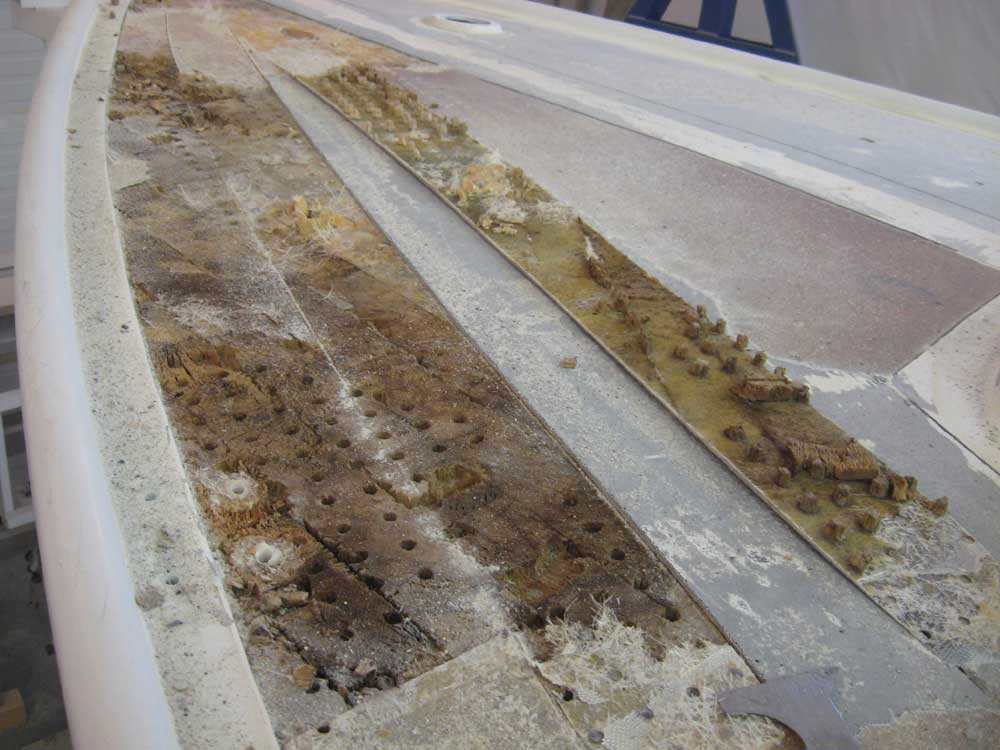
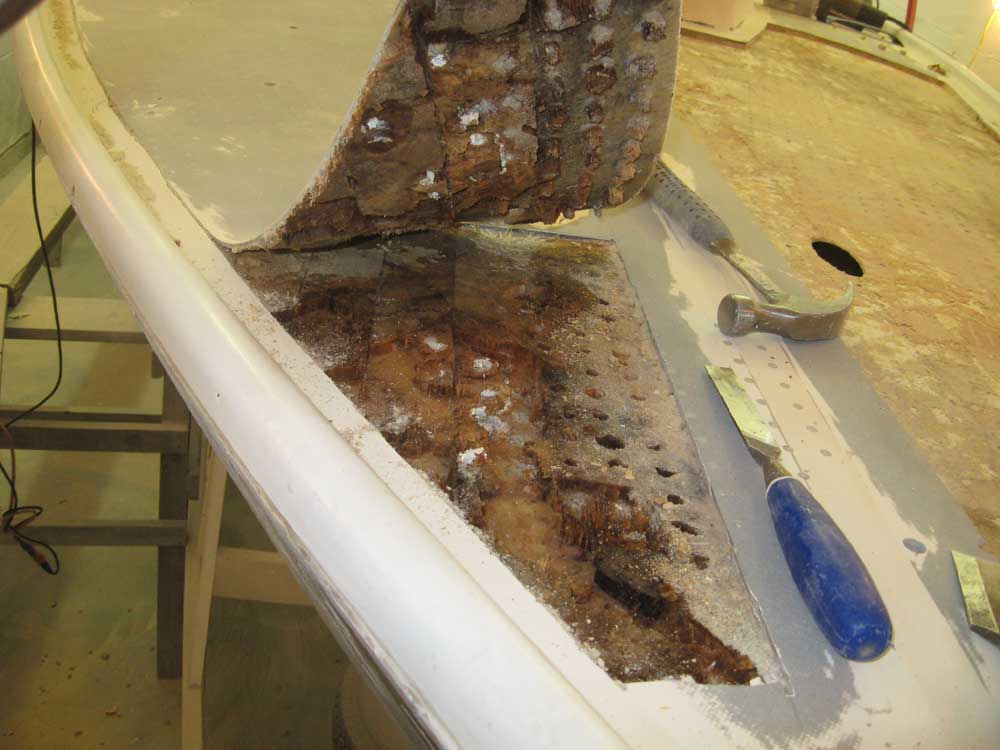
A similar attempt at repairs had been previously completed on both sides of the foredeck, as I discovered last week when I removed the paint, but the repairs were an utter failure, as the foredeck contained the most noticeably soft areas that clearly contained wet or rotted core. As I got into removing the top skin, I was able to observe more features of the ineffectiveness of this repair, as the top skin in many areas was partially suspended up to 1/8" above the core by little blobs of resin from the drilled holes. Clearly, the intent of the repair had been to fill the void left by the debonding of the top skin from the core beneath--a common issue--but the execution of this particular job had failed to satisfactorily address this, leaving large air spaces in and around the small supporting plugs of resin. This photo in particular shows one of the worst such areas. The area just beneath the chisel shows one of the resin plugs, with several more visible nearby; note the wide air spaces present in all areas. |
|
|
|
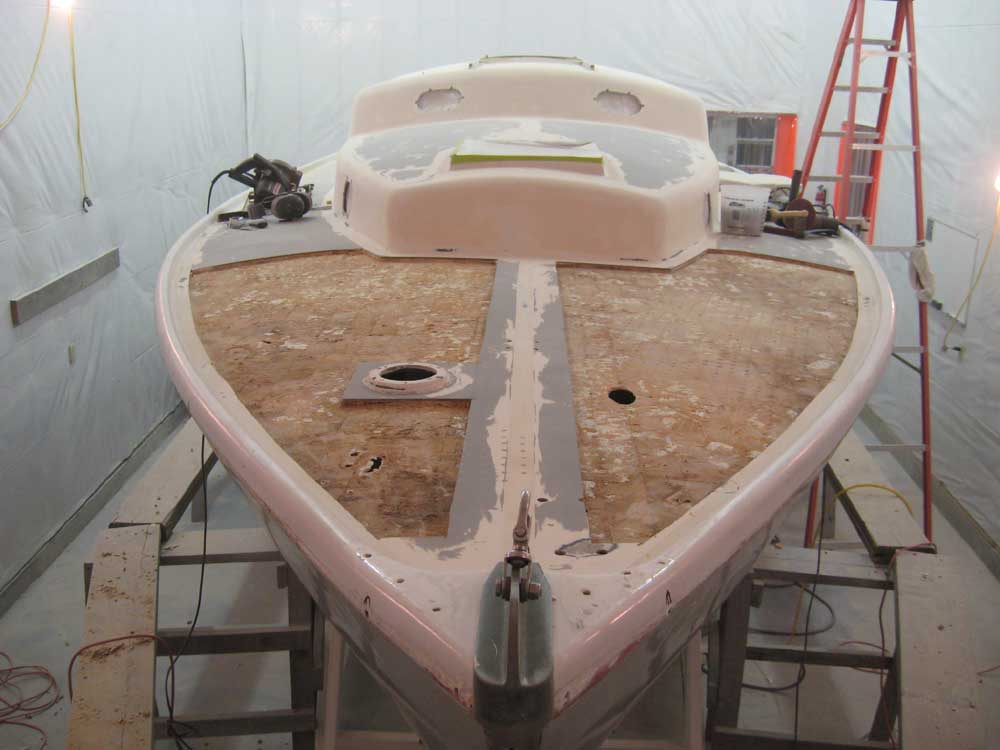
I decided to start on the foredeck and then open the remaining decks as necessary. Before beginning, though, I constructed a basic supporting framework beneath the deck to help maintain its shape once the top skin and core were removed. |
|
|
|
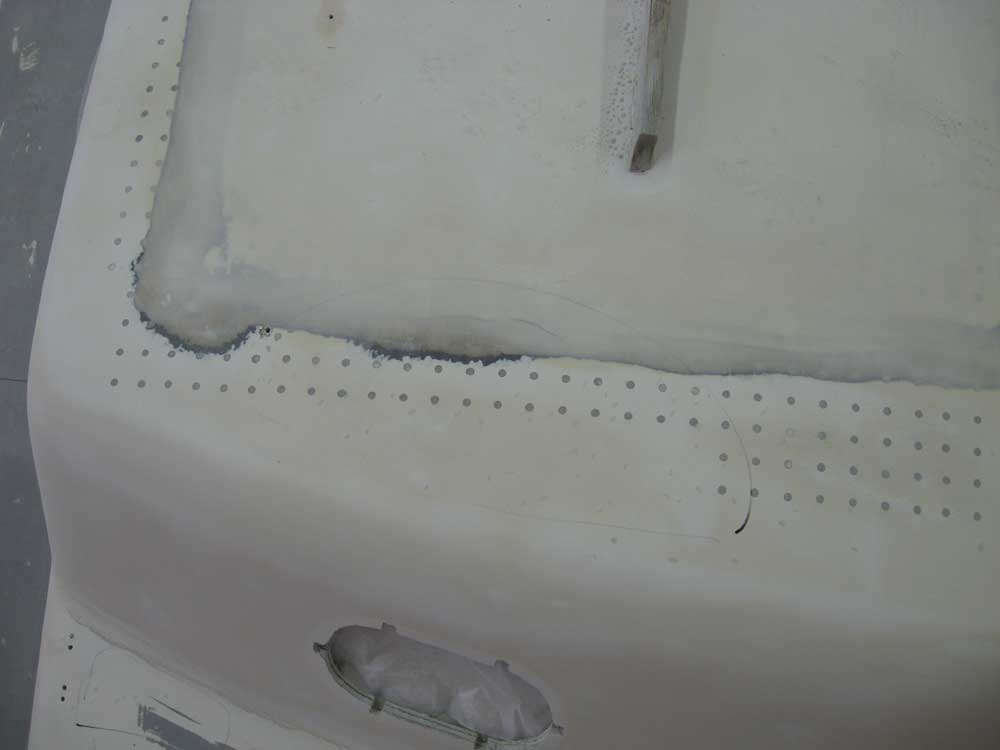
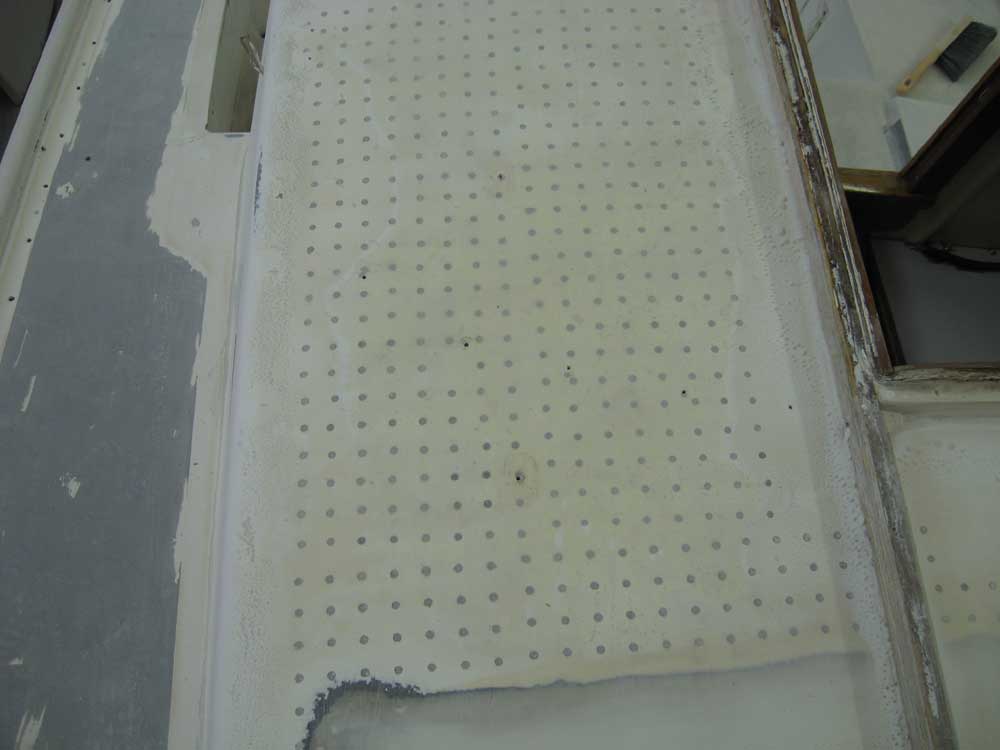
I could do most of the work from the staging, but couldn't reach the center of the foredeck adequately to make cuts in the top skin, so I began on deck and made cuts along some lines I struck on each side of centerline, and along portions of the cabin trunk. I used a small circular saw set at a depth just deeper than the anticipated thickness of the top skin. With the initial cuts made, I made the other required cuts from the staging on each side. Regardless of underlying core condition, I decided that the pegboard drill-and-fill repairs on each side had to go, so I marked the aftermost extent of each cutout area just aft of the holey repairs and in areas of the deck where sounding had indicated sound structure. I finished up cuts at the corners and in areas where the saw couldn't reach with a Roto-Zip tool equipped with a carbide bit. |
|
|
|
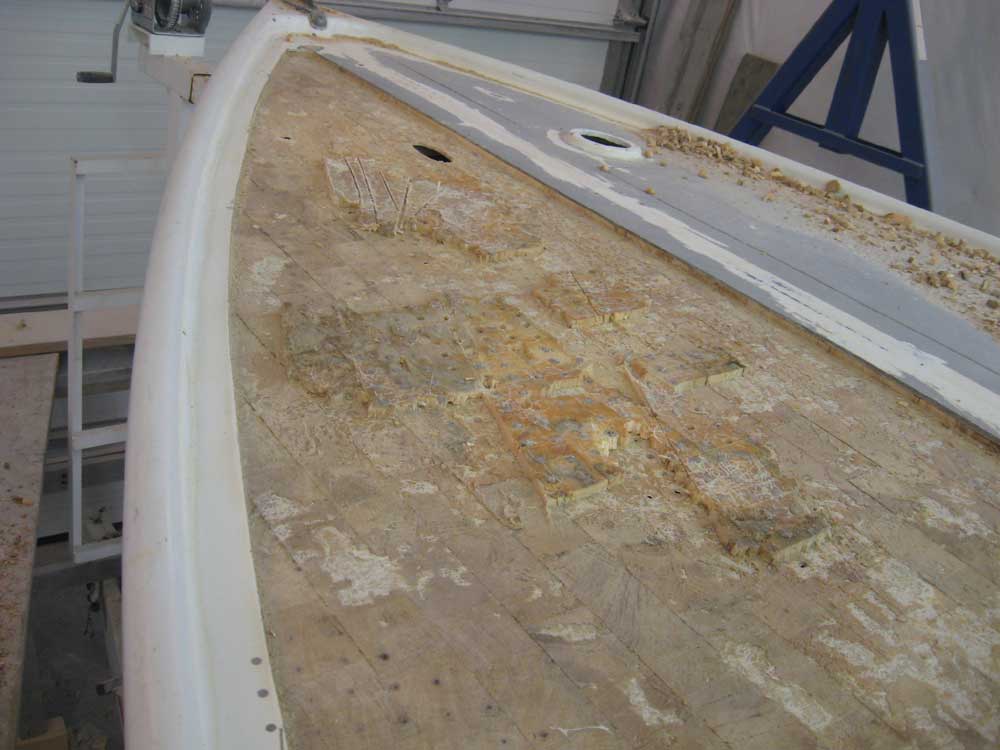
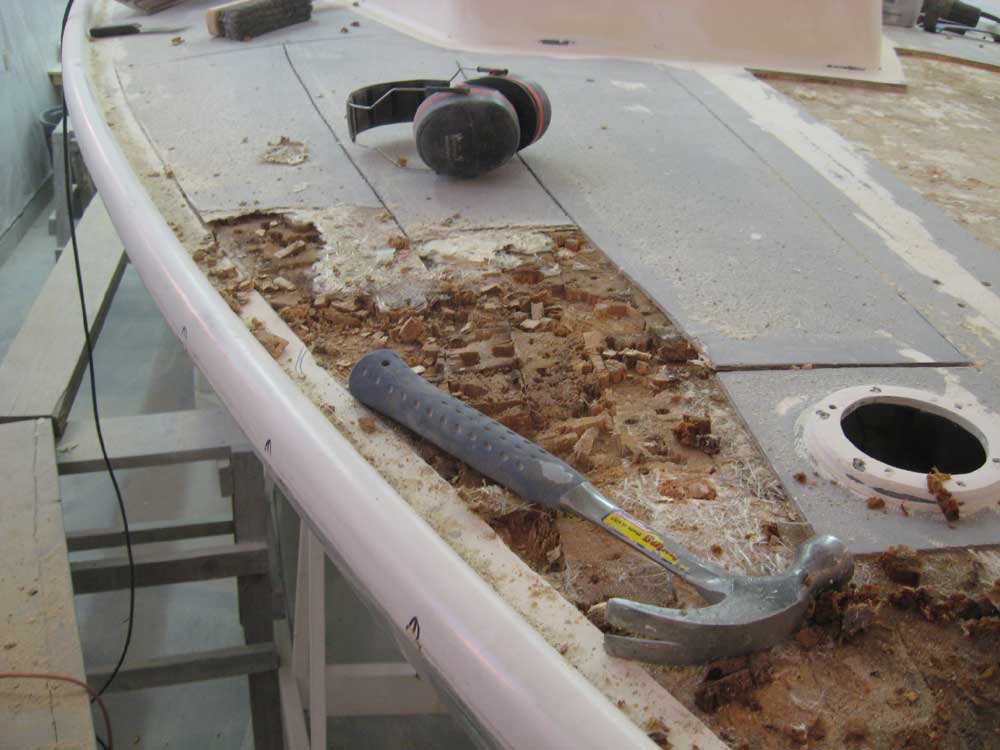
I knew that the hundreds of resin-filled holes would make removal of the deck skin and core more difficult, and also knew in these areas that attempting to save and reuse the top skin was futile, thanks to the drilled holes, so I didn't even try as I removed the skins. With a skin in good condition, I'd make efforts to remove it in one piece and in sound--and reusable--condition. I began on the port side and, after some work and a few additional relief cuts, removed the entire top skin. The ineffectiveness of the drilled resin holes became clear as I removed the top skin, as in many areas the little resin plugs came right along with the top skin, having failed to hold anything together. |
|
|
|
Some of the old core was in poor condition, while other areas were still in good and sound condition. I had anticipated this, but felt from the onset that it was better to remove the entire foredeck areas, given the widespread extent of the ineffective previous repairs. Still, removing bonded core is always a challenge, and the overall core removal process was significantly slower because of the resin plugs located throughout. I used a variety of tools for removal, but eventually found that a 1/2" chisel worked the best, as larger tools tended to bind up though the resistant core material, and struggled with the removal for several hours. I found that some of the resin plugs extended into the bottom skin and nearly through to the interior of the boat, thanks to over-deep holes. Some of these plugs, when removed, would actually leave small holes in the inner skin. To minimize this, I eventually left the most resin-filled areas alone, and after I'd cleaned out the surrounding areas, I finished up by actually grinding off the remaining core and resin plugs with coarse sandpaper. This minimized damage to the inner skin and interior surface. |
|
|
|
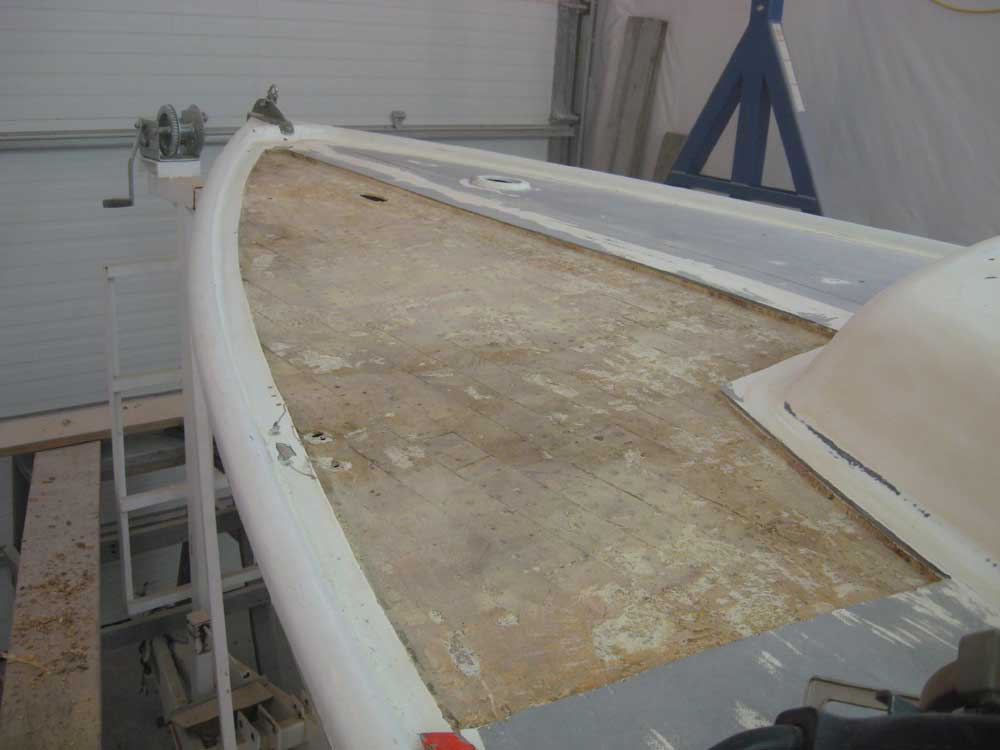
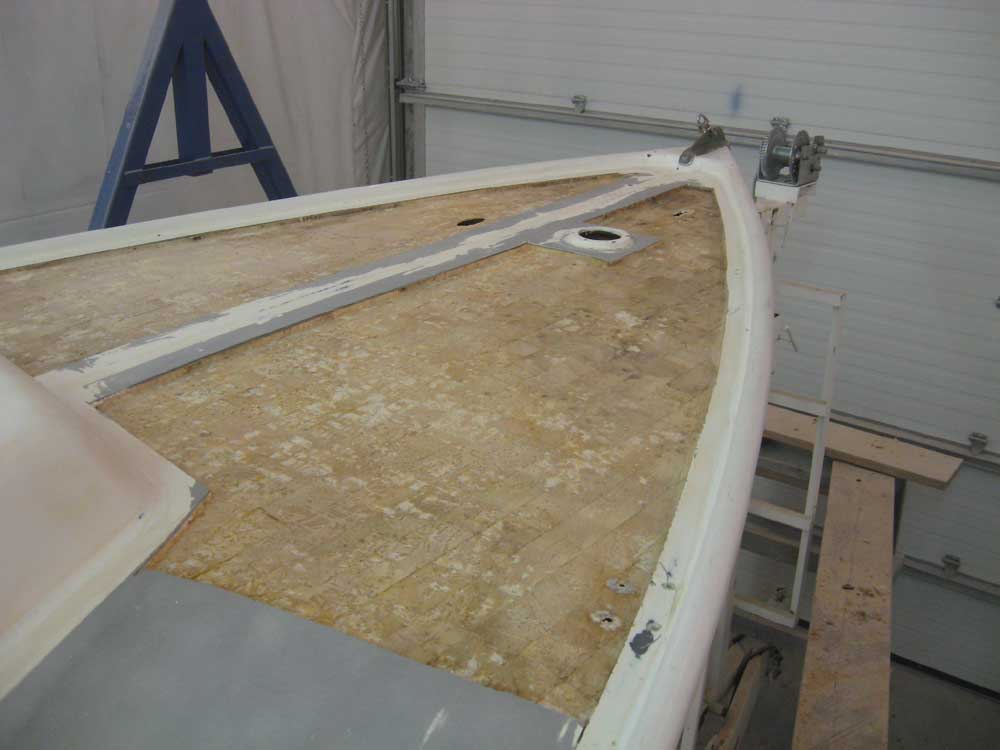
It took much longer to clear out the old core than I'd expected. Fortunately, the starboard side of the foredeck went more quickly, partly because the nature of the damage and the resin plugs was slightly different, and partly because I'd learned which removal techniques worked the bests on the previous side. I finished up by the end of the day, but I'd expected to have pretty much the whole deck opened and core removed on this day, rather than just the foredeck. |
|
|
|
|
|