| Hattie
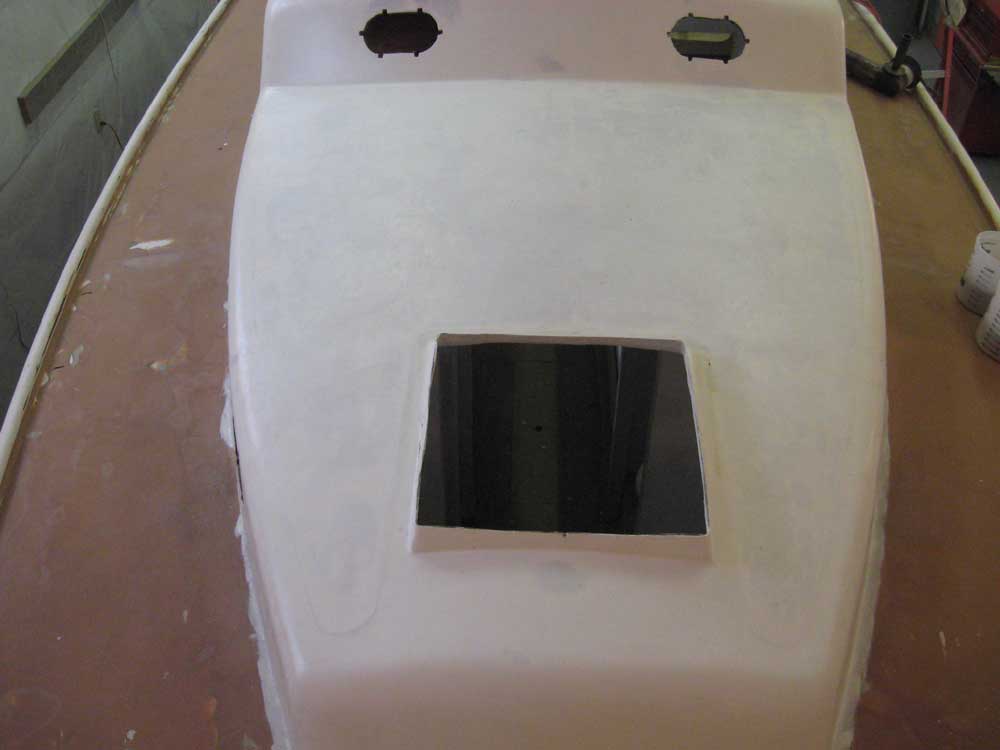
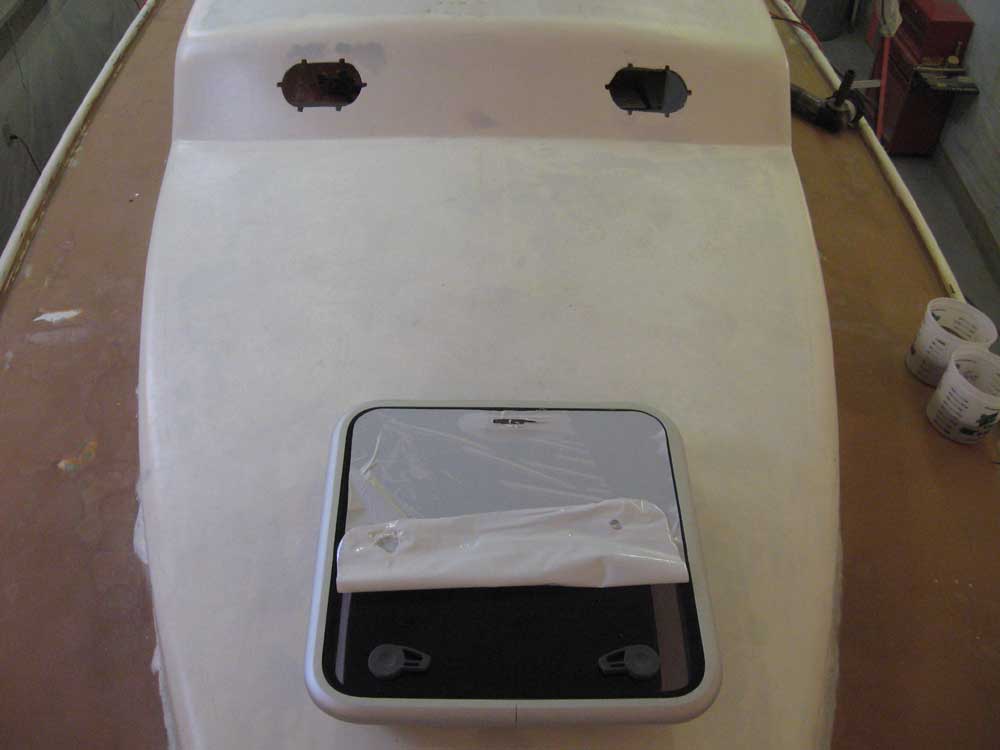
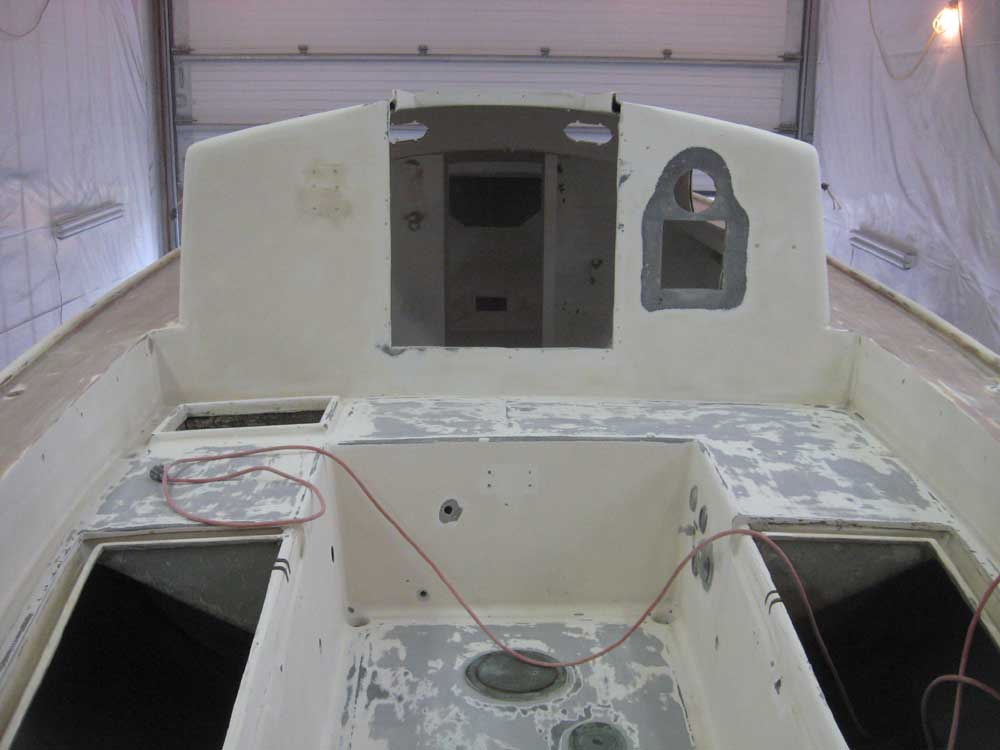
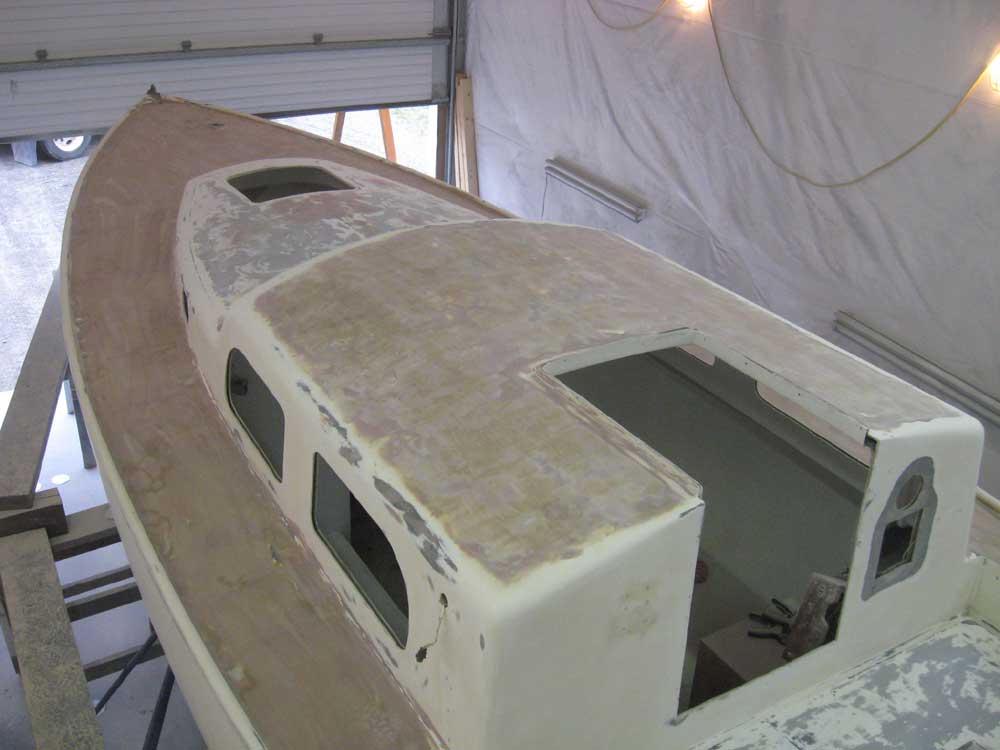
Mae | Monday, May 18, 2009 The owner delivered a new hatch he'd purchased earlier for the forward cabin, so before I got into sanding the decks I cut off the old raised flange left over from the old hatch, after first ensuring that the new hatch was indeed larger than the old opening (as I expected). For now, I left the hole ragged. |
|
|
|
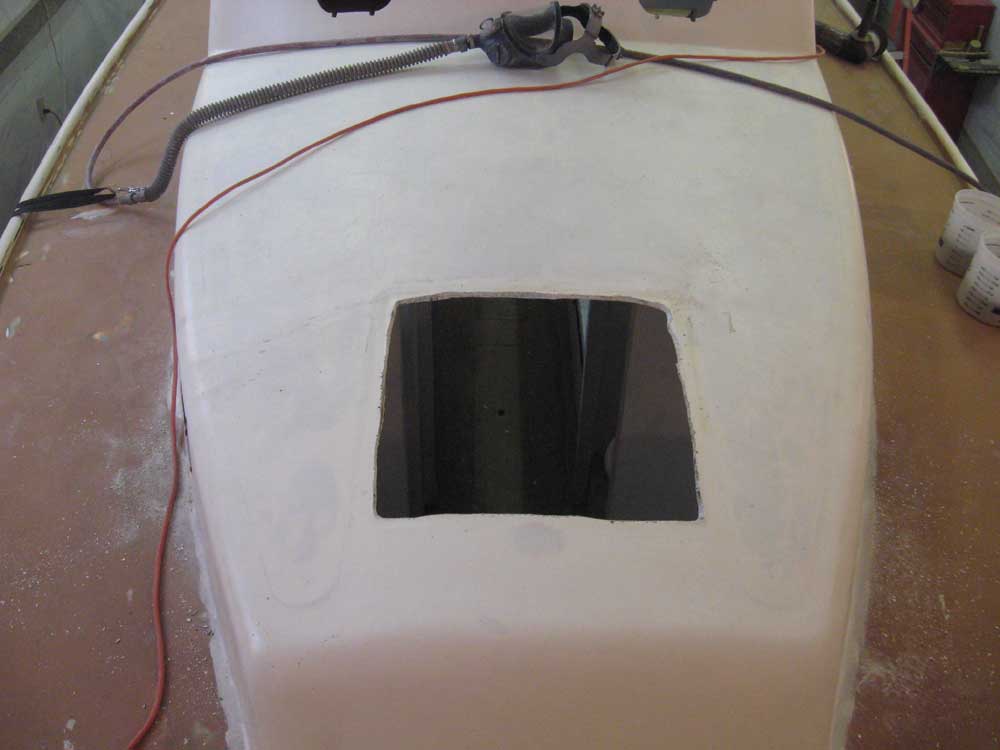
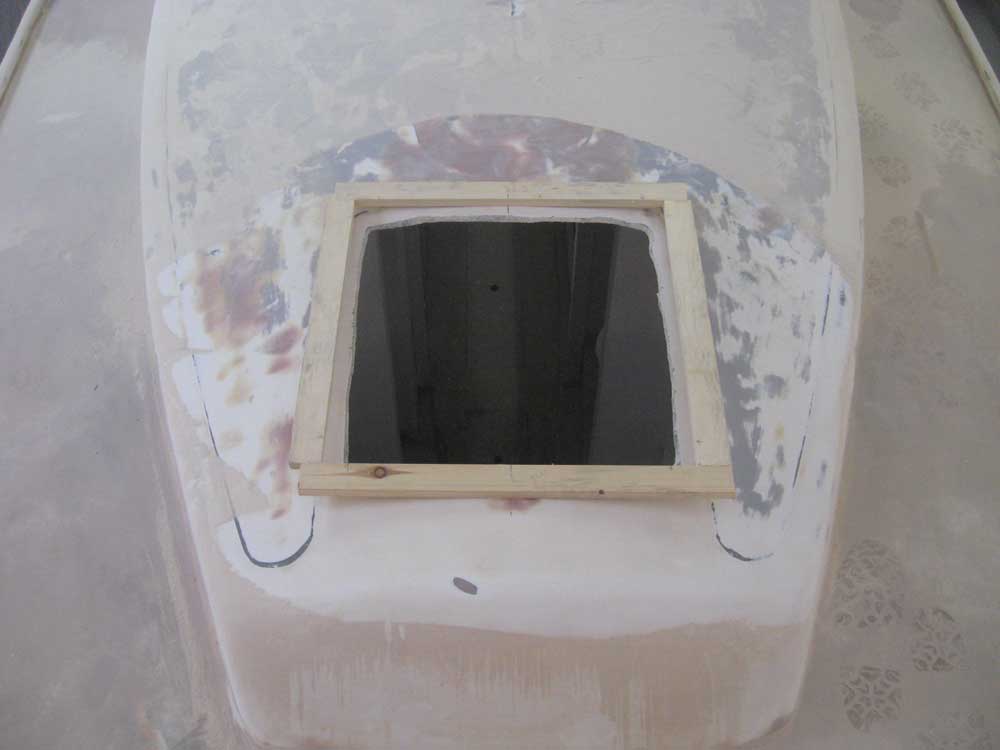
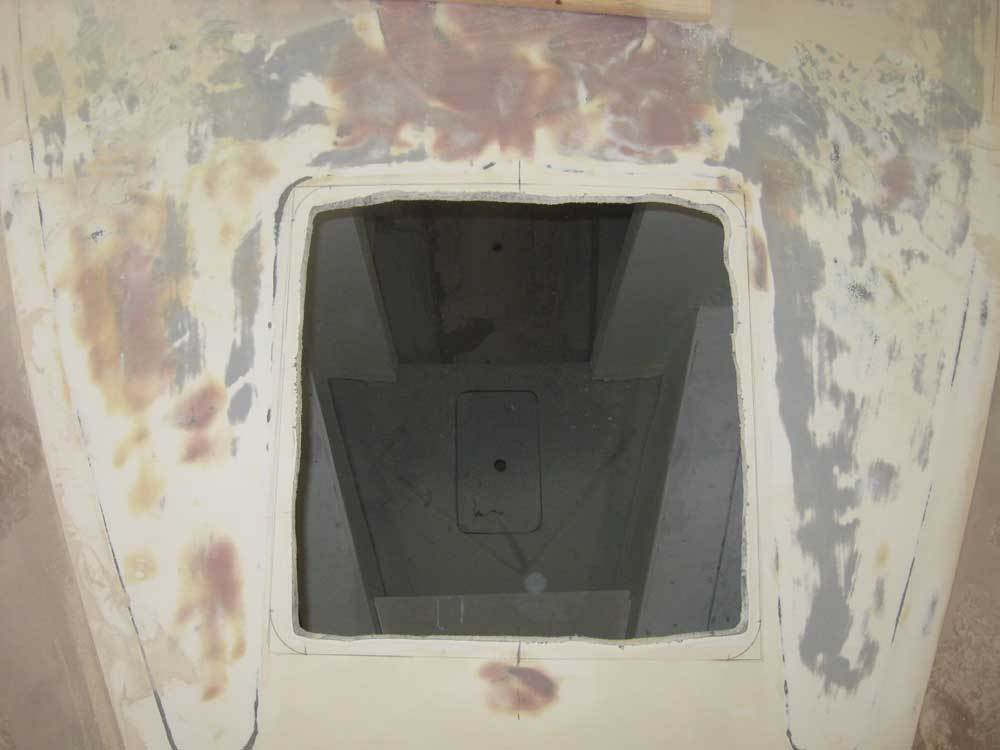
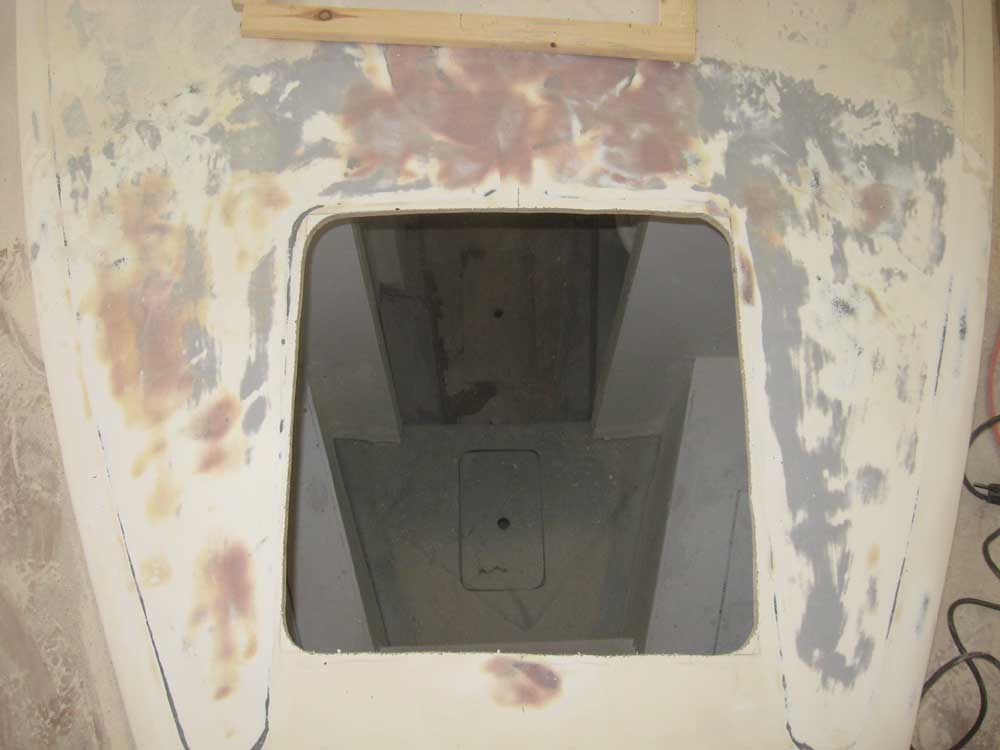
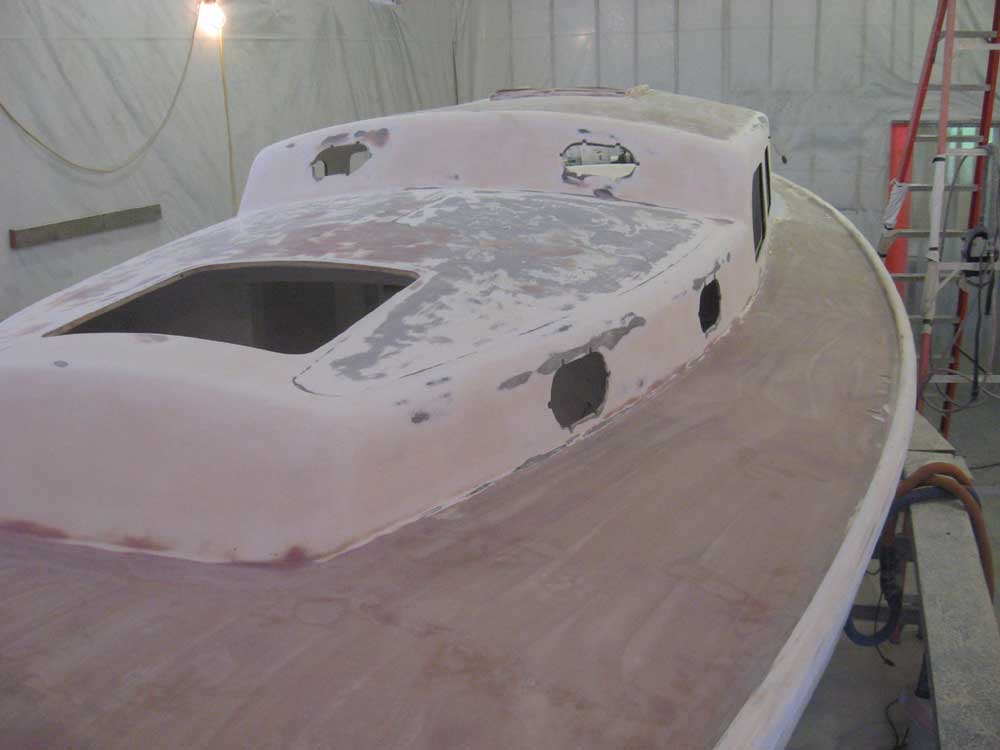
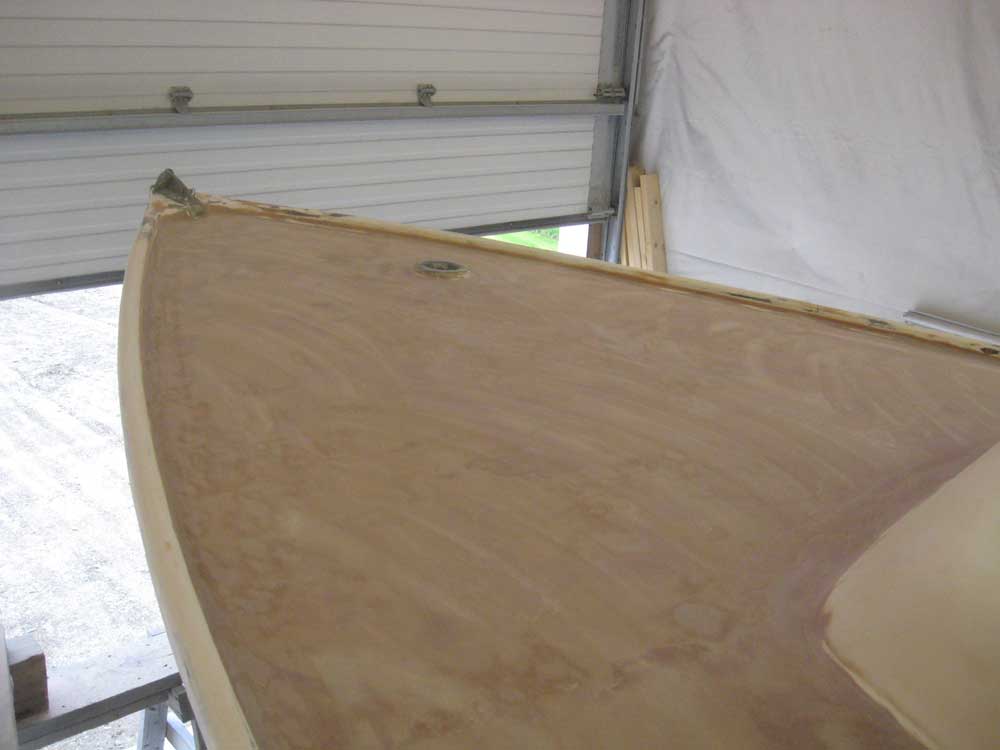
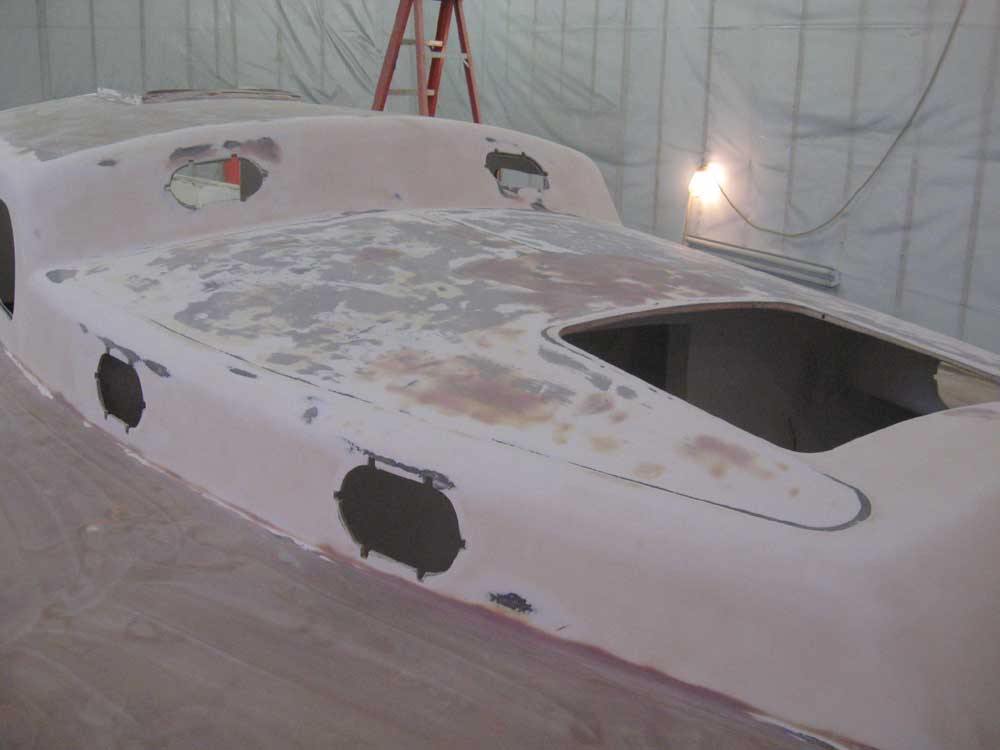
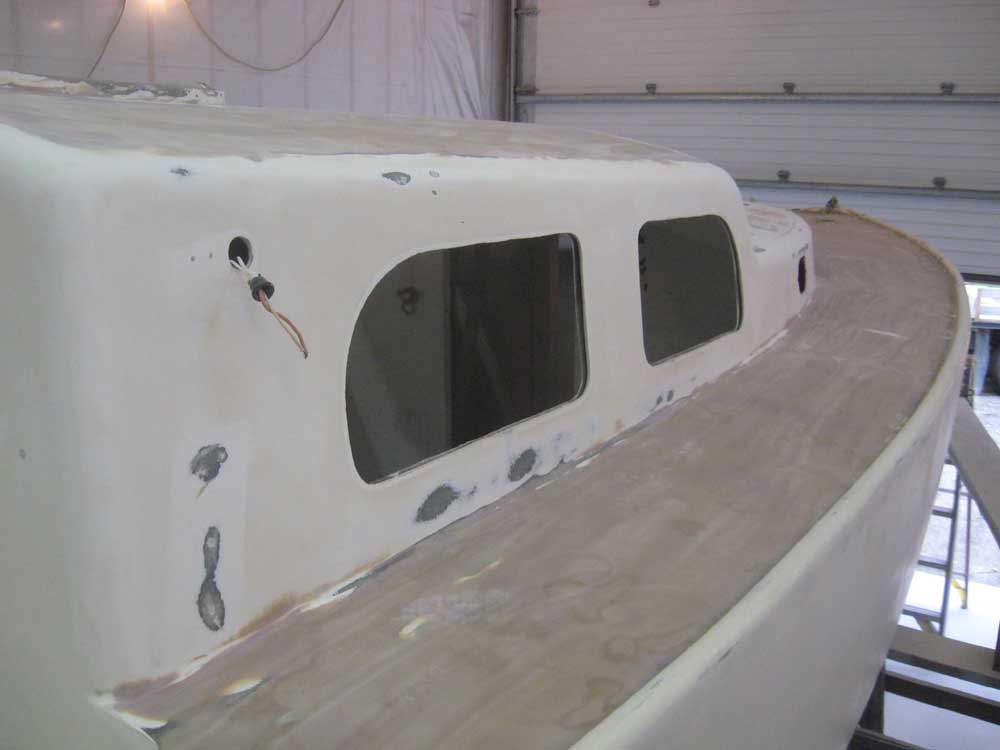
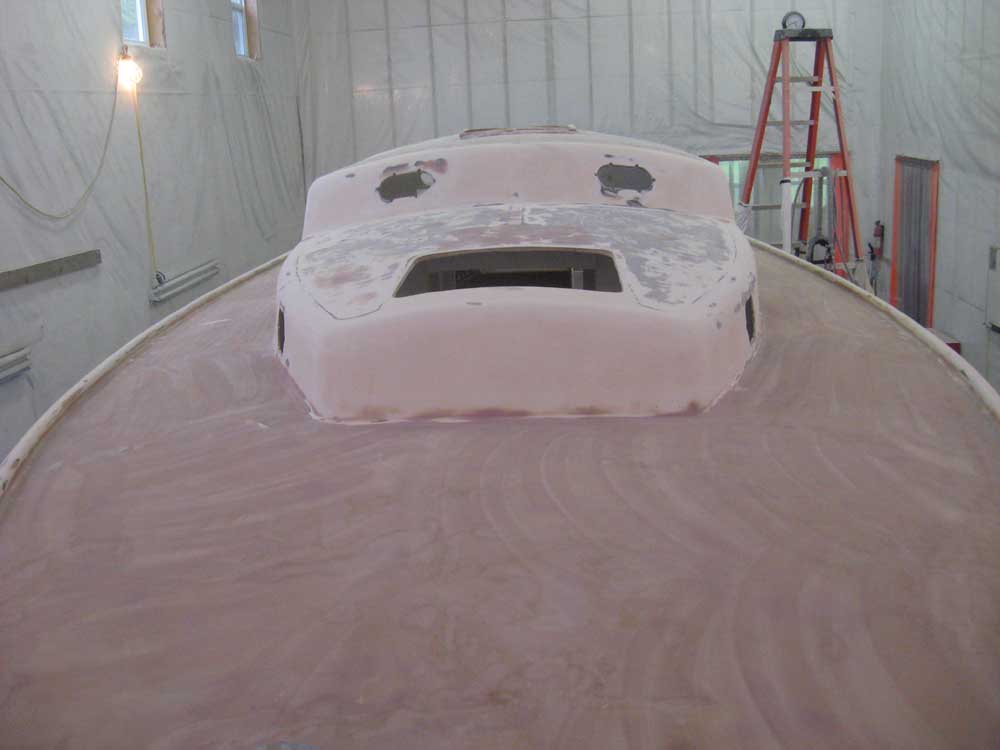
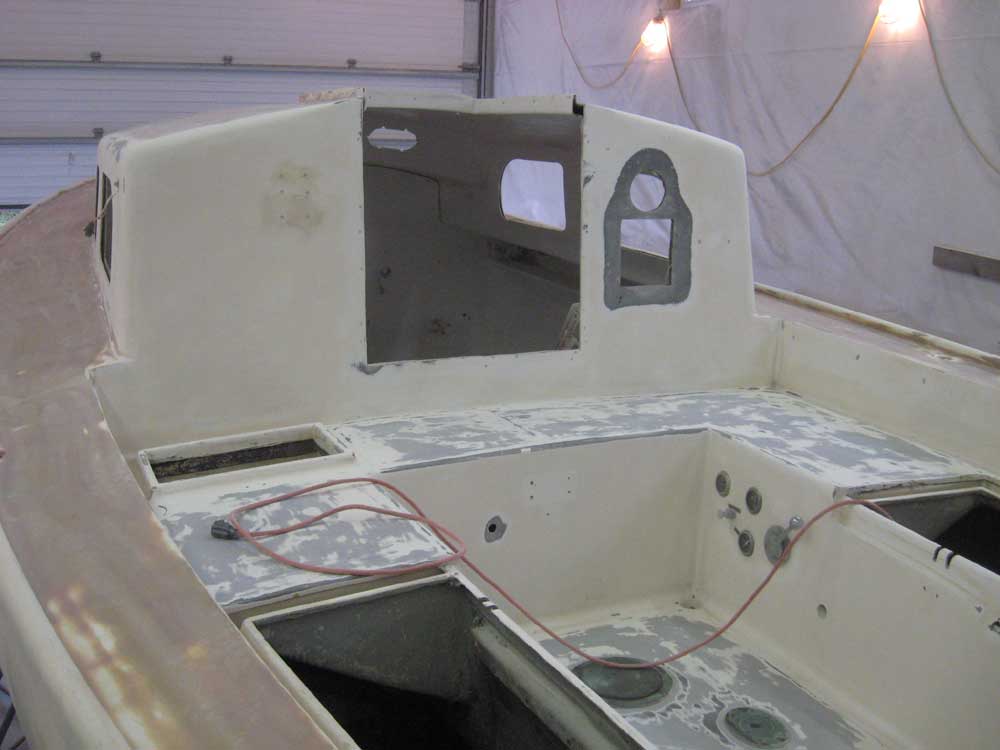
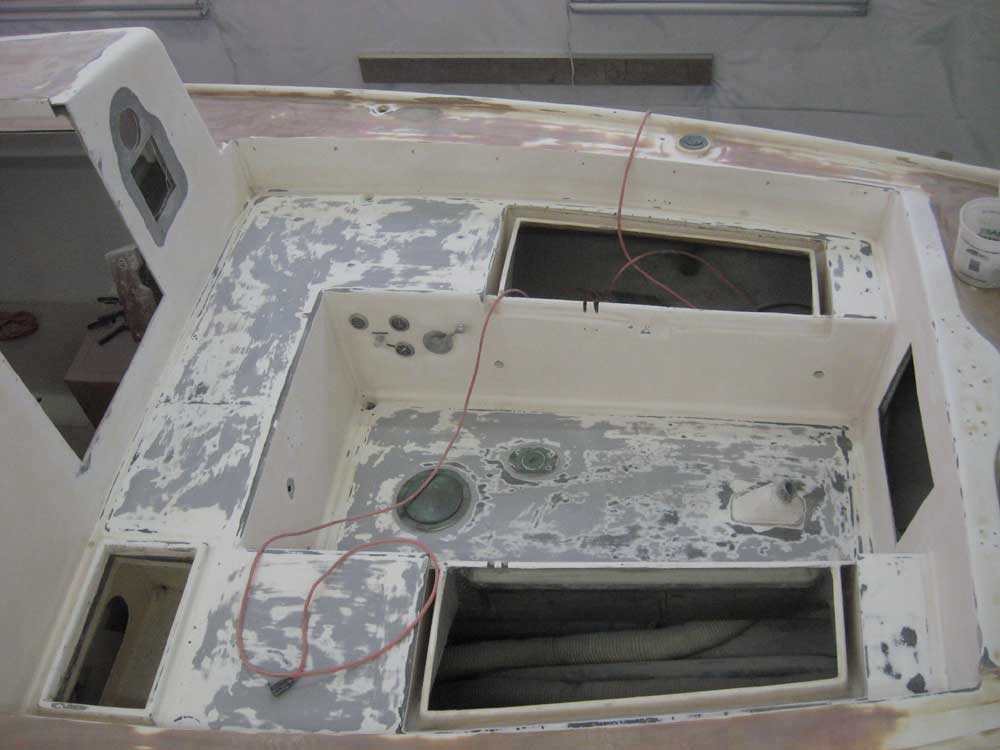
Next, I sanded off a coat of primer that the owner had applied to the coachroof and cabin trunk sometime earlier, as we'd decided to use a different paint system. With 80 grit paper on a 90° random orbit sander, I removed the primer and sanded the entire deck area--foredeck and sidedecks--to clean them up a bit and prepare the areas for later steps. The decks were relatively fair, and I intended to limit any "repairs" to those areas that truly needed them, and was not looking to completely rework the surfaces. There were several low spots that I planned to fill, and a number of pinholes and surface interruptions that I also needed to address. Two large holes in the cockpit bulkhead were left over from some previous--and outdated--electronics installation, and needed to be repaired. So I ground away material around the holes as necessary for patching, which would come shortly. I continued the sanding work in the cockpit, which had never been completely sanded during the earlier phases of the project. I sanded smooth the nonskid in the cockpit well (the seating areas had already been sanded when the boat came to me), and then sanded the entire cockpit with 80 grit, leaving some of the tight areas for later hand-sanding. I removed a few old fixtures with the idea of plugging the holes, but left the engine gauges and controls in place, as I knew that any attempts to remove them simply for paint would lead down budgetary roads that could not be successfully followed at this time. With the bulk sanding and primer removal complete, I built a rough template of the new forward hatch to aid in laying out the new hole in the deck. I hot-glued scrap pine together in the appropriate size, using the hatch itself as a guide and leaving a bit of leeway, and then transferred the shape to the deck. I drew in radiused corners to match the hatch, and cut out the opening with a jigsaw. This exposed balsa core in the deck that I'd later ream out and fill with solid epoxy to prevent any chance of water ingress through the opening into the cored structure. Also later, I'd build a raised surround to support the hatch and fit the camber of the deck, but for now all I needed to do was prepare the area sufficiently to allow the painting project to move forward. |
 |
|
With the new hatch opening complete for now, I re-sanded all the deck and cockpit areas, this time with 80 and 120 grit paper on a random orbit finishing sander, concentrating on keeping the surface smooth and easing out any minor undulations I might find along the way. Afterwards, I cleaned up the dust so that I could continue in the morning with the next preparation steps. |

 |
|
|
|