

| Hattie
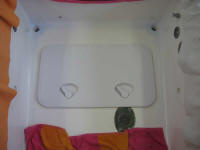
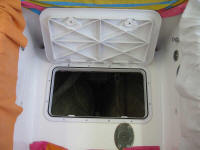
Mae | Friday, June 26, 2009 The sealant around the new cockpit hatch had cured, so I sliced off the excess and cleaned up the tape, completing the installation. I trimmed a small amount off the edge of the hatch to ensure clearance over the shift lever housing on the cockpit sole. |
 |
| I washed and lightly sanded the new tabbing on the fuel tank platform, cleaned up the area, and then painted the platform and adjacent areas, rounding out the work on the platform for now. Fuel tank installation would come at a later stage. |
 |
|
|
 |
|
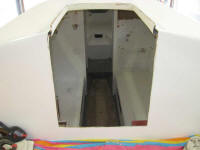
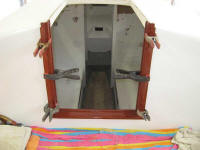
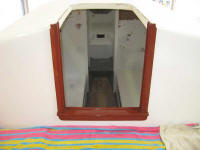
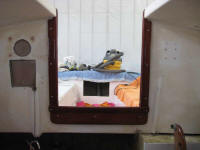
Next, I turned to the companionway trim installation, using the existing (original) trim. I secured the trim with mahogany-colored caulk and new screws. For now, I left the sliding hatch runners off, since I needed to have some aluminum pieces made up to replace the originals, which had corroded over the years and were in bad shape, and I couldn't install the rails and runners without the sliding hatch being complete and up and running to ensure proper track spacing. |
  |
|
To that end, I milled and epoxied in place two new mahogany spacers on the underside of the sliding hatch, replacing the old ones, which were in poor condition. I clamped them in place using spacers above, which I separated from the actual runners with plastic to prevent any chance of the temporary clamps sticking to the wood beneath. With the installation of the ports and deadlights coming up shortly, and a bit of final work on the forward hatch installation once the varnish on the new frame was complete, my time on this project would be drawing to a close in the near future. |
 |
|