

|
Equinox Project | Tuesday, March 31, 2009 Continuing in the same vein as yesterday, I began work this morning with the manual bilge pump. I attached a heavy bronze strainer to a new hose and placed it in the bilge beneath the engine room, then led the hose up to the pump body in the cockpit. With another length of hose, I connected the pump to the overboard discharge on the starboard counter. |
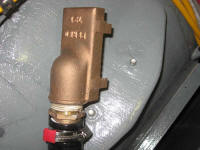
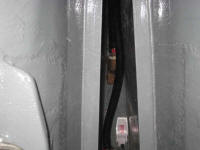
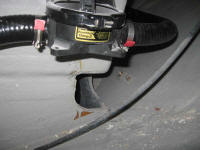 |
|
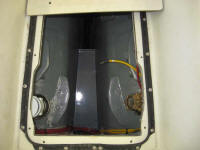
With both bilge pumps and their hoses installed, I was done with work beneath the engine room, and therefore installed the new removable oil drip pan. To seal the edges of the pan I applied a bead of caulk (not shown in these photos). |
 |
|
I thought it'd be easier to pre-install the Racor 500MA fuel filter and Perko bronze sea strainer in the engine room before I put the engine in place, at least temporarily. I planned to remove these during the actual engine installation to ensure maximum clearance for the engine and to prevent any chance of damage to the ancillary parts, but with the wide open space it made sense to get the drilling and initial installations completed. Allowing ample headroom for filter cartridge removal, I installed the primary fuel filter on the starboard side forward, drilling and tapping for 5/16" bolts. I didn't have bolts long enough on hand, so used some shorter ones for the temporary installation; I needed the longer ones so that I could install nuts and washers to assist the tapped holes in supporting the filter. |
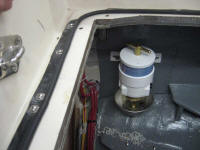 |
|
On the opposite side, I installed a new Perko sea strainer, this one incorporating a valve to allow for easy hose connection and fresh water flushing, and/or an easy way to connect a hose for winterizing with an antifreeze solution when the time comes. Because removal of the filter basket would require a bit of overhead clearance, I held the strainer assembly as low as possible, which meant that the lower bolt hole ended up over an opening in the bulkhead. To get around this, I built a backing plate of 1/4" fiberglass to extend down and support the lower attachment bolt, and then bolted the backing plate to the bulkhead. I rerouted the engine battery cables behind the new plate, as the strainer had to go where I'd previously secured these cables. After these photos were taken I added some chafe gear to the wires to protect them. Then, I removed both the fuel filter and sea strainer pending the engine installation. |
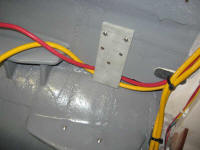
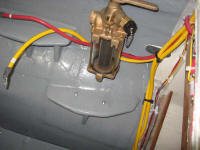 |
|
I cut and installed new cockpit scupper hoses. As before, I crossed them to the opposite side's through hull fitting. |
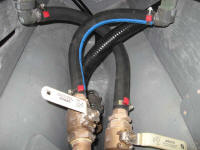 |
|
I'd hoped to install the control lever ends of the engine control cables, which when complete would then allow me to think about doing the final installation on the fuel tank (I needed, or at least wanted, the clear access to the back of the control for now). However, I realized I'd forgotten to order the cable ends I needed in order to connect the cable, so I ordered what I needed and would address that in the near future. With the space still open, I installed the top ends of the fuel fill hose and fuel tank vent, leaving the long tails of the two hoses loose in the space pending fuel tank installation later, when I'd cut them to their proper lengths and install them. |
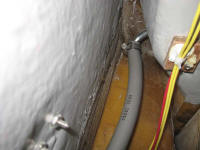
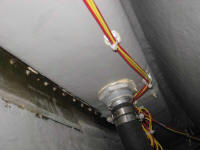 |
|
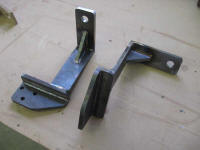
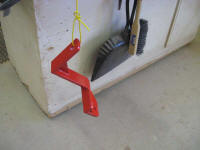
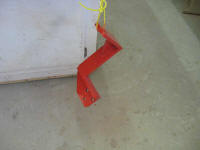
The new steel engine mounts were complete, so I picked them up and, over the course of the afternoon, applied several coats of paint to match the engine and protect the steel. |
 |
|
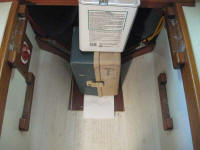
I made up the terminal ends for all the small wires in the battery compartment: battery charger feeds and the voltmeter sensor wires. I also heat-shrunk the ends of the future solar panel wiring and tied the excess up out of the way pending future use. This pretty much wrapped up the wiring work in the boat, other than in the mast itself, which chore is pending. I rounded out the day with additional odds and ends, including revarnishing the teak mounting block for the GPS and gluing the small after section of cabin sole to the substrate hatch cutout over the bilge pump so that they would act as a single unit in the future. |
 |
|