
|
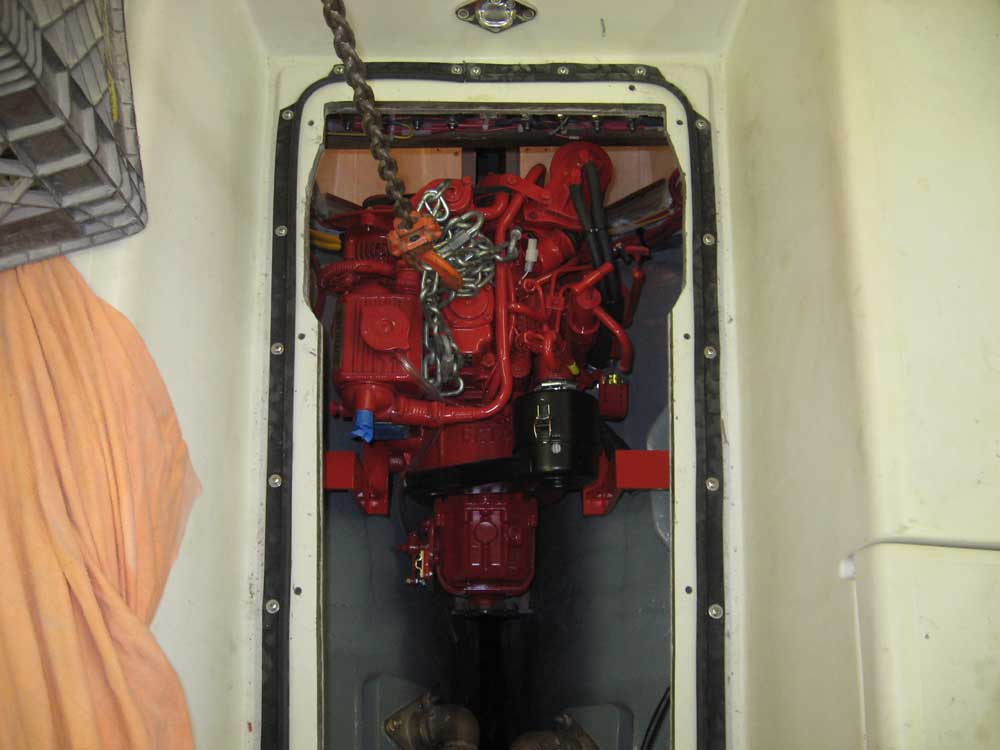
Equinox Project | Wednesday, April 1, 2009 The day started out well enough. After collecting various tools and things I'd need, I moved the engine and placed it in the engine room. Once I'd lowered the engine through the opening, but before lowering it all the way, I bolted on the new aft mounts, which wouldn't have fit through the opening had I done it before. Once the mounts were bolted in place, I lowered the engine all the way onto the foundations. Though actually putting the engine in the boat took only a few minutes, it took most of the morning to get it securely fastened, between the various minor adjustments needed to the flex mounts and the engine's overall position to line it up correctly with the shaft. |
 |
|
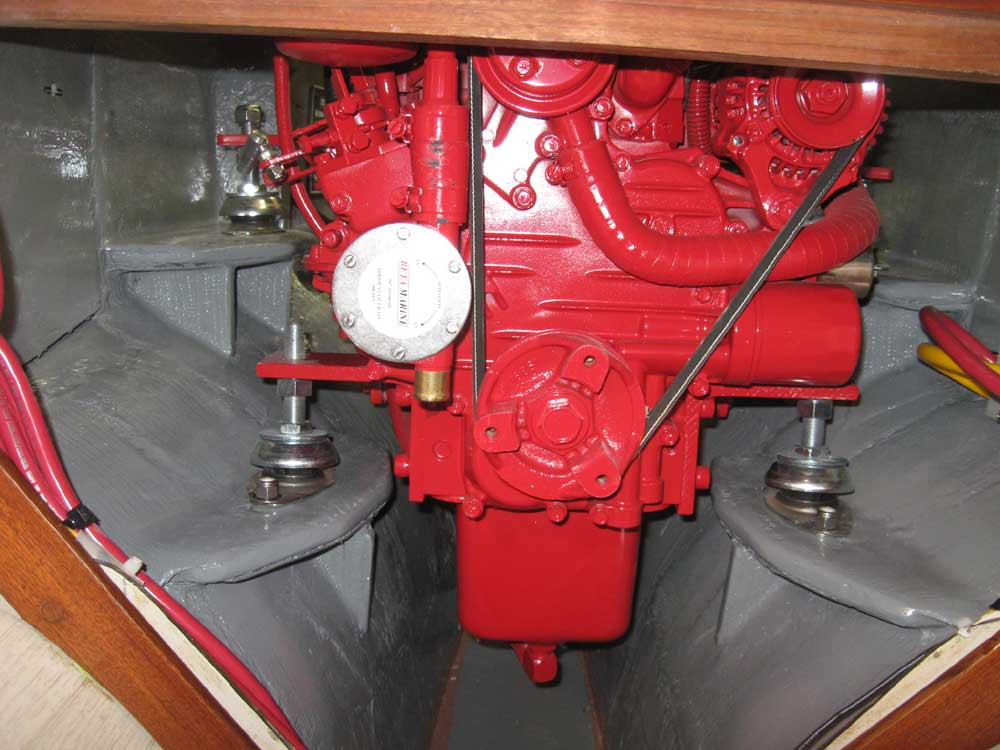
To do this, I installed the shaft and temporarily attached the coupling to the end so that I could mate it with the transmission coupling and determine what adjustments were needed. The layout work with building the foundations and the engine template paid off in that the engine was nearly ideally placed from the getgo, but once I started tightening down the nuts on the flex mount studs, with lockwashers in place beneath the flange, it took a few fine adjustments to keep the coupling flanges properly aligned. Once I was satisfied with the engine's placement, I drilled bolt holes in the aft foundations and bolted the rear flex mounts in place, and secured nuts to the existing studs on the forward flex mounts. |

 |
|
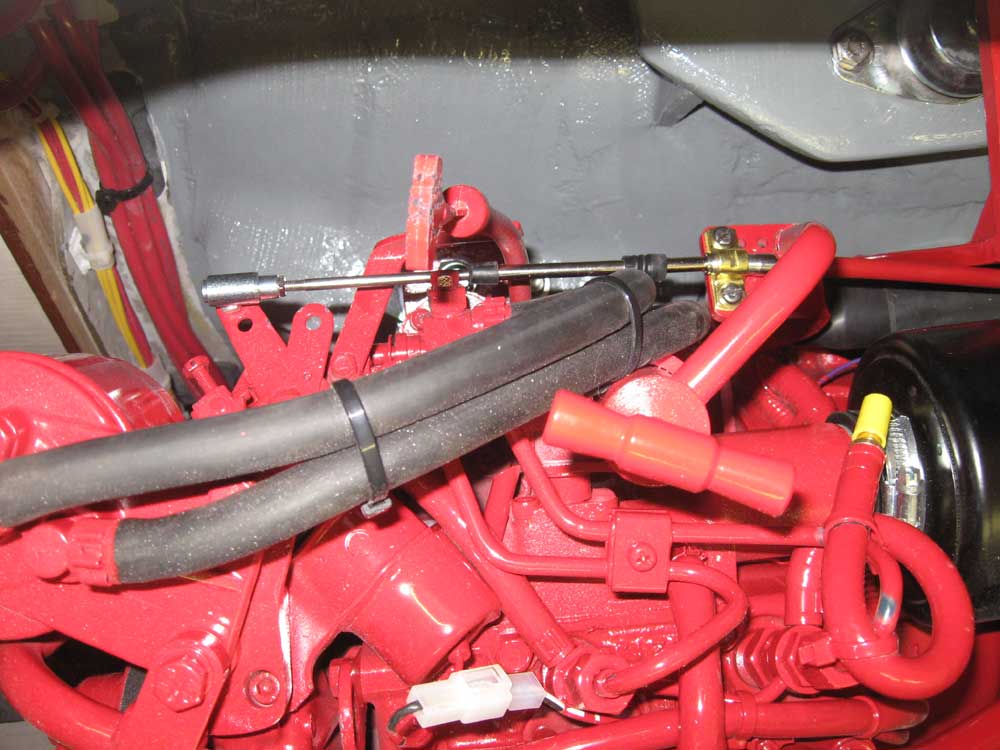
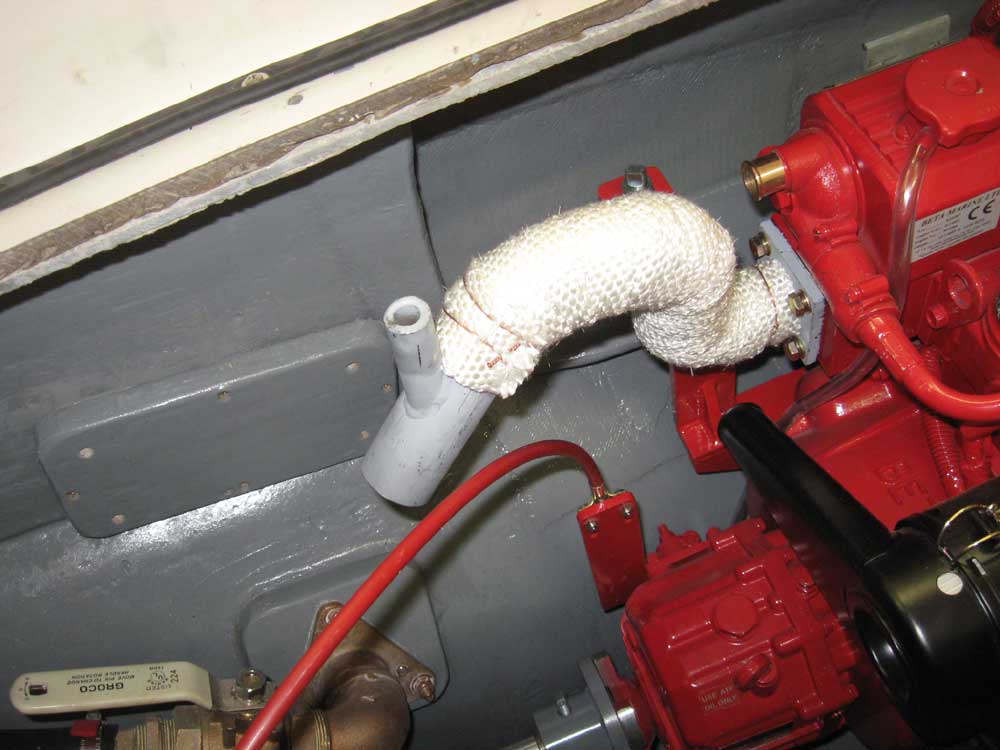
With the engine firmly secured, I began the process of attaching the various accoutrements. I was going to begin with the reinstallation of the engine exhaust riser, but noticed that doing so would make attaching the transmission control cable more difficult, so first I attached the engine end of both control cables, running the other end through a pre-existing slot in the bulkhead towards the cockpit control levers. Then, I bolted on the exhaust riser, and attached the wiring harness, leading the excess into the void behind the cabin liner. |
 |
|
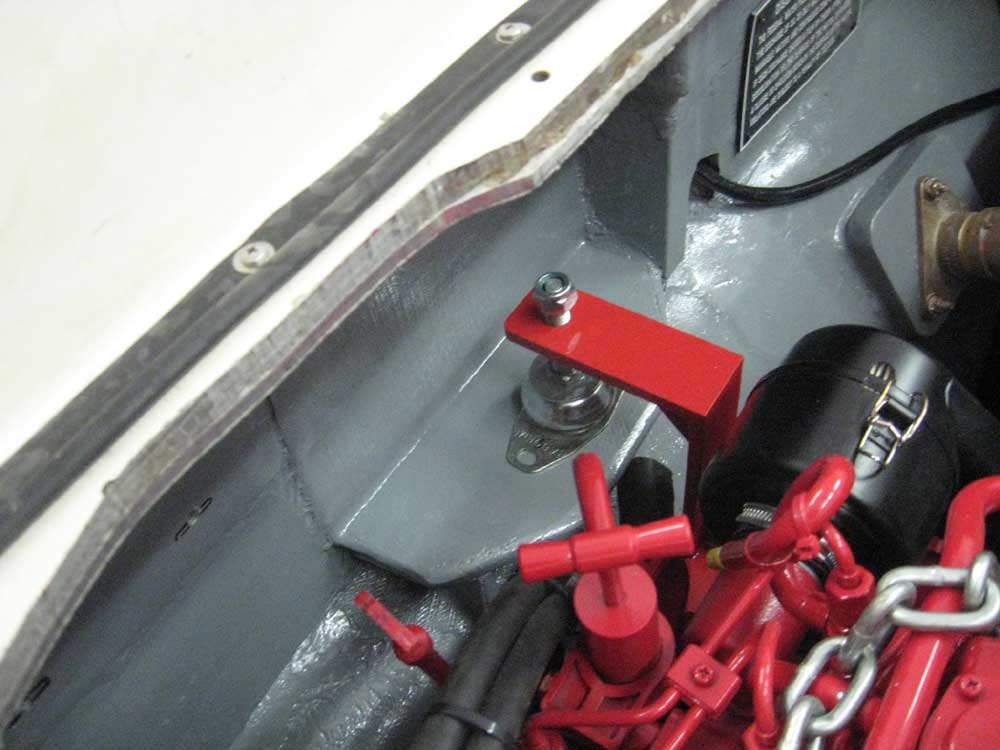
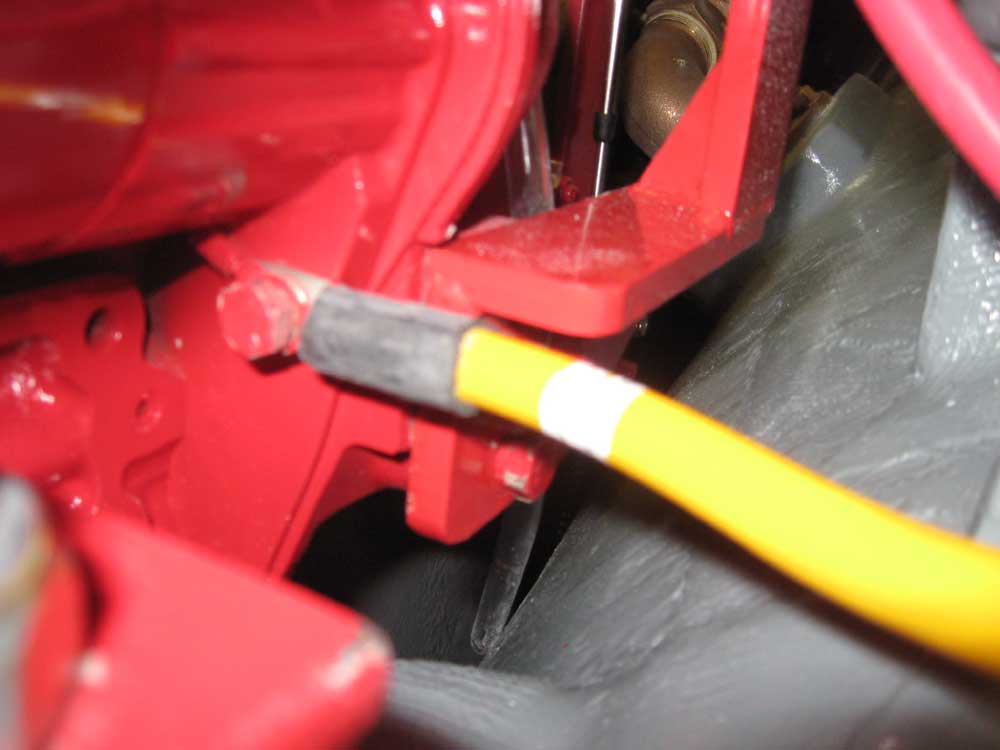
Next, I turned to the positive and negative battery cable attachments. Earlier, before putting the engine in the boat, I'd loosened the ground bolt and solenoid nut to make this process easier with the engine in the boat. I attached the ground cable without too much effort, but had a terrible time with the positive cable attachment to the solenoid. A variety of factors conspired to make access to this area extremely tight: the fact that the longitudinal bulkhead on this side (port) was closer to the engine than on the other side; the fact that the solenoid was hidden from view from above by the alternator and heat exchanger, which not only limited visibility but also, along with the overhanging deck opening, prevented hand and arm access from above; and the fact that the solenoid was recessed into a space without sufficient finger clearance to get the nut started, and without a straight shot through the front of the engine to use something like a nut driver. These are some of the things that often make the simplest tasks take inordinate amounts of time. In this case, I tried everything to get the nut started, to no avail. I dropped the nut many times, but it was saved by the oil drip pan--except for the time when it bounced and managed to fall into the deep bilge aft of the engine. Fortunately I was able to vacuum it up and save it, as I didn't have any nuts with this thread (metric) in stock. In the event, I finally managed to get the nut started by reaching through from the back side of the engine, only to find after a few threads that it was cross-threaded. Given the difficulty involved with getting to this point, rather than continue and hope that I could properly thread the nut, and risk real damage to the solenoid stud threads, I elected to step away, order the proper-sized thread-restoring die for tomorrow, and wait to attach this cable till then. I couldn't even get the camera in for much of a photo of the solenoid and cable attachment. |
 |
|
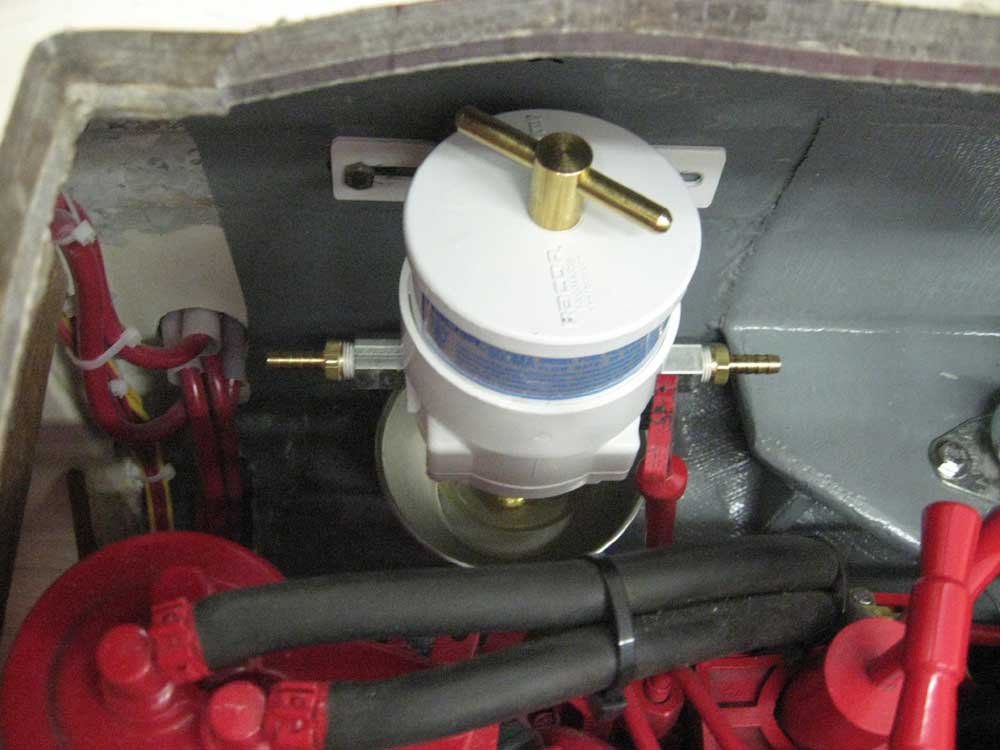
I had planned to quickly attach these cables and then move on to install the raw water strainer and hoses, but since I needed the clearance on that side for the cable attachment, I had to hold off on the strainer for now. However, some parts I needed for the fuel filter arrived, so instead I bolted the filter in place on the starboard side, after first installing some Racor-specific O-ring adapters and then standard 5/16" fuel barbs. |
 |
|
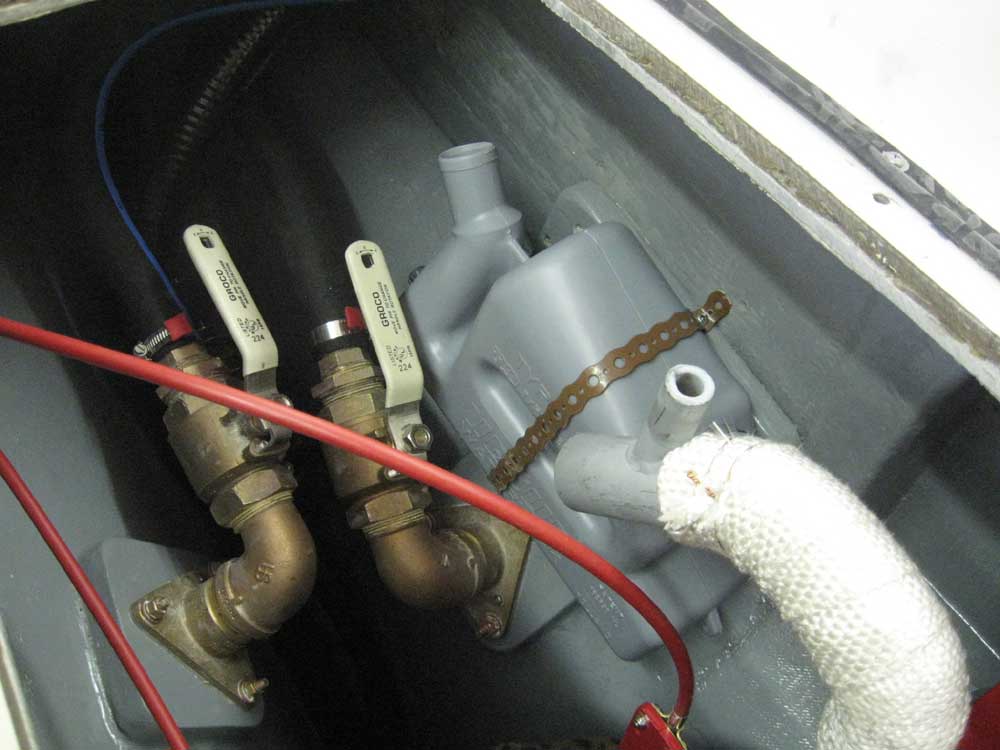
I installed the new Vetus Waterlok muffler in the same position as the old one, but refrained from installing the hoses at the moment pending determination of lengths and how the hoses, when installed, might impact workability in the space for other jobs. |
 |
|
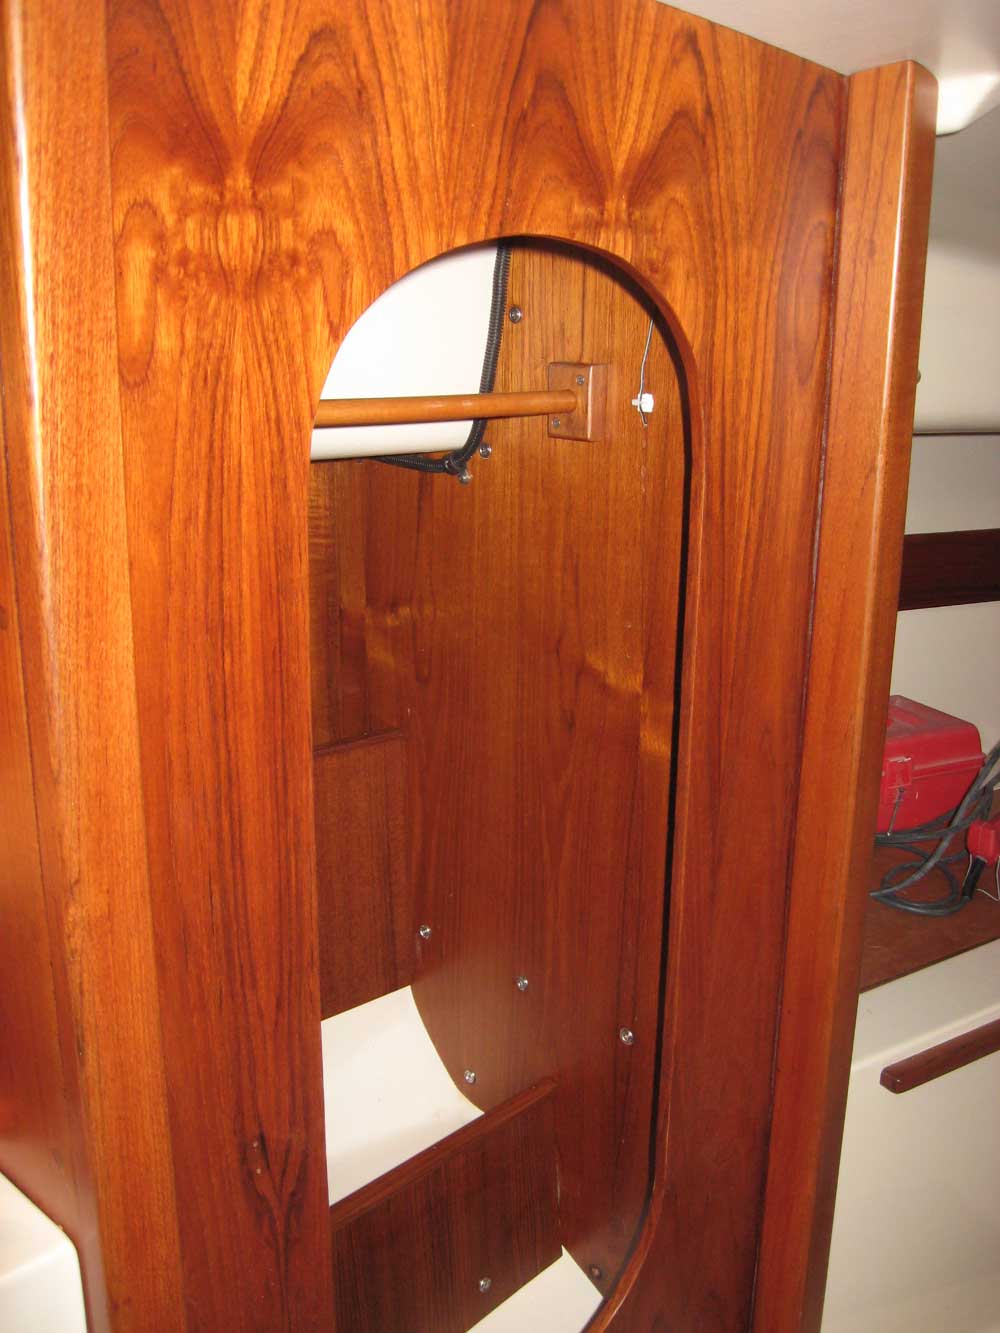
Instead, I elected to work on other parts of the boat for the moment, having had enough of the engine for now. In preparing to determine the location for and install a new fitting for the mast wiring, I decided that I first needed to install the remaining pieces of the hanging locker to see where the fitting should best be placed, so I spent what remained of the day installing two small storage bulkheads on the inside, and then the face panel, after making a relief cut to allow it to fit around the new wooden mast beam. Finally, I sanded and revarnished the GPS mounting pad with satin varnish. |
 |
|
|
|
