
|
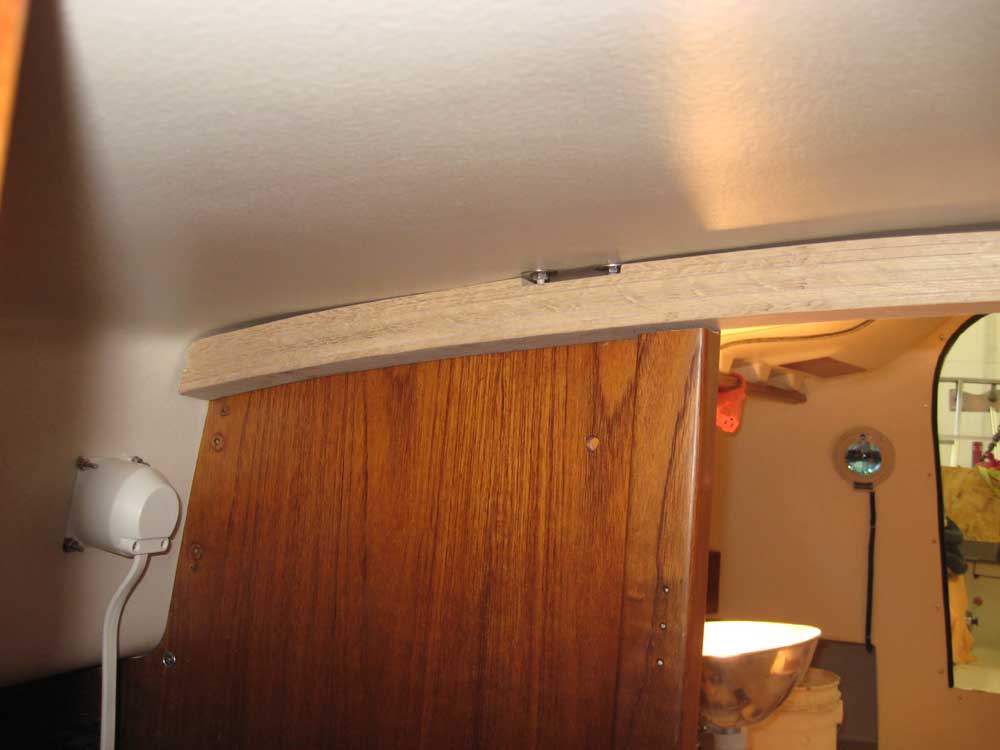
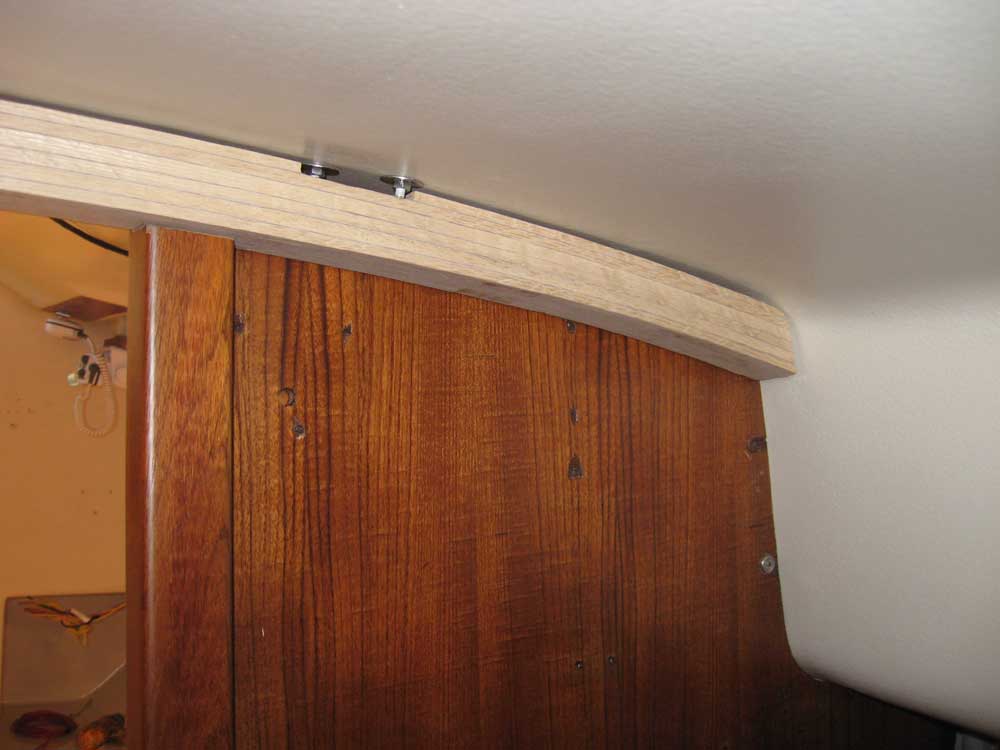
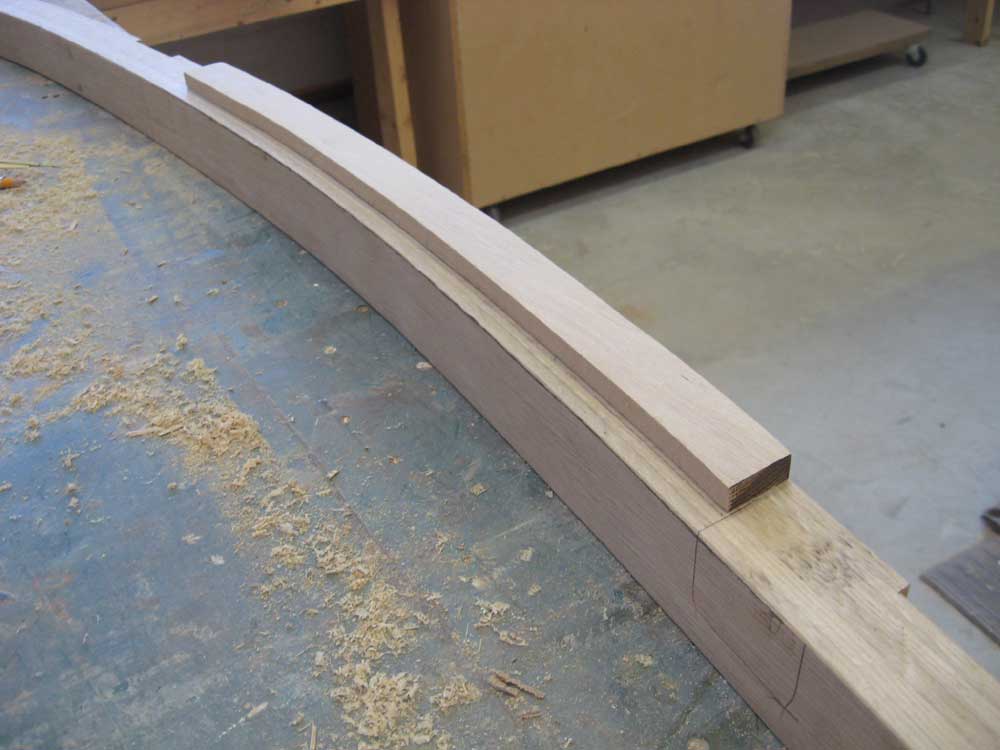
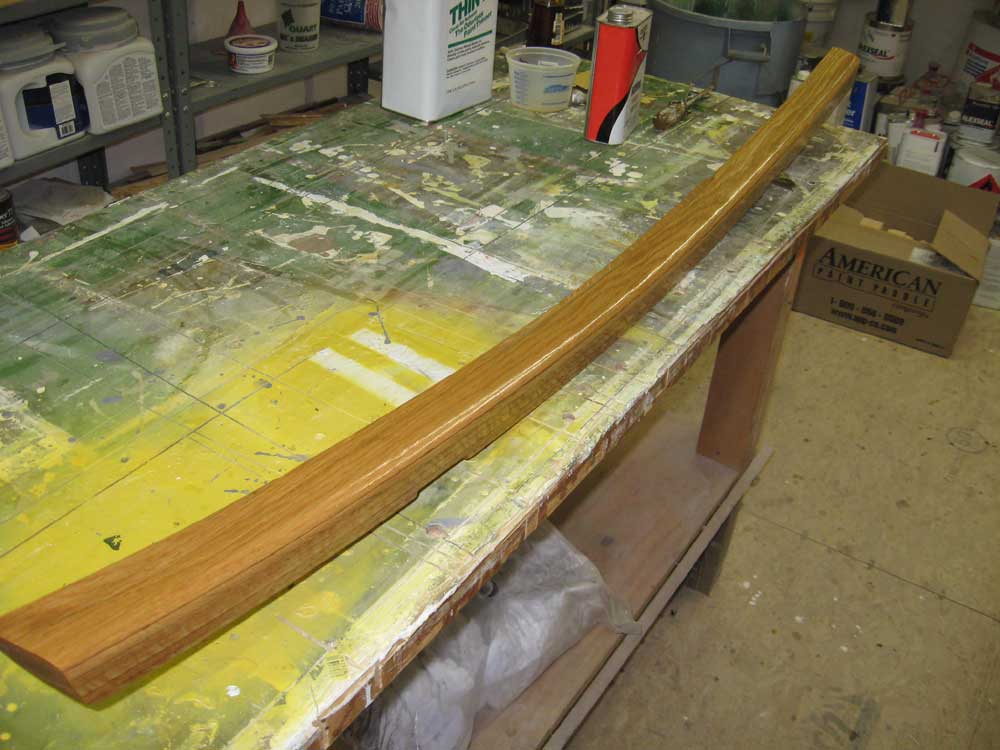
Equinox Project | Monday, March 23, 2009 I spent most of the morning working on the final fitting of the mast beam. I wanted to complete the beam so that I could get it to the finish room for varnish and therefore allow final installation, since completing several wiring jobs in the boat depended on the bulkheads and beam being in place. Cutting the ends to the appropriate length and shape required a number of trips up and down the ladder to the boat as I worked to fine-tune the size of the beam. In addition, I milled out some grooves in the top of the beam to allow clearance around pre-existing nuts and washers securing some of the deck hardware, which interfered with the beam. I also found a need to trim a bit more from the vertical posts on the aft bulkhead, to allow beam clearance, so I marked and cut those as well. Eventually, the beam slipped into place. Note that in the photos, the beam is not pressed as tightly to the overhead as it will be during final installation; a bit of additional clearance at the vertical posts was required in order to allow the beam to be installed (and, if needed, removed later). |

  |
|
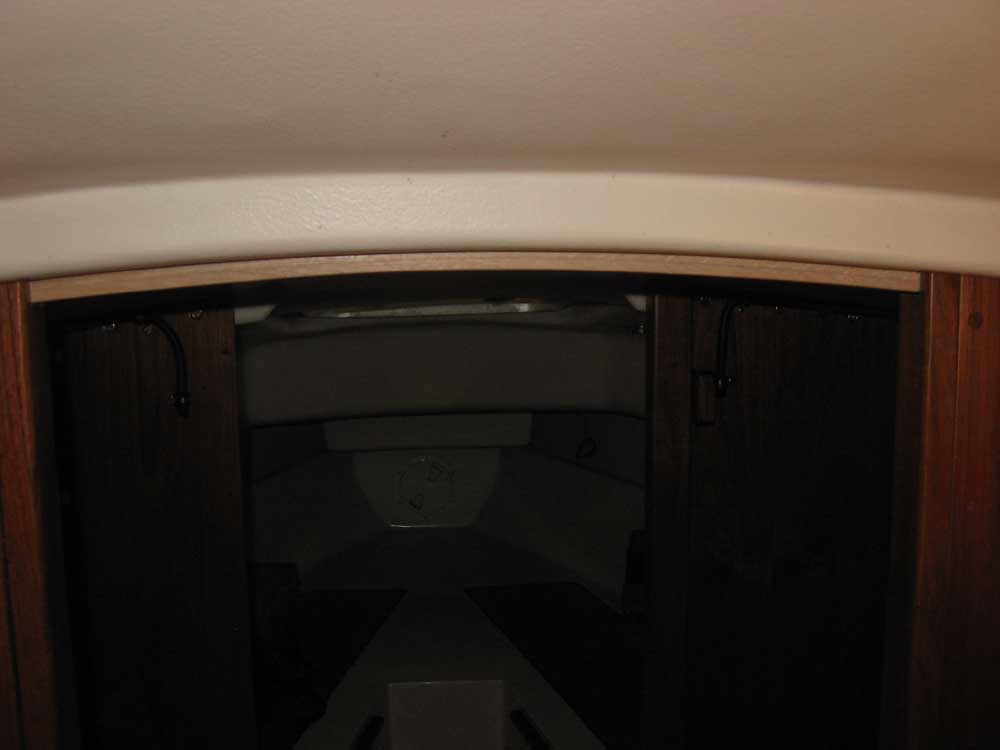
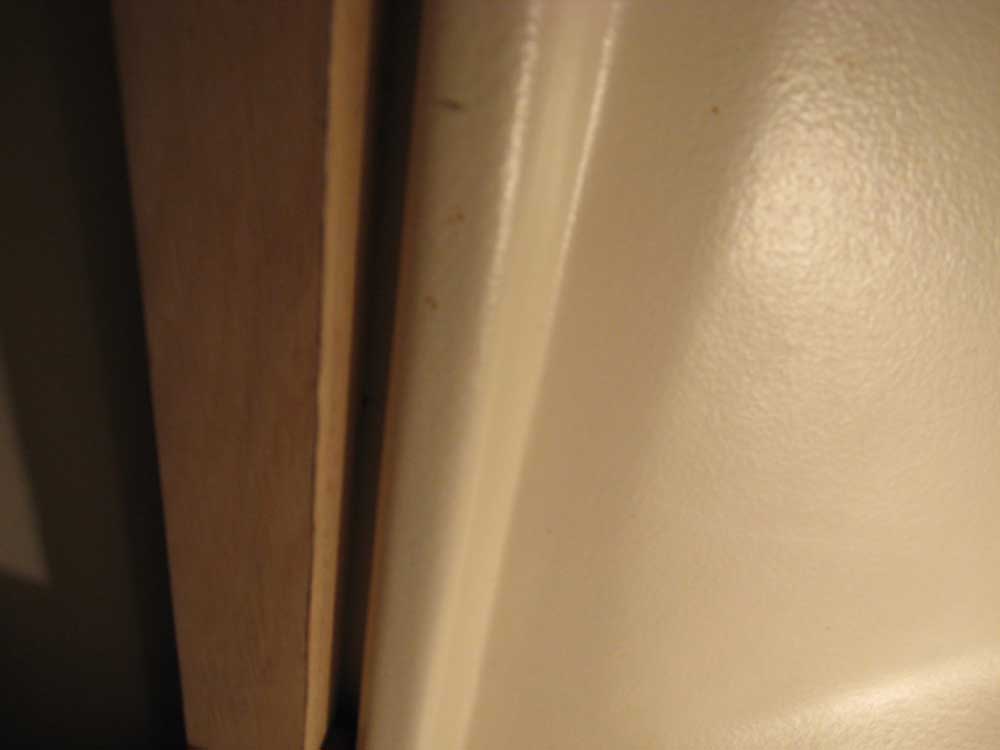
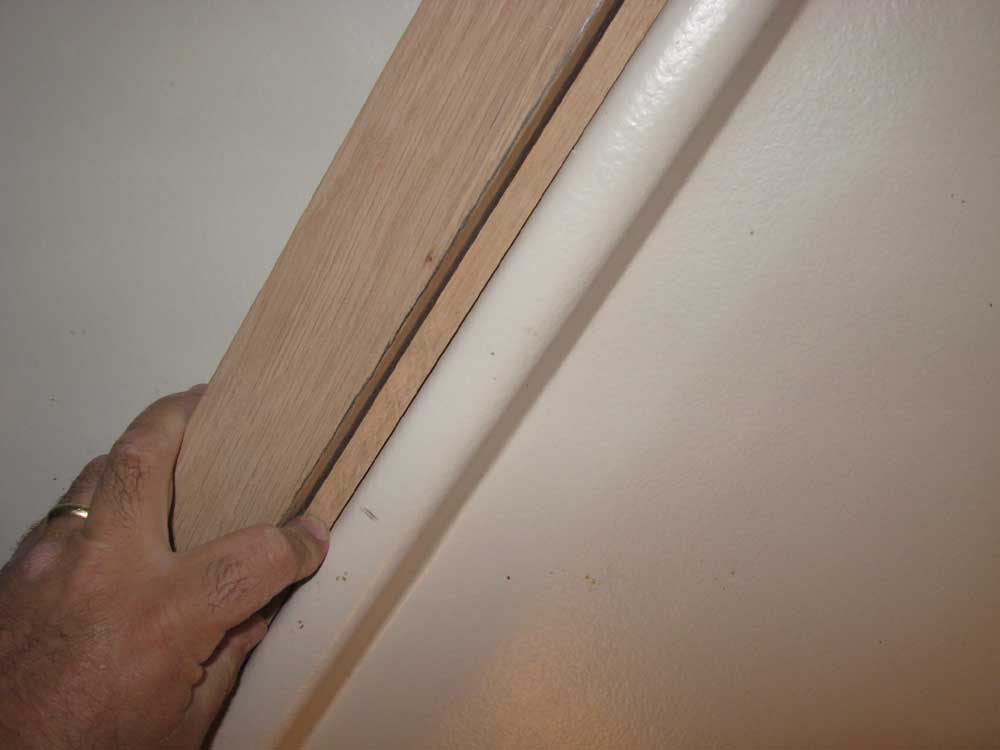
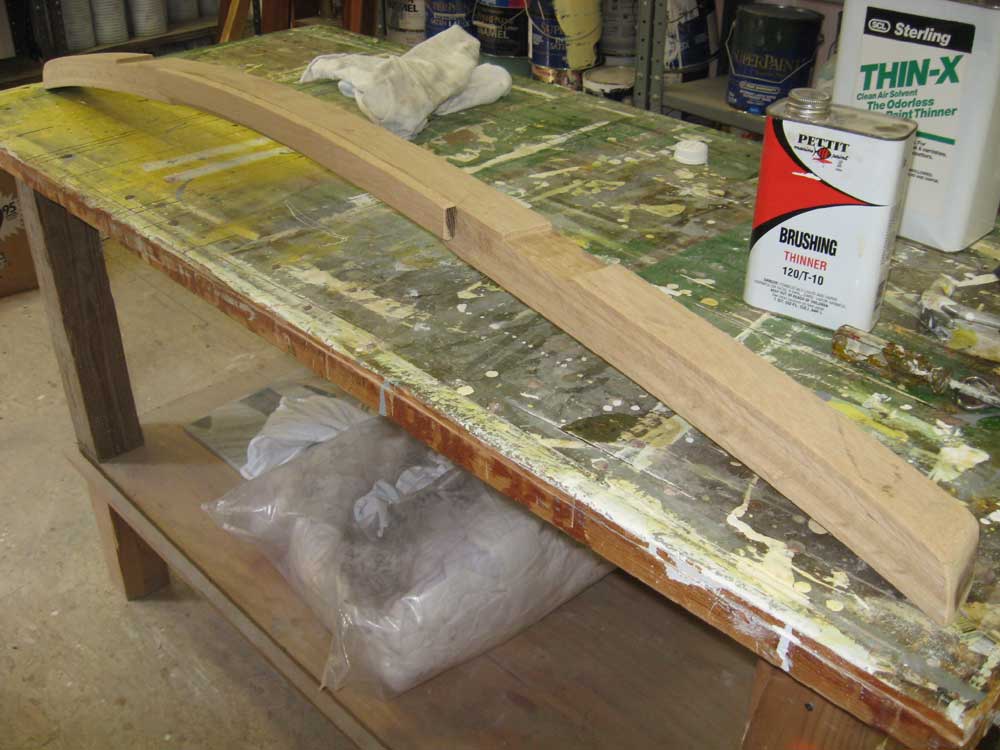
With the final shape complete, I milled edge details on portions of the beam--the entire forward (exposed) lower edge, and the center portion of the after lower edge, where it was exposed in the passageway between the bulkheads. I sanded the beam smooth to 220 grit. The beam required one final detail. Because the beam rested against the 1/2" thick bulkheads, this left a roughly 1/2" wide gap between the center portion of the beam and the molded flange in the overhead (against which the bulkheads rest), where there was no bulkhead. Structurally unimportant, I felt that this gap was unsightly, and also would not allow any fastening of the beam in the center of the boat. So I made up a small oak filler piece to fit and fill this space, curved to fit the beam and the overhead, and secured it to the aft side of the beam in the appropriate location. Only the lower edge of this filler would be exposed in the final installation. |
 |
|
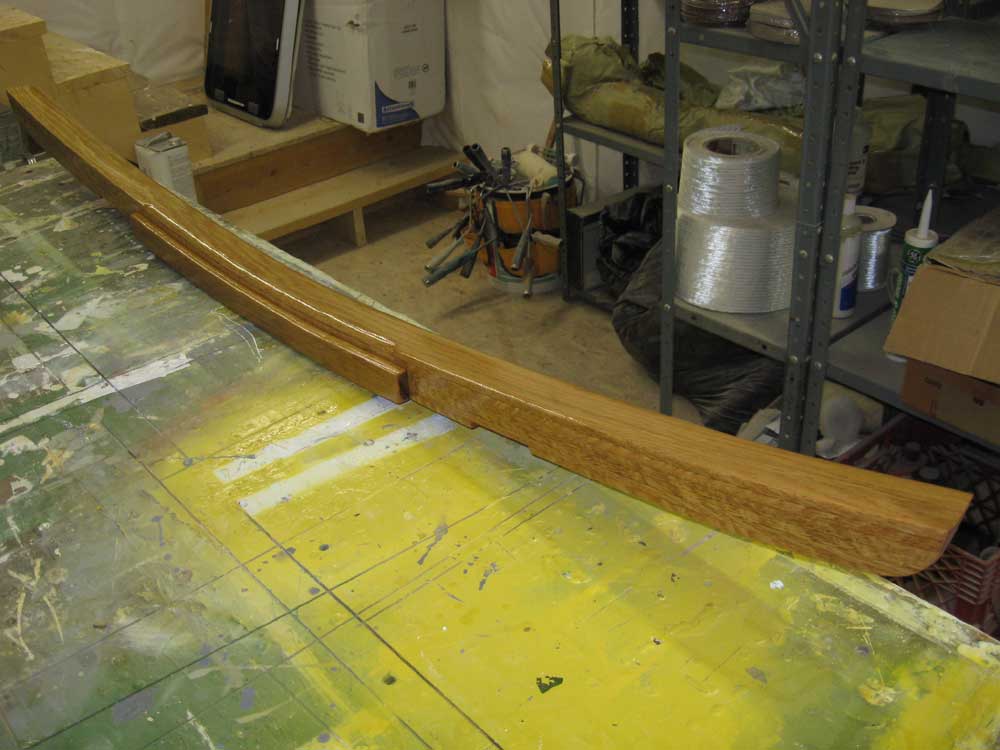
Afterwards, I applied a sealer coat of varnish to the beam. |
 |
|
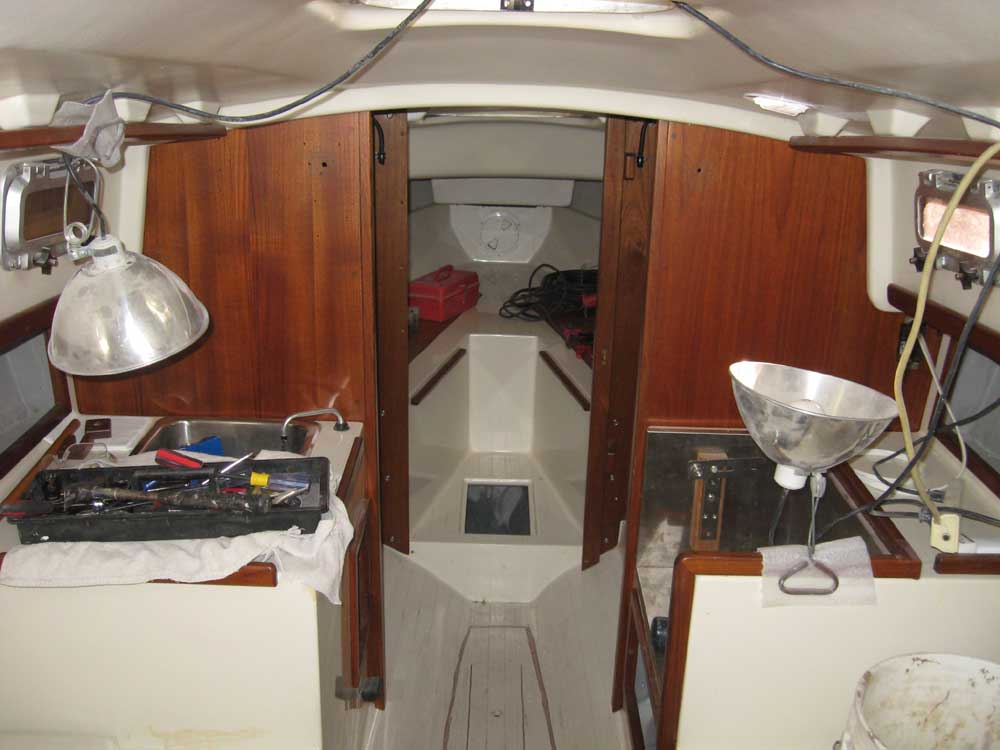
Next, I secured the aft bulkhead sections, since there was no longer any need to remove them, with the chainplates in and the mast beam cut and fitted. Using new fasteners, I screwed the bulkheads in as per original. |
 |
|
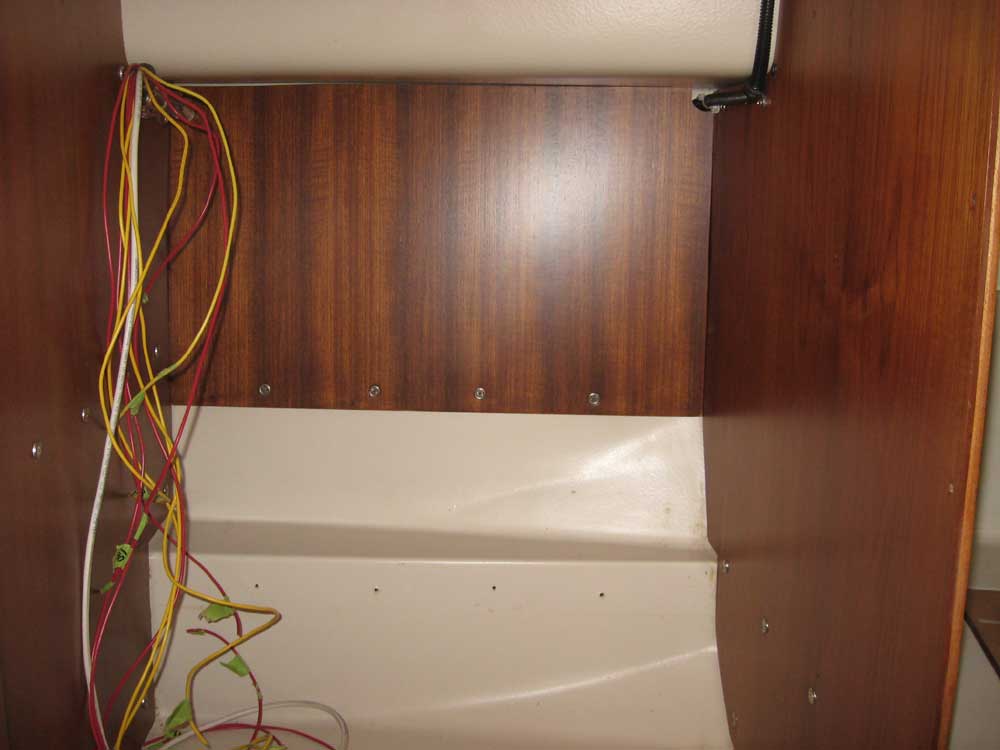
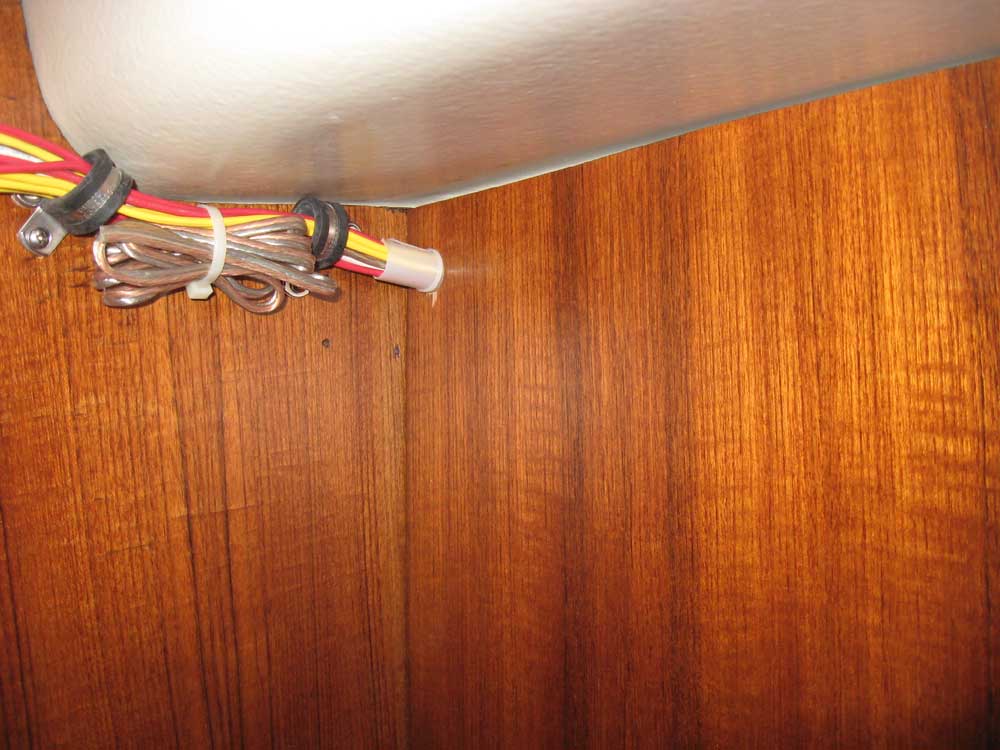
During the afternoon, I worked in the head/hanging locker area to continue installing some of the additional plywood panels, which included work on the wiring as needed: on the port side, this meant enlarging an access hole through the transverse back panel of the hanging locker to allow passage of the numerous mast wires, coax cable, and lighting wires for the galley. I bundled the wires and protected them against chafe where they passed through the bulkhead, and secured the bundles with a couple rubber-lined clamps where they exited the bulkhead. For now, until the mast beam was complete and finally installed, I left the bulk of these wires hanging pending final securing and connection. |
 |
|
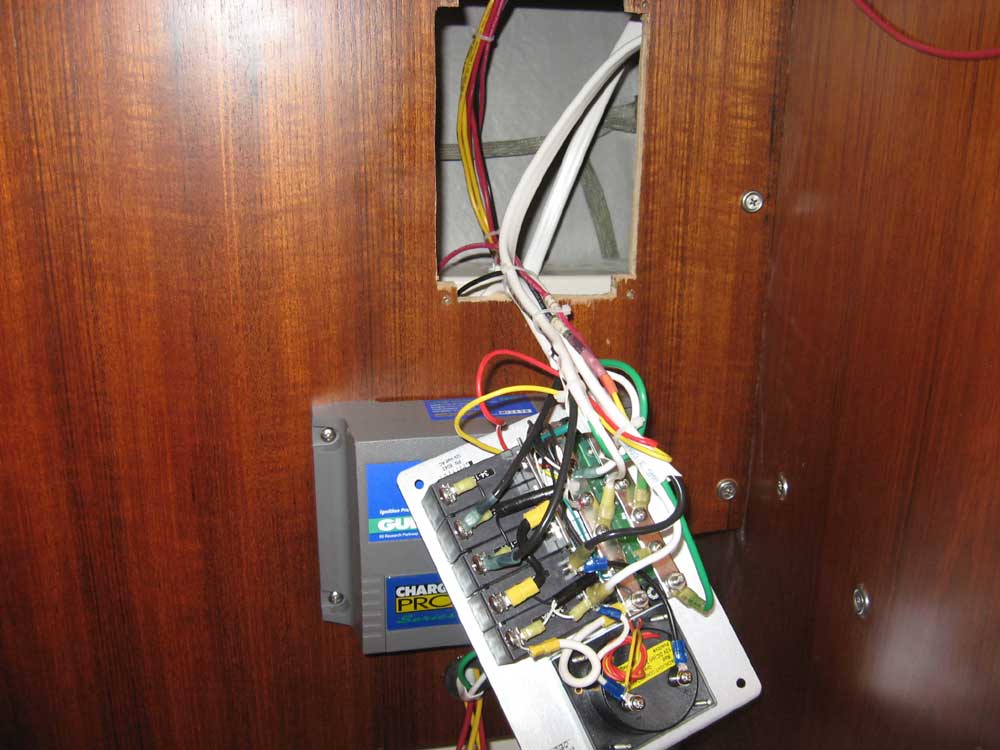
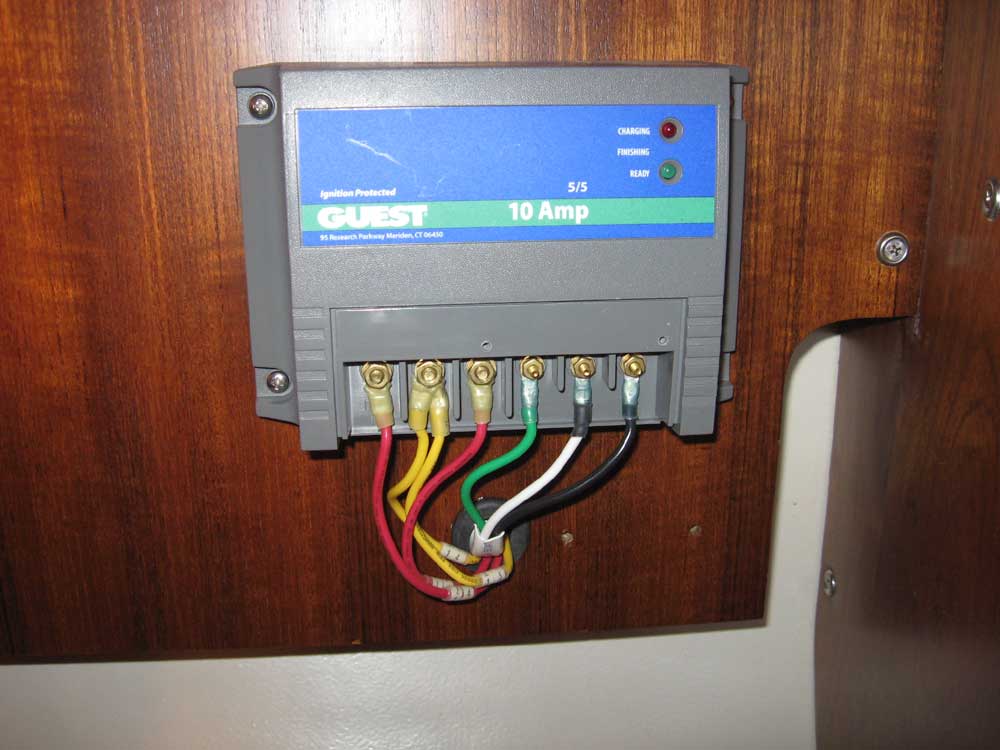
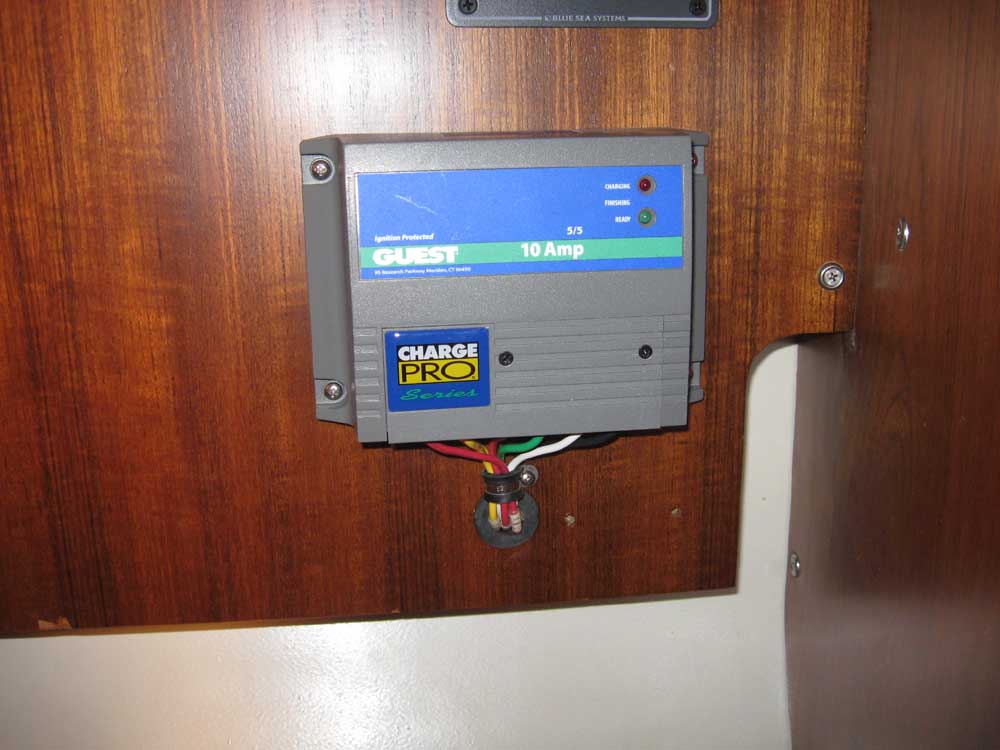
To starboard, the wiring involved in installing the back panel was much more involved, as it required making up the final connections to the AC shore power service panel and battery charger. Over the course of a couple hours, I made up the connections as needed and secured the wires, including the main power feed and the run to the nearby outlet in the galley, along with DC power feeds to the AC panel's backlighting functions and the wires to the new battery charger. |
  |
|
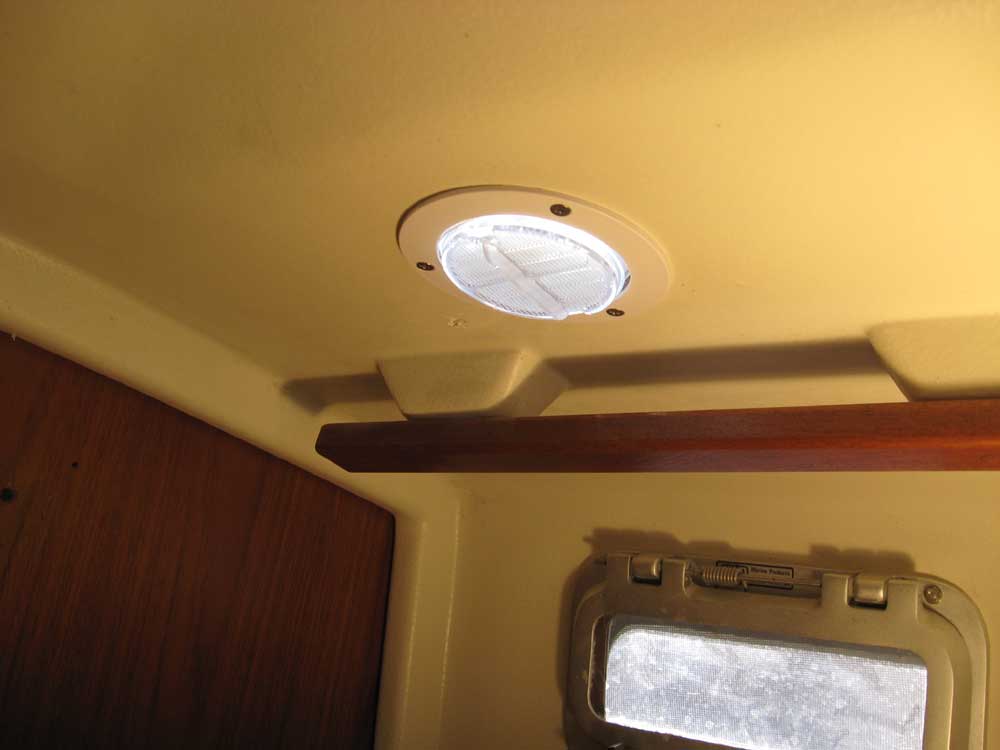
At one point, while waiting for the adhesive to cure on some new wire tie mounts that I installed, I took a moment to install a simple trim ring on the inside of the solar vent in the overhead above the galley, a great time to knock an insignificant--yet still important--item off the list. |
 |
|
|
|
