
|
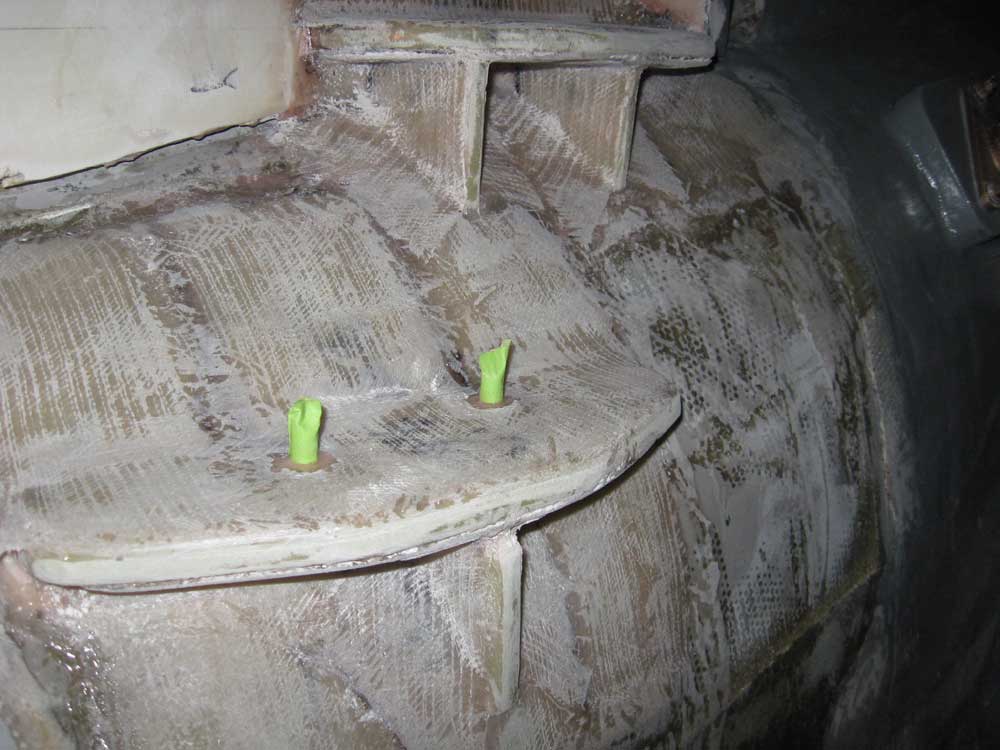
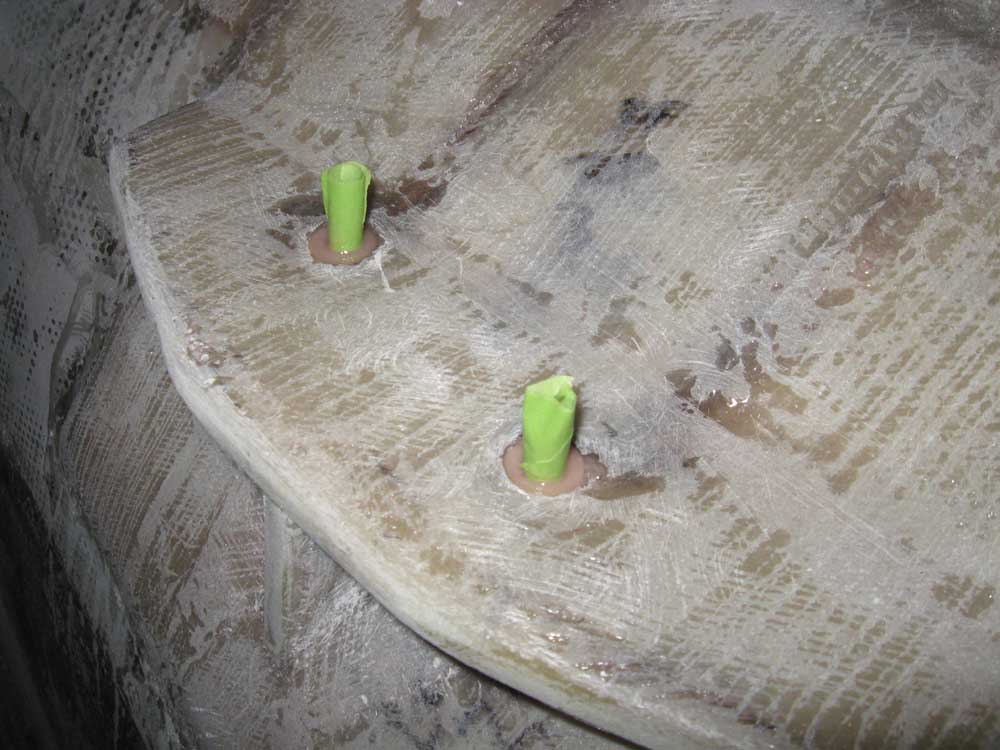
Equinox Project | Wednesday, March 11, 2009 I spent the morning on some miscellany, beginning with cleaning up the new fiberglass securing the engine foundations' support braces, just to remove any rough edges and so forth. After cleaning up, I masked off the engine mounts studs and filled the circular voids, left behind from the protective plastic tubing I'd had in place during the fiberglass installation a few days earlier, with epoxy. |

 |
|
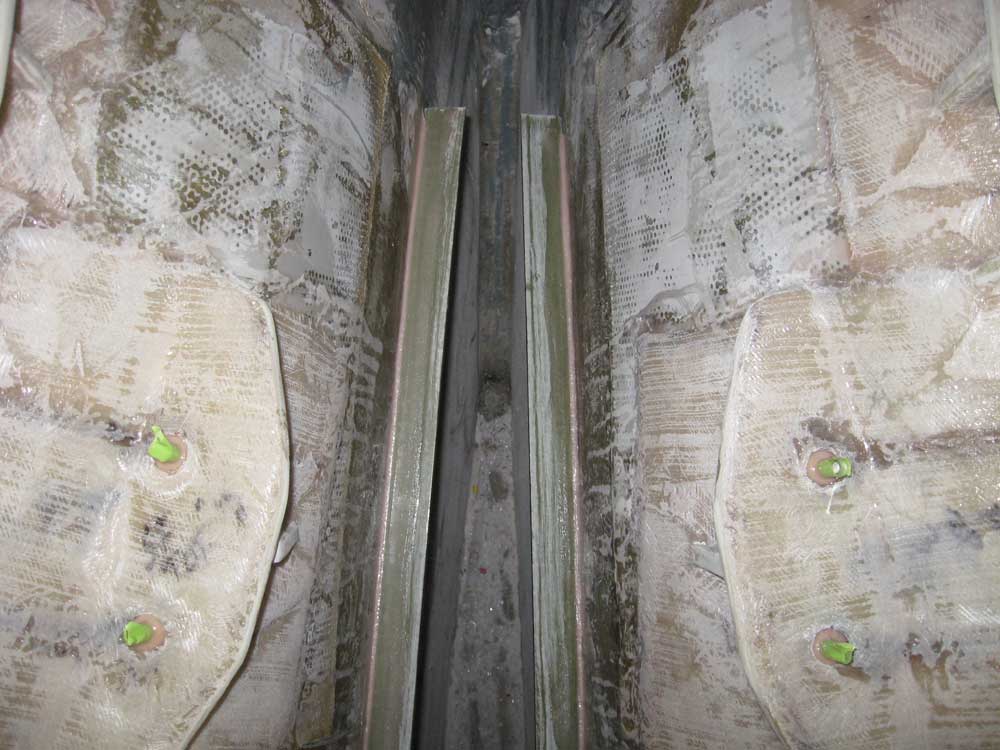
Next, I made some marks in the bilge 12" down from the forward engine foundations (a distance chosen randomly), and cut and installed two 24" long supports made from 1-1/2" x 1/4" fiberglass angle; I secured the supports with epoxy and held them in place with spots of hot glue while the epoxy cured. I installed these supports so that I could build and later install a removable drip pan for the space beneath the engine--not only to catch any fluid drips before they made their way into the depths of the bilge, but also to help prevent tools and small parts that might be dropped someday from disappearing into the black hole. |
 |
|
I was ready to begin the battery cabling, the last major wiring project on the list. Anticipating this project, earlier I'd made a small wooden pad for the battery switch, in order to cover the hole and fastener locations from the old switch and provide a flush mount for the new one. With this pad now varnished, I installed it beneath the companionway ladder in the original location, and secured the new battery switch from inside for a flush mount. |
 |
|
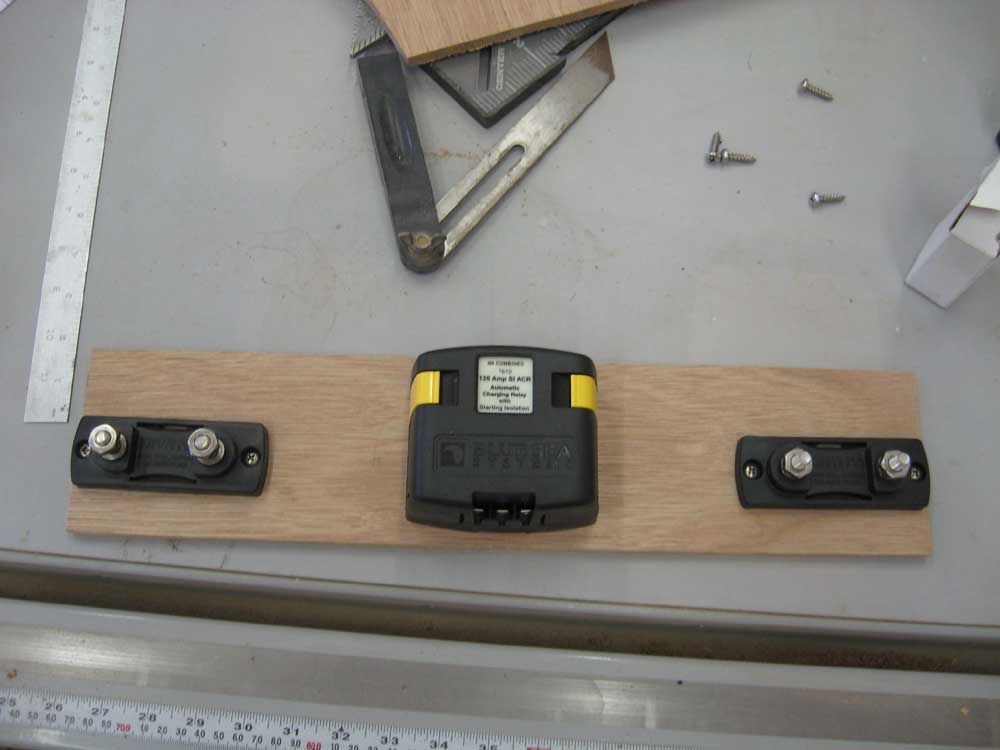
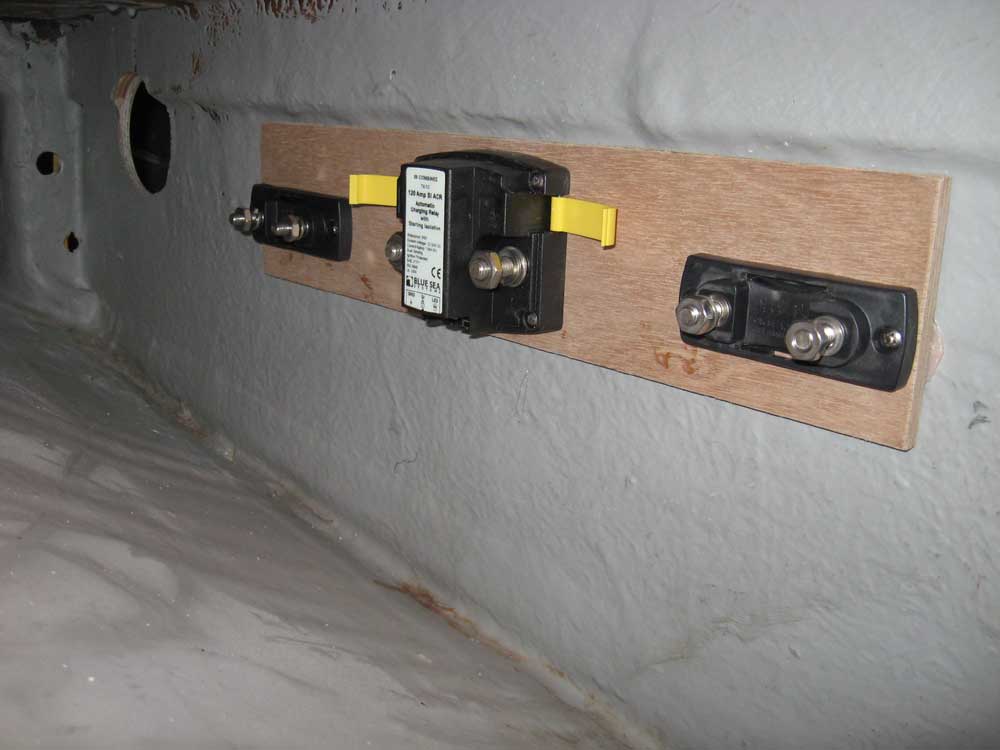
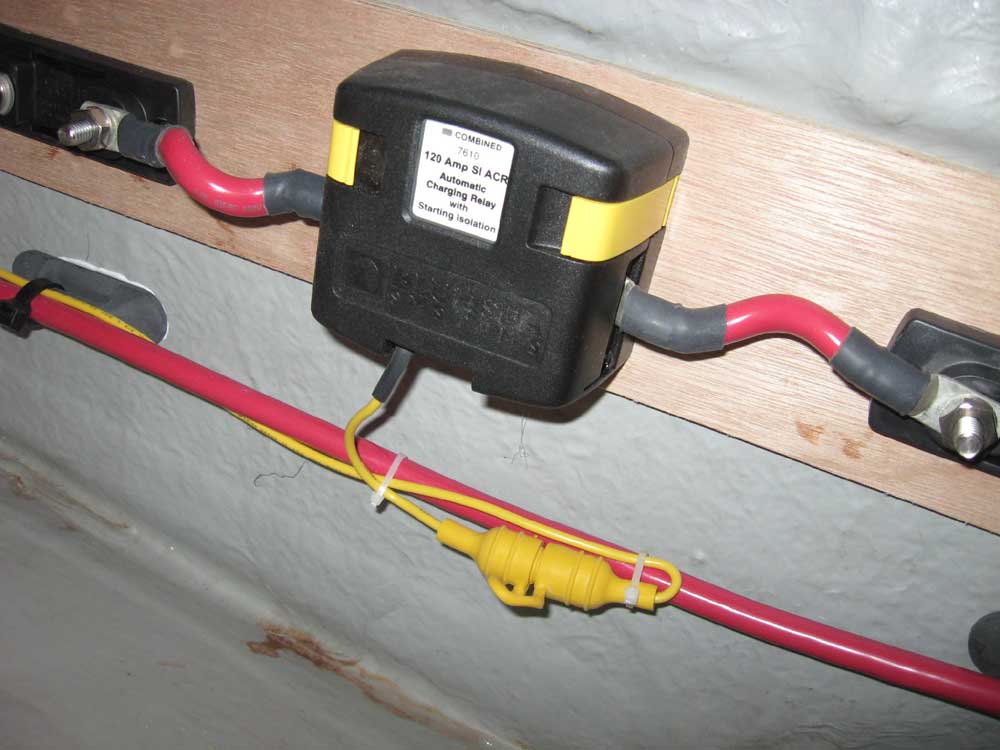
The battery system included a Blue Sea ACR (automatic charging relay), which acts as a battery combiner and isolator to bring the start battery online for charging purposes, but to otherwise keep it isolated from the ship's electrical loads. In conjunction with the specific battery switch, this system would also allow temporary/emergency paralleling of the house and start battery banks to allow engine cranking should something happen with the start battery. I planned to install all the components inside the starboard settee, adjacent to the battery switch, but in order to do so I had to make a plywood backing plate to allow the components to be screwed into position. I laid out the plywood as needed, and then secured it inside the locker with epoxy and dabs of hot glue to hold it there while the epoxy cured. I left this alone for a while, then screwed the components into place so I could begin the wiring project. |
 |
|
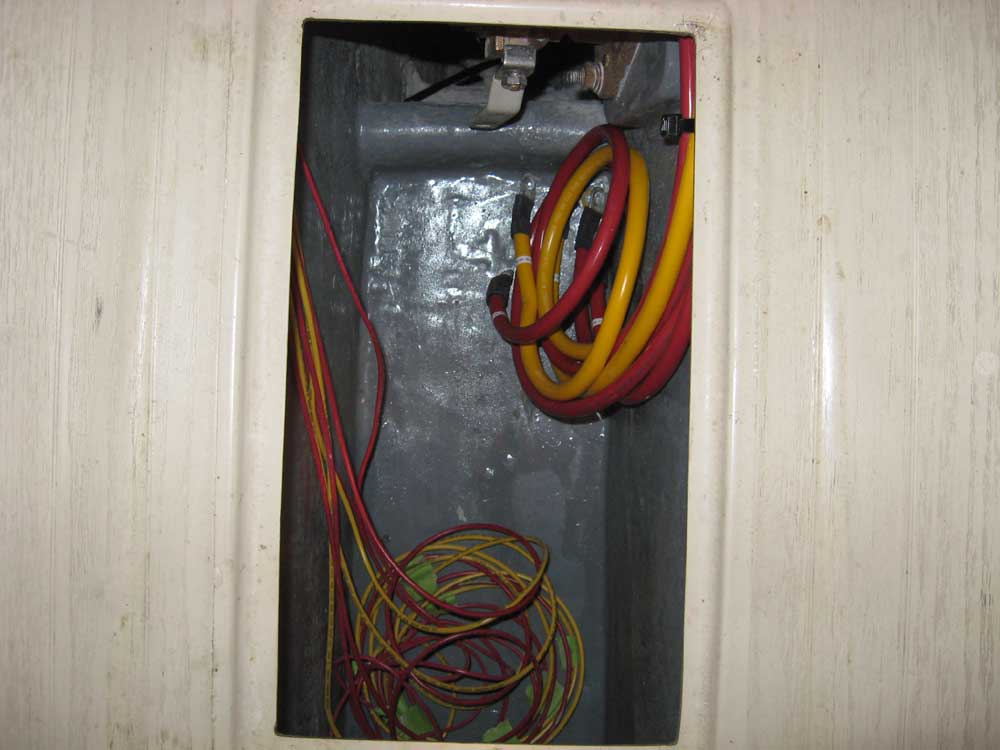
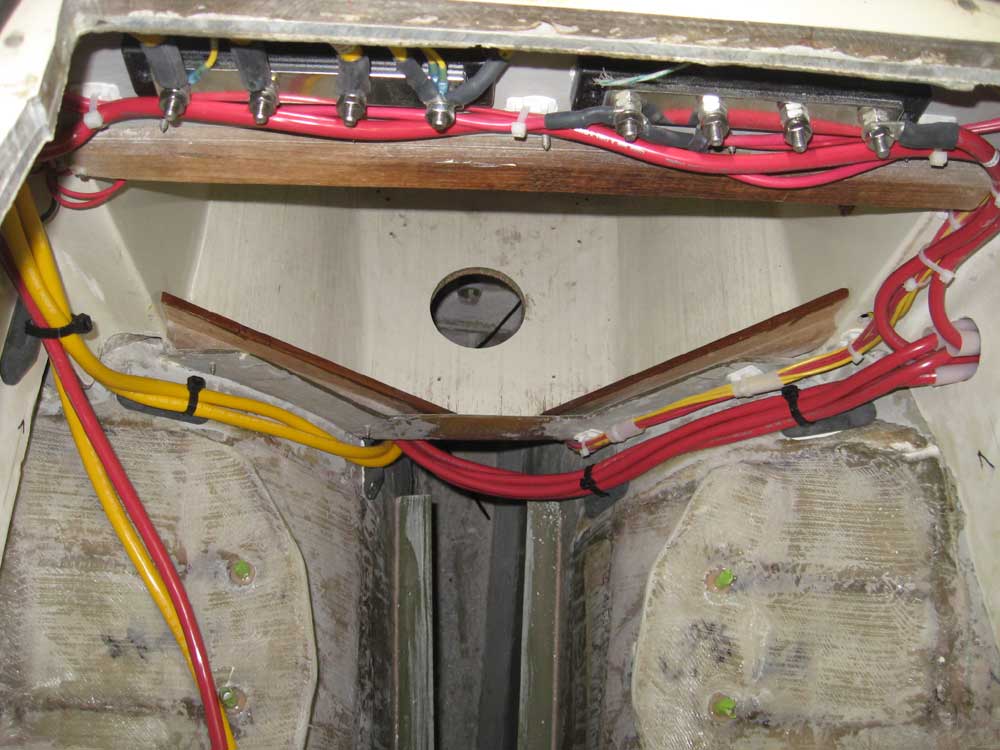
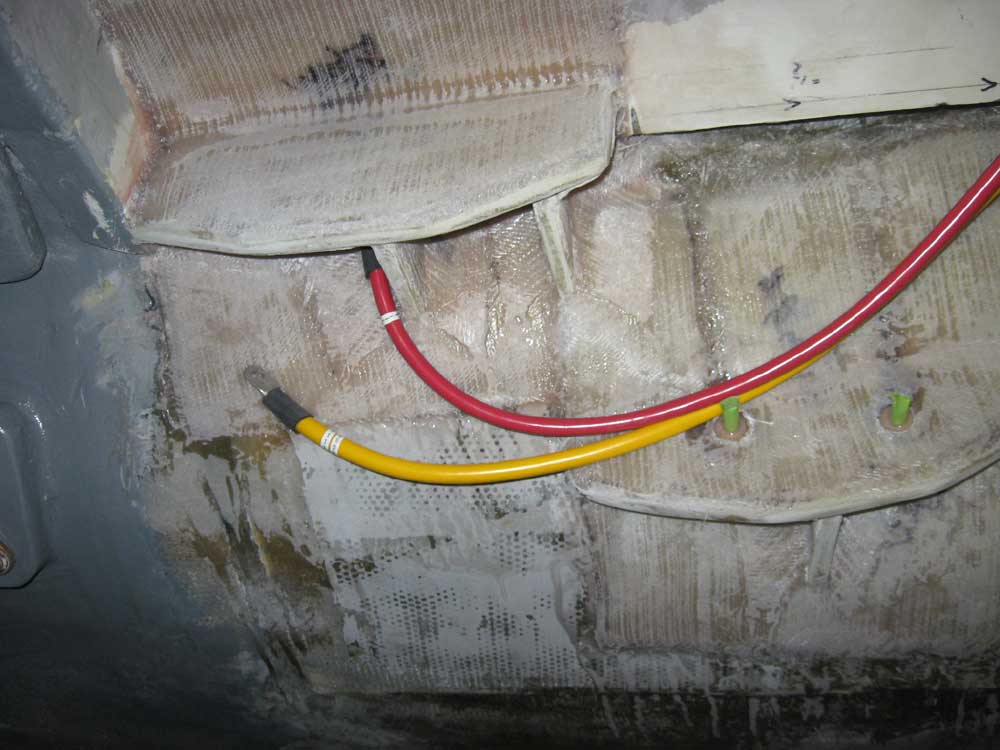
During the remainder of the day, I installed all the battery cables and related components. One pitfall of systems that combine batteries in this way is that they require additional cabling; in this case, there'd be three positive cables attached to each battery, plus a negative cable. Following the wiring diagram supplied with the ACR and battery switch, I cut and installed all the cables and fuses required. I installed large fuse holders in the supply cables leading from the ACR, but I didn't have the appropriate mega fuses in stock, so the photos show the empty fuse holders (which also have protective covers, not shown here.) With all the cabling run, I spent some time cleaning up all the wires and securing them along their runs. There were a few places remaining where I still needed to add some chafe gear, which I'd do in the near future. |


 |
|
|
|
