|
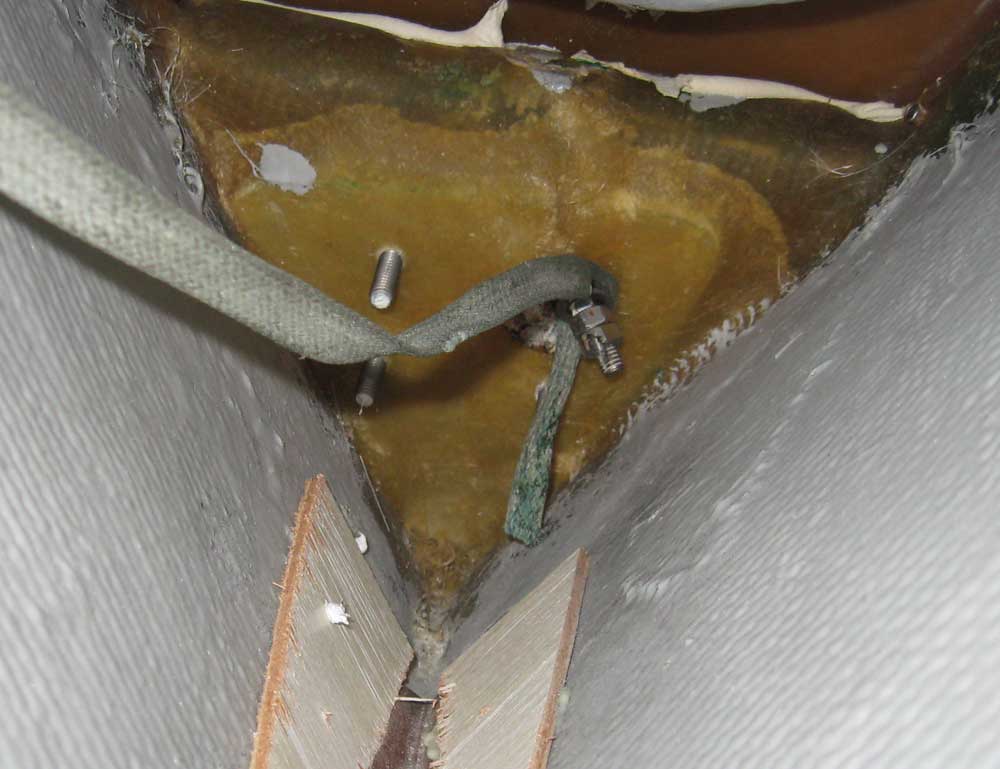
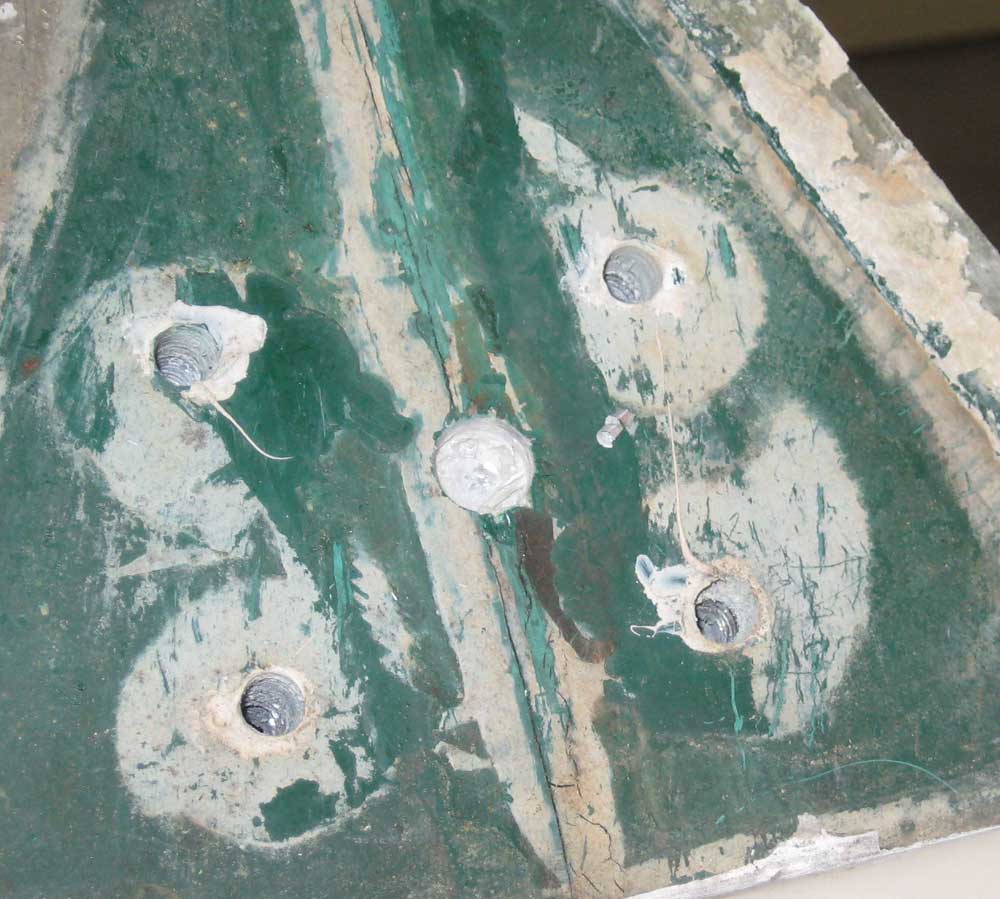
Equinox Project | Monday, January 12, 2009 One question that arose during a weekend visit with the owner was how, exactly, the stem casting was secured to the boat. Earlier in the process, I'd removed the casting after determining that there were no nuts on the bottom side; while I couldn't directly see or reach the underside of the plate and the bolts, I was able to blindly hold a camera through a small hole, where I snapped the picture below. This not only confirmed there were no nuts, but also indicated the presence of some sort of backing plate that was glassed in place beneath the stem casting. The appearance of this beneath the opaque fiberglass suggested it could be metal, but we wanted to know. To that end, I drilled a test hole from above, through the fiberglass and into the plate. I was pleased to discover that the backing plate was indeed metal (aluminum), which therefore would have sufficient thread strength to safely hold the stem casting without the need for nuts--a good thing, since accessing the bottom wasn't possible. |
|
|
|
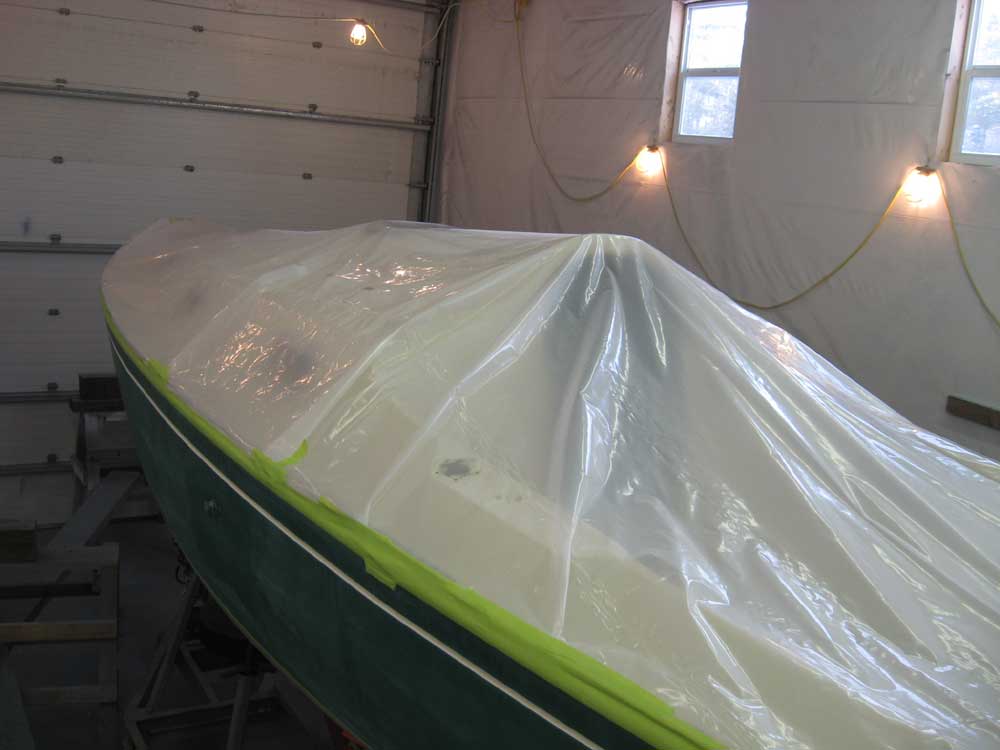
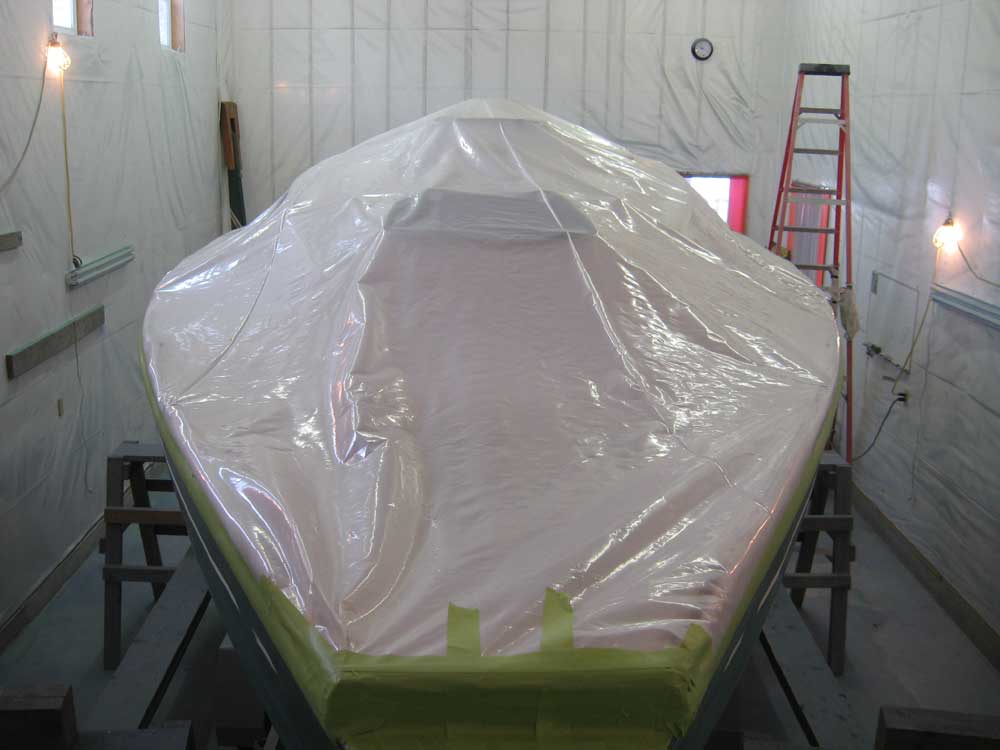
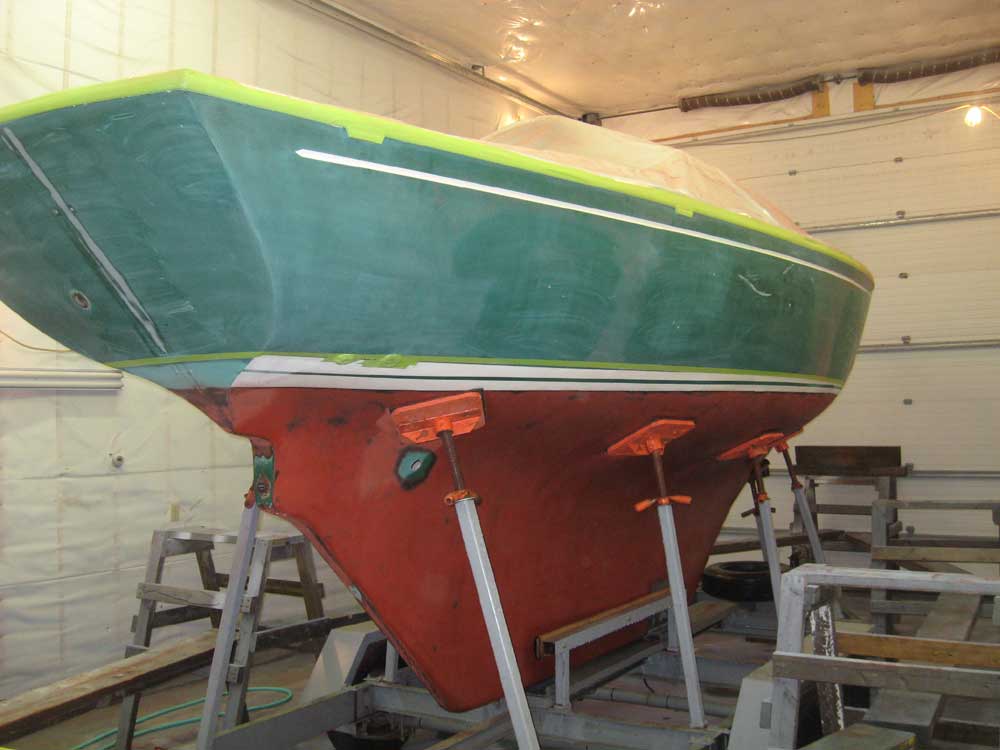
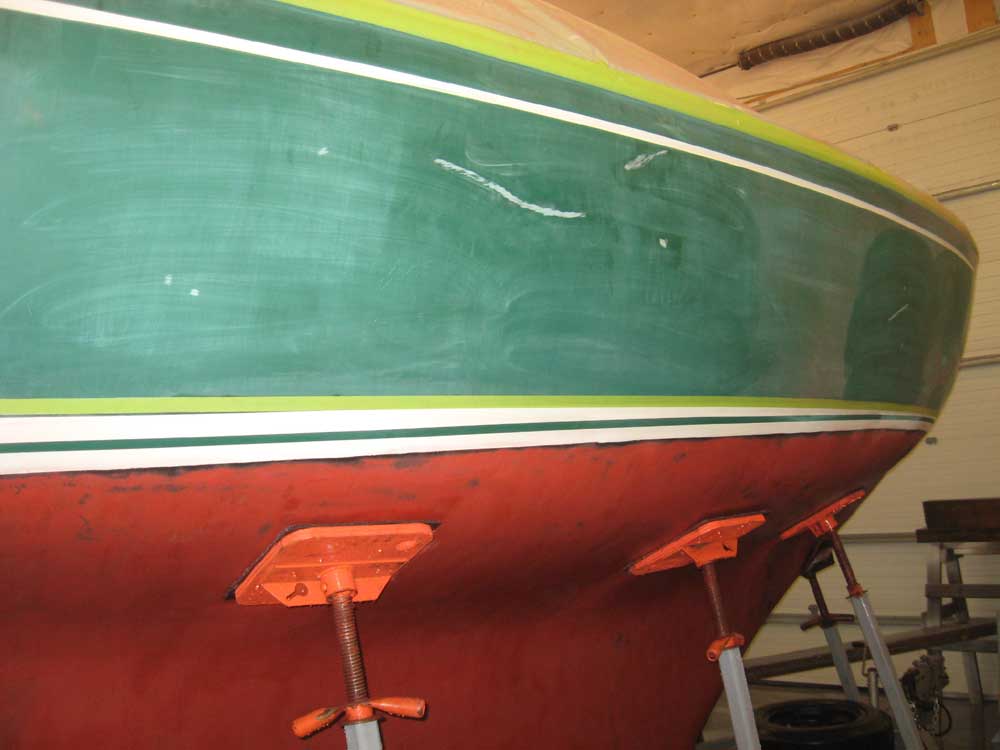
With all immediate deck and interior work wrapped up for the moment, it was the perfect opportunity to complete the hull painting. To begin the process, I masked off the rubrail at the top of the hull, and then covered the decks with plastic,, which I taped heavily in place to protect the decks from dust and, more importantly, overspray. |
|
|
|
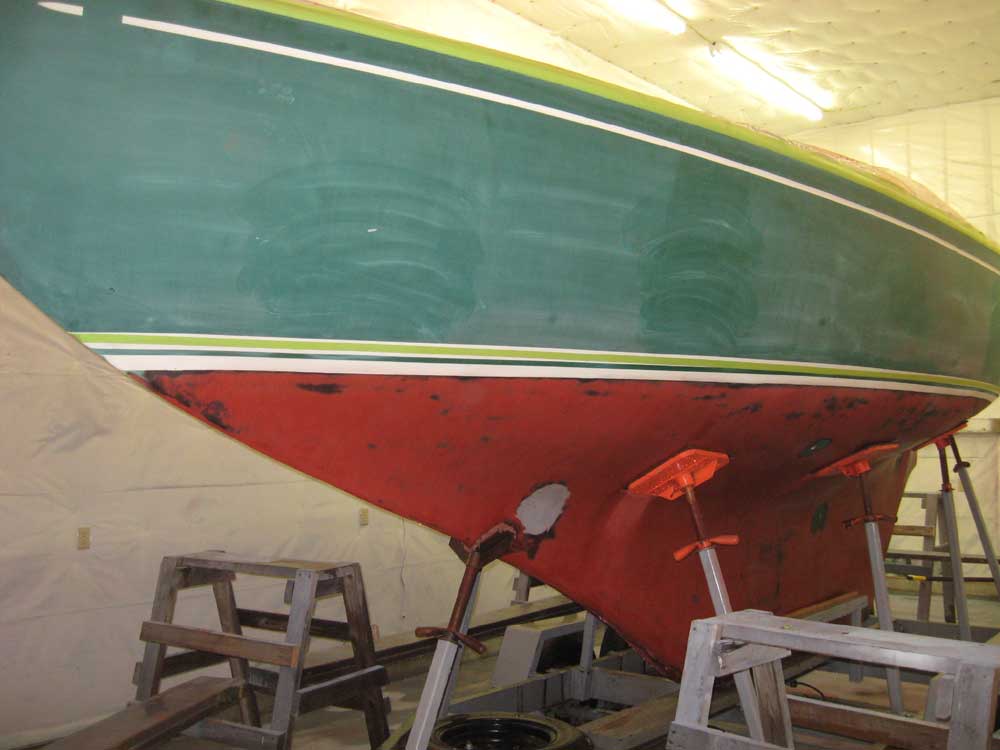
Next on the list was the bottom. The existing bottom paint was in good condition, with minimal buildup and well adhered. Therefore, we decided there was no need to completely strip the bottom; instead, I sanded the entire bottom with 80 grit to smooth the surface and prepare it for new paint later. This left the underlying black barrier coat intact. A small gray patch forward on the port side, which the owner had wondered about being a barrier coat layer, turned out to be a previously-filled and patched through hull, which patch was also visible on the inside of the boat. I also sanded up to just below the masking tape, scuffing the gelcoat in the previously-unantifouled area between the new waterline and the old. I also sanded the fairing compound that I'd applied to the hull gouges last week, more or less completing the hull prep work required before primer. I cleaned up the mess left from sanding the antifouling, and then set the rudder up between a couple supports to allow me to prepare and paint the exposed portion during the same process as the hull. For now, I planned to prime and paint the rudder down to the old waterline, since I didn't know yet how the rudder would line up with the new line on the hull. Later, when I installed the rudder, I'd mark the correct waterline, apply the new boottop, and remove the topside paint below the new line as needed. This work, along with the beginnings of resolution of a few pending engine and rigging-related questions, rounded out the day. |
|
|
|
|
|