
|
Equinox Project | Friday, February 27, 2009 My goal for the day was to complete the basic wire runs for all the primary wire. Battery cabling would come a bit later in a separate operation once the engine was in; besides, some of the cable I needed, and the battery switch and combiner, were on backorder. I created a template of the new Beta Marine gauge panel and tacked it up over the existing hole in the cabin, where the old engine panel had been installed. Keeping in mind the various obstacles--depth of the panel behind the opening (just enough clearance), overall size of the panel exterior, future interior cushions, and other concerns, I placed the template in what I thought was the best location. |
 |
|
I had hoped to also install a new battery voltmeter panel adjacent to the engine panel, along with a 3-way bilge pump switch. However, the new engine panel was large enough and constrained by the existing space enough that there wasn't room for these other panels on this side, so instead I decided to locate them in roughly the same spot on the port side. I taped the templates for these two panels in place, and sent copies of the photos to the owner for his approval before I proceeded with any cutting. With limited space and few options with regard to reasonable current and future access for installation, maintenance, and use, I felt these were the best locations all around. |
 |
|
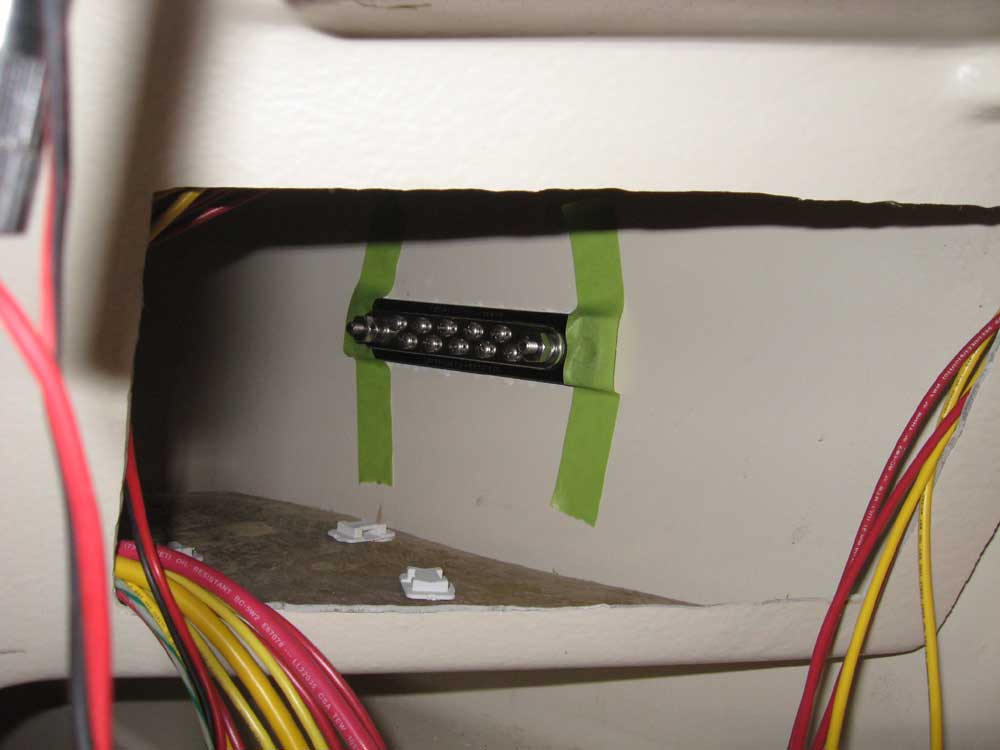
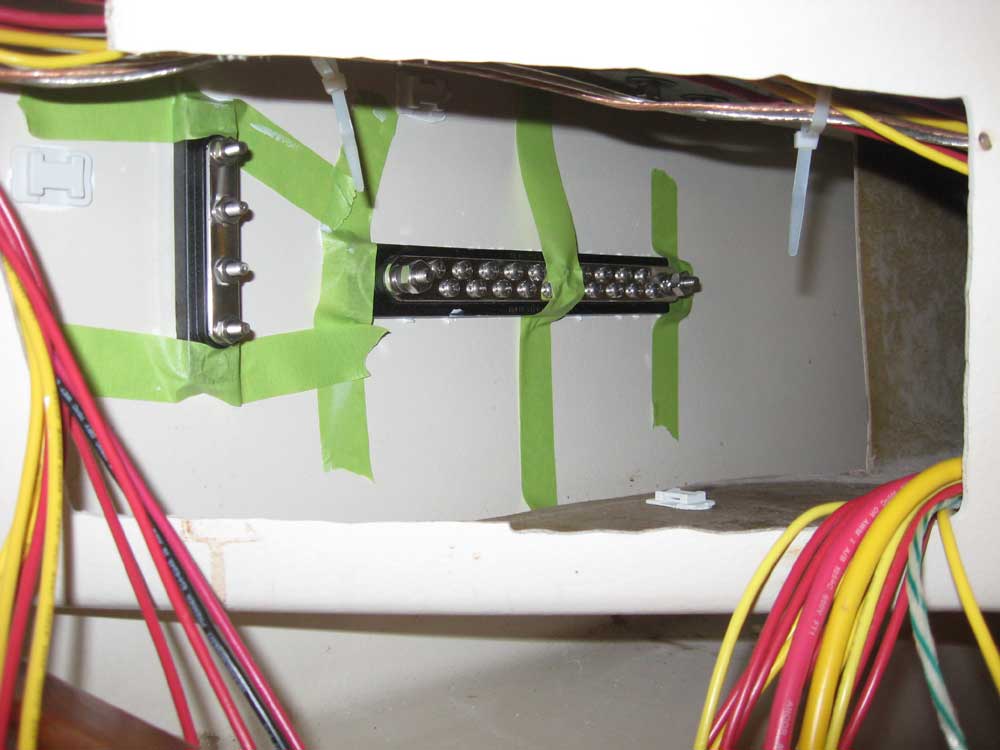
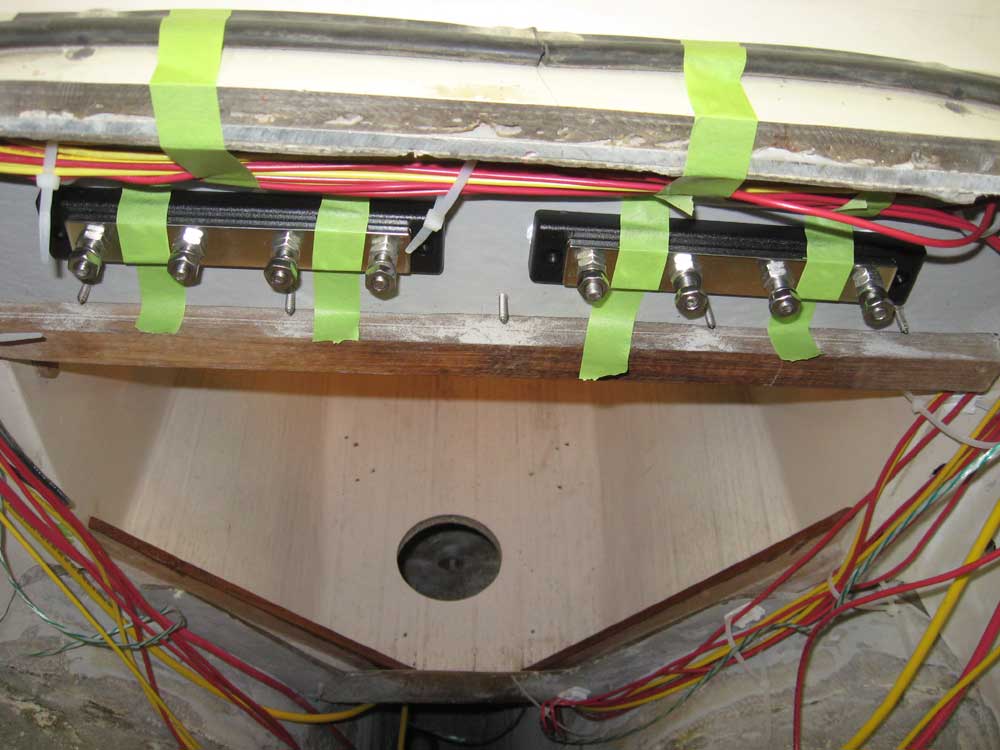
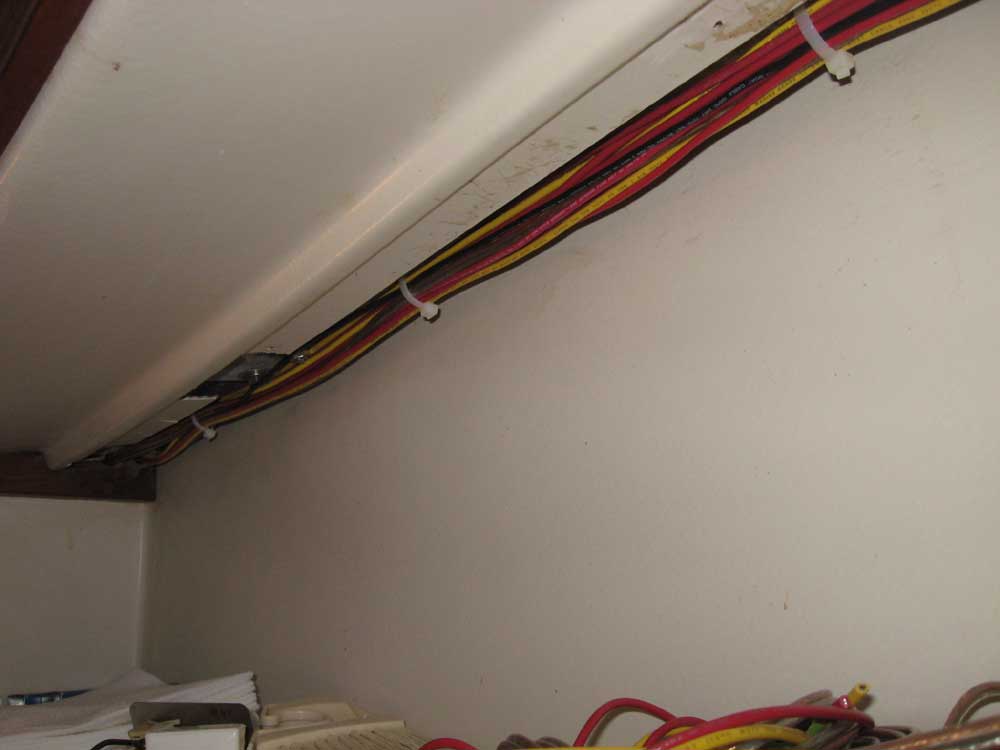
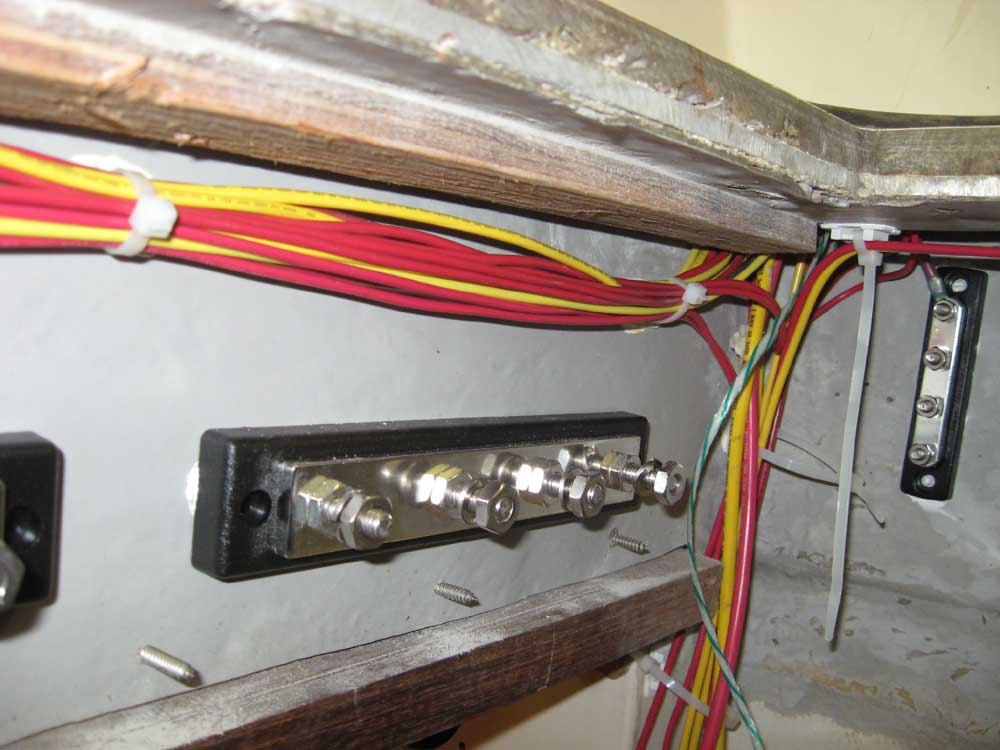
I spent the rest of the day pulling wires and wrapping up the bulk wiring. I pulled in the engine wiring harness to the space behind the panel, and ran several other new wires for the electric bilge pump (4), voltmeter (4), and an always-hot power lead for the stereo, required in most cases for the station memory and clock functions, if desired. I pulled heavy gauge positive and negative conductors from the engine room to each future panel location, for the main panel feeds, and one final positive feed for the anchor light on the mast (I'd run out of wire days earlier, prohibiting me from completing that wire then). Later, I installed another series of wire tie mounts inside the panel areas for future organization of wire, and also secured several buss bars using the same adhesive: negative distribution busses on each side, a small buss for cabin light circuits on the starboard side, two large battery cable distribution busses at the forward end of the engine room, and an always-hot buss in the engine room, which would be directly connected to the hot side of the battery switch so that things like the bilge pump and stereo memory (if desired) would remain functional when the battery switch was off. |
 |
|
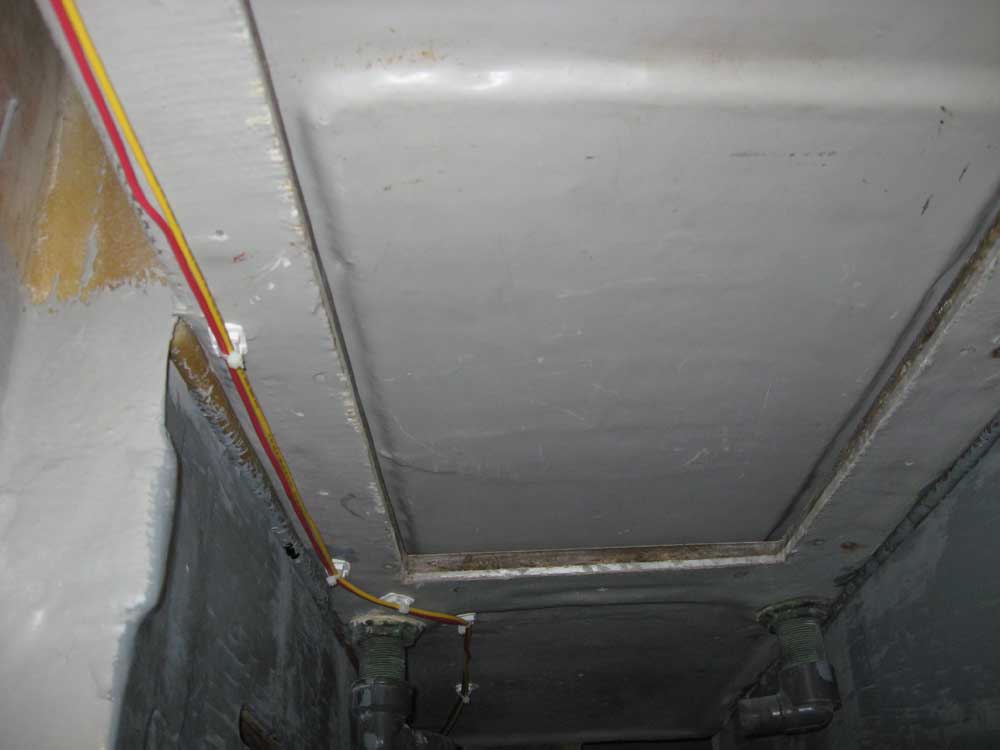
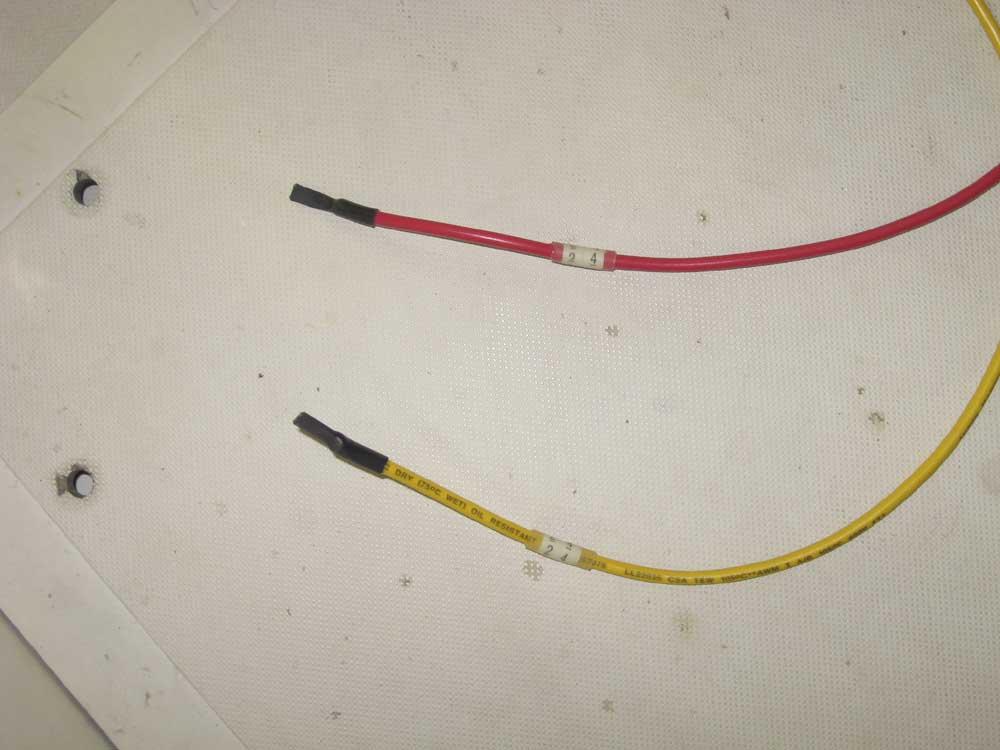
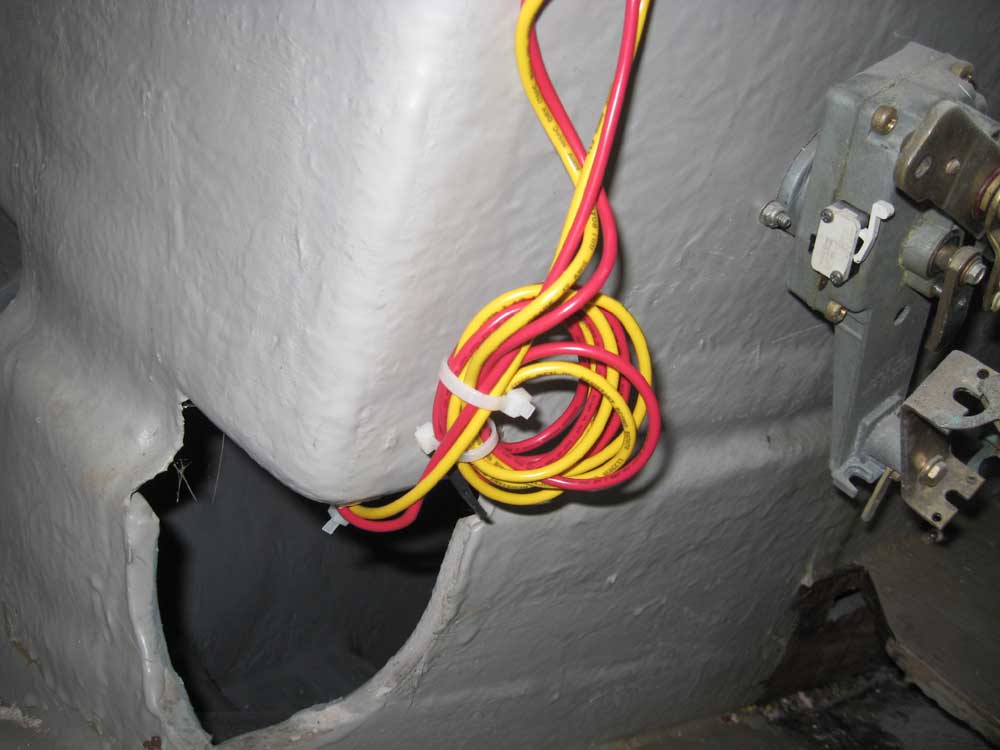
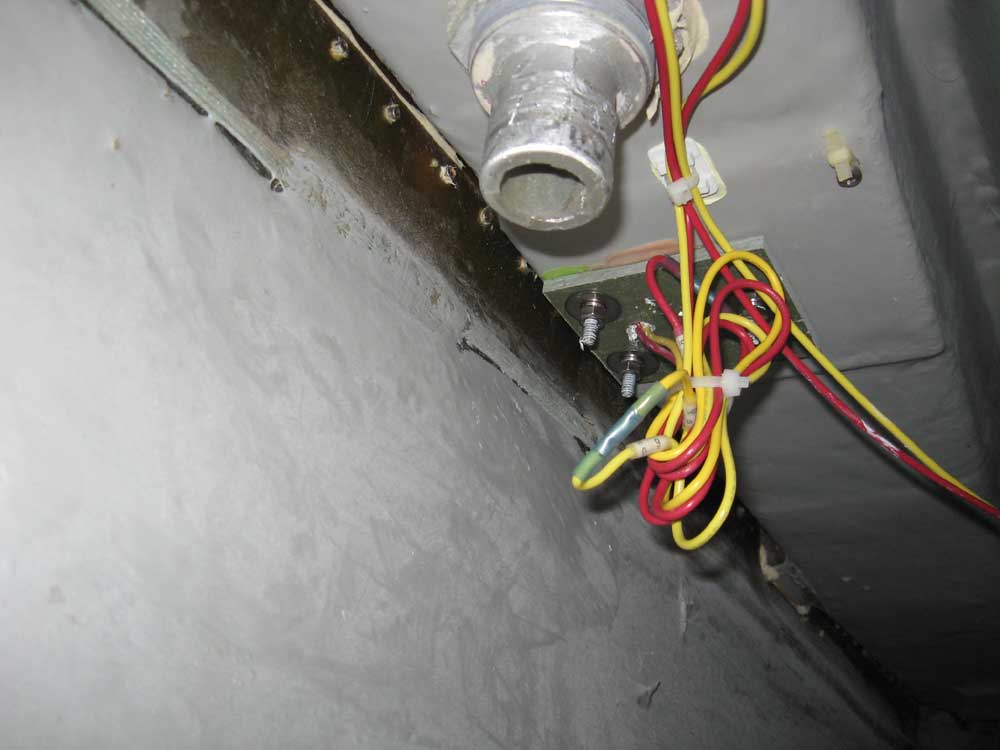
After allowing the adhesive to cure sufficiently, I removed the tape holding the various pieces in place, and spent some time securing the wiring for the future solar panel, which I'd run earlier. At the raw ends of the wires, in the lazarette, I applied number labels, and also some heat shrink over the cut ends of the wires to protect them from water or corrosion. Then, I secured these wires along their run aft, and tied up the excess wiring off to the side of the lazarette for future use when desired. |
 |
|
I also made up the final connection for the sternlight wiring, and tied up the excess. Later, I installed another wire tie mount and wire tie to hold the wires properly away from the fuel tank fill nipple next door; this mount does not appear in these earlier photos. |

 |
|
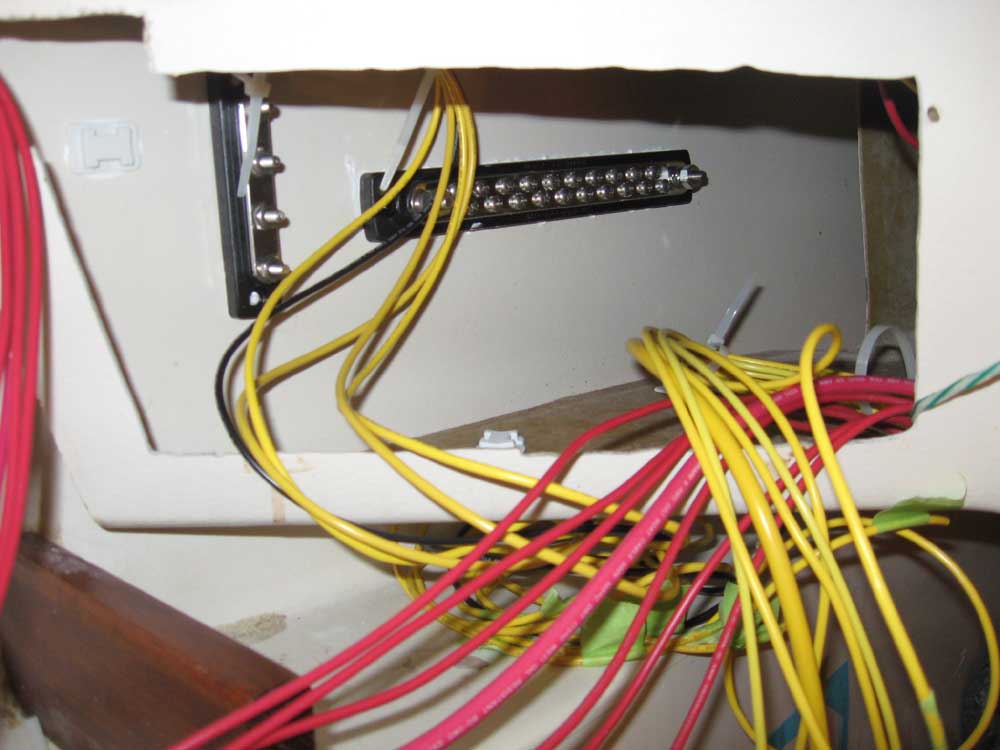
I finished up the day's work by securing wire ties along the port and starboard wire runs in the cabin, now that all wires were in place, and then beginning the sorting process at the panel locations, separating the yellow negative wires from the red positive wires and beginning to route them through various wire chases. The next step in the wiring process would be to begin making the final connections, starting with the negative wires and moving on to the positives on the panels themselves. To ensure the panels would be ready when I was, I applied a coat of satin varnish to the new teak backer panels, to which I'd already applied three base coats of gloss varnish. |

  |
|
|
|
