
|
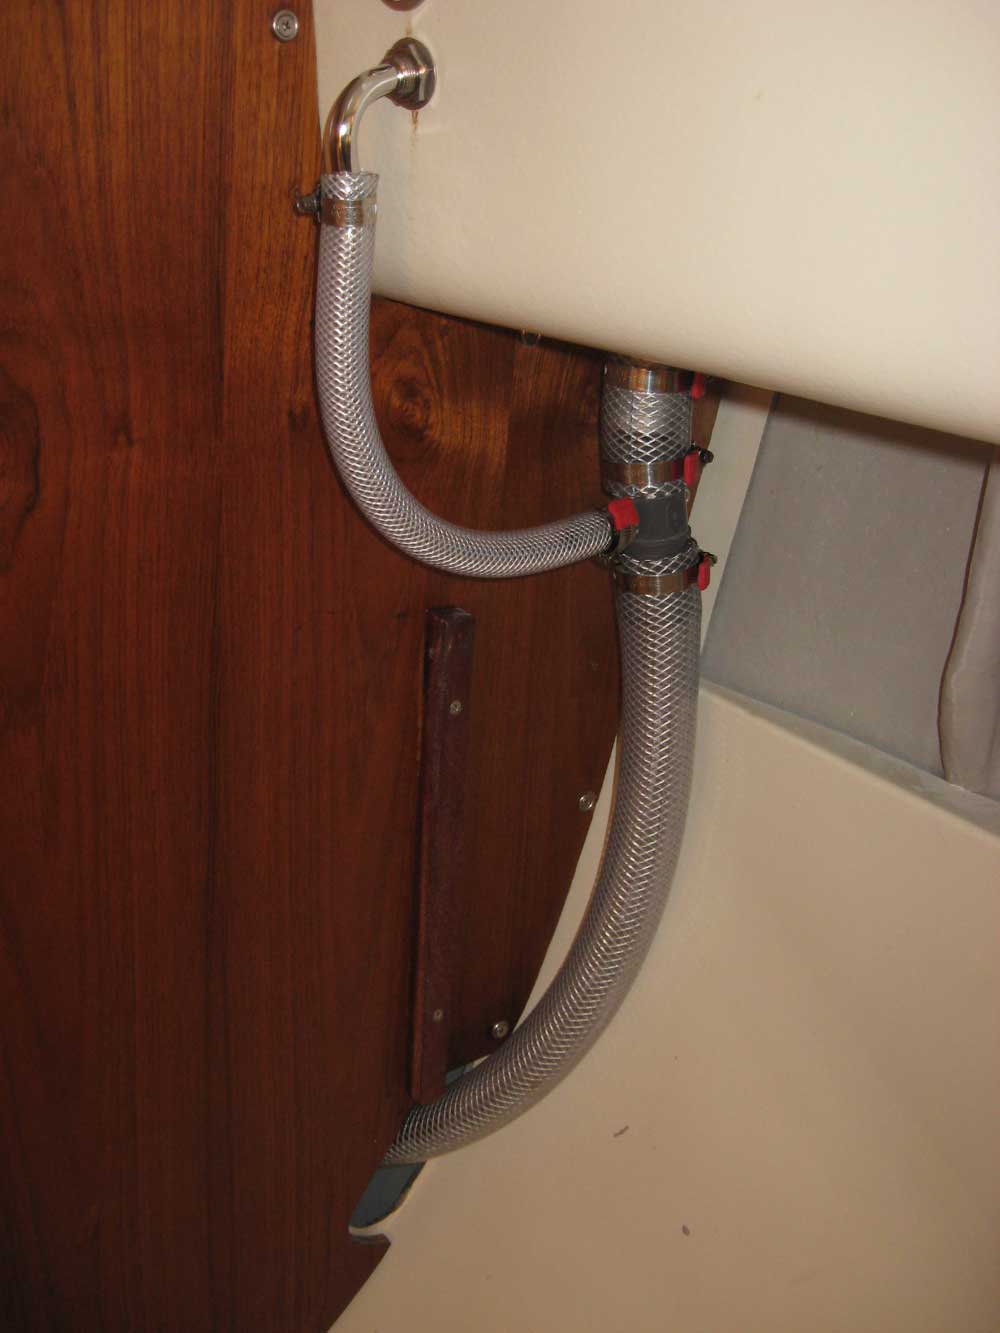
Equinox Project | Tuesday, February 10, 2009 I began this morning on the potable water plumbing. Completing this task was a relatively simple matter of cutting several hoses to length and installing them: 1-1/2" fill hose, 5/8" vent, and 5/8" supply line. I clamped these securely in place. |
 |
|
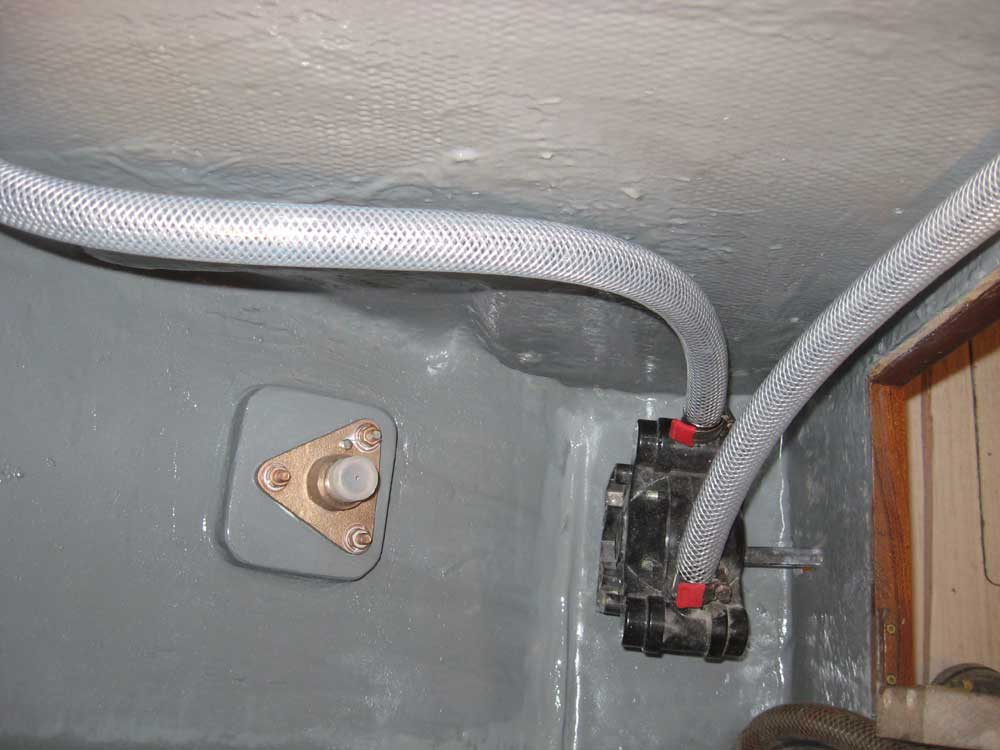
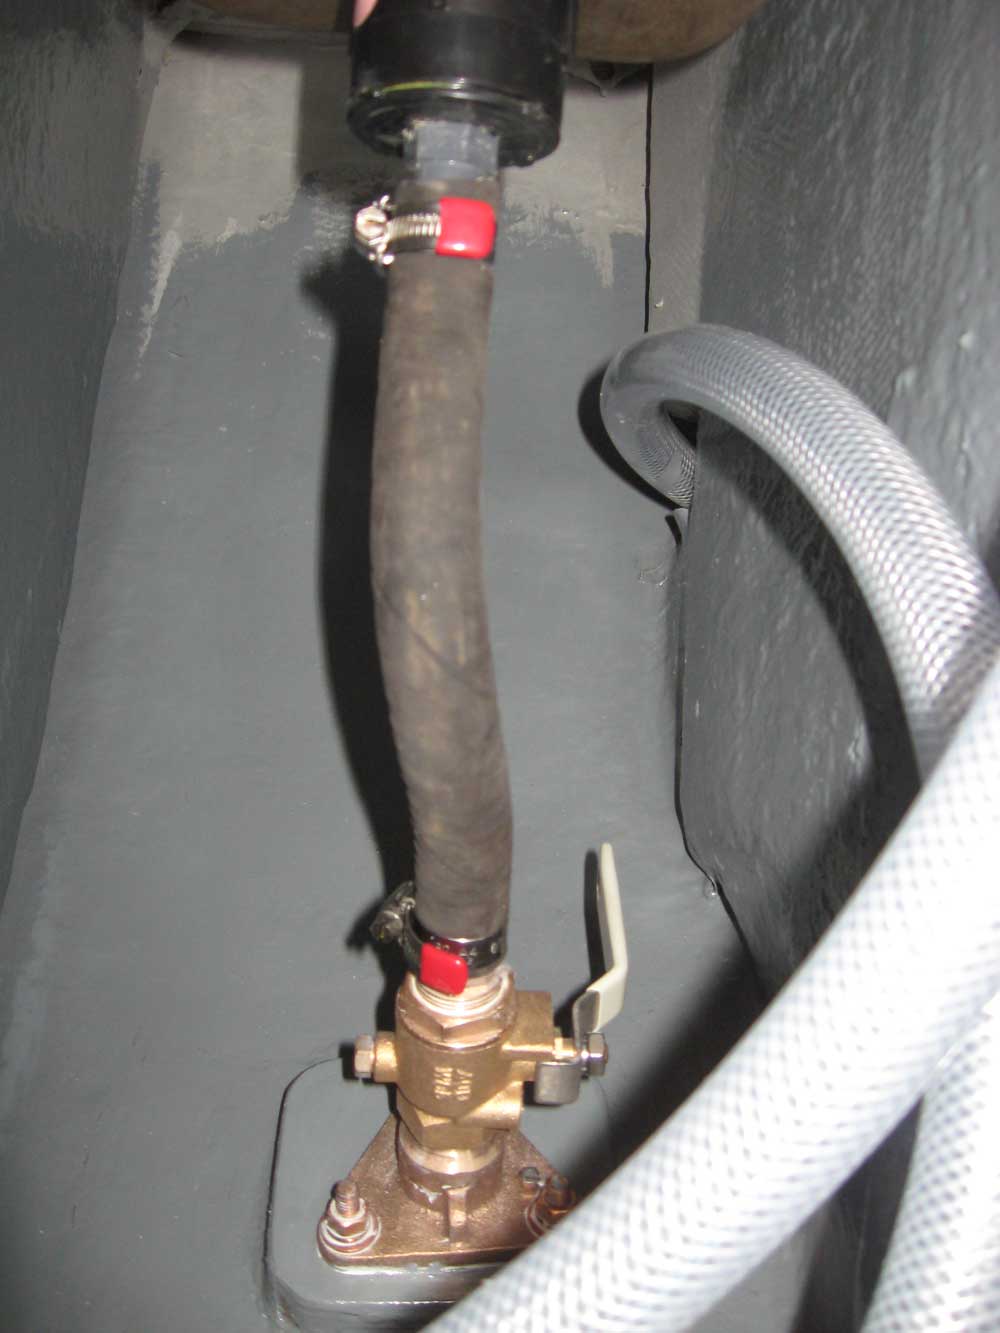
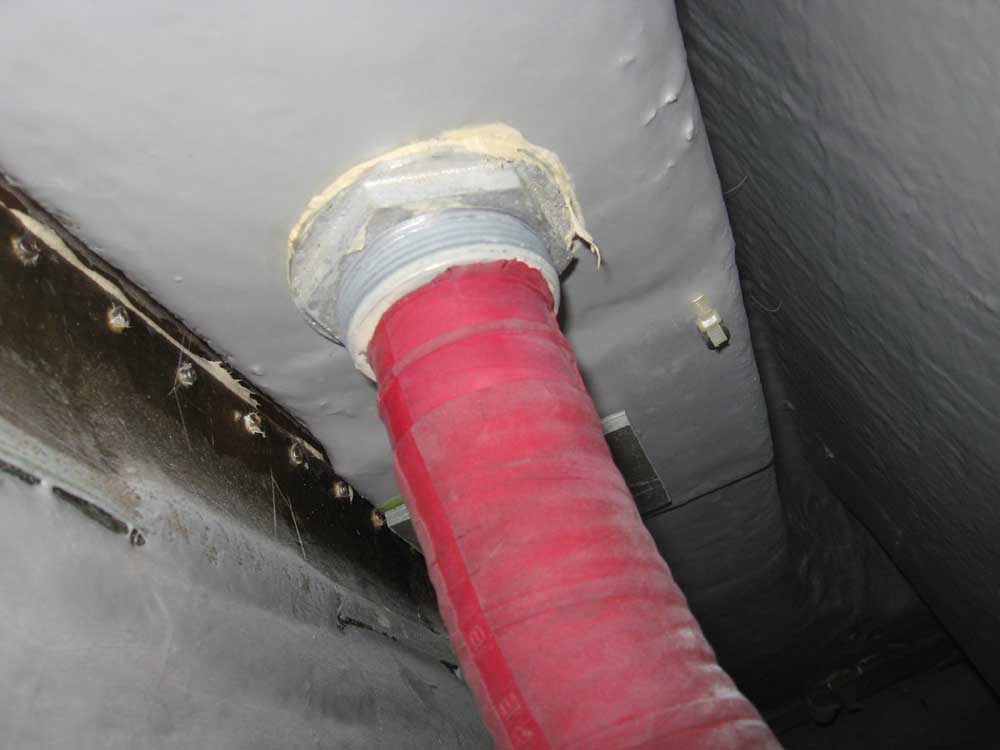
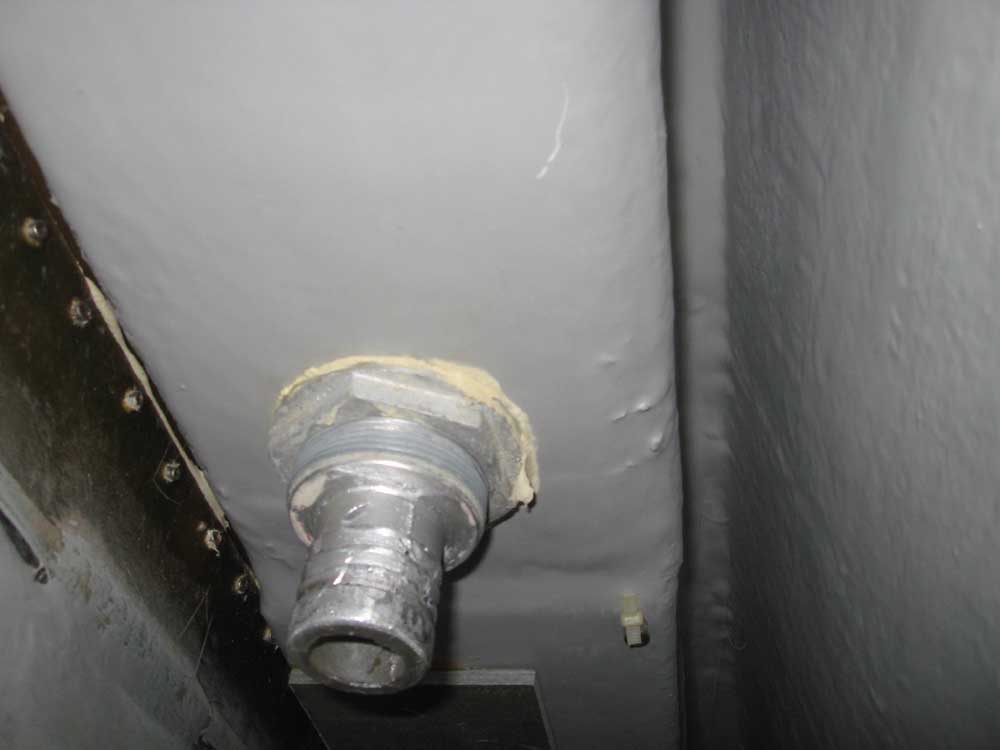
Next, I installed the new 3/4" bronze ball valve on the bolted through hull mounting flange for the galley sink drain. I used thread sealant on the mating threads, and wound it securely into position, along with the appropriate tailpiece. |
 |
|
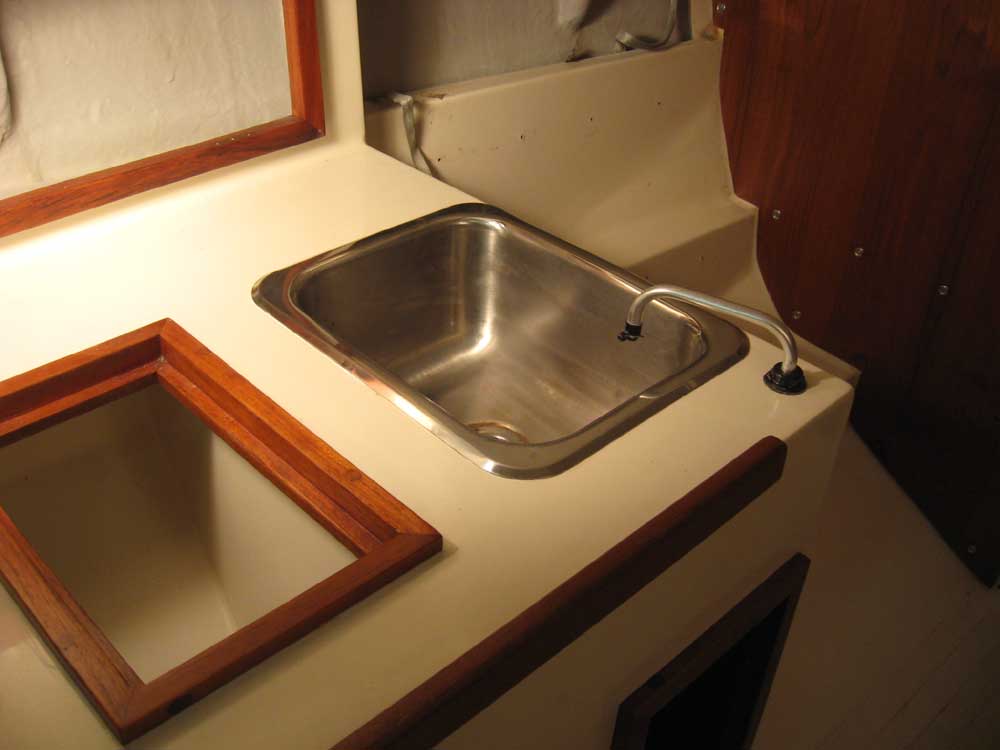
To wrap up the potable water system, I reinstalled the sink in a heavy bed of sealant, and resecured it with the original hold-down clamps from beneath. I cleaned up the excess sealant, installed a length of heavy-duty reinforced hose, and thus completed the potable water system. |
 |
|
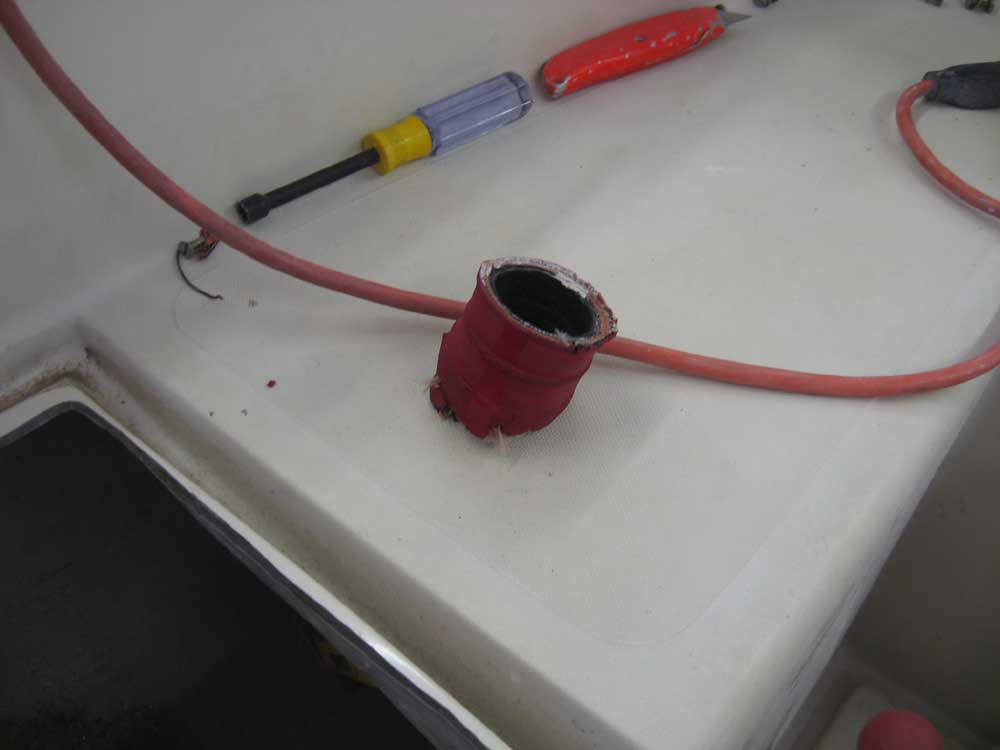
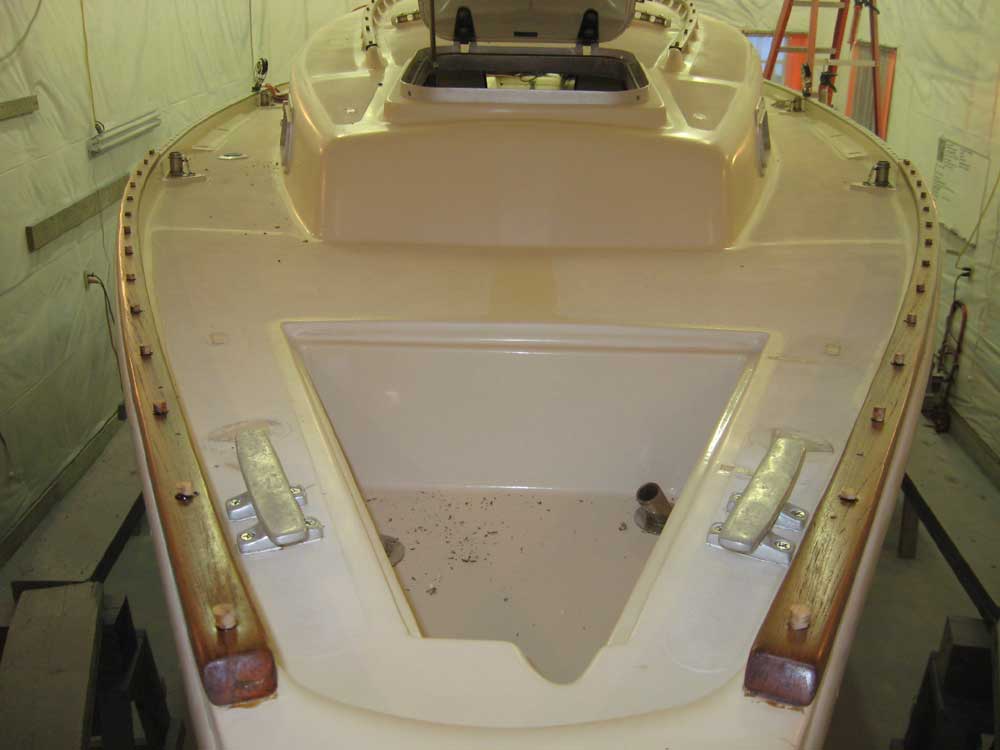
While I was in plumbing mode, I decided to install the new bronze fittings for the cockpit scuppers. I was so excited to install these that I realized only after completion that it might have been better to install the rudder first, for somewhat better access to the lower bolt location. However, I could still get to it, and while access wasn't quite as open with the new bronze hardware in place, it would be fine. For each scupper, I installed a bronze street elbow at the flanged fitting, to make a 90° for clearance for the valves themselves, as per original. Then, I installed the valves and tailpieces as required, again using thread sealant on all the threads. I didn't have the hose I needed for the scuppers in stock, so I ordered that so I could complete the scuppers forthwith. |
 |
|
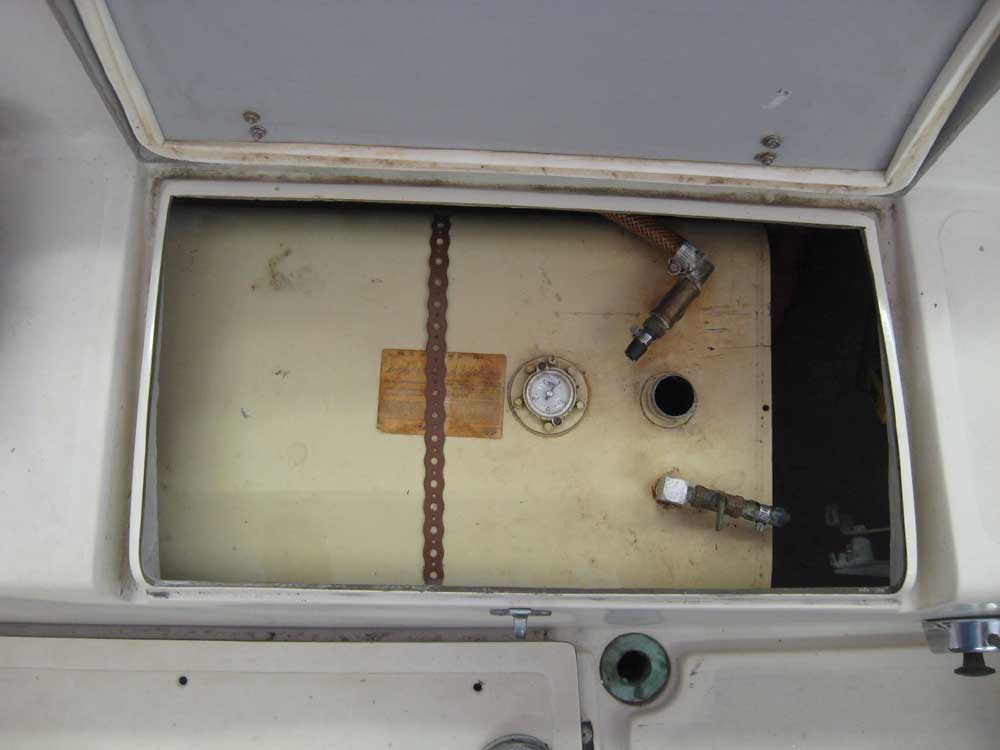
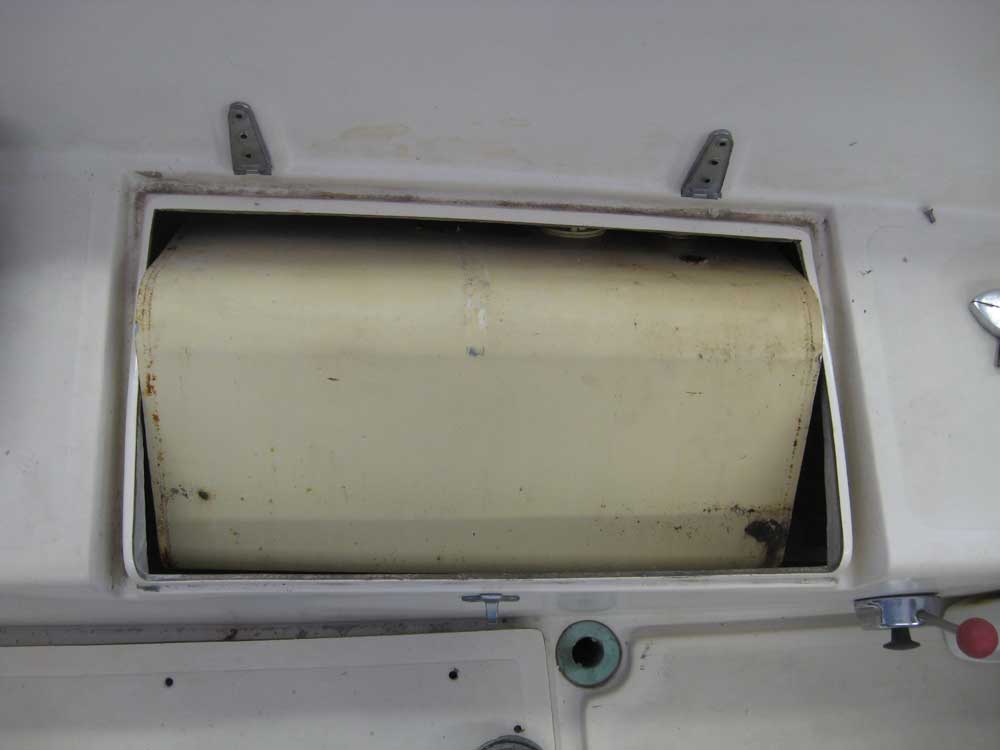
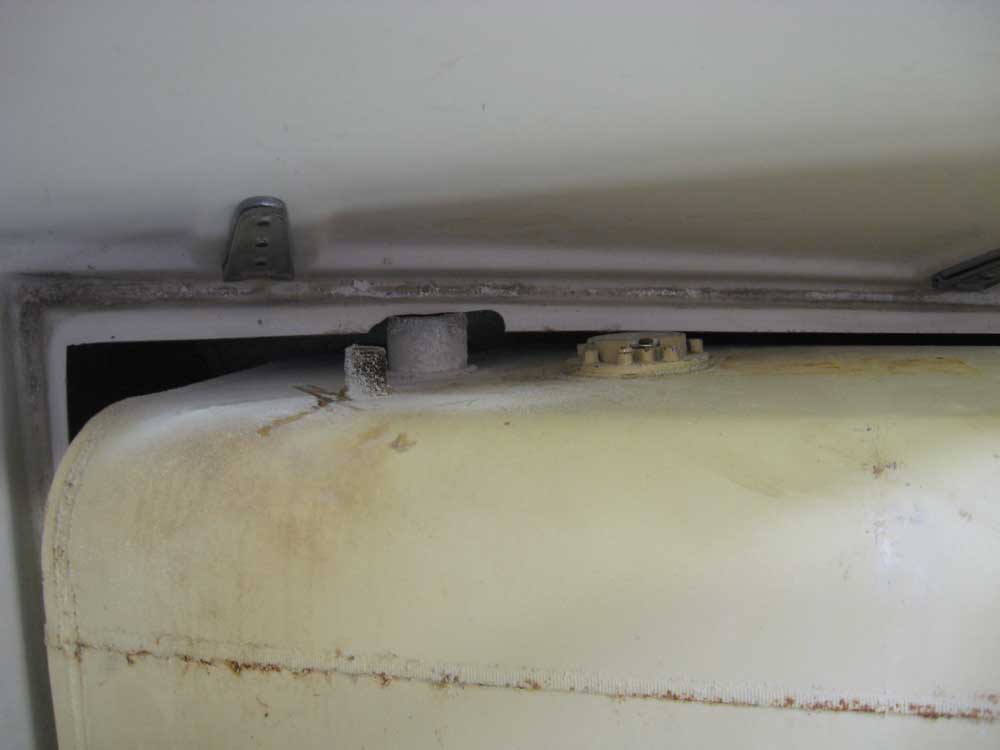
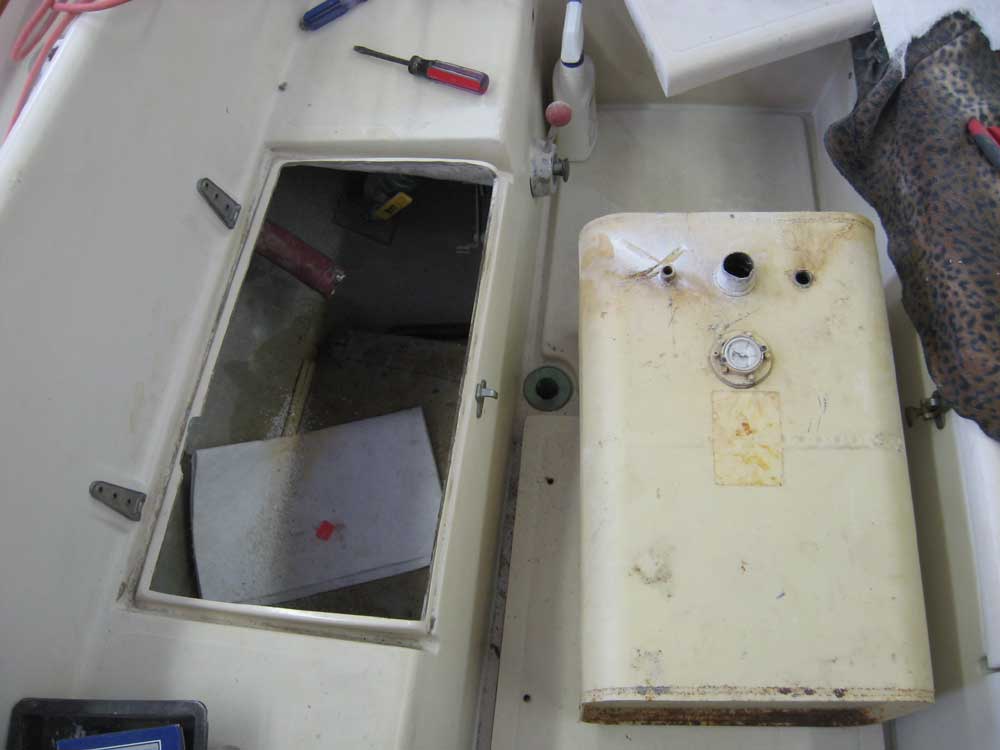
I turned my attention to the fuel tank. Earlier measurements had revealed that in theory, the main part of the tank should scrape through the opening in the cockpit locker, but even after removing everything I could--namely the supply and return/vent fittings--from the top of the tank, there still remained a fill hose nipple (about 1-1/4" tall) and a threaded nipple from the return/vent (about 3/4" tall), plus a fuel gauge (about 1/4" tall). All I could do is try and pull the tank through. I felt I needed to remove the tank because with it in place, I did not have any access to several hose connections above (fuel tank vent, fuel tank fill, and the old (abandoned) waste tank pumpout, which still had a hose attached), and also because it severely limited necessary access to the back side of the engine controls. If it were impossible to remove the tank, I suppose I would have been forced to address other means of access to these areas. I easily removed a hold-down strap and a single screw through one of the pressed flanges on the tank, which released the tank as I'd hoped. Then, trying hard to avoid losing my fingers in the process, I pulled part of the tank through the opening. Already it was an impossibly tight fit, so to increase clearance a bit I used a small sanding drum to pare back one side of the opening a bit, increasing clearance by a vital 3/16" or so. I also removed the locker lid to provide easier access and a bit more clearance. Even with the added clearances realized by these steps, the tank literally scraped its way through the opening, with a fraction of an inch less space than it really needed. |
 |
|
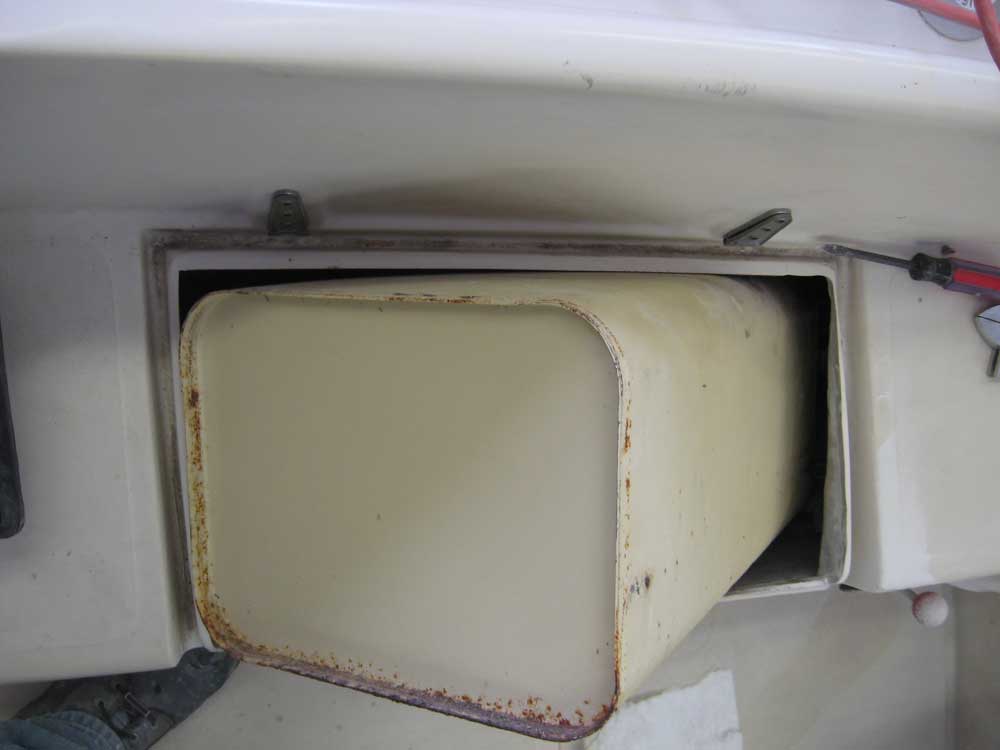
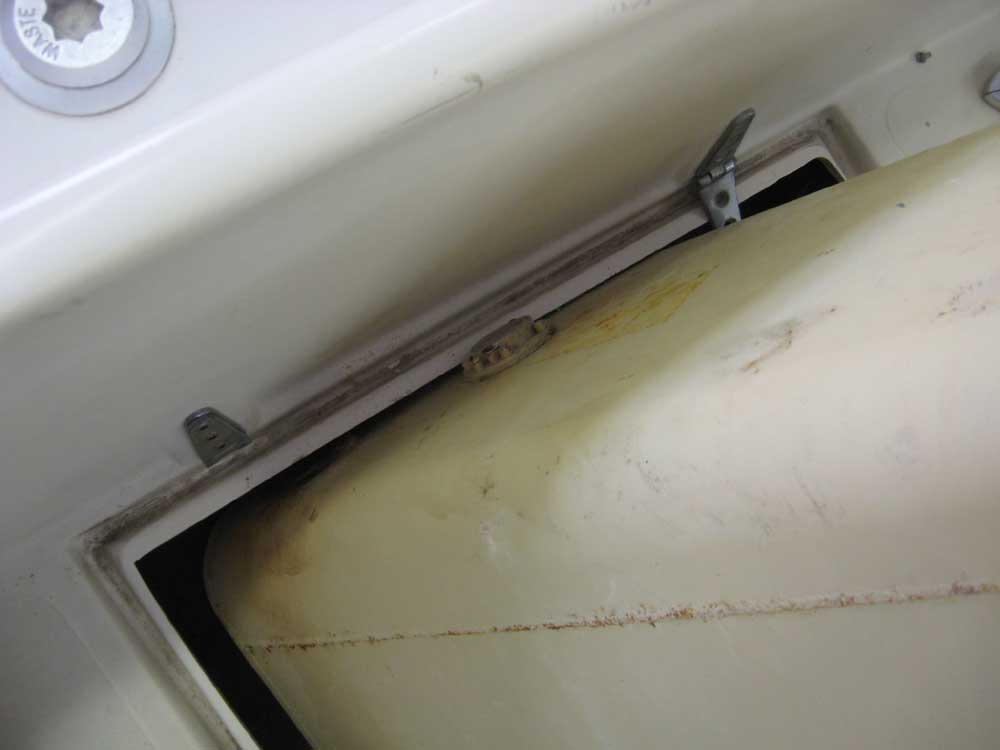
This helped with the main part of the tank, but presently I ran into the real problem: access for the protruding nipples from the top of the tank. The locker opening was only just wider than the tank was tall, so each of these protrusions came up hard against the outboard side of the opening. With some jockeying and careful work with a small prybar, I was able to squeeze the gauge and return nipple through, but the taller fill nipple was simply not going to come. By now, I had passed the point of no return, so the tank had to come out. (It had to come out anyway, frankly, but it was now so close.) After marking the general region of contact between the fill nipple and the locker, I used the small drum sander again to open up an area in the flange at the outboard side of the locker, in way of the fill pipe. With the additional 3/8" gained here, and some careful coaxing, I finally sprung the tank from its confines. |

 |
|
Next, I attacked the hoses that I'd been wanting to remove for months. I removed the clamps, and was able to pull off the old waste hose and the fuel vent hose, both stiff and cracked with age. The fuel fill hose, however, did not want to release from the barbed nipple on the deck fitting, out of sight and at the extent of my reach. Even with the tank out, access was challenging. It took the better part of an hour to finally force this hose free, after cutting, prying, more cutting, more prying, and on and on. These hoses are incredibly strong, even after 20+ years. In the event, I finally freed the hose. |
 |
|
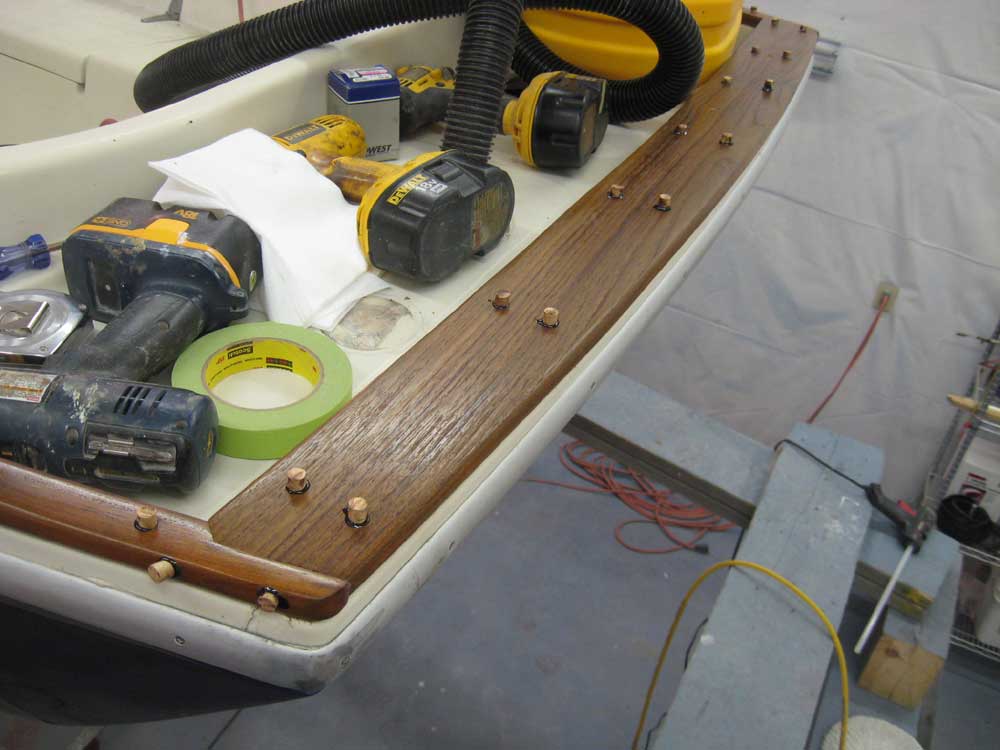
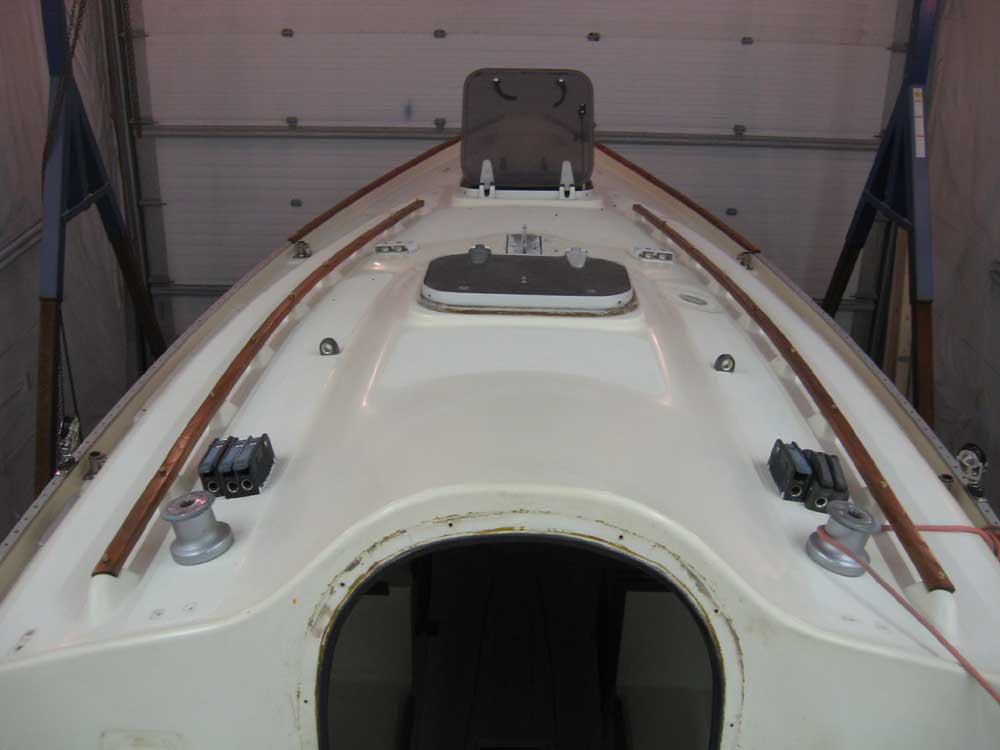
After the challenge of removing the final remnants of the fuel system, I needed to wind the day down on a gentler note, so I installed the teak bungs in the caprails and handrails, cleaned up a bit, and spent the last few minutes of the day working on some parts listings for the upcoming electrical and engine installations. |
 |
|
|
|
