

|
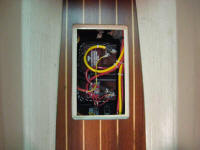
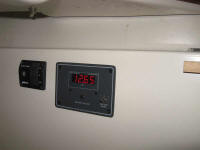
Equinox Project | Thursday, April 9, 2009 To begin, I worked on the gelcoat repairs, and wetsanded each area through a variety of grits. The filler had shrunk enough to require an additional application in many of the spots, so I repeated the color-matching process and mixed up another batch, which I eventually applied to fill the low spots. I applied more PVA and left the repairs to cure. Next, I installed battery strap retainers and then installed the two new batteries in their storage compartment: one starting battery, one deep cycle house battery. I attached the cables (I had boots to cover the terminals, but didn't put them on for the photo), and then tested the DC side of the electrical system. Everything worked, though several non-operating devices reminded me that I had yet to install fuses in the required places: bilge pump, depthsounder, and VHF. I installed the required fuses. I found one cabin light with a bad bulb, so I removed the bulb to obtain a replacement. |
 |
|
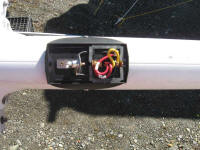
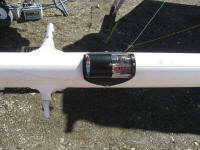
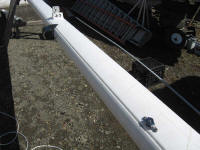
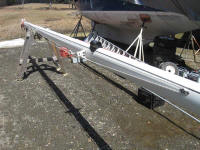
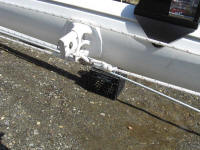
The additional parts I needed to finish up the mast work had arrived, so I continued on the mast. I installed a new combination foredeck/masthead (i.e. steaming) light in the old location; the fixture was the same as the old as well, so installation was straightforward. |
 |
|
Next, I installed a pair of small cheek blocks several feet above the spreaders for a retractable lazy jack system, and then pre-strung some of the lines required. Final line-length adjustments and attachment to the boom would have to wait till the boat was rigged, but the basics were in place and ready for mast-stepping. Finally, I washed the mast and boom with soap and water to remove grime accumulated over years of storage. It cleaned up relatively well. |
 |
|
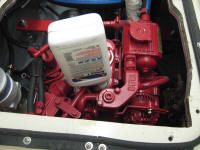
There was nothing to hold me back now from preparing and test-running the engine, so I began by checking and filling the fluid reservoirs as needed. I added coolant till the heat exchanger was full, and added 2 quarts of engine oil, which filled the sump but I figured I'd need to add a bit more for the filter once the engine had run for a while. I checked the transmission and found that it already contained fluid. |
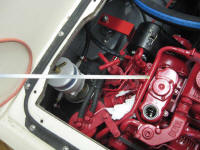
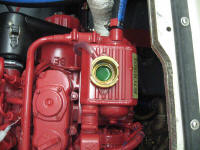 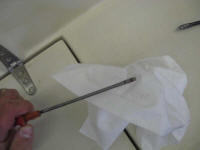 |
|
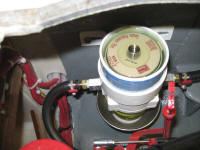
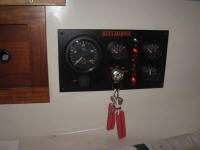
Finally, I added 6 gallons of diesel fuel to the tank, and manually filled the Racor filter with more fuel to help the priming process. I double-checked all the fluid levels, checked that there was power to the engine panel, and checked all the connections one last time. Then, I pulled the boat outside for the engine test. |
 |
|
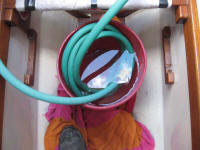
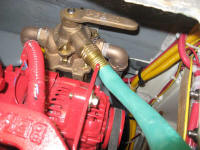
I attached a short length of garden hose (bought specifically for this purpose, now and for future use) to the flushing port on the new sea strainer; it cleared the alternator bracket with no trouble. I ran the hose into a bucket, which I filled with water once the boat was outdoors. One always wants to let the engine pull water at its own rate, such as through this full bucket, and so pressurized city water should not be attached directly to the strainer inlet. |
 |
|
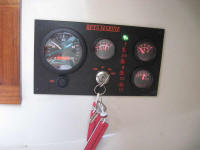
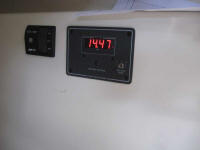
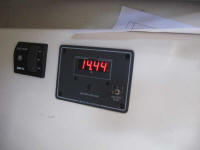
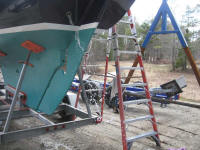
Past experience led me to believe that the initial fuel bleeding procedure would be so straightforward as to be nearly nonexistent, but I did a little priming of the mechanical fuel pump first for good measure, and then opened the bleed screw on the secondary fuel filter (engine-mounted). I advanced the throttle and turned the key. The engine caught almost immediately, but because the bleed screw was open it stalled. Clear fuel and some air had come from the bleed, as expected, so I closed the bleed screw and cranked the engine again. It started quickly and almost immediately smoothed out, not to exhibit now or later any further air-related fuel issues: an impressively easy process. It took a couple minutes for the engine to suck enough water through to actually begin discharging from the exhaust, but I knew the pump was working properly since the water level in the bucket was drawn down, and the sea strainer was filling with water. Eventually the cooling water made it through the entire system and to the transom outlet. The two photos of the voltmeter show the charging voltage for battery bank 1 (first photo) and bank 2 (second photo). |
 |
|
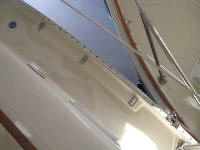
At this point, after running the engine for another minute or two, I shut down to re-check the oil level and coolant reservoir. As expected, the oil had gone down, so I added enough to bring the level back up again, and then restarted the engine. Although I shut the engine down partway through the process to ensure that it would quickly restart with little or no throttle, as a means of determining that the fuel system had successfully expunged any air within, this time I ran the engine for 20 minutes or so, till the operating temperature came up and I was comfortable with all aspects of the installation, after checking all the exhaust connections for leaks, fuel connections for leaks, and other potential issues. The engine idled at about 900 RPM. Before shutting down, I ran a gallon of pink antifreeze through the raw water system, just to be safe even though hard freezes should be unlikely by now. With the test complete, I returned the boat to the shop. After getting re-organized indoors, I installed stainless steel chainplate deck covers and sealant at all the chainplate locations. I secured the covers in tapped holes into the solid fiberglass surround area, and applied lots of sealant beneath to fully fill the gaps and voids and seal the chainplates against water ingress. |
 |
|