
|
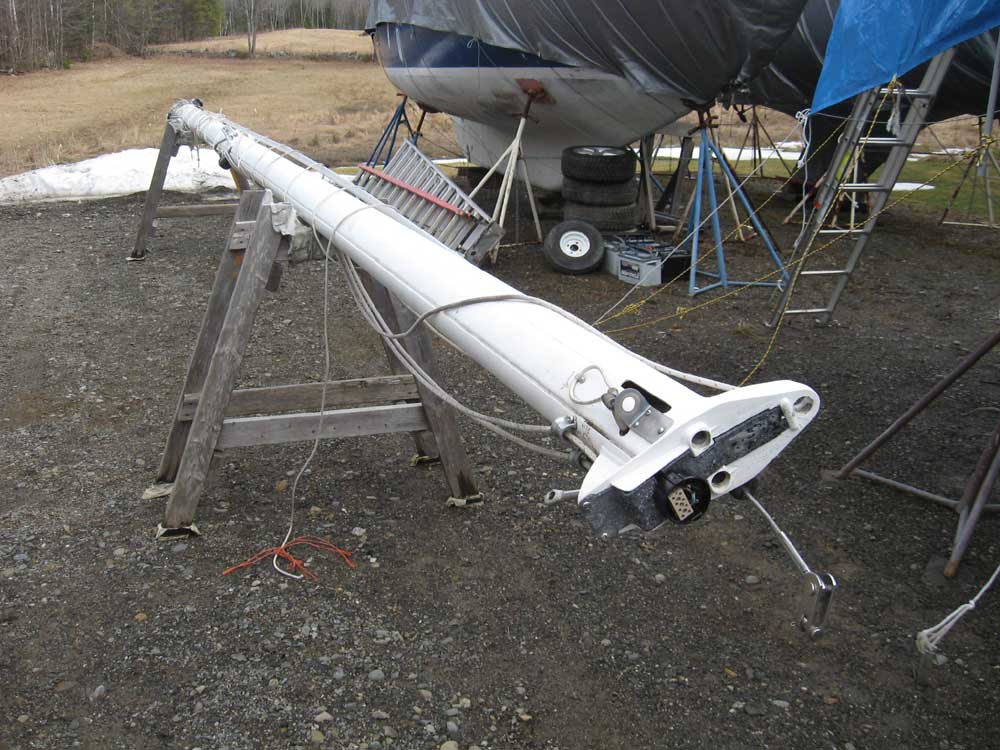
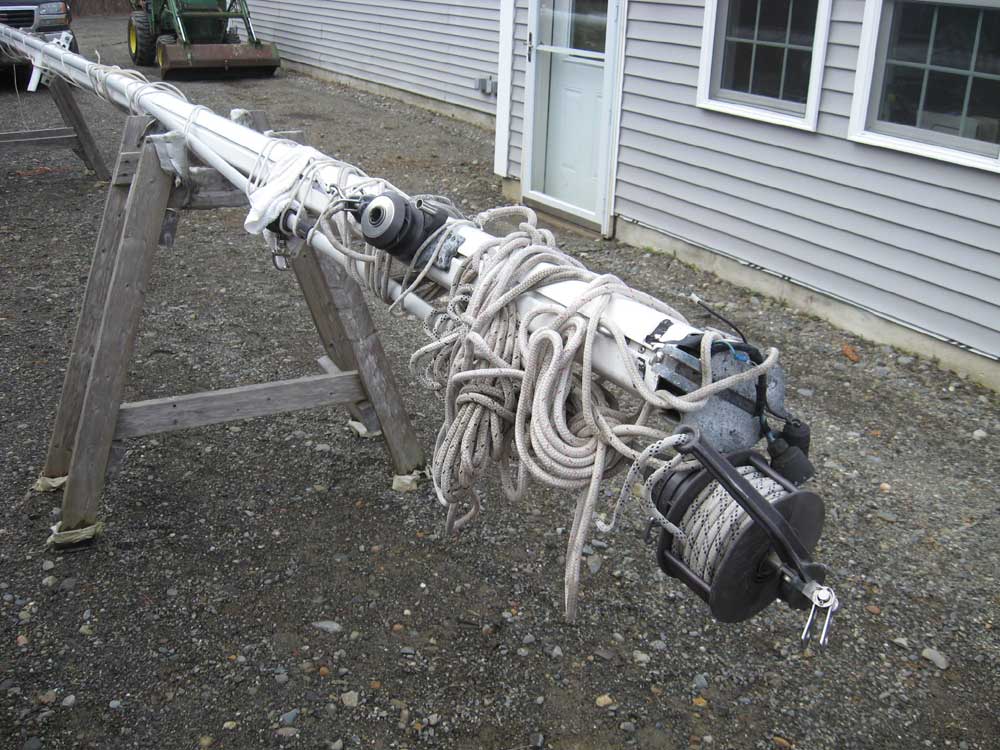
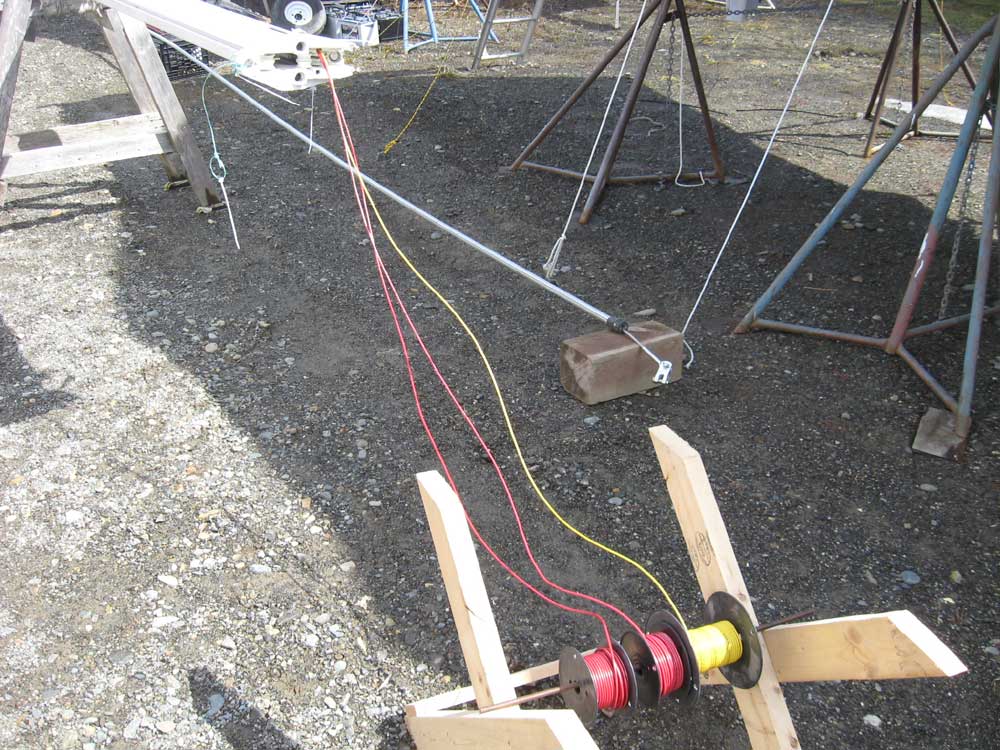
Equinox Project | Monday, April 6, 2009 After dropping the propeller shaft and coupling off at a local shop in order to effect some minor machining work, I took advantage of decent weather to work on the mast outdoors. I began by removing the existing halyards, which were old and dirty and, in some areas, worn. For each halyard, I ran a messenger line in the mast, and labeled everything for ease of reassembly later. (Not shown) |
 |
|
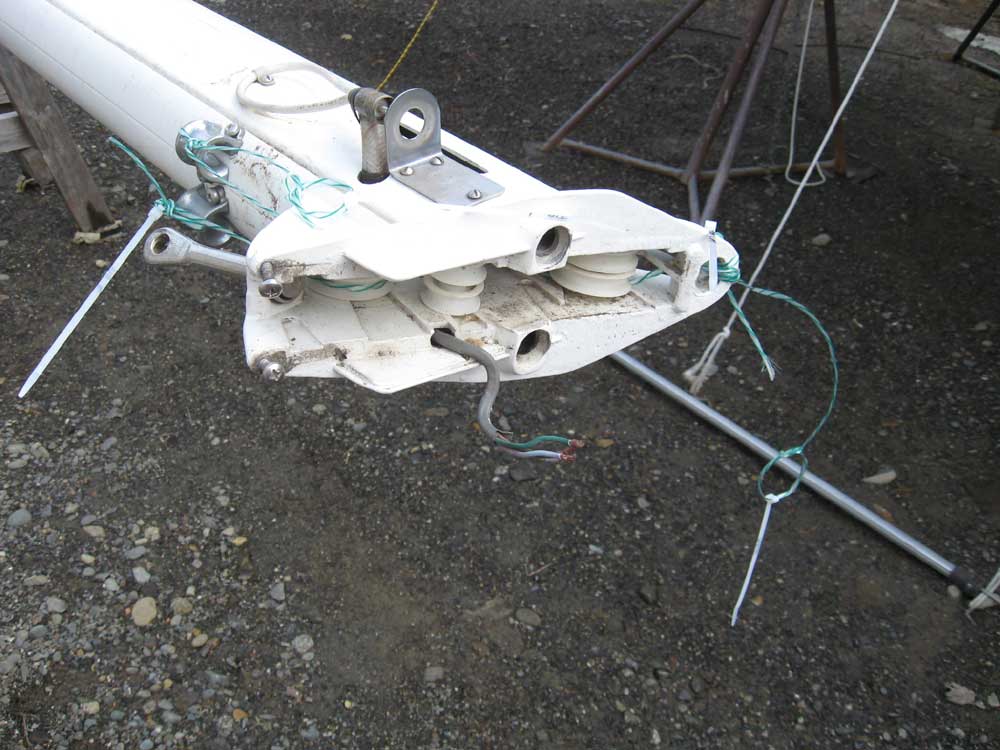
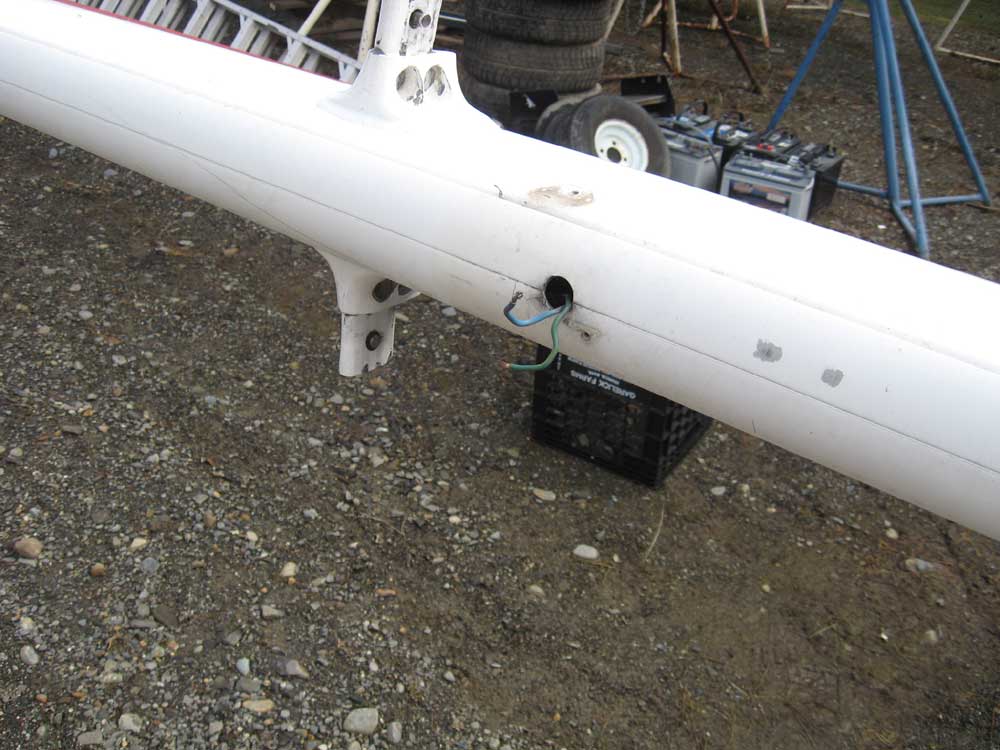
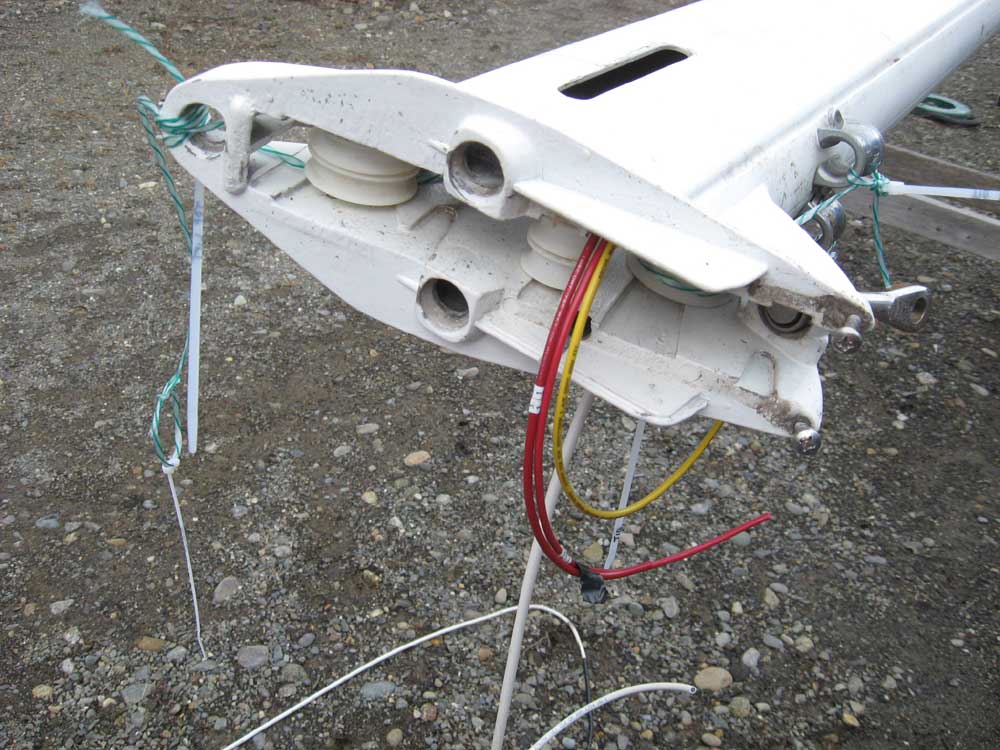
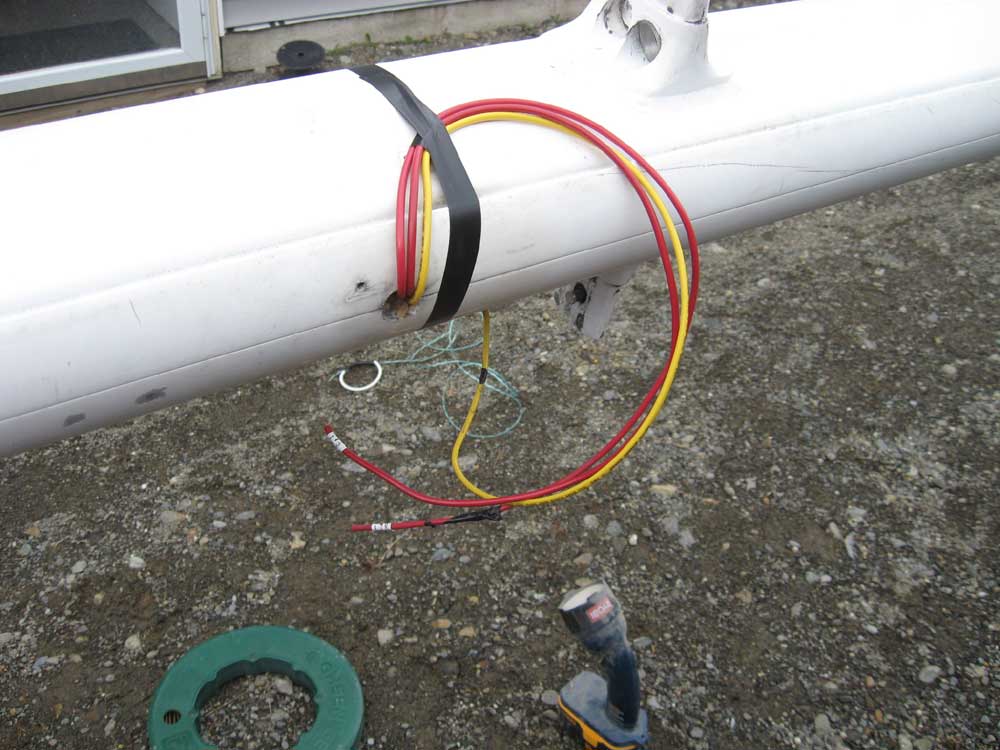
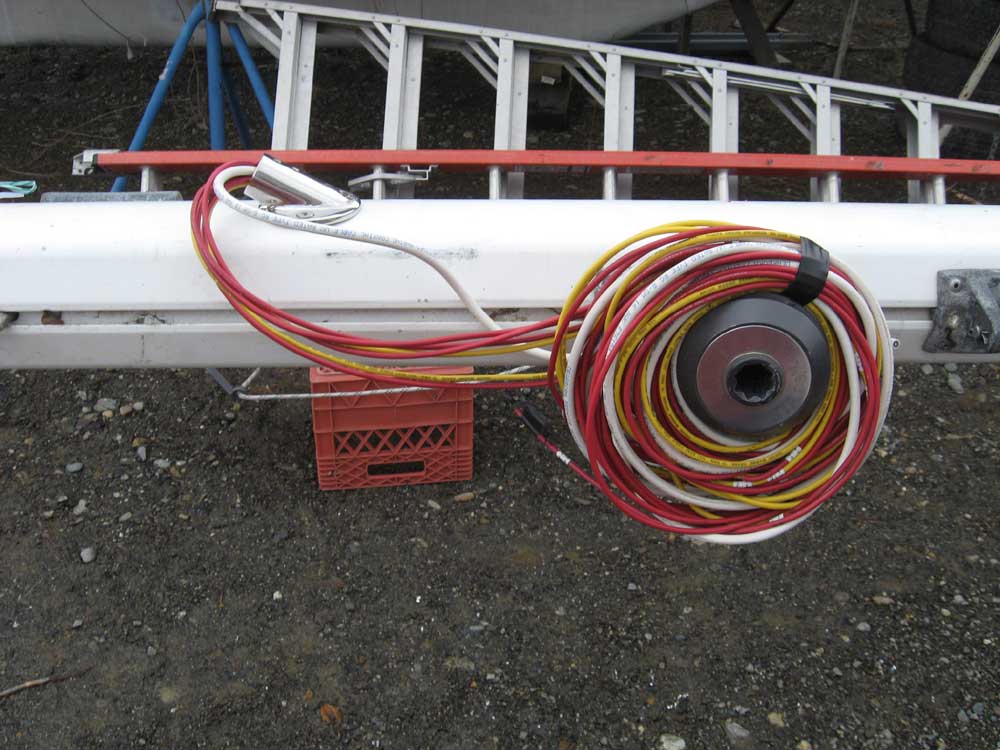
Next, I focused on the lighting and wiring. I ordered a new steaming light/foredeck light combination to replace the old, decrepit one that was in place, and then removed the old fixture. Then, using the old wires to pull the new, I ran new 12 gauge wire to the masthead tricolor/anchor light combination light (3 wires) and to the steaming light location (3 wires), along with a new VHF cable. The wires ran inside conduit pre-installed in the mast, and I pulled each set of new wires through the same course as the old, wherever it led within the mast. The old wiring had run out the base of the mast, through a slot adjacent to the halyard turning blocks, but for the new mast wiring system I needed to create a new opening a foot or so up the spar on the port side, to which I could attach a fitting and then run the wires through a hose to the new deck fitting that I installed last week. This meant that I had to snake the wires up to the new hole somehow. I tried but failed to remove the mast base casting for better access inside the mast, so after drilling the requisite hole in the mast for the wiring, I pulled the wires from their exit point at the base of the internal conduit up to the new opening using a wire snake first and, after running a messenger to make life easier for the repetitive pulls, the small messenger line for the remains. I left more than ample excess wire hanging out of the mast for eventual connection to the belowdecks terminal block; once the mast was stepped, I could lead the wires below and make up the final connections, removing the excess wire at that time. I installed an angled rail mount base to the mast over the wiring hole, and led the wires through the base; during final installation, the base would accept a 1" ID hose, the other end of which would attach to the through hull that I installed in the deck, with the wires safely contained within. |
 |
|
With a little time remaining before the rain began, I made up the connections to the terminal block for the masthead light fixture, leaving only the on-order steaming light fixture to complete as soon as it arrived. Then, other than a good soapy bath, the mast would be ready to go. |
 |
|
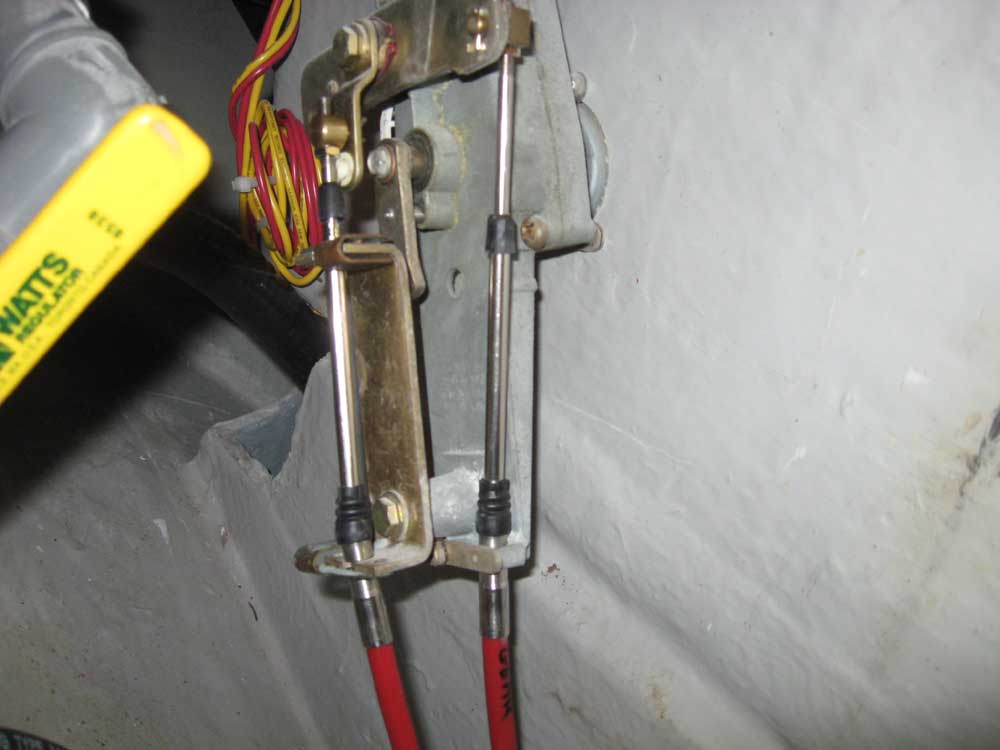
With the mast work complete for now, I moved indoors and hooked up the control end of the engine control cables, using standard series 30 pivots. |
 |
|
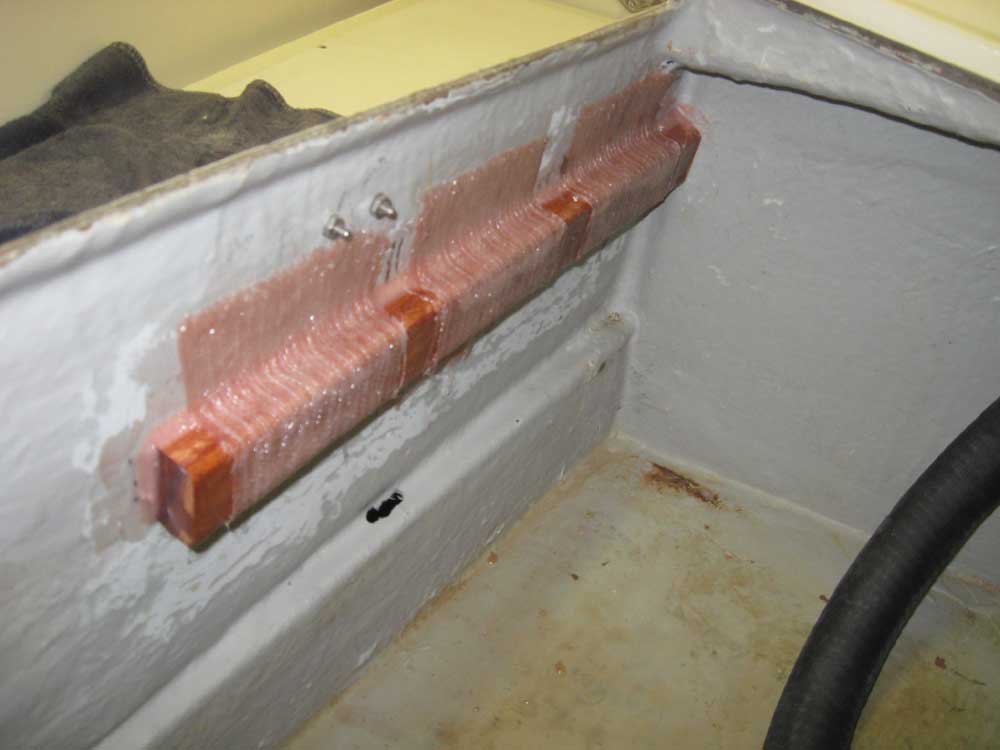
Next, I started the fuel tank installation. I'd actually intended to get it installed, but discovered that I needed to add an attachment rail to the inside of the cockpit locker so that I could secure the top end of the straps that hold the tank in place, so after making some reference marks and preparing the surface for epoxy, I installed a mahogany rail with thickened epoxy, and attached some strips of tabbing over the top to further secure it. I left this to cure overnight. |
 |
|
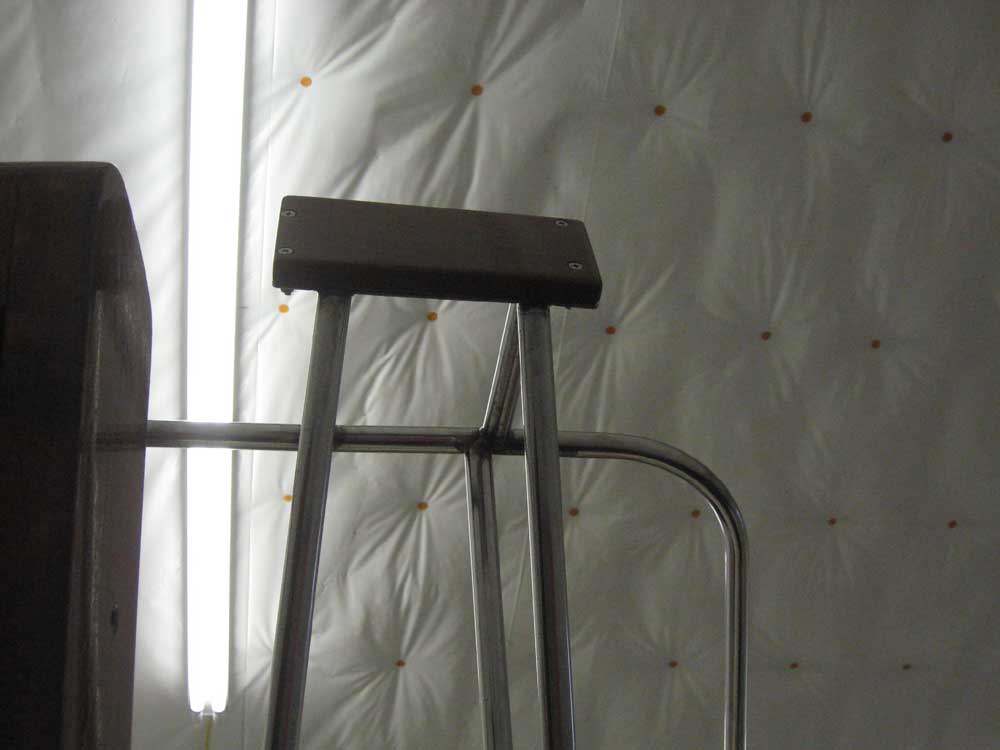
With a few minutes left in the day, I bolted the new teak pad for the dinghy outboard storage bracket in place. I had moved the boat on Sunday to allow room for another boat next door, so I didn't have good access for photographs, as the stern ended up nearly at the back wall of the shop; hence this lousy one. |
 |
|
|
|
