| 1975 Dufour 27
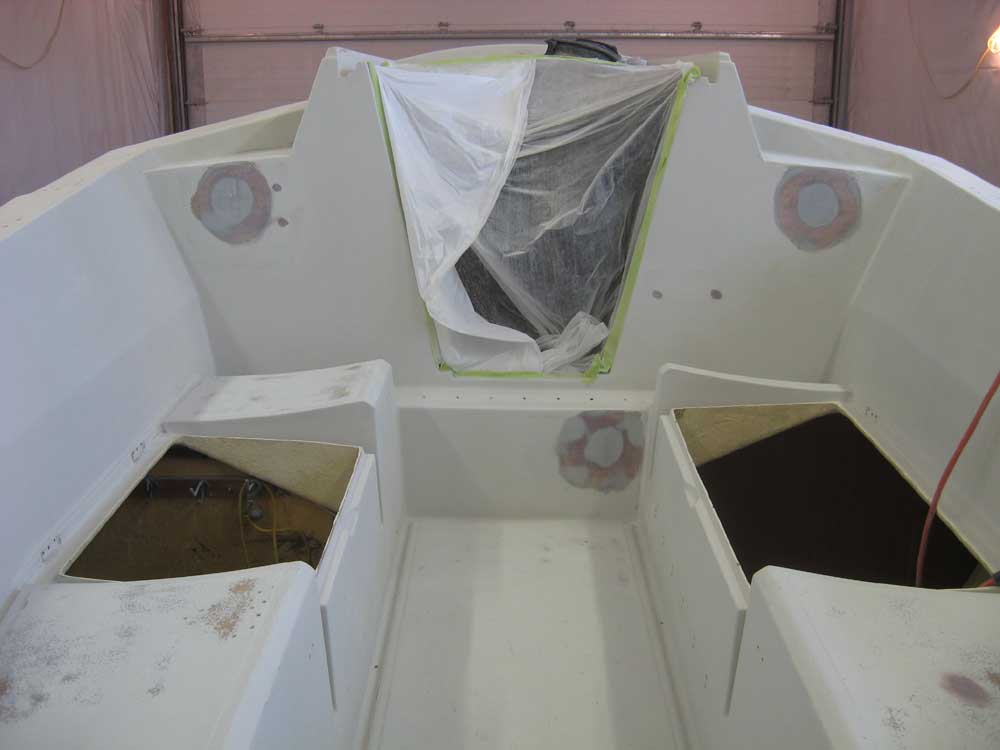
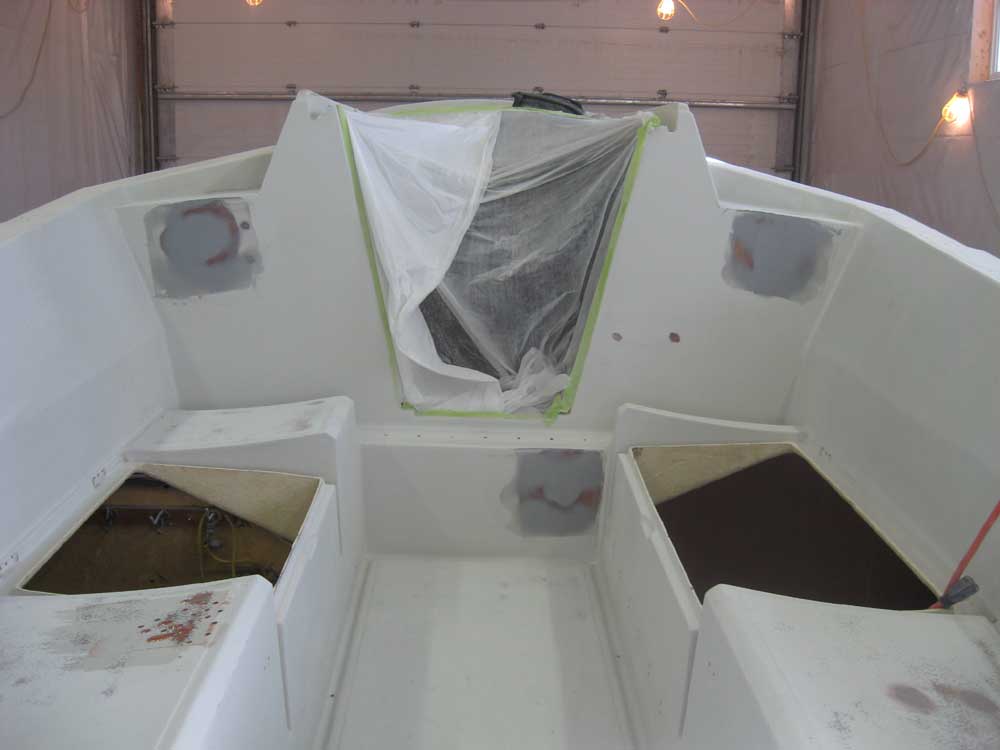
Refit | Friday, October 17, 2008 I continued with the filling, fairing, and repair work today, beginning by sanding yesterday's fill as required. This completed the work on many of the areas in question, but some of the larger patches would require another coat of filler, not unexpectedly--particularly the large patches in the cockpit, which had only two coats of filler at this point. |
|
|
|
After cleaning up, I addressed a couple more areas on deck that required some epoxy injection to firm up the void between top skin and core--one in the cockpit, and one on the foredeck. I also found that I'd miscalculated on the little transom "handhold" repair, and that I had not dished out the laminate sufficiently around the openings; as a result, the fiberglass over the top of the patches ended up too thin and weak, so I ground it out again--this time a bit deeper and wider--and reinstalled biaxial cloth over the top. |
|
|
|
Afterwards, I mixed and applied more of the Alexseal fairing filler to those areas on deck that needed it. |
|
|
|
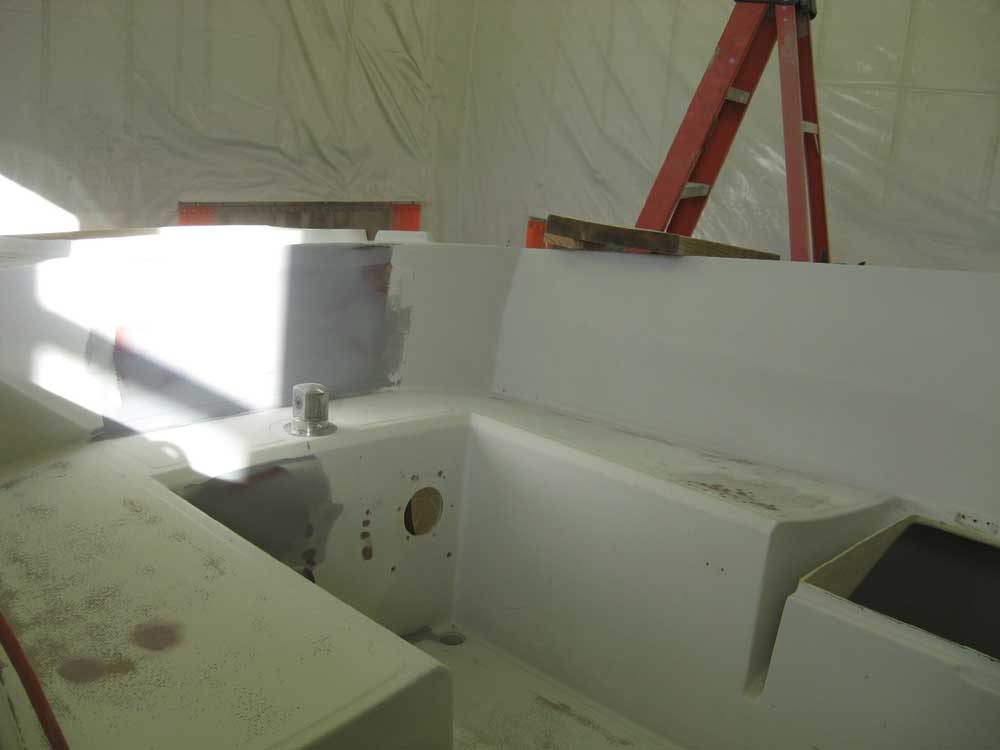
With the hull filling and repairs complete at this point, I took the opportunity to sand the hull again, this time with 120 grit paper on a vibrating palm sander to further smooth the surface. 120 would be the final grit for sanding prior to the high-build primer application, so, other than some minor hand sanding required around the hull port openings and cove stripe, where some filler remained, the hull preparation was complete. On the transom, there was a raised molded area to accept the backstay chainplate; the raised area originally allowed the chainplate to pass over the aluminum rubrail that had been installed; the raised area ended just below where the rubrail had been. Since we didn't plan on reinstalling the rubrail on the transom, I decided to extend the raised area up to deck level, so that the chainplate would be properly supported. To do this, I cut a piece of 1/4" prefab fiberglass to the appropriate size and glued it in place with epoxy. This stood a bit proud (taller) than the original molded section, and knowing that I'd have to sand the top surface, I didn't sand the smooth surface of the prefab, though I scuffed up the bonding surface accordingly. I formed the beginnings of fillets around the piece and left it to cure till later. |
|
|
|
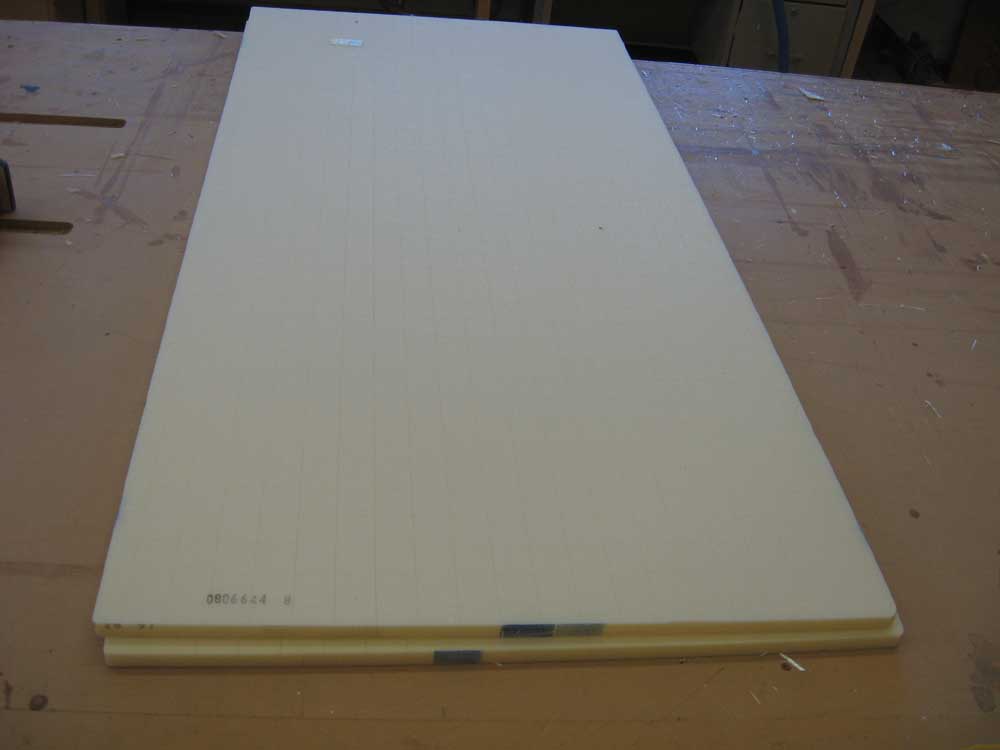
The double-cut 5/8" Corecell foam core material arrived this afternoon, which was good news, as it meant that I could proceed with the repairs to the locker lids next week and stay on track. |
|
|
|
|
|