|
|
~MENU~ |
| Home |
| The Concept |
| The Boat |
| Bringing Her Home |
|
Weekly Progress Log |
|
Daysailor Projects |
| The Boat Barn |
| Resources |
| Other Sites |
| Email Tim |
|
|
| Staging |
| Nothing beats a comfortable
working position, especially when dealing with a project of the scope of
the Daysailor construction. In order to build the deck, some sort of
proper staging encircling the entire boat was required.
Staging is whatever you make it be. During Glissando's restoration, I satisfied my need for staging with some rather rickety stuff that got the job done, but was certainly nothing to emulate. I love working off staging, and wanted to construct some that I could use for many years, in many different projects and situations. So I decided to basically build from the ground up. |
|
|
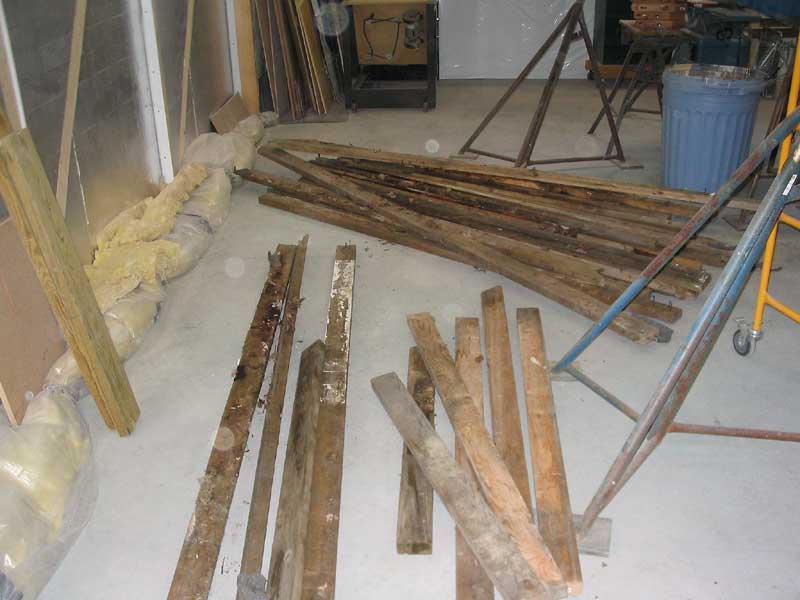
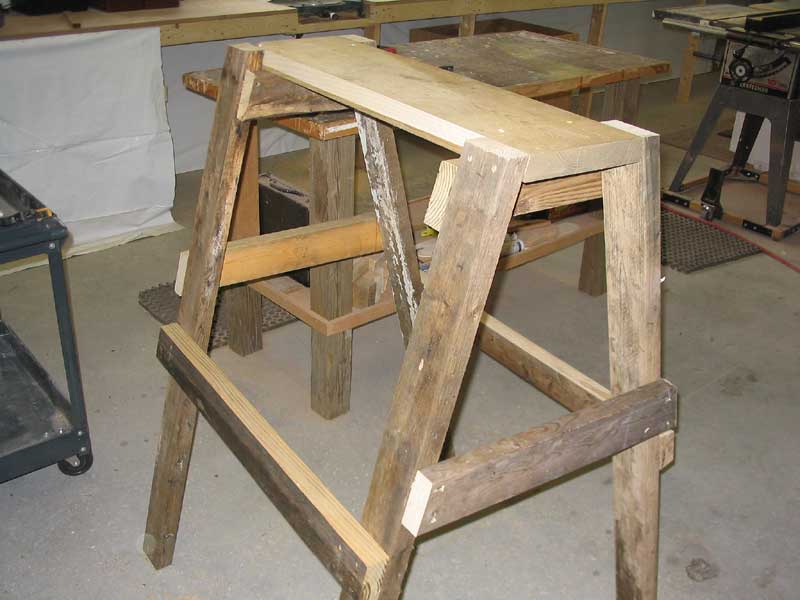
Fortunately, I had a huge pile of scrap building lumber, mostly left over from Glissando's project shed, along with a couple 16' 2x4s, some 2x8, and seven 34" scraps of 2x10 left over from the barn construction. This stuff always seems to come in endlessly handy. With the 2x10 scraps as the basic genesis of an idea, I decided to build what amounted to oversized sawhorses to support staging planks around the boat. Horses are sturdy, versatile, and relatively easy to build--and highly portable. I spent quite a while standing on stepladders at various points along the hull, bow and stern, to determine what I thought the best working height would be. I finally settled on the same height as the 4th step on my ladders, which equated to about 4' off the ground. Keeping the new staging platforms (or horses, as it were) consistent with my ladders meant that I could use the ladders in conjunction with the staging to support additional planks if needed.
|
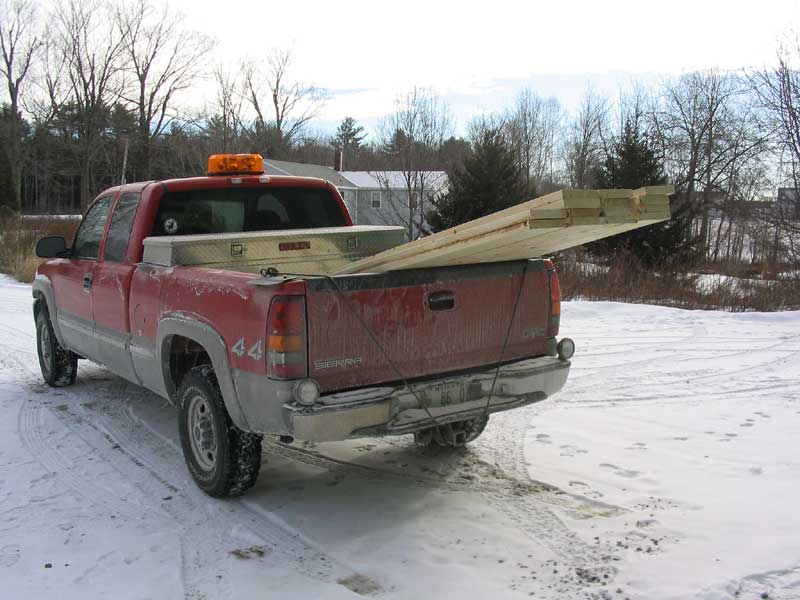 First
thing the next morning, I headed to the lumber yard to pick up some new
staging planks. Although I had a number of staging planks already
lying around, most of them were either too short or too scary for any sort
of consistent use; most of them I had built some years earlier (for Glissando)
out of plywood scraps and 2x4s, and they had definitely passed their
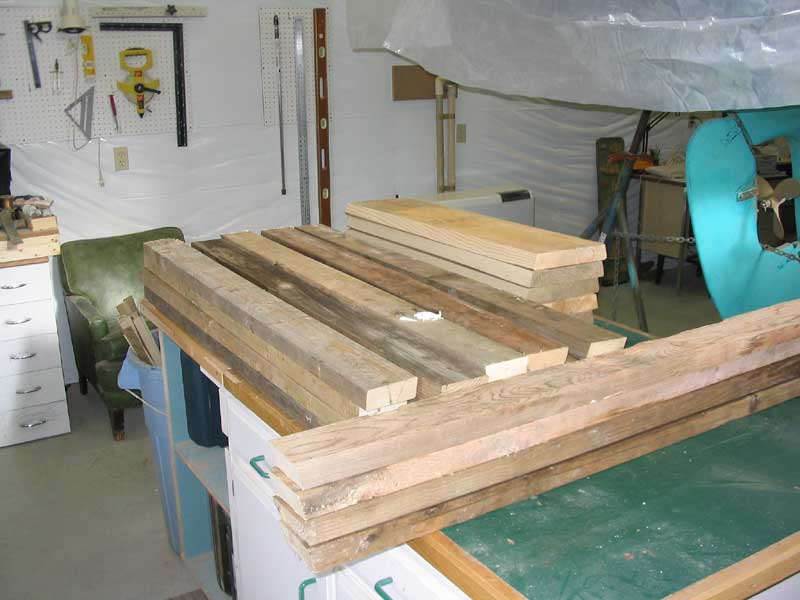
useful life. So I got enough 10' 2x10s to build six staging
planks (three needed on each side), each incorporating a doubled thickness
for added stiffness and strength. First
thing the next morning, I headed to the lumber yard to pick up some new
staging planks. Although I had a number of staging planks already
lying around, most of them were either too short or too scary for any sort
of consistent use; most of them I had built some years earlier (for Glissando)
out of plywood scraps and 2x4s, and they had definitely passed their
useful life. So I got enough 10' 2x10s to build six staging
planks (three needed on each side), each incorporating a doubled thickness
for added stiffness and strength.
Back at the shop, I got busy building the seven horses I needed. This was a big, time-consuming job, since there were many cuts required on the raw pieces before I could even begin assembly. And then assembly took a long time, too. It took me the better part of the day, all told, to get my staging completely built and erected. For details, read on. |
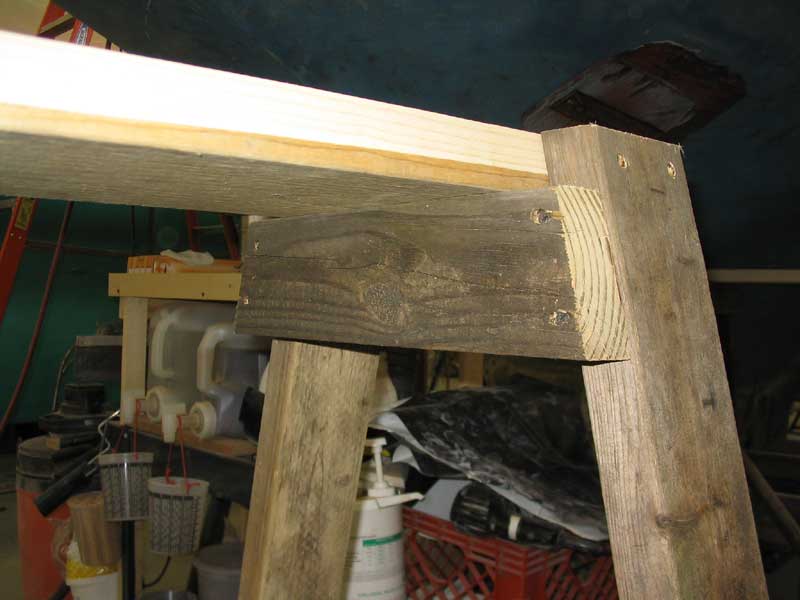
| The first step was to mill a
15° bevel on each side of all the 34" sections of 2x10, each
destined to become the top platform of the horses. The 15°
corresponded to the angle of the sawhorse legs. I determined this
angle by measuring some older saw horses I had built using the same
angle. Two passes through the table saw took care of these
cuts on each board.
|
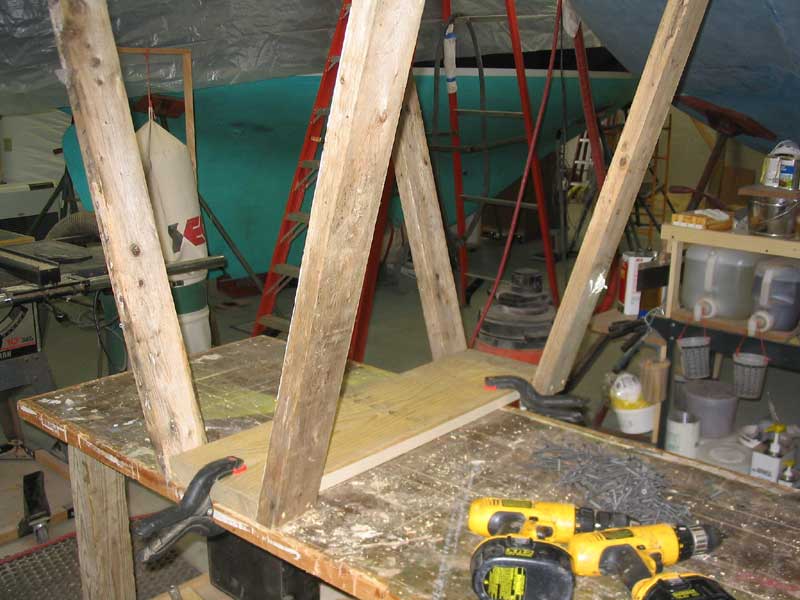 With
all the pieces cut and milled as necessary (each of the seven horses
required four legs, two side cross members, two lengthwise cross members,
and two top supports), I could begin the assembly process. With
all the pieces cut and milled as necessary (each of the seven horses
required four legs, two side cross members, two lengthwise cross members,
and two top supports), I could begin the assembly process.
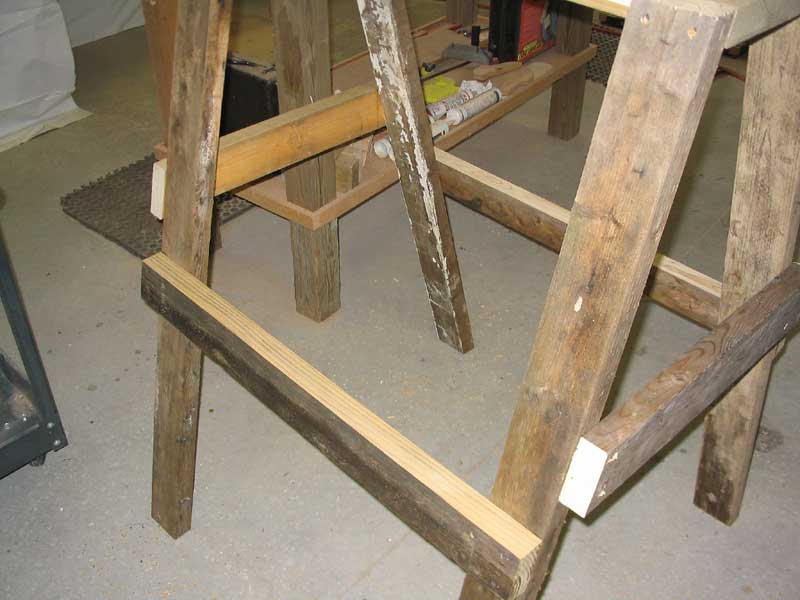
The first step in assembly was to install the legs to the top. I clamped a top piece to my bench, upside down, and screwed the legs to the top, predrilling first to prevent splitting the dry old wood. I found that clamping in this manner made it easy to align the tops of the legs with the top piece. I used 2-1/2" coarse thread drywall screws; I buy these things in 25# containers. I love them for all sorts of utilitarian tasks (like building benches, shop accessories--and staging). |
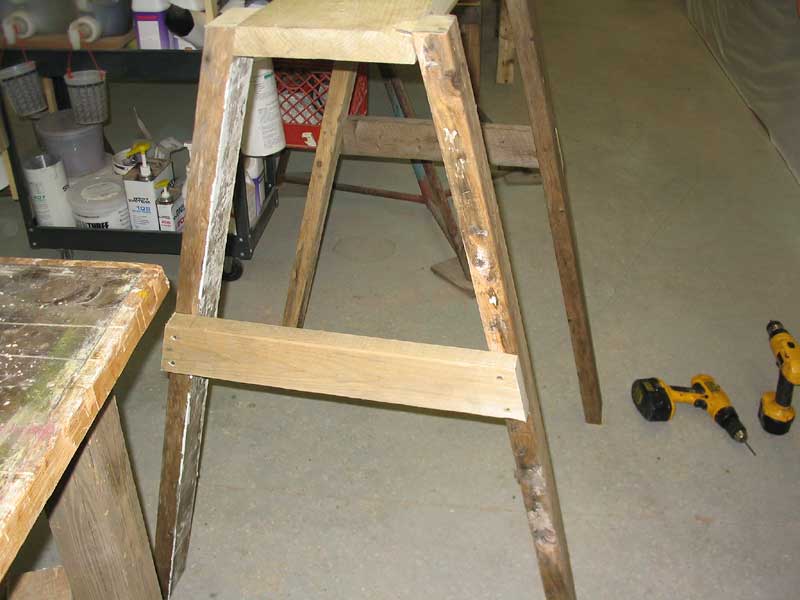 Next,
I turned the horse right side up and placed it on the floor. I
measured down 18" on each leg, and installed the crosswise braces on
the outside of each pair of legs. Next,
I turned the horse right side up and placed it on the floor. I
measured down 18" on each leg, and installed the crosswise braces on
the outside of each pair of legs.
|
|
|
|
|
|
|
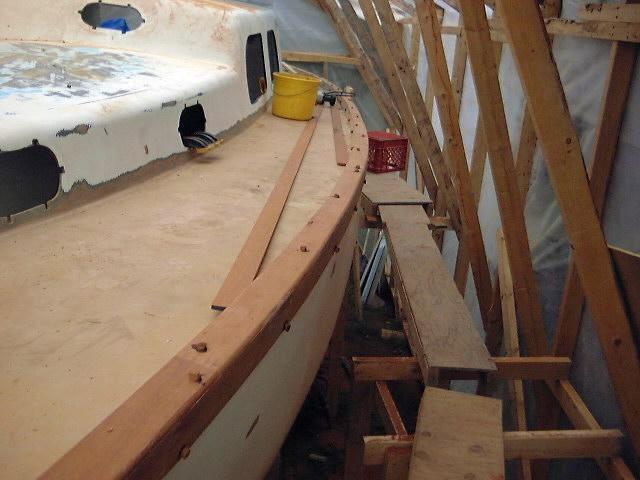
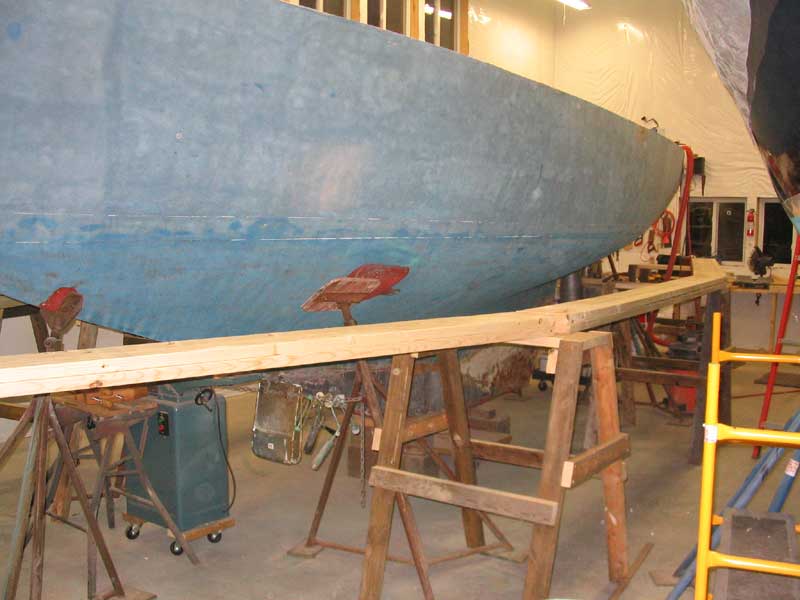
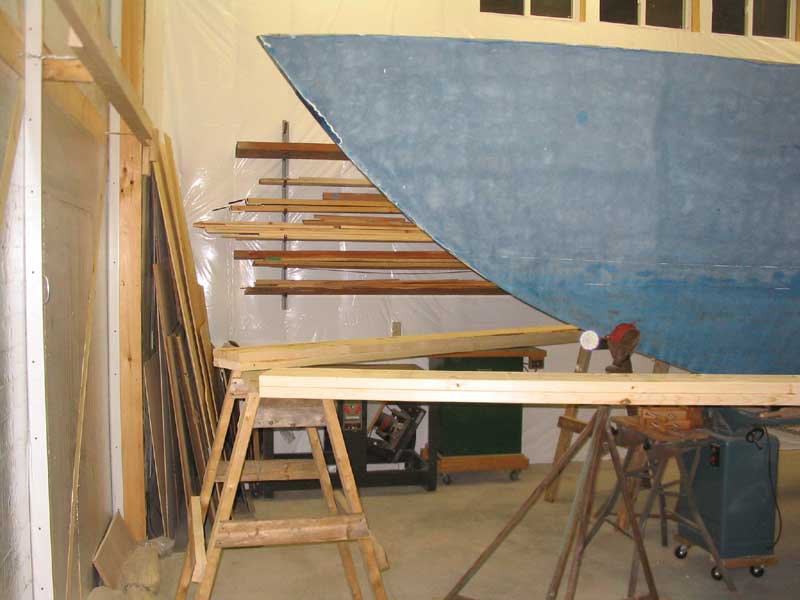
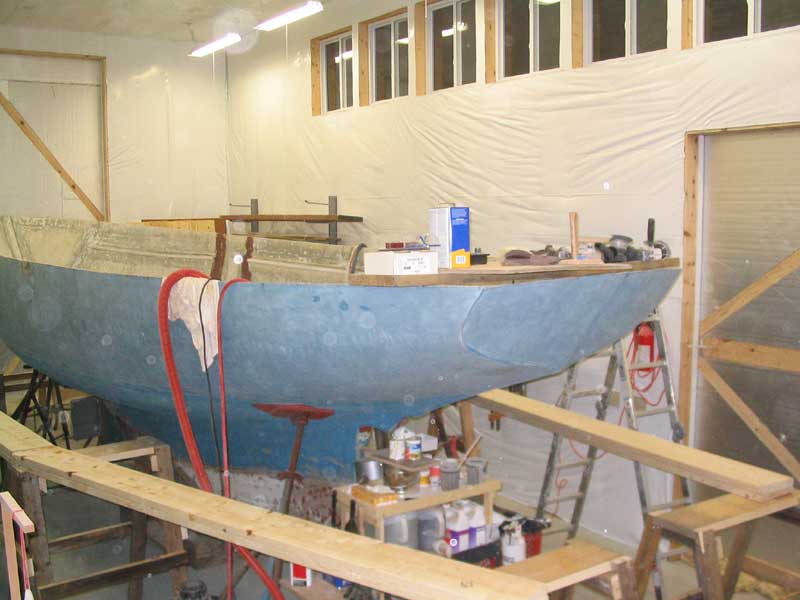
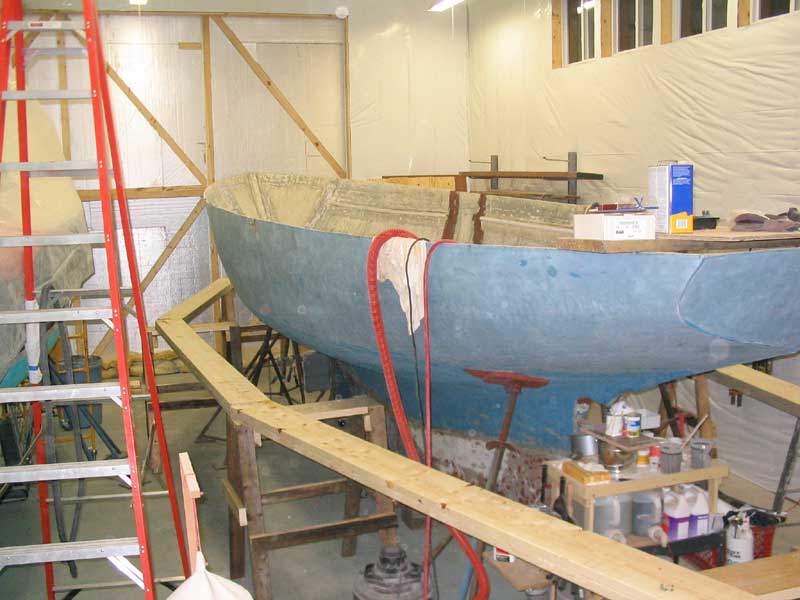
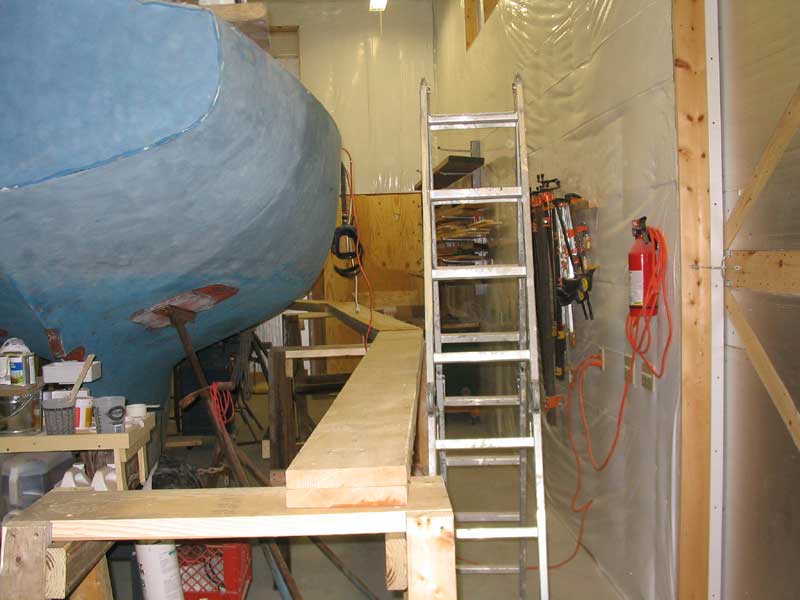
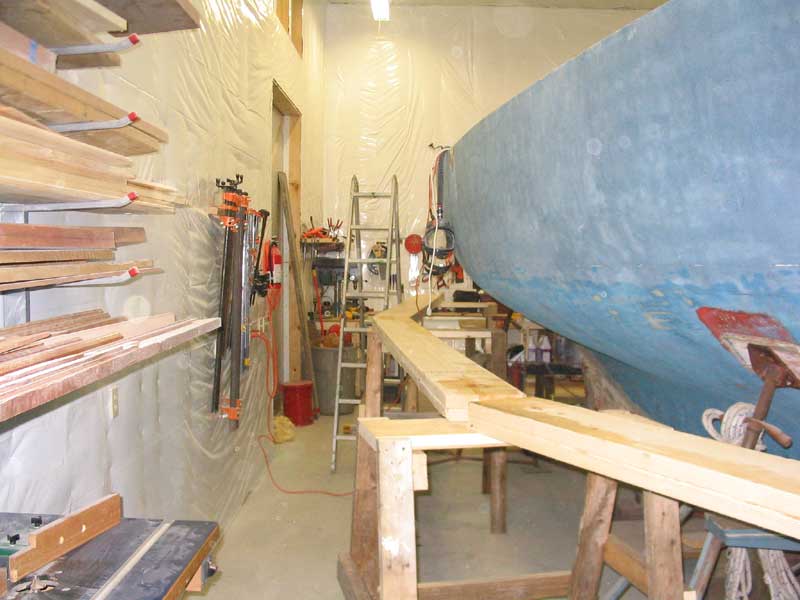
With the horses built, I turned my attention to the staging planks. First, I scattered the seven horses around the boat at more or less even intervals--one ahead of the bow, and three down each side. Then, I lugged the staging planks in from the truck and divided them up--two for each section. I roughly adjusted the spacing of the horses, and then secured each set of two planks together with more drywall screws, spaced every 12-18" along their lengths. After some trial and error, and minor adjustments, I decided upon the planks' final positioning, and secured them to the horses with screws. The resulting staging was highly stable, rock solid, and at the perfect height for comfortable deck and rail work. Significant work on the topsides will require lowering the planks to the 2' cross member, as designed. In keeping with my new "even more documentation online" mantra, I present the following series of photos of the finished product. |
|
|
|
|
|
|
|
|