|
|
~MENU~ |
| Home |
| The Concept |
| The Boat |
| Bringing Her Home |
|
Weekly Progress Log |
|
Daysailor Projects |
| The Boat Barn |
| Resources |
| Other Sites |
| Email Tim |
|
|
|
From a Bare Hull: Waterline and Boottop |
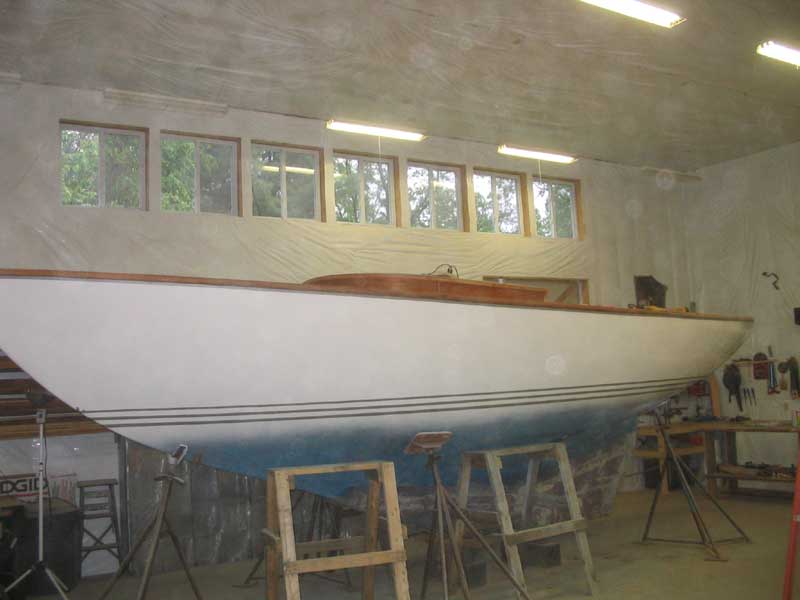
| Now that I knew where the forward and aft ends of the actual floating waterline were, I could get down to brass tacks (they should be bronze, actually) and mark and tape for the antifouling paint and boottop. Accurate lines that appear to be level and parallel with the surface of the water are, in my opinion, keys to the proper appearance of a boat; nothing looks worse than a sloppy or improperly located boot or waterline. |
|
I may take this obsession to something of an extreme, but the first place my eye goes is to the boottop on a boat--if something is off, I notice it immediately. Therefore, I work hard to make the effort to strike as perfect a line as possible. So, how exactly does one go about striking a level line on a curvy sailboat hull, given only two known reference points--at the centerline fore and aft? Whatever the process that is used, doing this accurately and correctly requires a substantial investment in time. In this case, striking the waterline and double boot stripes took the better part of two long days in the shop--clearly a labor of love, but completely worth the time and effort. |
|
With an inexpensive laser level now on hand in the shop, my first thought was to use it to mark the lines. First, though, I checked the boat for levelness, both side-to-side and fore-and-aft. Having the boat level was critical for this process, at least when attempting to use something like a laser level. Happily, the boat was blocked nearly level after having been moved a couple weeks earlier, and needed only minor adjustments. |
|
I discovered that the tripod on my level was not tall enough to allow the beam to reach the marks of the actual waterline, so I placed the tripod on top of my rolling staging to raise it appropriately. After supposedly leveling the tripod and level arrangement, I used the laser to pinpoint the waterline on the hull. At this point, I intended to confirm that the boat was truly level, at least according to her floating waterline, so after setting the level up at the stern at the proper height, I moved the whole arrangement to the bow to check there. It seemed close, but something wasn't quite right--though I couldn't put my finger on what it was. |
 Eventually,
I discovered that the concrete floor had enough undulations and was not
perfectly level so as to throw off the beam when the whole arrangement
was moved without adjustment. I tried setting up the laser across
the room and shooting both ends from there, but the intense curvature of
the counter was making it difficult to determine where exactly to mark,
since the beam would scatter on the hull, and, as I learned later, the
laser level would change its adjustment as I turned it from side to
side. It's not a tool I had used often, and I was still learning. Eventually,
I discovered that the concrete floor had enough undulations and was not
perfectly level so as to throw off the beam when the whole arrangement
was moved without adjustment. I tried setting up the laser across
the room and shooting both ends from there, but the intense curvature of
the counter was making it difficult to determine where exactly to mark,
since the beam would scatter on the hull, and, as I learned later, the
laser level would change its adjustment as I turned it from side to
side. It's not a tool I had used often, and I was still learning. |
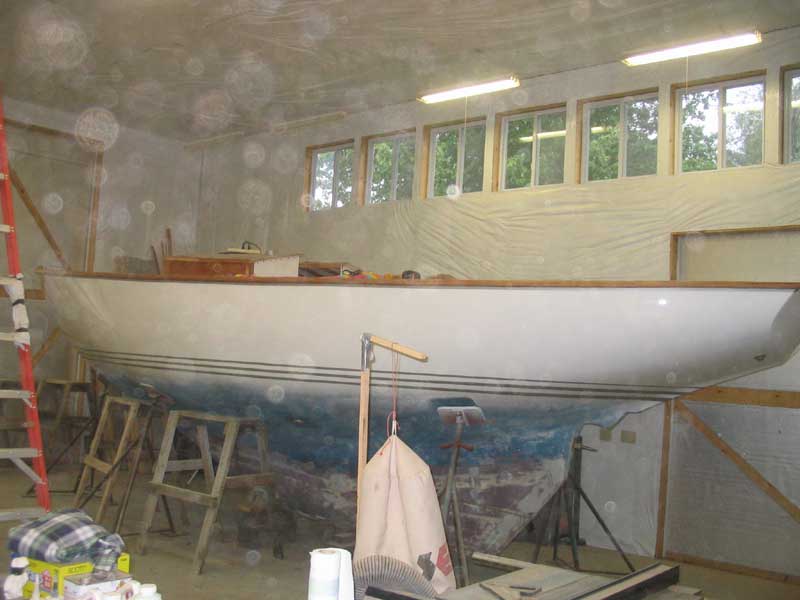
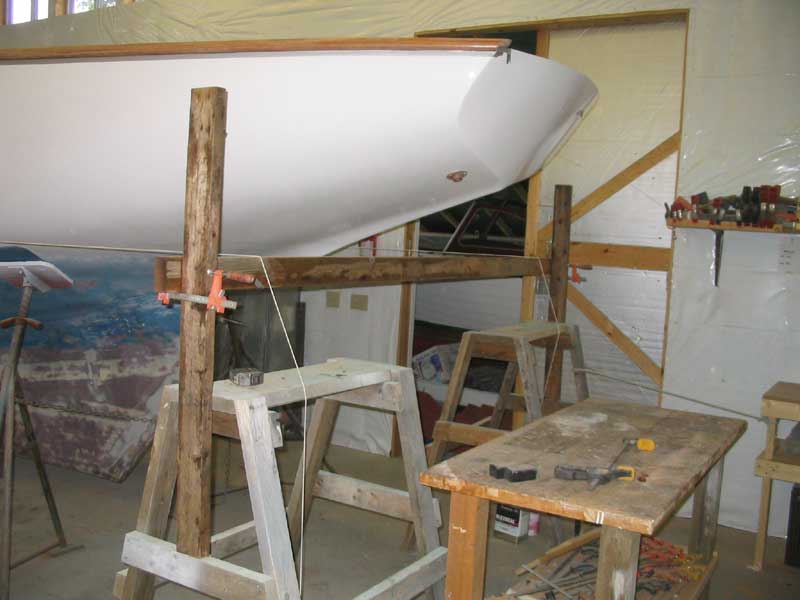
 In
any event, I set up horses fore and aft of the boat so that I could
suspend horizontal beams across each end, level with the waterline at
each end, and run a string between them--an old-fashioned process that
still works extremely well. Rather than go into exhaustive detail
here about this particular process, I will choose to refer you instead
to my Glissando website, which contains a detailed description of
this process. I used the exact method discussed there to mark most
of the lines on the Daysailor. In
any event, I set up horses fore and aft of the boat so that I could
suspend horizontal beams across each end, level with the waterline at
each end, and run a string between them--an old-fashioned process that
still works extremely well. Rather than go into exhaustive detail
here about this particular process, I will choose to refer you instead
to my Glissando website, which contains a detailed description of
this process. I used the exact method discussed there to mark most
of the lines on the Daysailor.Click here to go to Glissando's waterline page. (Opens in a new window) |
 I
decided, after much consideration, to strike the new bottom paint line
about 2-1/2" above the actual waterline--both for looks, and to provide
a little additional room for some extra weight that would be added to
the boat by the time she was completed. I like about 2" of bottom
paint to show when the boat is at rest. After setting up the
horses and beams at this level, I struck the first line using the method
described above. At the after end, with the counter, I found that
it worked well to use the level waterline string in conjunction with the
laser level, since pulling the string in to the counter was challenging. I
decided, after much consideration, to strike the new bottom paint line
about 2-1/2" above the actual waterline--both for looks, and to provide
a little additional room for some extra weight that would be added to
the boat by the time she was completed. I like about 2" of bottom
paint to show when the boat is at rest. After setting up the
horses and beams at this level, I struck the first line using the method
described above. At the after end, with the counter, I found that
it worked well to use the level waterline string in conjunction with the
laser level, since pulling the string in to the counter was challenging.
|
 Instead,
I could adjust the level till it was perfectly level, then shoot the
laser through the waterline string and onto the hull, providing me with
the necessary marks. I confirmed all the marks by eye by sighting
through the string; the eye is more accurate than any of these other
methods. Instead,
I could adjust the level till it was perfectly level, then shoot the
laser through the waterline string and onto the hull, providing me with
the necessary marks. I confirmed all the marks by eye by sighting
through the string; the eye is more accurate than any of these other
methods. |
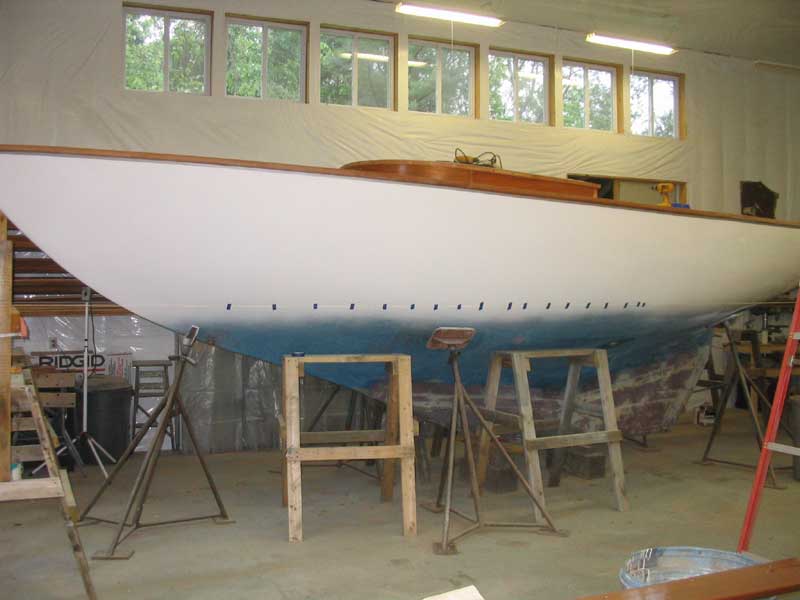
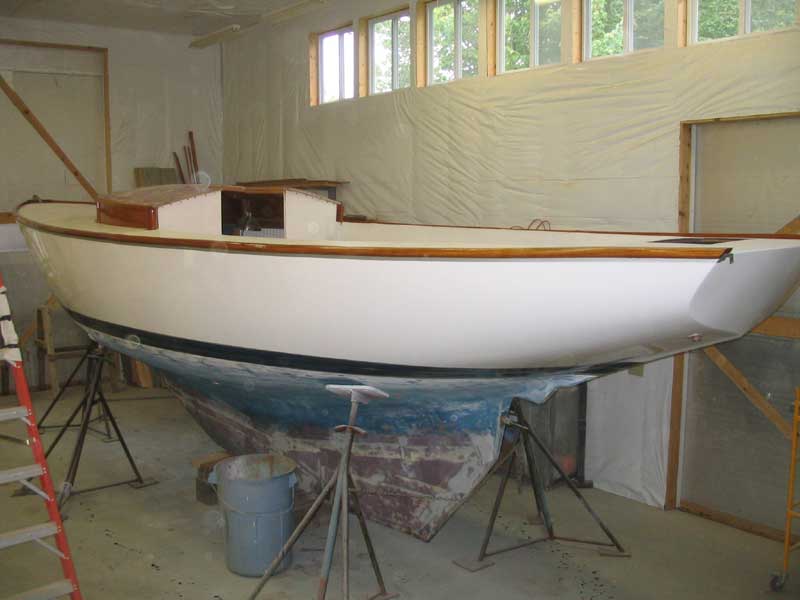
 With
the first, and lowest, line struck, I walked all around the boat and
confirmed that the positioning looked right, and that the line was
straight. Then, I continued marking for the boottop. I
planned a nice double boot on each side, with two lines spaced above the
waterline. First, though, I mocked up the bootop amidships, using
two colors of masking tape to simulate the look. I wanted to
confirm the widths of the stripes and the spaces between, to make sure
that it would look the way I hoped. With
the first, and lowest, line struck, I walked all around the boat and
confirmed that the positioning looked right, and that the line was
straight. Then, I continued marking for the boottop. I
planned a nice double boot on each side, with two lines spaced above the
waterline. First, though, I mocked up the bootop amidships, using
two colors of masking tape to simulate the look. I wanted to
confirm the widths of the stripes and the spaces between, to make sure
that it would look the way I hoped. |
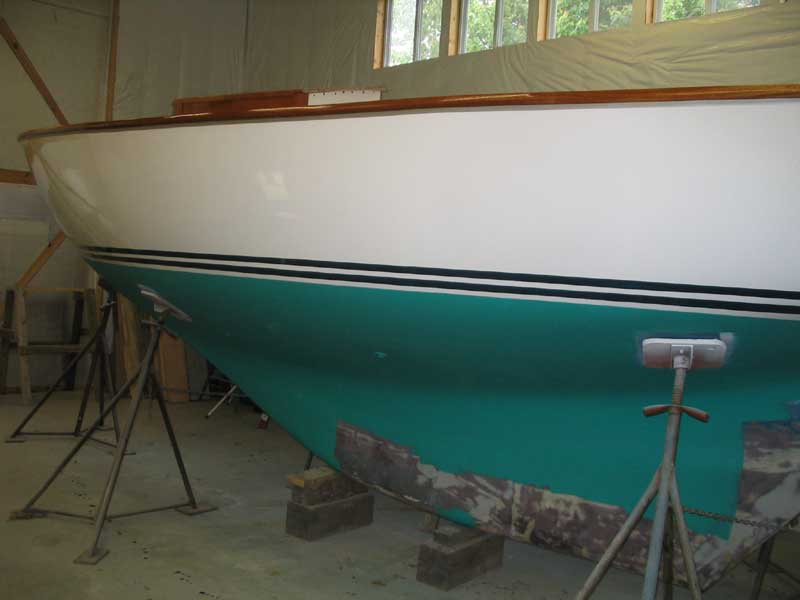
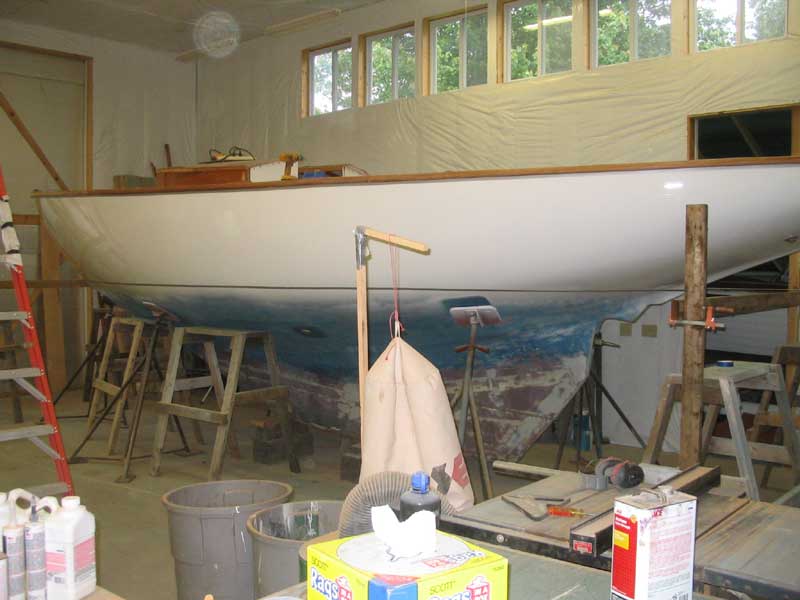
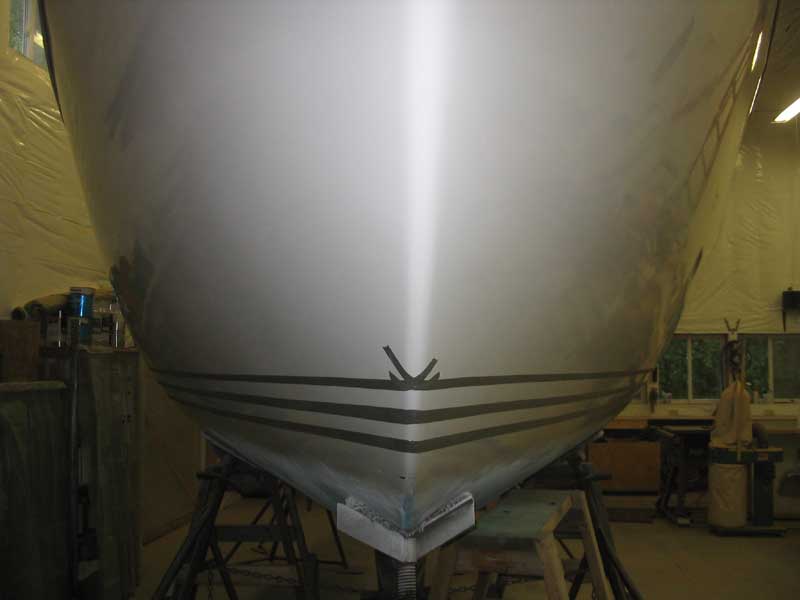
 This
meant that I had to mask a total of five lines on each side of the
boat--the top and bottom of each boot, plus the bottom paint line.
I worked at this steadily for most of two full days until the final tape
was in place. I used 3M silver long-mask tape for this job.
The first stripe began 1" visually above the bottom paint line, and each
stripe was 1-1/8" visually in height, with a 3/4" space between. I
add "visually" to each measurement because in reality, the spaces and
widths varied over the curvature of the hull, but standing from a
distance, each appeared to be straight and level. This
meant that I had to mask a total of five lines on each side of the
boat--the top and bottom of each boot, plus the bottom paint line.
I worked at this steadily for most of two full days until the final tape
was in place. I used 3M silver long-mask tape for this job.
The first stripe began 1" visually above the bottom paint line, and each
stripe was 1-1/8" visually in height, with a 3/4" space between. I
add "visually" to each measurement because in reality, the spaces and
widths varied over the curvature of the hull, but standing from a
distance, each appeared to be straight and level. |
|
|
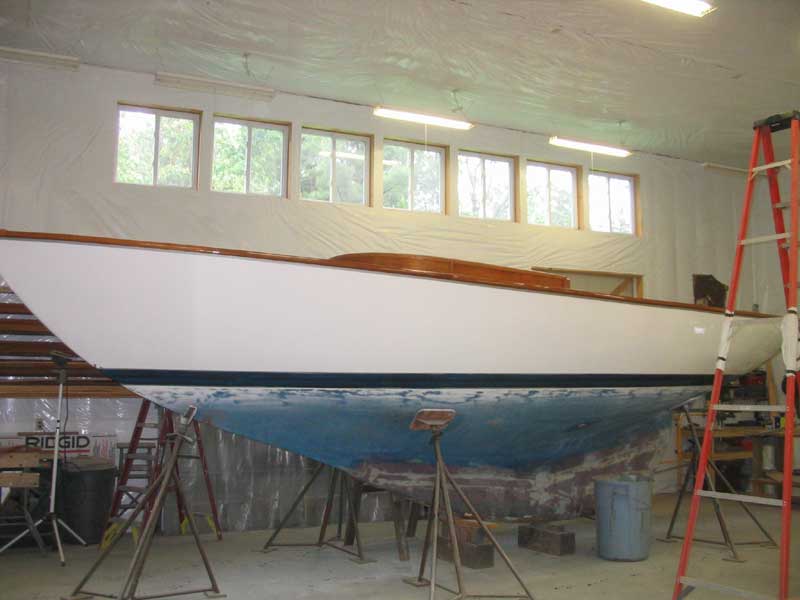
 With
all lines finally struck, I could begin to see how things might look in
the end. I was pleased with the tape job, and looked forward to
seeing things with the paint in place. With
all lines finally struck, I could begin to see how things might look in
the end. I was pleased with the tape job, and looked forward to
seeing things with the paint in place. |
 I
sanded the hull in between the tape to prepare it for the Flag Blue
Awlgrip I wanted for the stripes. I used 220 grit paper to rough
up the surface, and then cleaned thoroughly. Then, I applied, over
three days, three coats of the Flag Blue using a brush. I debated
spraying the stripes, but in the end it seemed to be too much effort to
cover the entire boat against overspray. I
sanded the hull in between the tape to prepare it for the Flag Blue
Awlgrip I wanted for the stripes. I used 220 grit paper to rough
up the surface, and then cleaned thoroughly. Then, I applied, over
three days, three coats of the Flag Blue using a brush. I debated
spraying the stripes, but in the end it seemed to be too much effort to
cover the entire boat against overspray. |
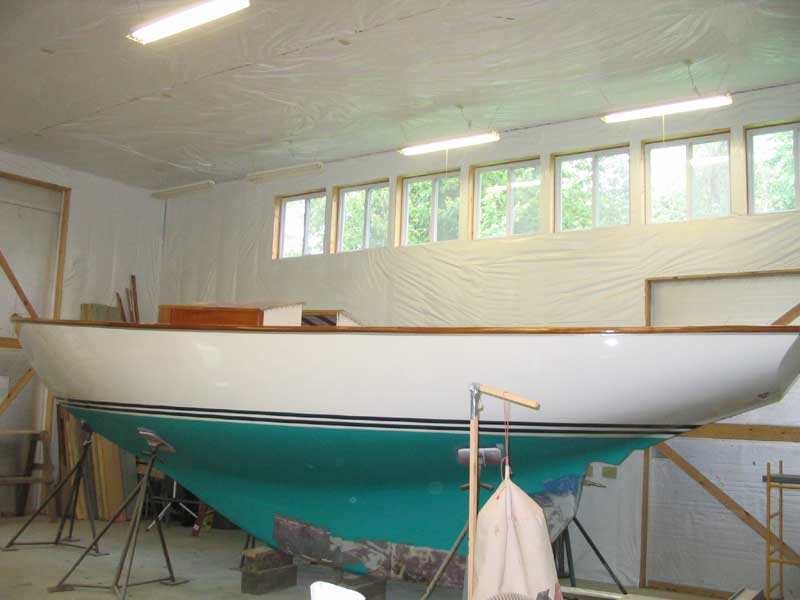
 Between
each coat, I sanded the previous coat lightly--320 between the first and
second coats, and 400 between the second and third. I was pleased
with how the Awlgrip laid down. I also took the moment to apply
some green antifouling paint to the bottom, except for some areas on the
keel where additional work was required. Between
each coat, I sanded the previous coat lightly--320 between the first and
second coats, and 400 between the second and third. I was pleased
with how the Awlgrip laid down. I also took the moment to apply
some green antifouling paint to the bottom, except for some areas on the
keel where additional work was required. |
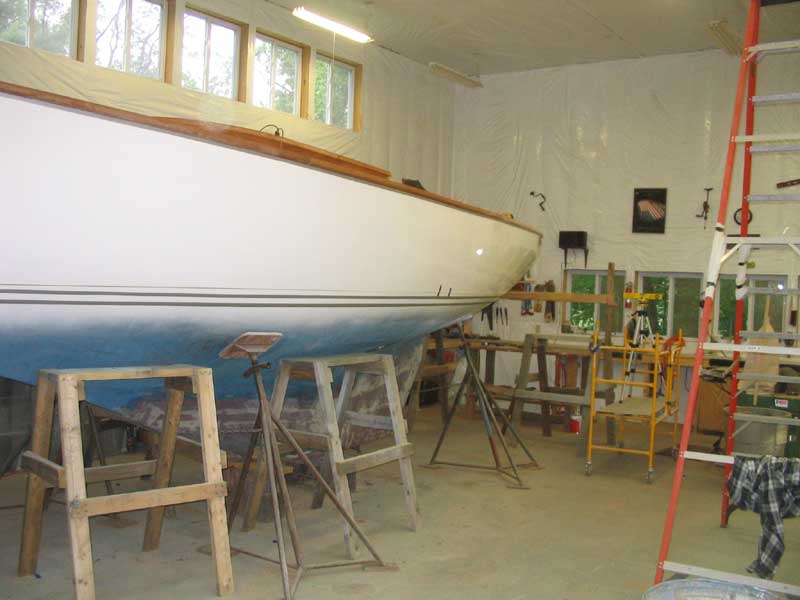
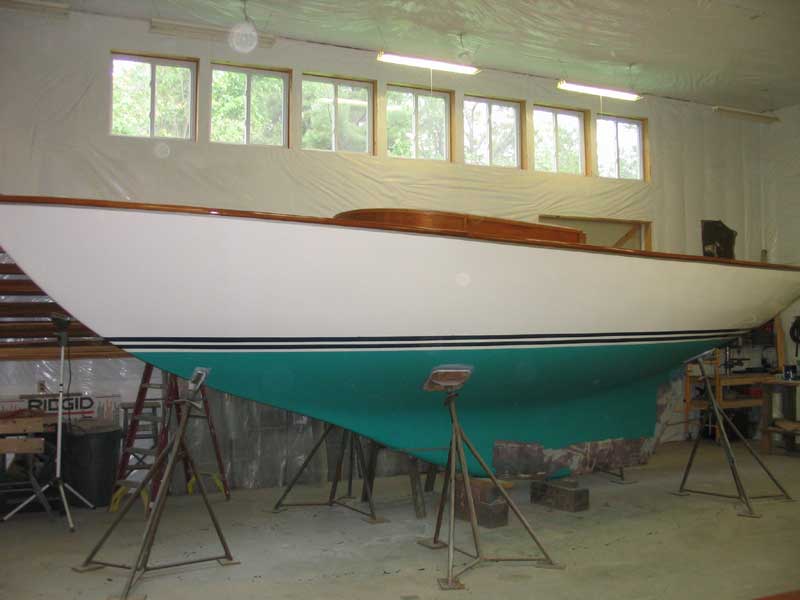 When
the final coat was dry enough, I removed the tape. To my dismay, I
discovered that in a few areas, the paint had actually bled upwards,
through capillary action, beneath the tape, but I thought I could remove
the stains with a razor blade later. I was unsure why this
happened, and found it curious that it occurred uphill, rather than
downhill. I had always had good luck with this particular tape in
the past, so I was quite surprised. In any event, it was a minor
problem, and overall I was very pleased with how the boat looked.
In the space of a few days, the boat had gone from looking rough and
incomplete to suddenly a very finished appearance; this was extremely
good for morale in the shop. When
the final coat was dry enough, I removed the tape. To my dismay, I
discovered that in a few areas, the paint had actually bled upwards,
through capillary action, beneath the tape, but I thought I could remove
the stains with a razor blade later. I was unsure why this
happened, and found it curious that it occurred uphill, rather than
downhill. I had always had good luck with this particular tape in
the past, so I was quite surprised. In any event, it was a minor
problem, and overall I was very pleased with how the boat looked.
In the space of a few days, the boat had gone from looking rough and
incomplete to suddenly a very finished appearance; this was extremely
good for morale in the shop. |
|
|
|
Back to Main Menu> |