
|
|
~MENU~ |
| Home |
| The Concept |
| The Boat |
| Bringing Her Home |
|
Weekly Progress Log |
|
Daysailor Projects |
| The Boat Barn |
| Resources |
| Other Sites |
| Email Tim |
|
|
|
Systems: Mast and Rigging |
|
Chainplates For the new chainplates, I used a combination of materials. The headstay used the original bronze stem casting, but for the upper shrouds, I purchased a 4' length of stainless steel bar stock, 1-1/4" wide and 1/4" thick, in order to fabricate my own chainplates. I also planned to use the stainless steel stock for the backstay chainplate. For the lower shrouds, I chose heavy-duty bronze deck-mount chainplates from Spartan Marine (#C182), with a listed breaking strength of 10,000 lb. When backed up beneath with backing plates, and secured with 3/8" fasteners, these chainplates would be more than adequate for the lower shrouds' loading. |
|
After putting off the project as long as possible, I decided to locate and begin fabrication on the chainplates shortly after the mast arrived. I waited for the mast so that I could properly locate the chainplates in the deck, even with the spreader tips. The spreaders were 36" in length, measured off the side of the mast extrusion.
|
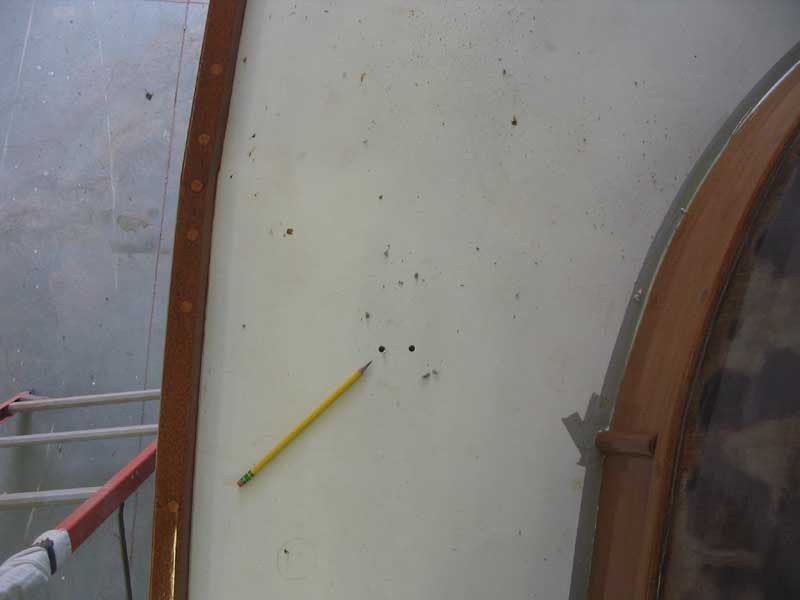 Next,
I drew a plumb line up the bulkhead to the bottom of the deck,
indicating the inside edge of the new chainplate. I repeated this
process on each side, and then used a drill with a long 1/4" drill bit
to drill pilot holes from the inside, keeping the bit close to the
bulkhead and at as minimal an angle as possible (hence the long bit).
After confirming the position of the pilot holes on deck, I marked for a
second hole, at the outer edge of the chainplate width, and drilled
those. Then, I connected the holes and created a slot with a
jigsaw, working from up on deck. Next,
I drew a plumb line up the bulkhead to the bottom of the deck,
indicating the inside edge of the new chainplate. I repeated this
process on each side, and then used a drill with a long 1/4" drill bit
to drill pilot holes from the inside, keeping the bit close to the
bulkhead and at as minimal an angle as possible (hence the long bit).
After confirming the position of the pilot holes on deck, I marked for a
second hole, at the outer edge of the chainplate width, and drilled
those. Then, I connected the holes and created a slot with a
jigsaw, working from up on deck. |
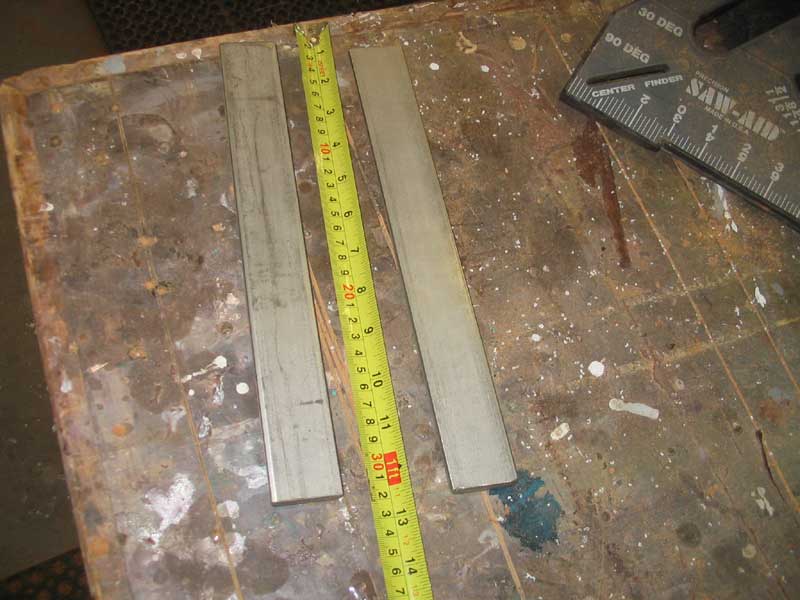 Next,
I prepared the chainplates. From the 4' length of bar stock, I cut
two 12" pieces. I used an angle grinder with a cutting wheel for
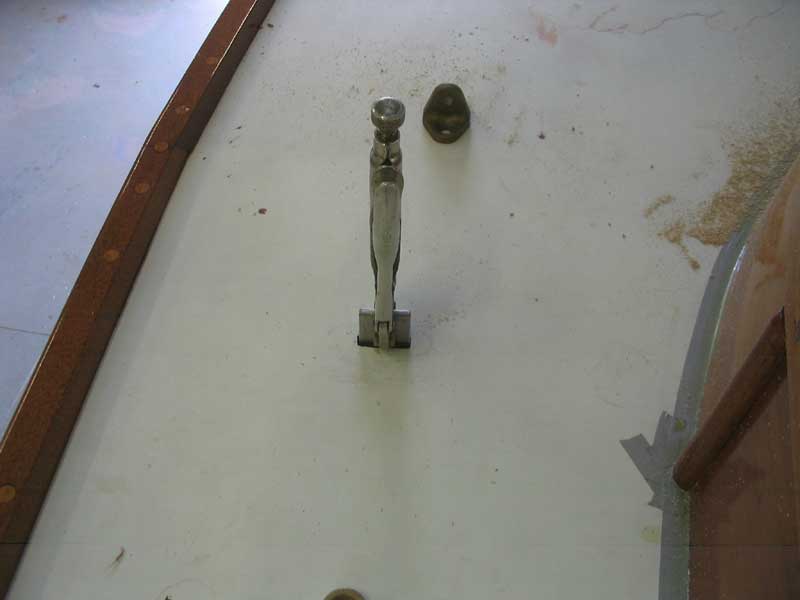
these cuts, which worked extremely well. Then, after checking the
fit on deck and fine tuning the slots till the chainplates fit well, I
inserted the raw chainplates and held them in place from above with a
Vice-Grips at the proper height (allowing for the eventual clevis hole
and some clearance), and down below I checked for obstructions that
would affect the bolt hole placement. Forward of the bulkhead,
there was a deck beam and a small piece of trim, so I allowed leeway to
avoid these installations and then marked the aft side accordingly. Next,
I prepared the chainplates. From the 4' length of bar stock, I cut
two 12" pieces. I used an angle grinder with a cutting wheel for
these cuts, which worked extremely well. Then, after checking the
fit on deck and fine tuning the slots till the chainplates fit well, I
inserted the raw chainplates and held them in place from above with a
Vice-Grips at the proper height (allowing for the eventual clevis hole
and some clearance), and down below I checked for obstructions that
would affect the bolt hole placement. Forward of the bulkhead,
there was a deck beam and a small piece of trim, so I allowed leeway to
avoid these installations and then marked the aft side accordingly. |
 Finally,
I marked 4 evenly-spaced holes in the remaining section of the
chainplate, and drilled for 3/8" bolts with a slightly oversized bit
(25/64"). Until I could confirm how much clearance should remain
for the turnbuckle clevis above decks, I left that hole undrilled. Finally,
I marked 4 evenly-spaced holes in the remaining section of the
chainplate, and drilled for 3/8" bolts with a slightly oversized bit
(25/64"). Until I could confirm how much clearance should remain
for the turnbuckle clevis above decks, I left that hole undrilled.
|
|
I continued my measuring out and marking the locations for the deck-mounted bronze chainplates. After confirming that they were not located above any obstructions in the cabin or underside of the deck, I predrilled the holes for the mounting bolts. |
|
I also cut the slot in the poop deck to accept the backstay chainplate. Access from beneath was difficult, and as a result, my first pilothole was located too far away from the existing transom knee. The hole was easy to fill and repair, and actually helped me locate the actual spot where I should drill, this time from above. Fortunately, I had not yet painted the nonskid, so the minor repair would be covered invisibly later. More to come! |
