|
|
~MENU~ |
| Home |
| The Concept |
| The Boat |
| Bringing Her Home |
|
Weekly Progress Log |
|
Daysailor Projects |
| The Boat Barn |
| Resources |
| Other Sites |
| Email Tim |
|
|
|
From a Bare Hull: Interior Basics (Page 6) |
|
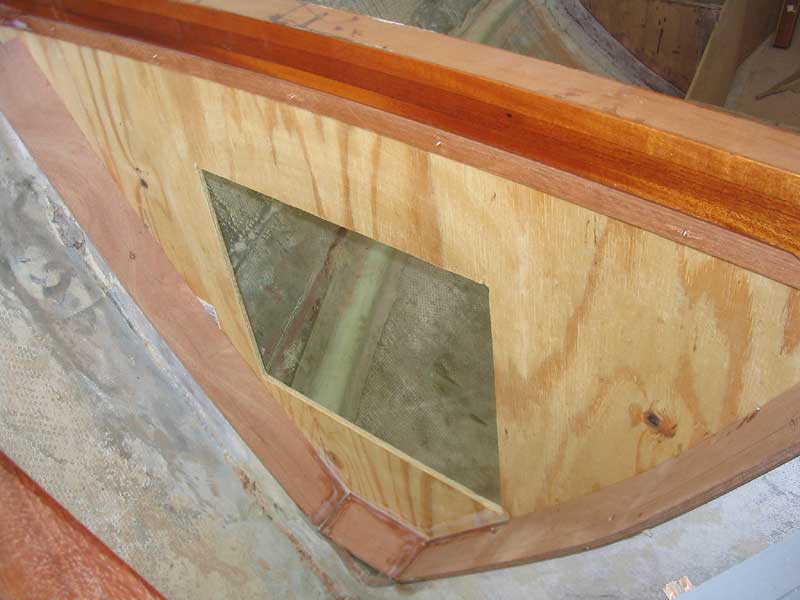
Chainlocker Bulkhead Earlier, during the unbuilding process, I had removed the old chainlocker bulkhead, leaving only a 4" web of the old structure remaining. With deck sheathing imminent, I decided it was time to install a new cosmetic bulkhead to close off the chainlocker; fitting and installing the bulkhead would be easier with no deck in place. When I removed the old bulkhead, and then later when I installed deck beams, I had noticed that the original bulkhead had been installed well out of square to the centerline, and far out of plumb as well. As a result, I could not use the remaining web to attach my new bulkhead, since the new piece had to be plumb and square to match the rest of the new structure. After deciding to locate the new bulkhead directly beneath the nearby deck beam, I spent a few minutes plumbing a line down from the beam to the hull beneath, so that I would have reference marks for aligning the new bulkhead. With this done, I installed mahogany cleats on the underside of the deck beam, and also at the bottom side, spanning the gap between the two fiberglass V-berth support cleats. I attached the upper cleat to the beam with bronze screws, and epoxied the lower cleat to the fiberglass supports.
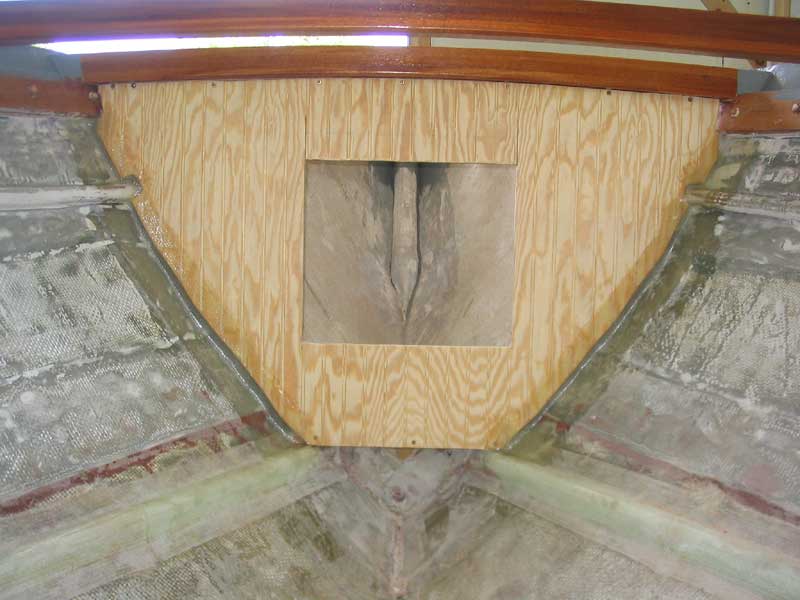
Once the epoxy had cured sufficiently, I created a cardboard template of the area, scribing the contours of the hull directly onto the cardboard once I had pieces cut roughly to fit. Then, I transferred the shape to a piece of fir beadboard plywood, ensuring that the bulkhead centerline was centered on one of the "boards" for a symmetrical look. I checked the fit and made some additional cuts as necessary to get it to fit properly in the space; I didn't worry about a perfect fit, choosing instead to cut it a bit smaller than necessary against the hull on each side, since the bulkhead would be purely cosmetic, and the gaps would later be covered by a hull ceiling. |
|
When I was happy with the fit, I marked out an opening for access to the chainlocker from inside the boat, again keeping it symmetrical with regards to the pre-determined "boards" on the plywood. I cut an opening large enough to allow decent access to the chainlocker and stem area, should any maintenance be required later, and to allow access to foredeck cleats and the like that might be installed there later. Eventually, the opening would be covered with a door.
|
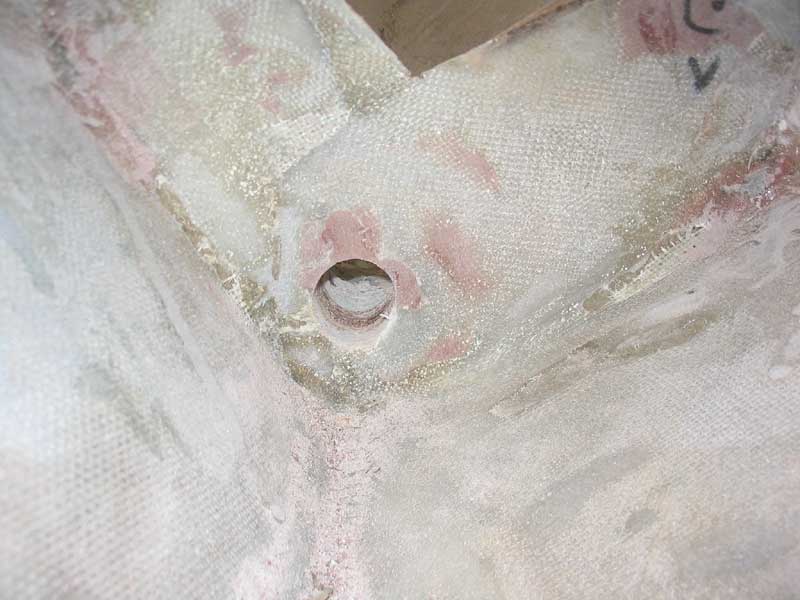
 Since
the new bulkhead was located an inch or more aft of the web remaining from
the original bulkhead, there was a slight gap noticeable between the
sections, if looking into the chainlocker from behind. While this
presented no particular issues, I couldn't stand the thought of anyone
seeing the old, asymmetrical, warped web, so I decided to create a cosmetic
cover for it. With some scrap plywood, I cut pieces wide enough to
cover the gaps on each side, and attached them with epoxy and screws as
needed. Now, anyone looking into the chainlocker from the completed
V-berth would only see this smooth, symmetrical cover, and not the ugliness
beneath. Since
the new bulkhead was located an inch or more aft of the web remaining from
the original bulkhead, there was a slight gap noticeable between the
sections, if looking into the chainlocker from behind. While this
presented no particular issues, I couldn't stand the thought of anyone
seeing the old, asymmetrical, warped web, so I decided to create a cosmetic
cover for it. With some scrap plywood, I cut pieces wide enough to
cover the gaps on each side, and attached them with epoxy and screws as
needed. Now, anyone looking into the chainlocker from the completed
V-berth would only see this smooth, symmetrical cover, and not the ugliness
beneath.
|
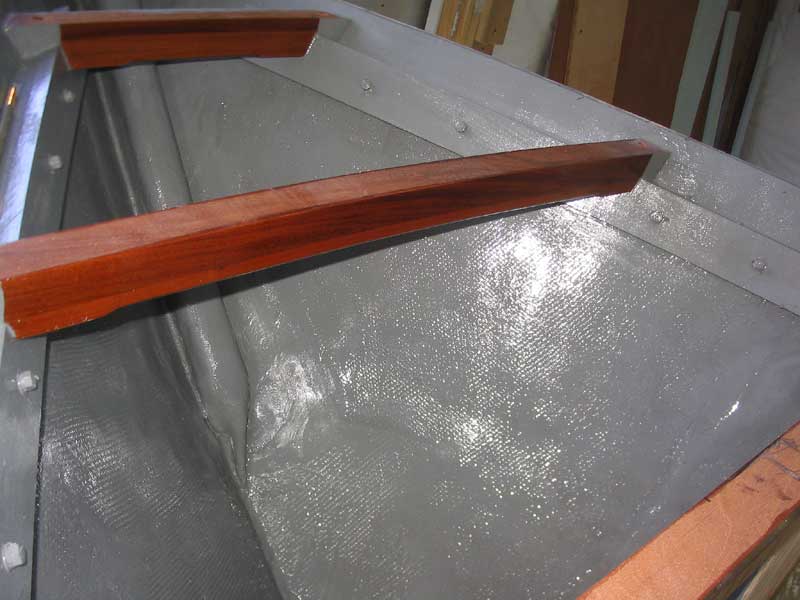 With
installation complete, I decided to paint out the entire chain locker, since
no further structural work would be required there. I applied two
coats of gray Bilgekote to all surfaces, including the aft side of the new
bulkhead. With
installation complete, I decided to paint out the entire chain locker, since
no further structural work would be required there. I applied two
coats of gray Bilgekote to all surfaces, including the aft side of the new
bulkhead.
|
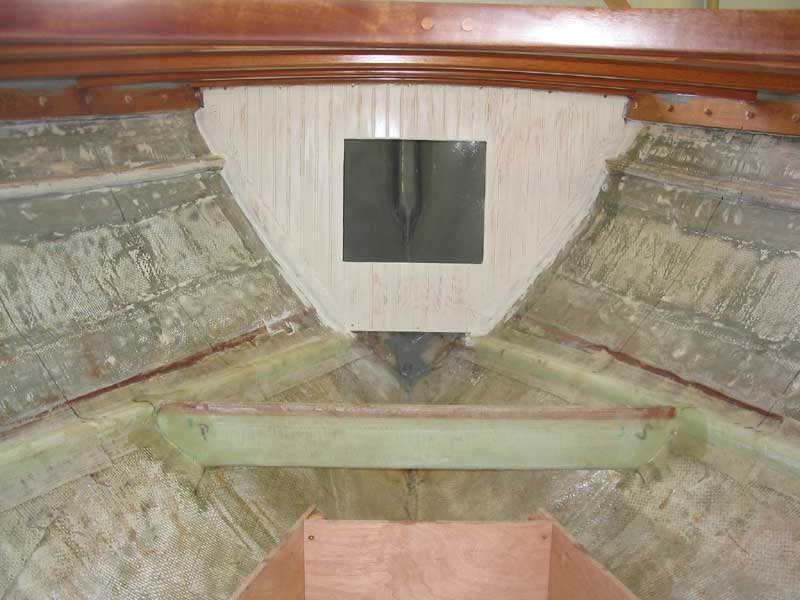 Finally,
I began preparations for painting the new bulkhead by sanding it smoothly
with 220 grit, and then applying several coats of primer, sanding between
coats, to obtain a flat, smooth surface that would accept finish coats of
paint and hide the heavy grain of the plywood. Finally,
I began preparations for painting the new bulkhead by sanding it smoothly
with 220 grit, and then applying several coats of primer, sanding between
coats, to obtain a flat, smooth surface that would accept finish coats of
paint and hide the heavy grain of the plywood.
This job is continuing; the photo shows the bulkhead after two coats of primer. Much later in the building process, I continued by applying the first of several coats of finish paint, seen below. |
|
|