|
|
~MENU~ |
| Home |
| The Concept |
| The Boat |
| Bringing Her Home |
|
Weekly Progress Log |
|
Daysailor Projects |
| The Boat Barn |
| Resources |
| Other Sites |
| Email Tim |
|
|
|
From a Bare Hull: The Deck (Page 5) |
|
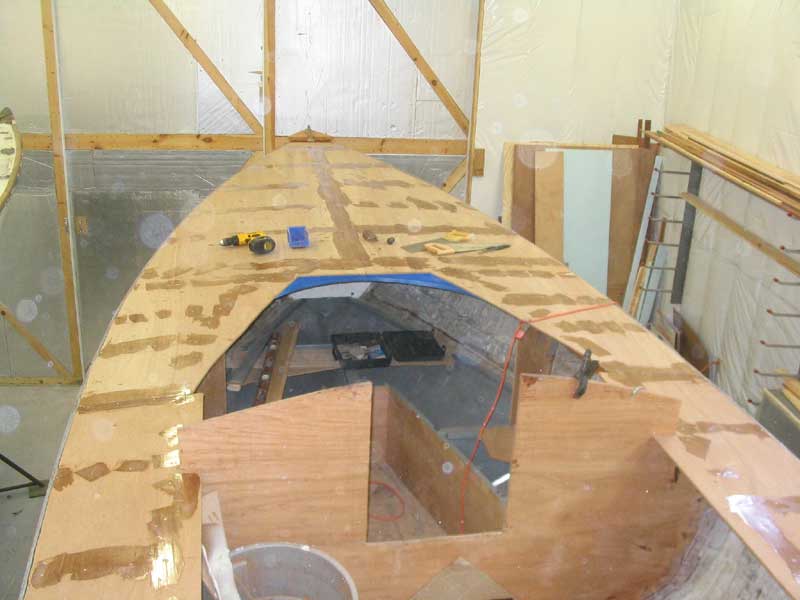
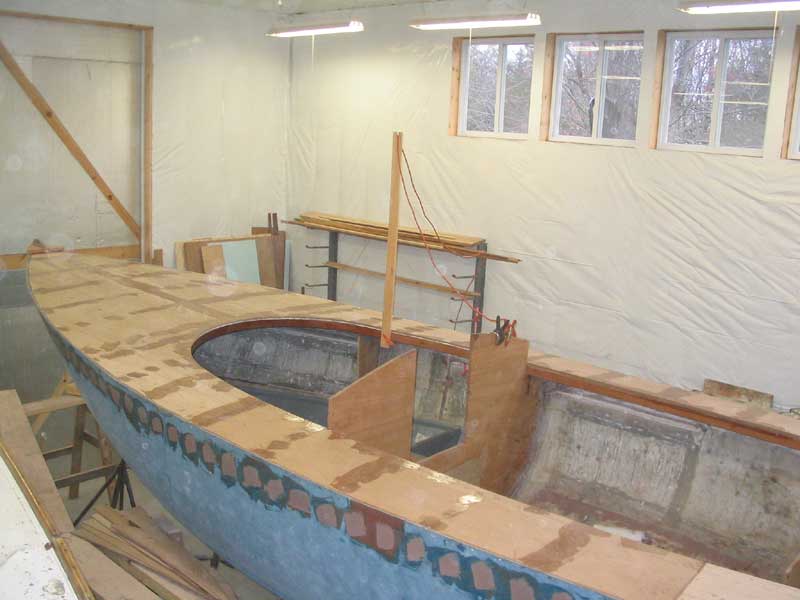
Sheathing the Decks While the first layer of plywood was intended only to serve as a final cosmetic surface from beneath, the upper layer was to be the main structural component of the deck construction. For this, I chose 9mm (3.8") Meranti marine plywood, which I had used throughout the project. I purchased five sheets to complete the job. NOTE: I wanted to show many photos of the process, so the photos, while sequential from top to bottom, might not always correspond directly with the adjacent text.
|
 I
continued with the two largest pieces: nearly full sheets that spanned
the entire foredeck. I had laid the first layer (beadboard) so that a
full sheet spanned the centerline, mostly for the most seamless appearance
inside. Therefore, I laid out the top layer so that there was one
sheet on each side of the centerline, with a seam down the centerline.
This allowed two sheets to cover the entire foredeck back to the curved beam
marking the forward end of the cabin trunk. I
continued with the two largest pieces: nearly full sheets that spanned
the entire foredeck. I had laid the first layer (beadboard) so that a
full sheet spanned the centerline, mostly for the most seamless appearance
inside. Therefore, I laid out the top layer so that there was one
sheet on each side of the centerline, with a seam down the centerline.
This allowed two sheets to cover the entire foredeck back to the curved beam
marking the forward end of the cabin trunk.
|
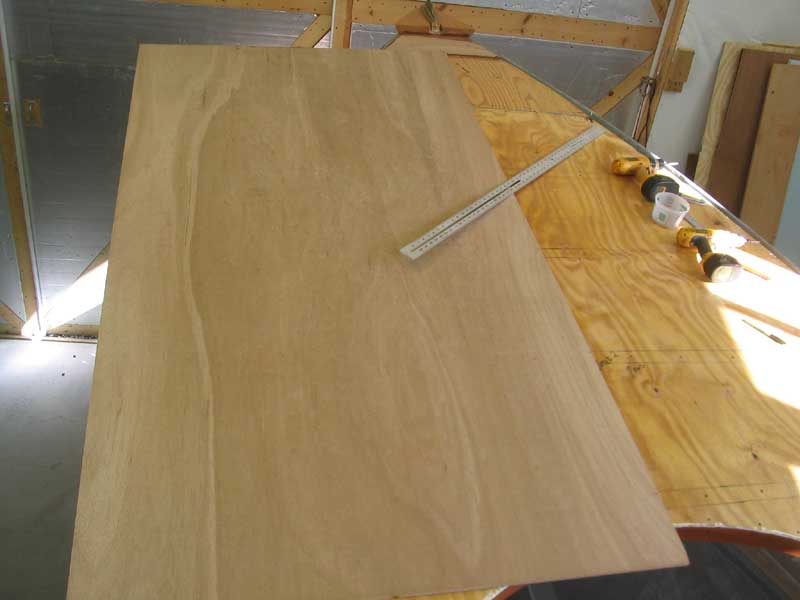
| After marking the centerline, I made two additional marks, one on each side of the centerline: using my long metal ruler, I marked an offset line 2" (one ruler width) on each side of, and parallel to, the centerline. This line would be useful for reasons that will soon become apparent. Since the hull, by design, still projected about 3/8" above the deck underlayment, cutting the sheets to fit would require a multi-step process involving scribing. |
 I
laid one full sheet of plywood on the deck, butted up to the centerline and
against the small piece beneath the breasthook. Much of the sheet
overhung the edge of the boat at the forward end, of course. After
checking the alignment, I went outside the boat and traced the edge of the
hull onto the underside of the plywood sheet where it overhung. This
gave me the basic contour of the hull, to which line I then cut the plywood
to rough shape. I
laid one full sheet of plywood on the deck, butted up to the centerline and
against the small piece beneath the breasthook. Much of the sheet
overhung the edge of the boat at the forward end, of course. After
checking the alignment, I went outside the boat and traced the edge of the
hull onto the underside of the plywood sheet where it overhung. This
gave me the basic contour of the hull, to which line I then cut the plywood
to rough shape.
|
 With
the basic cut made, I realigned the plywood against the 2" offset line,
which had the effect of pulling the freshly cut edge clear of the edge of
the hull. Setting my dividers to the same 2", I then scribed the
inside hull contours (which, because of the old hull-deck joint tabbing,
were quite uneven) onto the sheet of plywood. Then, I cut to the new
line with my jigsaw. When I moved the sheet of plywood back over
2" to the centerline, the new edge butted cleanly against the inside of
the hull (minor adjustments excepted). With
the basic cut made, I realigned the plywood against the 2" offset line,
which had the effect of pulling the freshly cut edge clear of the edge of
the hull. Setting my dividers to the same 2", I then scribed the
inside hull contours (which, because of the old hull-deck joint tabbing,
were quite uneven) onto the sheet of plywood. Then, I cut to the new
line with my jigsaw. When I moved the sheet of plywood back over
2" to the centerline, the new edge butted cleanly against the inside of
the hull (minor adjustments excepted).
|
|
When I was satisfied with the fit of the first sheet, I removed it and repeated the process with its near twin on the other side. When both foredeck sheets were cut to fit, I prepared to install them permanently.
|
 In
similar fashion I continued down the decks towards the stern, using much the
same techniques described above to cut and fit each piece. For the
remaining pieces, though, it was a simple matter to let the interior edges
run wild over the carlins, as I would trim them later with a large router,
so I had no need for the offset technique described above. Each piece,
however, still required two cuts for a proper fit--the rough hull contour
cut, followed by the interior hull scribe. Over most of a single day,
I completed the remaining pieces, covering each side of the deck as I
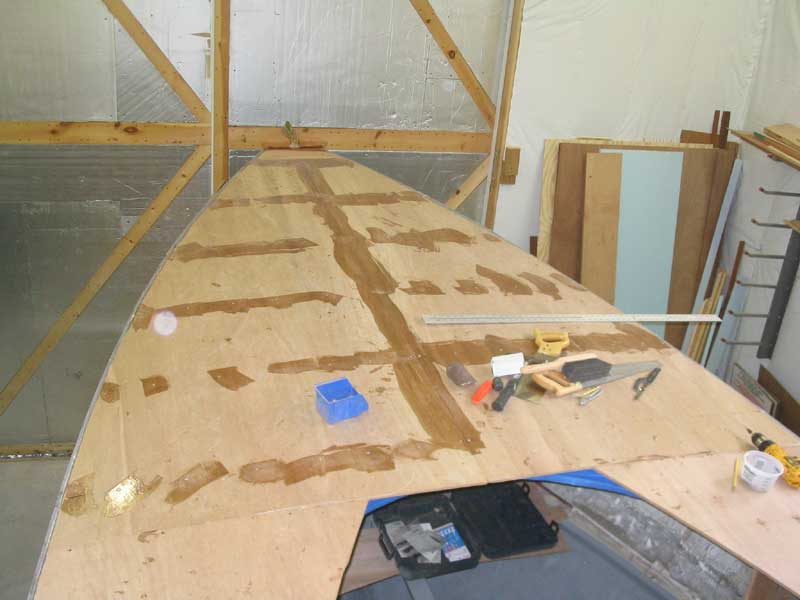
proceeded. A long the way, I began filling seams and screw holes with
any leftover epoxy from a given batch. In
similar fashion I continued down the decks towards the stern, using much the
same techniques described above to cut and fit each piece. For the
remaining pieces, though, it was a simple matter to let the interior edges
run wild over the carlins, as I would trim them later with a large router,
so I had no need for the offset technique described above. Each piece,
however, still required two cuts for a proper fit--the rough hull contour
cut, followed by the interior hull scribe. Over most of a single day,
I completed the remaining pieces, covering each side of the deck as I
proceeded. A long the way, I began filling seams and screw holes with
any leftover epoxy from a given batch.
|
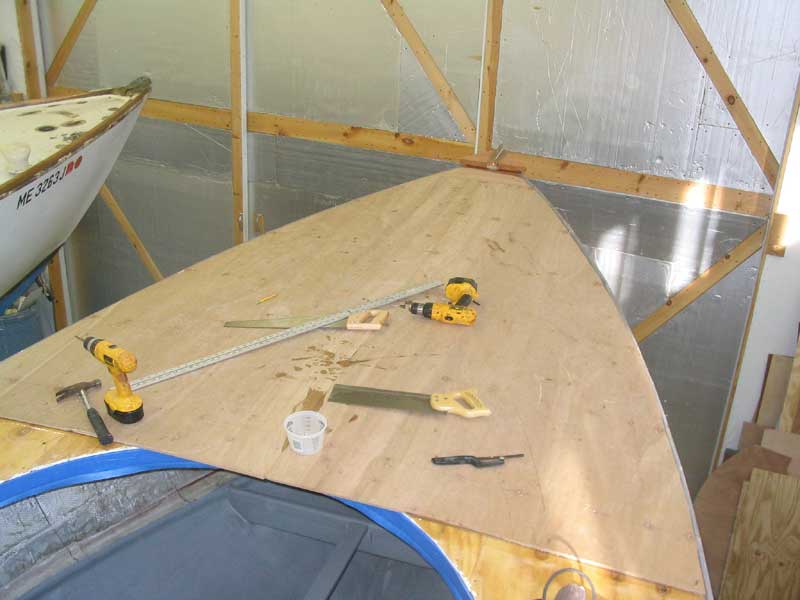
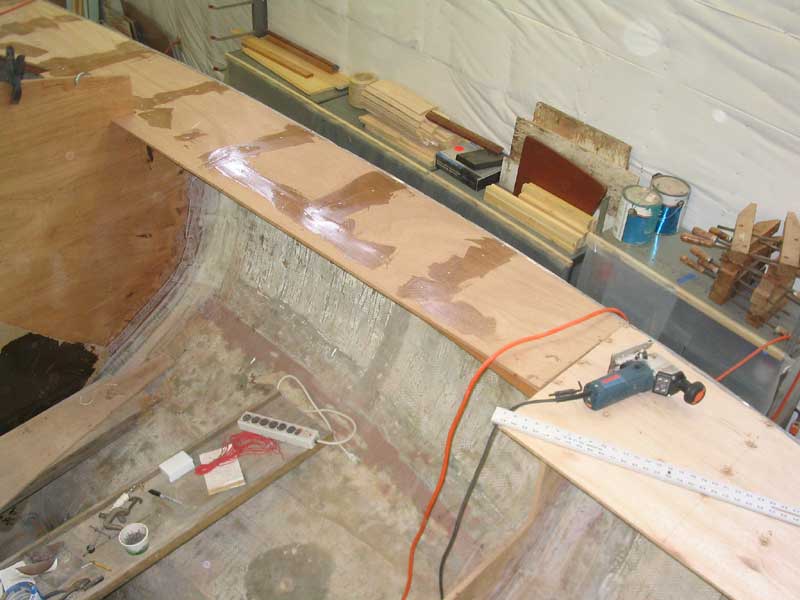
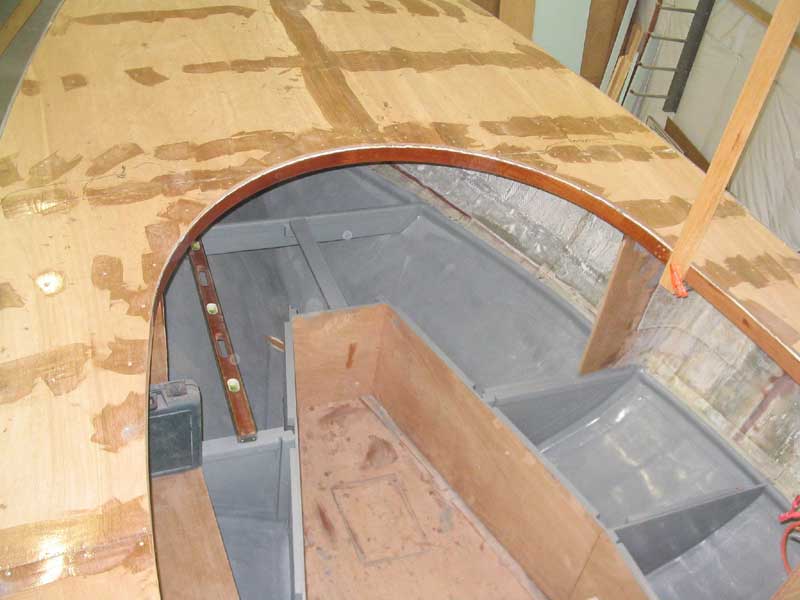
 With
both sidedecks complete all the way to the aft end of the cockpit, I made a
pattern for the final piece, which would cover the poop deck. I cut
this from a single sheet of plywood to cover the area side to side, so the
template was invaluable to allow for accurate sizing and cutting. When
the piece was cut, I installed it in the final batch of messy epoxy. With
both sidedecks complete all the way to the aft end of the cockpit, I made a
pattern for the final piece, which would cover the poop deck. I cut
this from a single sheet of plywood to cover the area side to side, so the
template was invaluable to allow for accurate sizing and cutting. When
the piece was cut, I installed it in the final batch of messy epoxy.
|
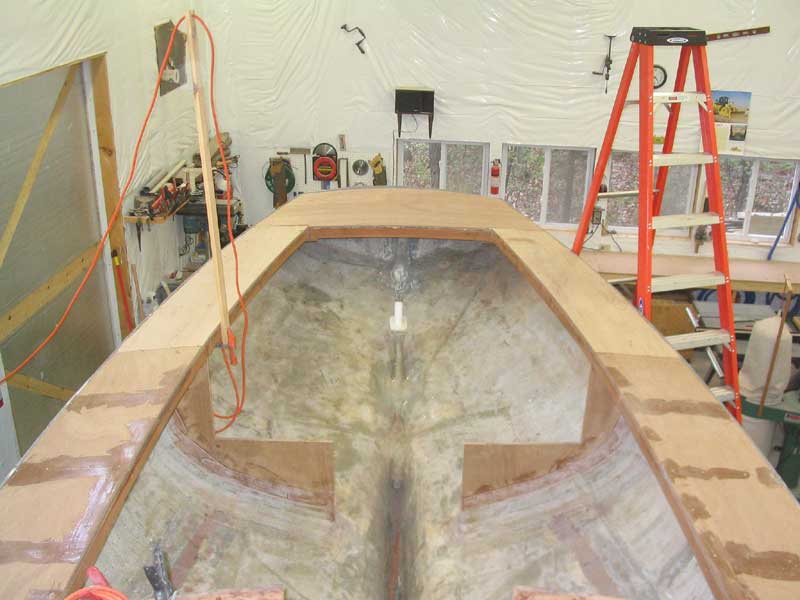
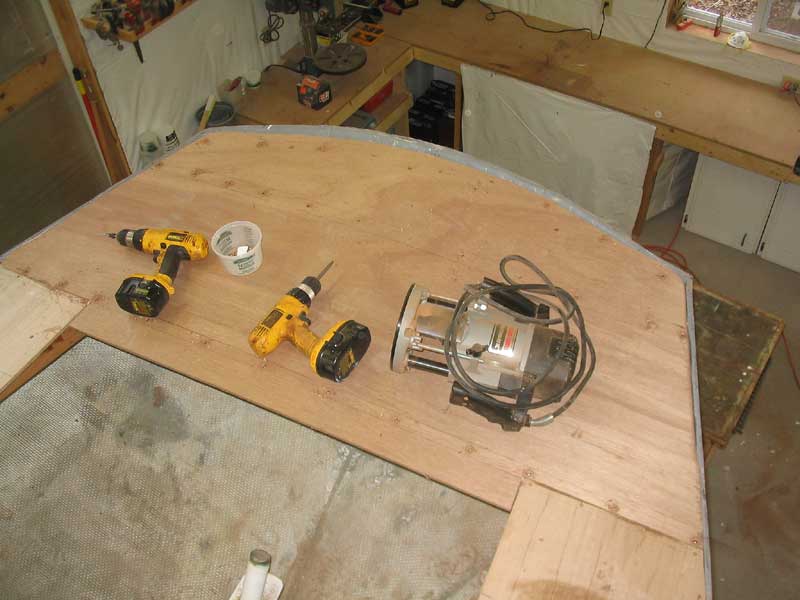
 Finally,
I chucked a new 1/2" flush cutting pattern bit into my bad-boy router
(seen above), and trimmed the inside edges of the decks flush with the
carlins. The router made this a breeze, and provided an exceptionally
clean and precise cut. I finished up the small sections where the
router couldn't reach, against the midships bulkhead, with a hand saw. Finally,
I chucked a new 1/2" flush cutting pattern bit into my bad-boy router
(seen above), and trimmed the inside edges of the decks flush with the
carlins. The router made this a breeze, and provided an exceptionally
clean and precise cut. I finished up the small sections where the
router couldn't reach, against the midships bulkhead, with a hand saw.
|
|
|
 While
I made all efforts to scribe the plywood closely to the contours of the
hull, there were inevitably gaps along each edge, as well as some minor
unevenness of the upper hull edge left over from the original deck removal
process; all along, I had been counting on the new deck acting as a
fair pattern to make up any minor undulations in the hull. While
I made all efforts to scribe the plywood closely to the contours of the
hull, there were inevitably gaps along each edge, as well as some minor
unevenness of the upper hull edge left over from the original deck removal
process; all along, I had been counting on the new deck acting as a
fair pattern to make up any minor undulations in the hull. |
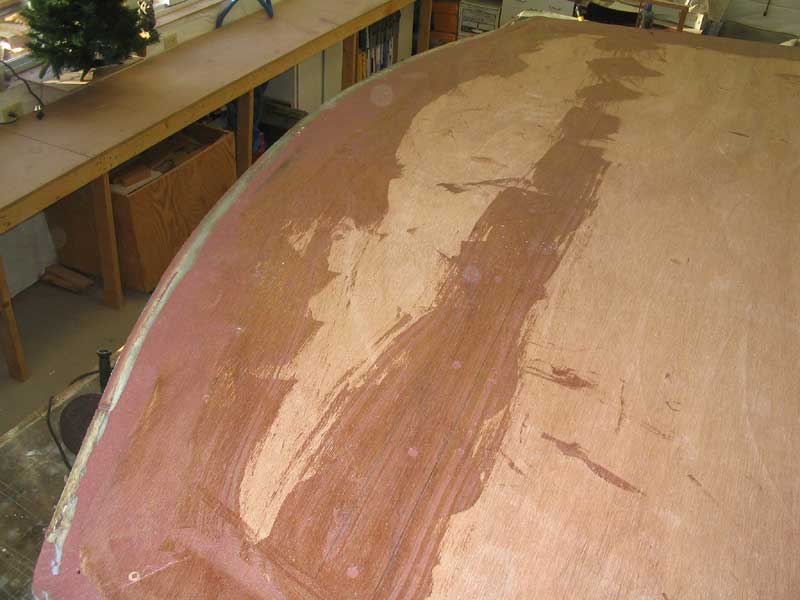 Before
I could think about installing the fiberglass sheathing over the decks, I
had to fill these gaps, and also fill the countersunk screwholes throughout
the deck. I filled these areas with epoxy fairing compound, which I
mixed to a very thick consistency and then troweled into the seams as
needed. In a few areas, I built up the compound more thickly to help
bring the hull edge fair and in line with the decks, most notably near the
stem on each side. I left the fill to cure overnight before
continuing. Before
I could think about installing the fiberglass sheathing over the decks, I
had to fill these gaps, and also fill the countersunk screwholes throughout
the deck. I filled these areas with epoxy fairing compound, which I
mixed to a very thick consistency and then troweled into the seams as
needed. In a few areas, I built up the compound more thickly to help
bring the hull edge fair and in line with the decks, most notably near the
stem on each side. I left the fill to cure overnight before
continuing. |
|
The next day, I sanded the fill to remove any rough edges and to smooth it somewhat in preparation for the next steps. Final deck fairing wouldn't occur until after the fiberglass was installed, so I didn't worry about minor unfairness and the like at this stage. I also scuffed all the epoxy fill covering the screw heads throughout the deck. |
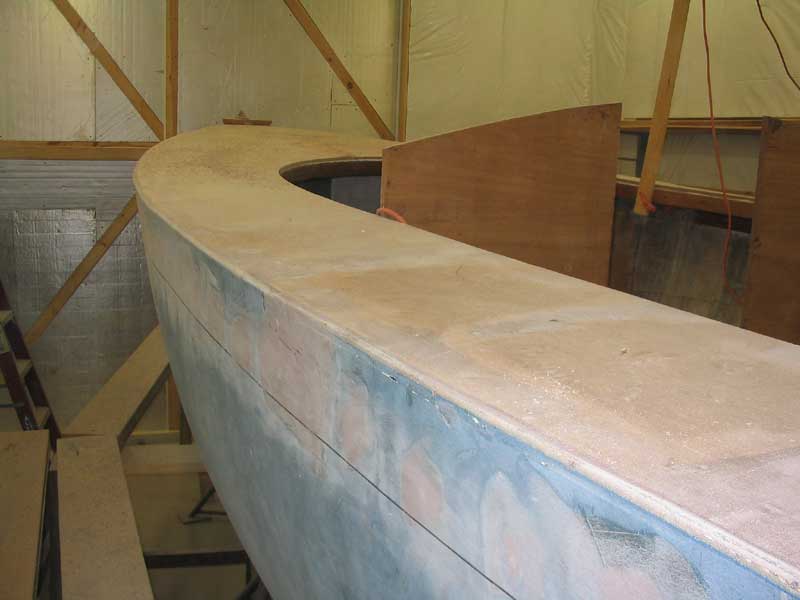 Next,
I used a router equipped with a 1/2" roundover bit to mill a smooth curve
into the hull-deck edge, partly for its ultimate appearance but more
importantly to provide a smooth curve over which I could laminate the
fiberglass deck sheathing later. The router did a good job cleaning up
the edge; because of the flare in the forward sections of the hull, I had to
make the cut in three passes on each side, since the bit dug deeper into the
boat in these areas. Next,
I used a router equipped with a 1/2" roundover bit to mill a smooth curve
into the hull-deck edge, partly for its ultimate appearance but more
importantly to provide a smooth curve over which I could laminate the
fiberglass deck sheathing later. The router did a good job cleaning up
the edge; because of the flare in the forward sections of the hull, I had to
make the cut in three passes on each side, since the bit dug deeper into the
boat in these areas. |
 Finally,
I used a palm sander and coarse sandpaper to put the final touches on the
newly-routed joint, further smoothing it and removing any rough edges.
This was the final step required before declaring the decks ready for
fiberglass. Finally,
I used a palm sander and coarse sandpaper to put the final touches on the
newly-routed joint, further smoothing it and removing any rough edges.
This was the final step required before declaring the decks ready for
fiberglass.
|