
110 Cookson Lane | Whitefield, ME 04353 | 207-232-7600 | tim@lackeysailing.com
In preparation for the work ahead, I'd already ordered a number of hardware items to replace the damaged ones on deck. Unfortunately, when the items arrived, I discovered that several were the wrong size--smaller than those already in place--so I had to return them and order the proper-sized replacements, all the more important since I hoped and planned to have the new equipment match the existing footprints and fastener holes.
For the moment, the plan for this boat was to spruce things up a bit and do the minimum needed to get the boat back in the water and sailing again. With those criteria in mind, and given the various assessments of the boat's structural condition, the owner elected to leave things be and see what developed, both with her own plans for the boat and with any further changes in the structural condition of the boat.
I made arrangements to send the lifelines and standing and running rigging out to a local shop for replacement; this would occur sometime in the next several weeks.
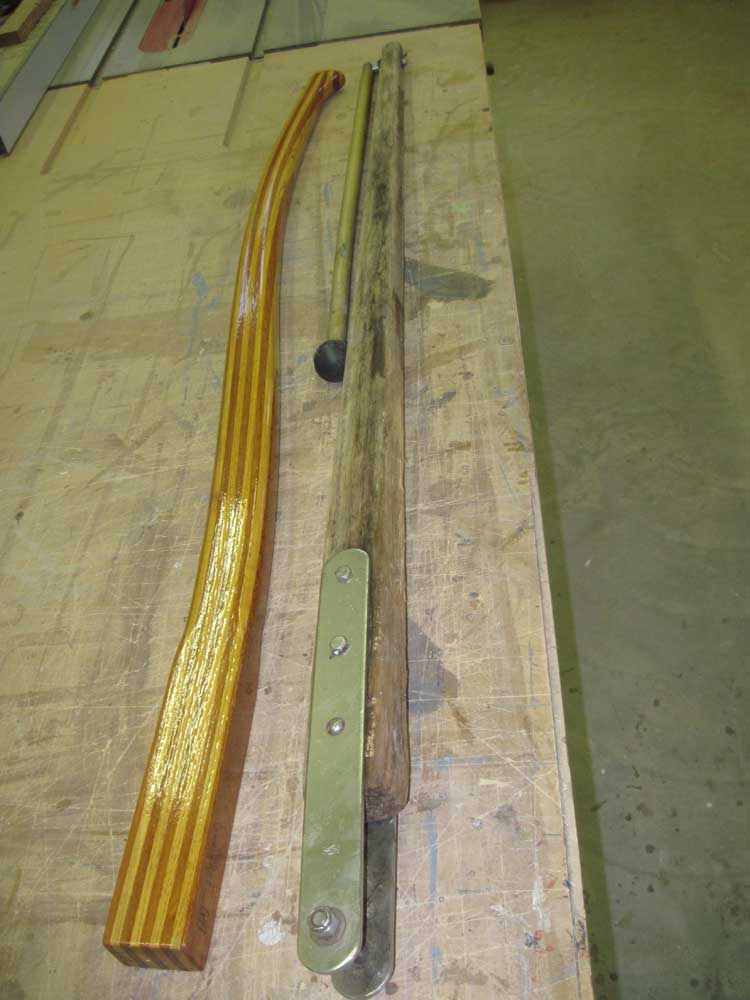
One of the more straightforward jobs on the list was to replace the tiller and tiller extension. With the new parts on hand, I transferred the tiller strap to the new tiller and installed the extension. I didn't install the tiller on the boat since it would be in the way during other parts of the project, and subject to unnecessary weathering until the boat was ready to be used, so I stored the tiller inside the cabin.

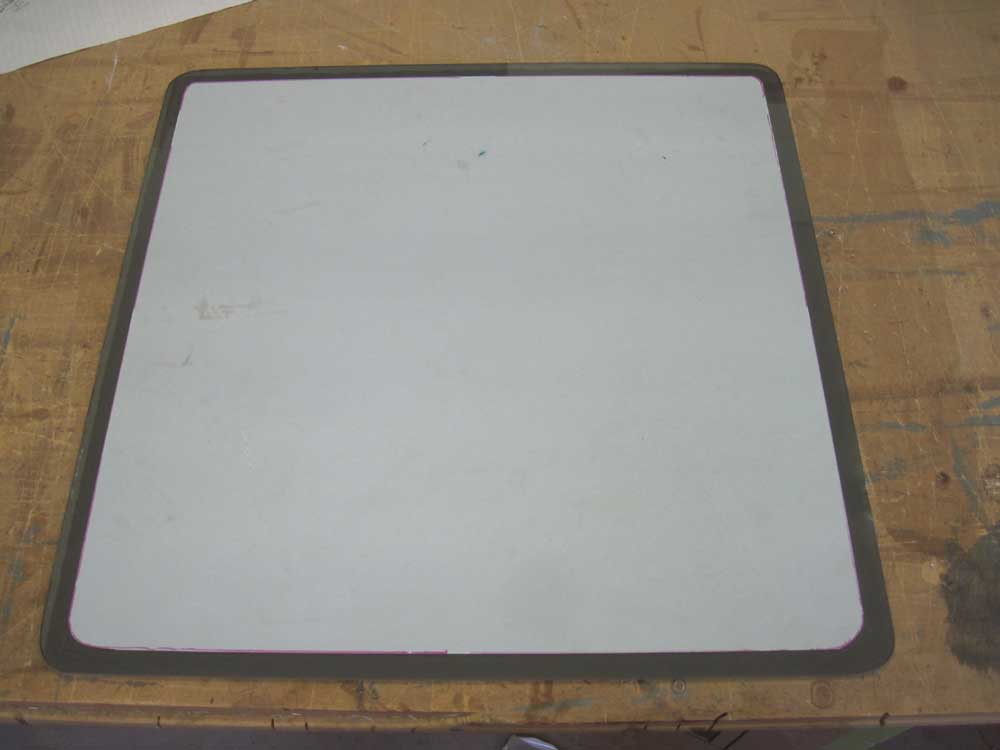
I cleaned up the bearing surface inside the forward hatch frame, then cut a piece of 1/8" smoked gray polycarbonate to the appropriate size, radiusing the corners to match, and marked and cut off the white protective coating on the bonding surfaces--though I left this coating in place on the remainder of the hatch till the installation was complete.
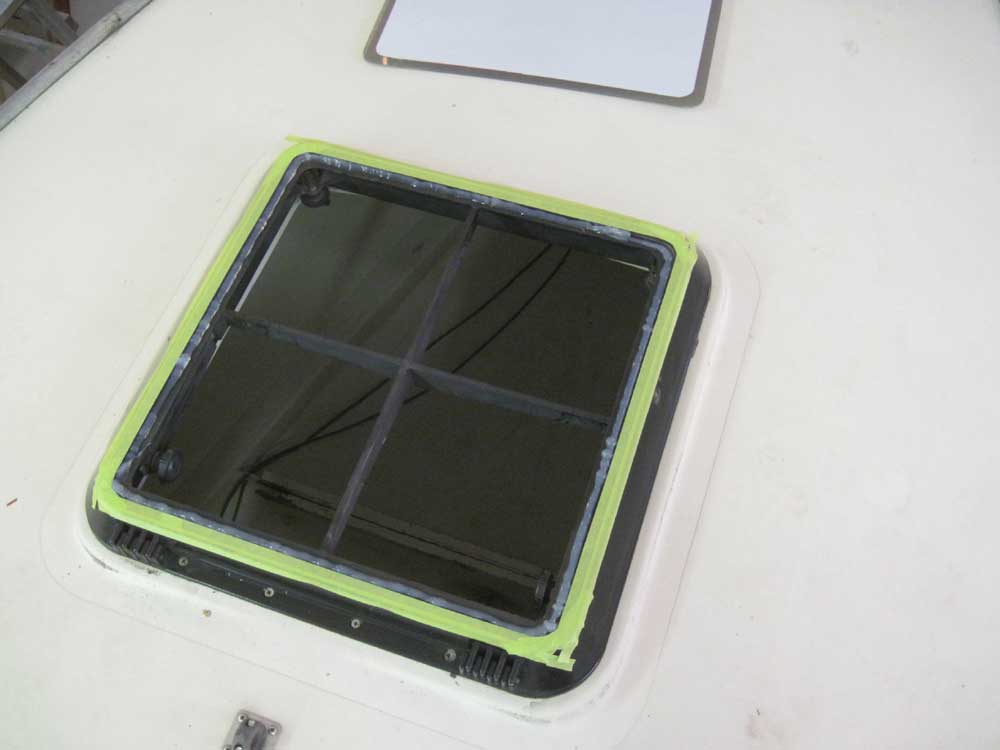
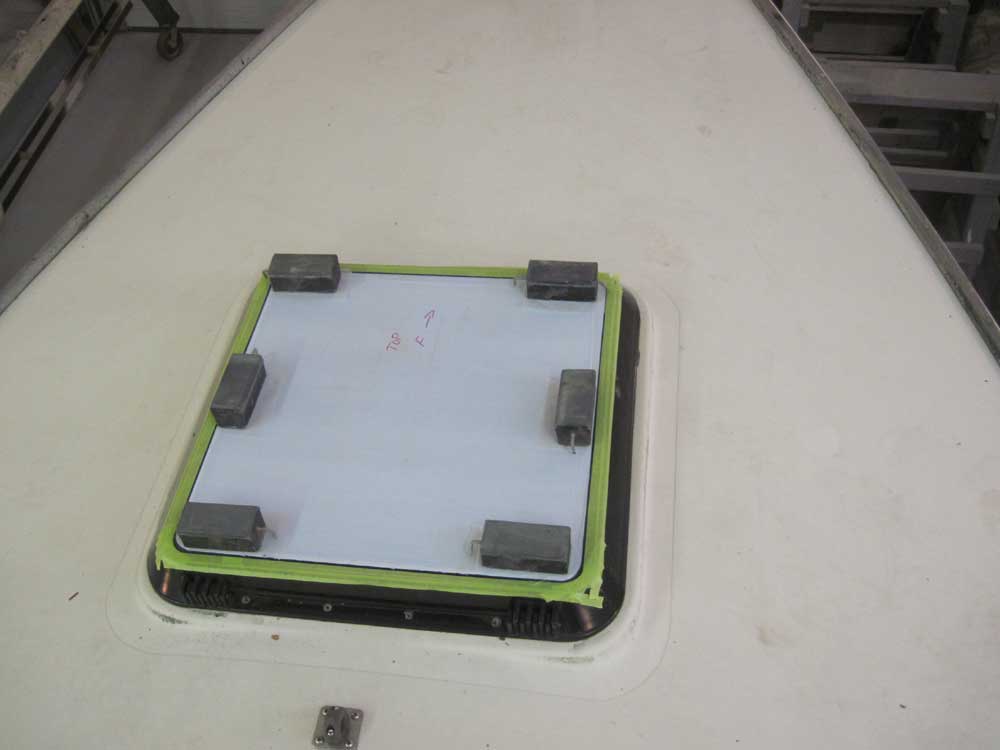
Then, I installed the new plastic in the frame with sealant, pressing it tightly into the bead of sealant and weighting it down slightly while the sealant cured overnight. At the edges of the hatch, I smoothed the bead to fill the small expansion gap between the plastic and the edge of the hatch frame.

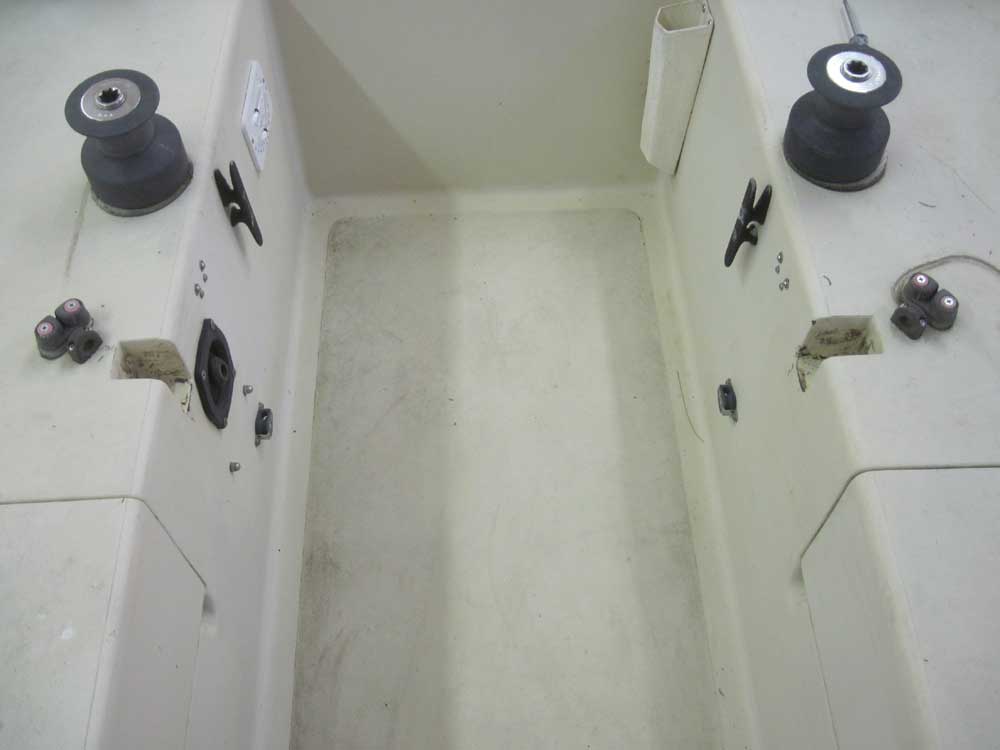
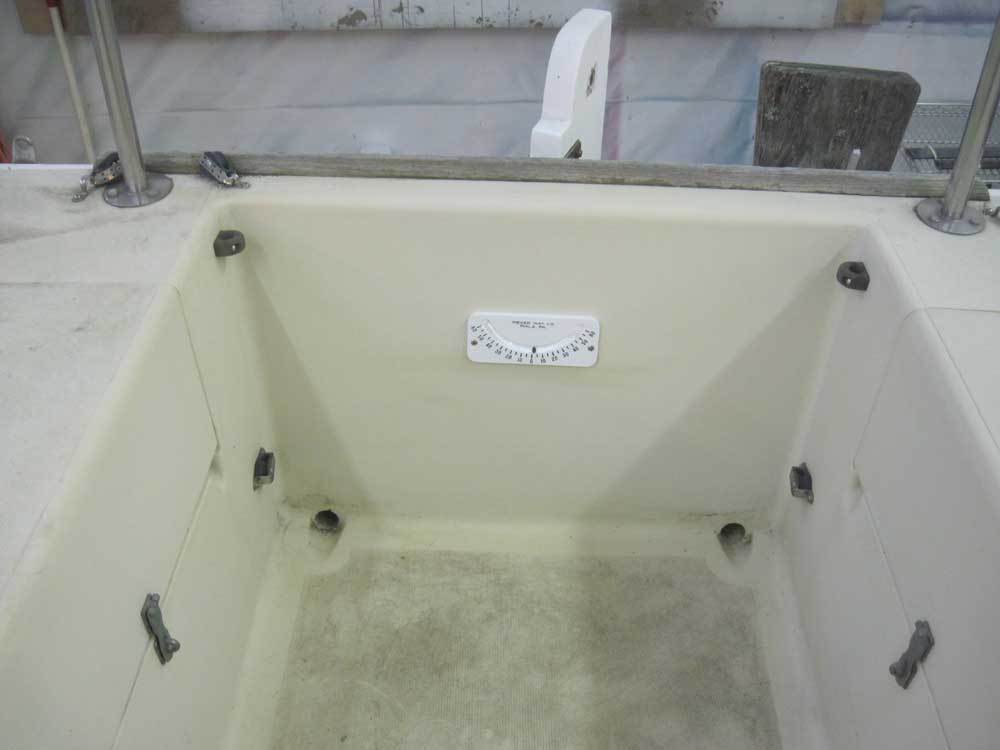
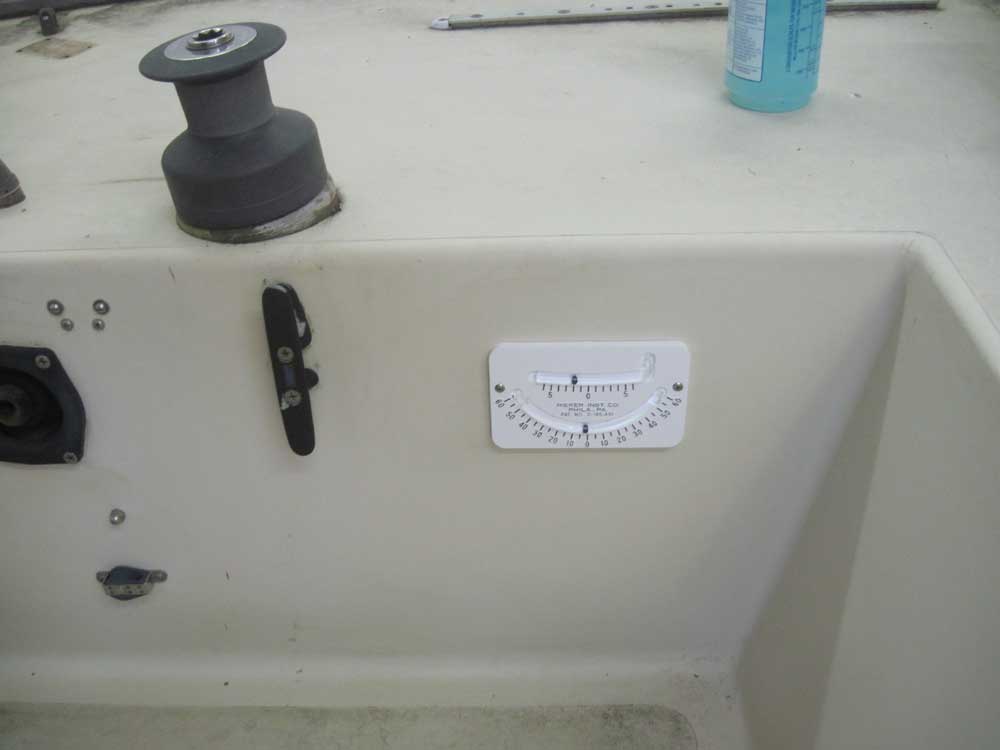
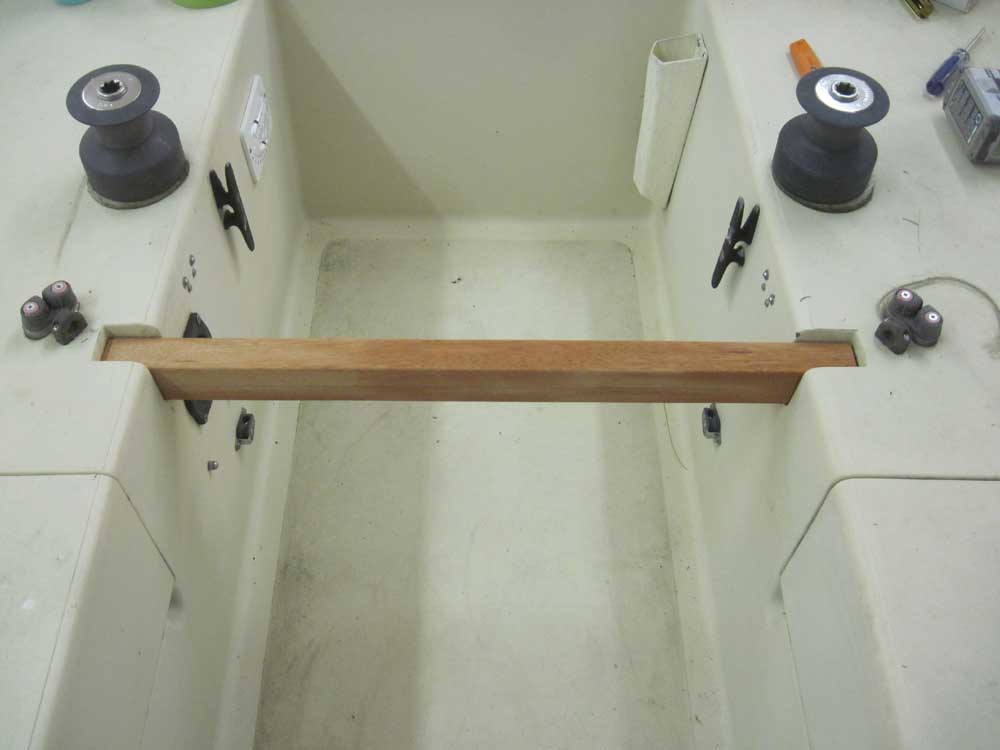
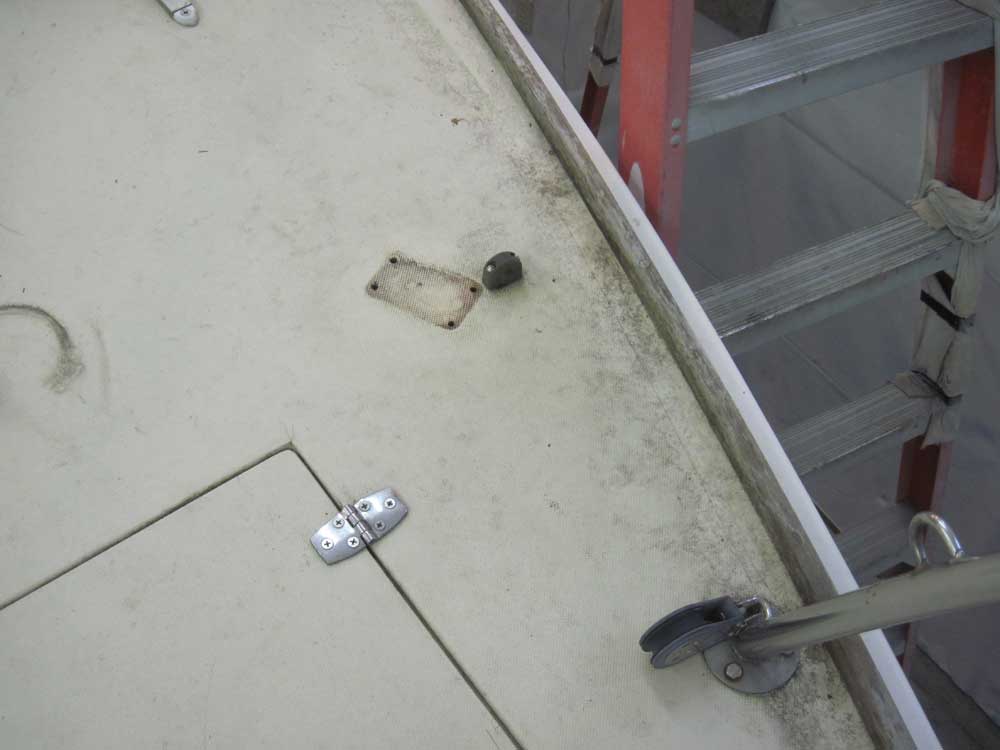
I unbolted the traveler bridge and removed it, and unscrewed the traveler from the wood. While in the cockpit, I removed the old clinometers, the replacements for which I installed later in the day.
With the old, rotted wooden traveler bridge as a template, I fabricated a new one from Honduras mahogany that I had in stock. After completing the milling and sanding operations and testing the fit, I applied the first of several coats of varnish required to seal the mahogany.

I removed the broken compass from the sea hood and replaced it with the new one. Compasses of this type appeared to be no longer common, so the one I found was of somewhat different footprint; I'd fill the old fastener holes shortly.

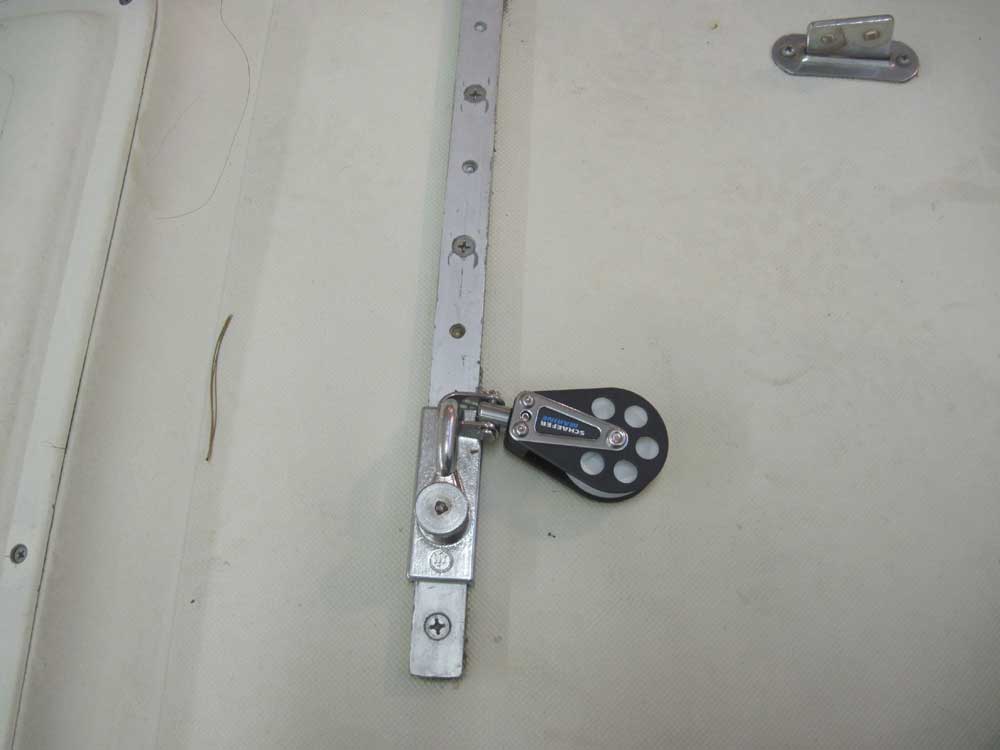
With new hardware either in stock or on its way, I got to work removing the old pieces as required. I began with the easy ones: the jib/genoa lead blocks, which simply attached to the cars with shackles.
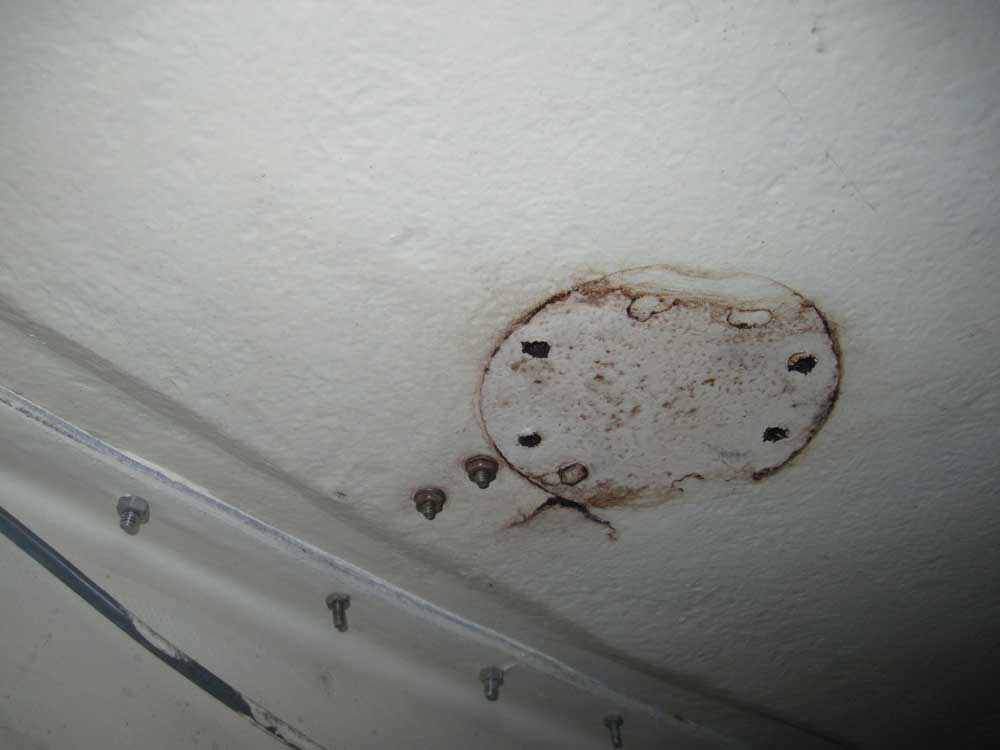
I removed the three halyard turning blocks located around the mast collar, reserving their backing plates for the new ones. The replacement blocks were one of the pieces I'd ordered incorrectly, so I placed an order for the proper size.
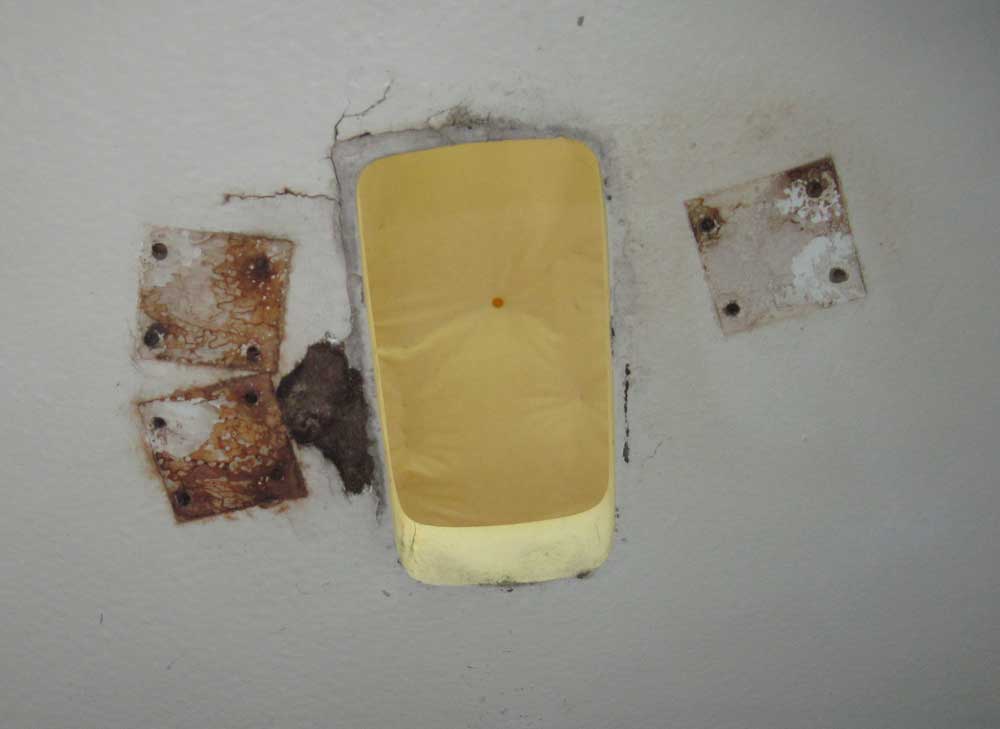
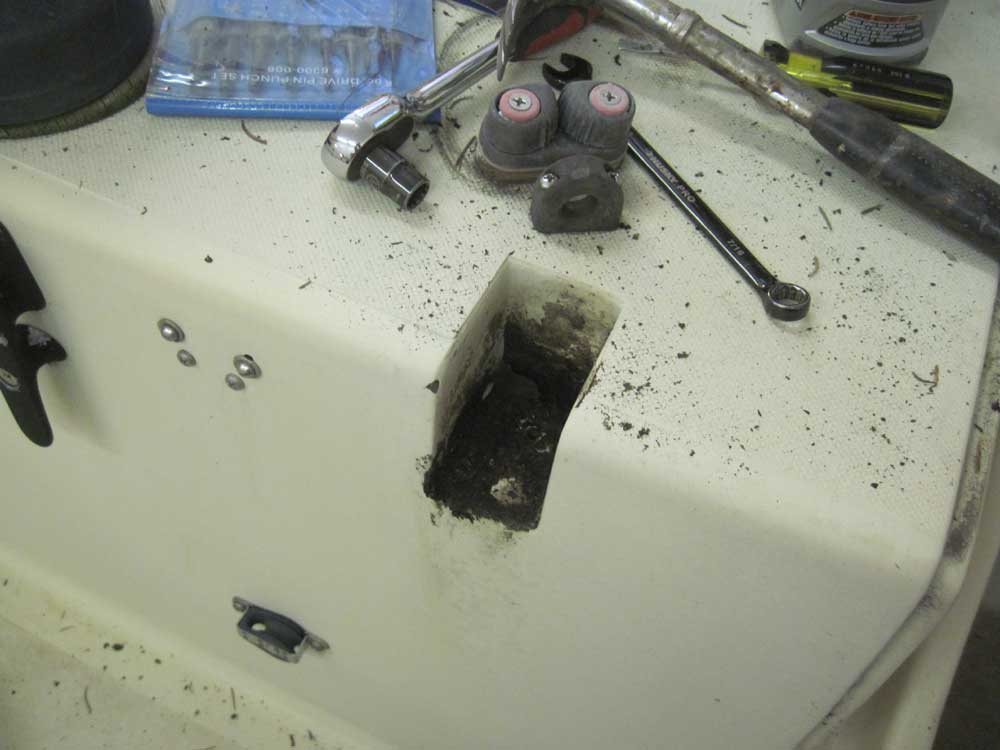
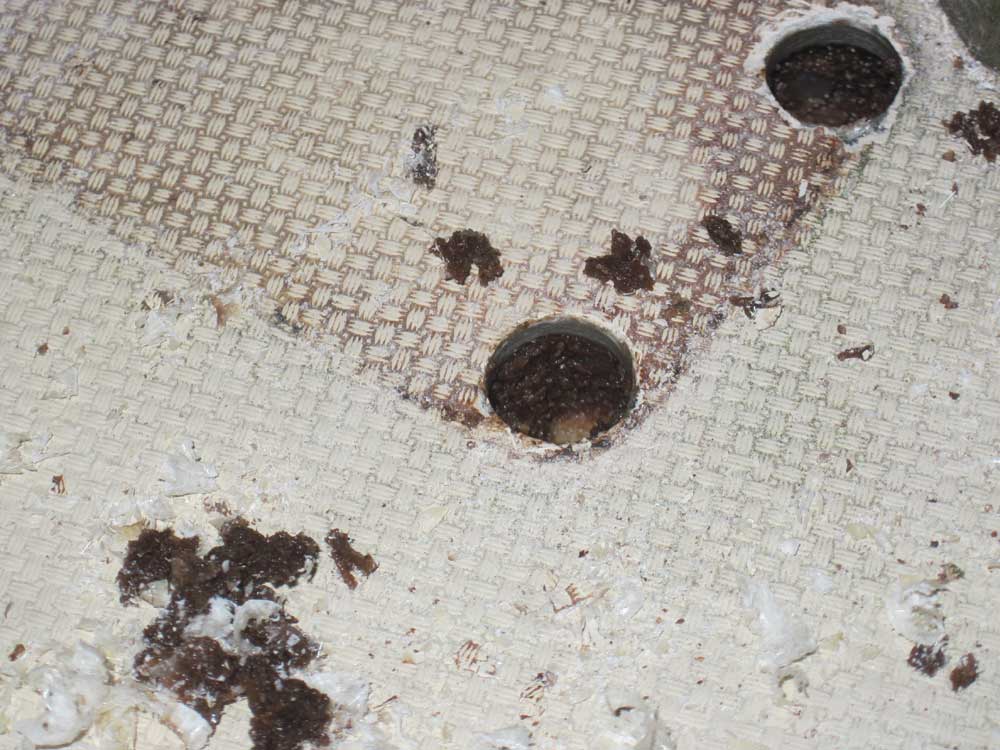
The cheek blocks located in the after part of the cockpit were also damaged and slated for replacement, so I removed the old ones. As with the halyard blocks, I discovered that the balsa core was saturated with moisture around the bolt holes, even to the point of leaving visible moisture on the underside of the deck and backing plates beneath the hardware.

To gain better insight into the core's condition, I enlarged the fastener holes at one of the cheek block locations with a 1/2" bit (staying within the footprint of the block), which revealed the core within. The integrity of the core in these locations was more or less totally gone and offered no resistance to the drill bit; how far the damage extended was not determined, but the condition on the opposite side seemed similar.
For the moment, I didn't proceed further with any of the existing fastener holes from the hardware I'd just removed. The extent of the water damage--at these locations and others--was still unknown, and the presence of this sort of damage might affect the course of the project. Major structural repairs seemed to be outside of the desired project scope, but in any event I'd need to discuss things with the owner.
Total Time on This Job Today: 6.5 hours
