| Circe
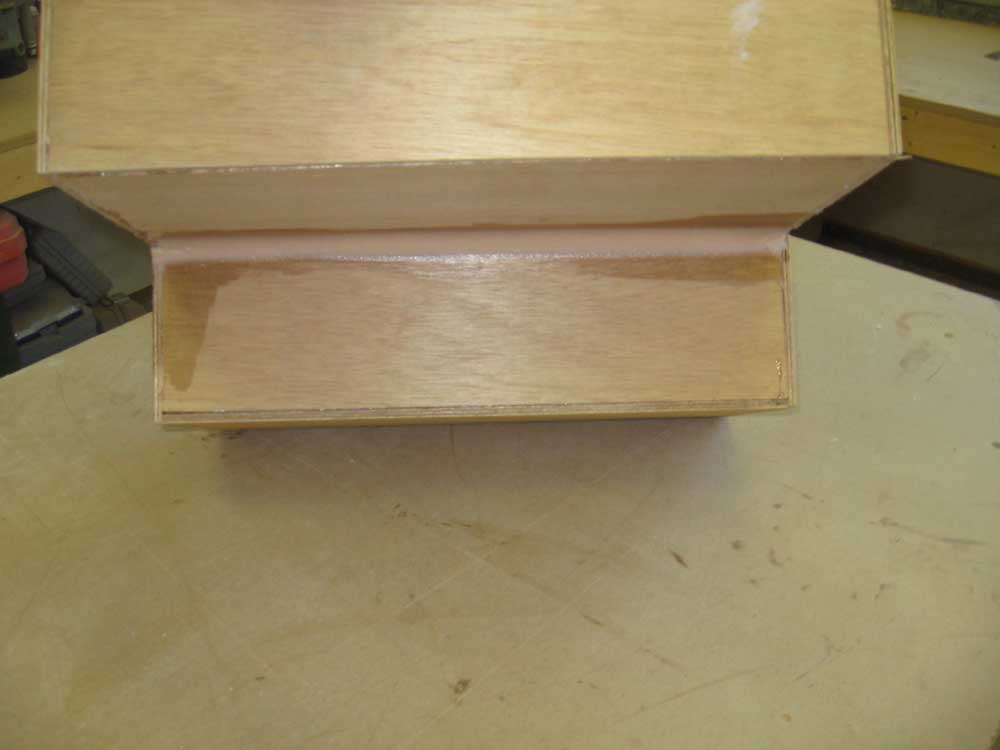
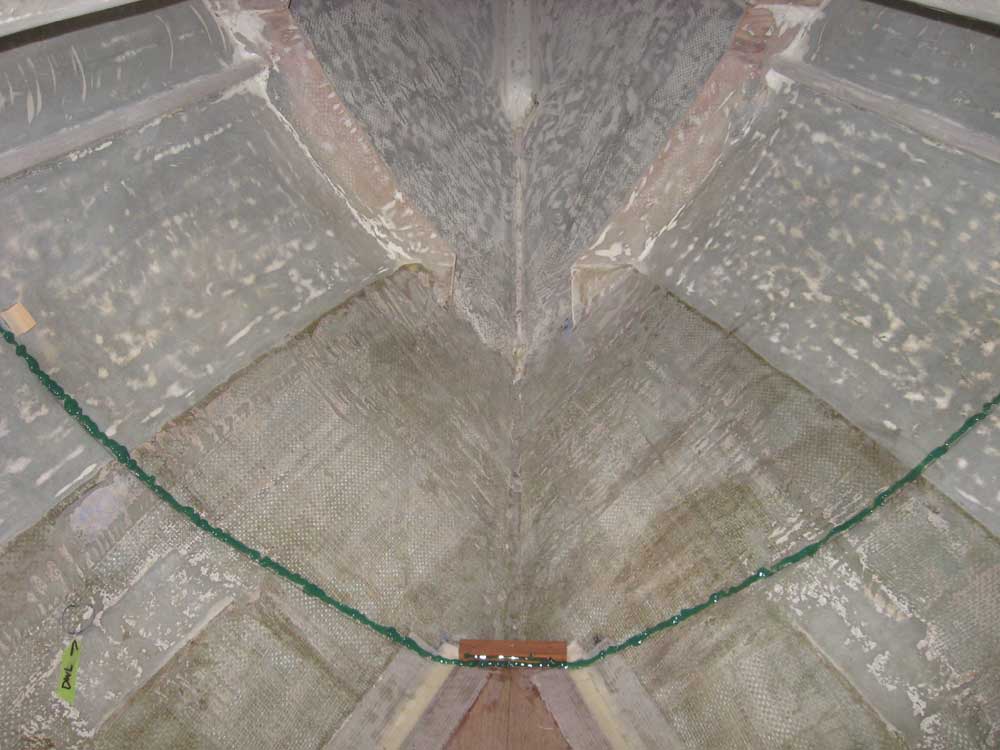
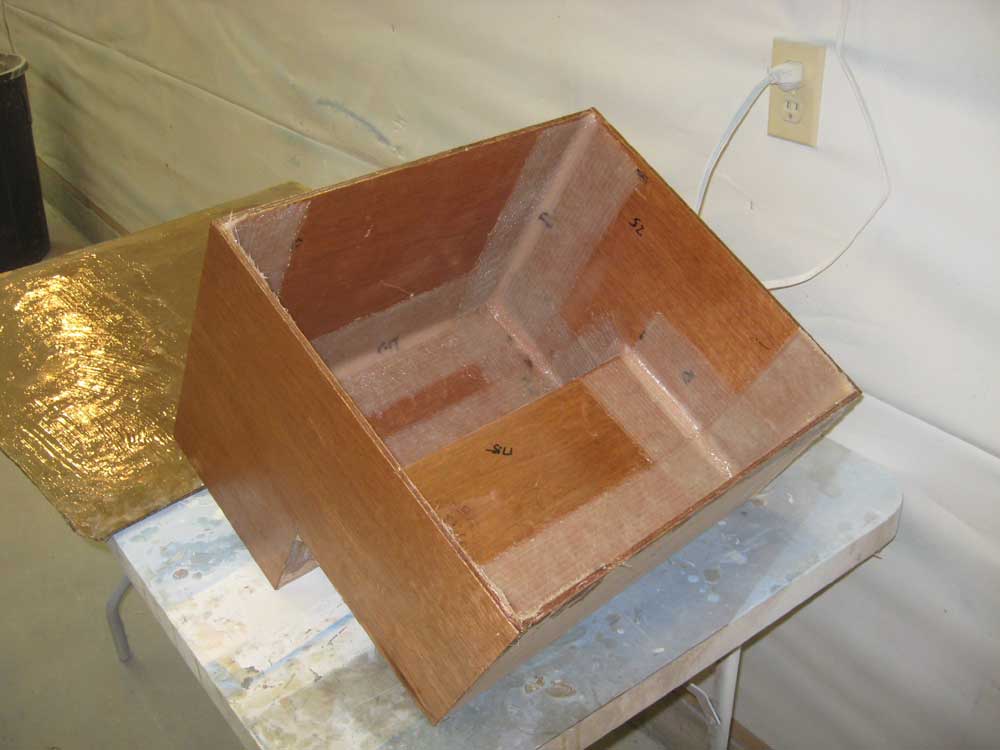
| Monday, October 26, 2009 The first task on the docket for the day was to fillet the inside corners of the icebox assembly, to give them ample cure time during the day and therefore allow fiberglassing later. I applied epoxy fillets to all the inside corners, and also to the single external inside corner, located beneath the stepped portion of the assembly, and set the unit aside to partially cure. |
|
|
|
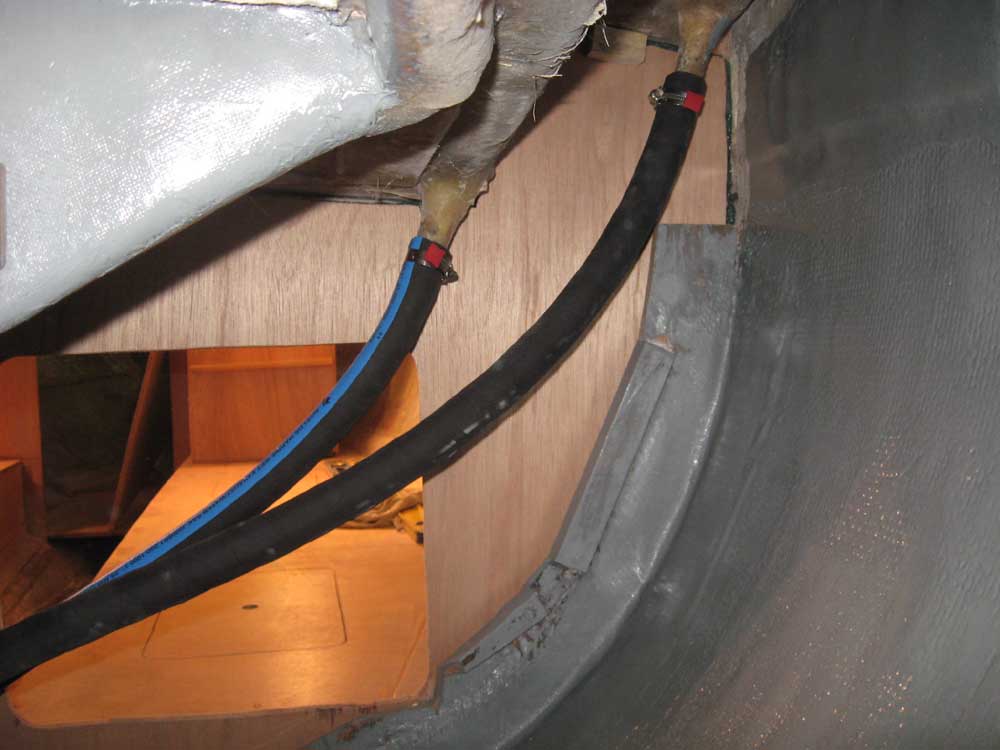
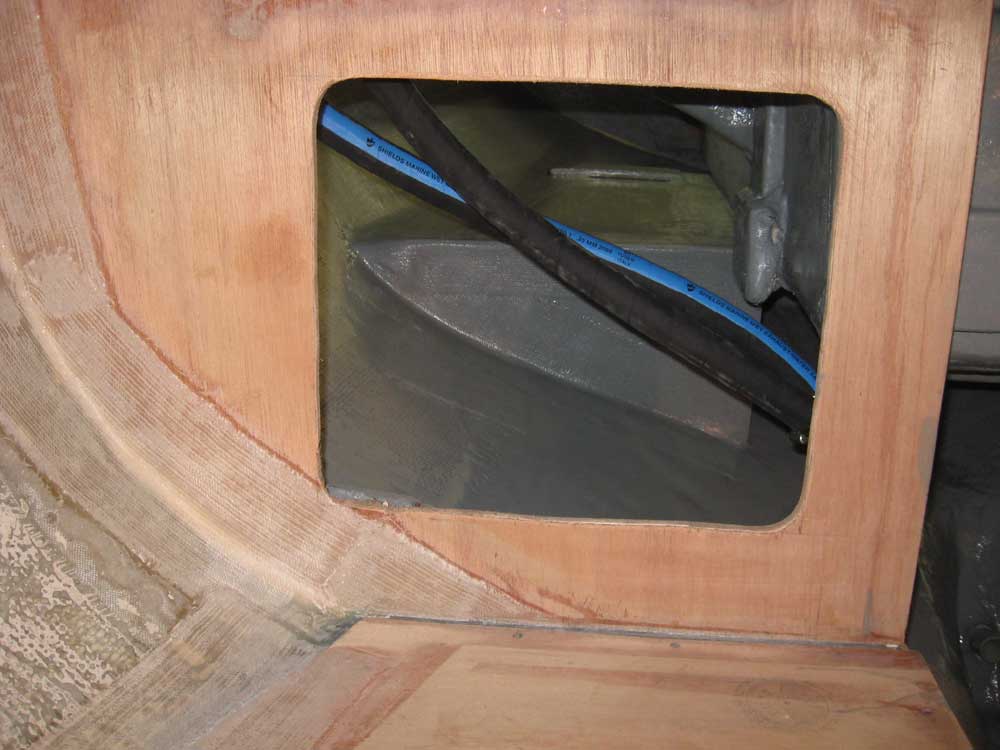
With the painting in the cockpit lockers complete, I installed the remaining drain hoses from the sidedeck and cockpit seat drains before other installations made this task more difficult. |

 |
|
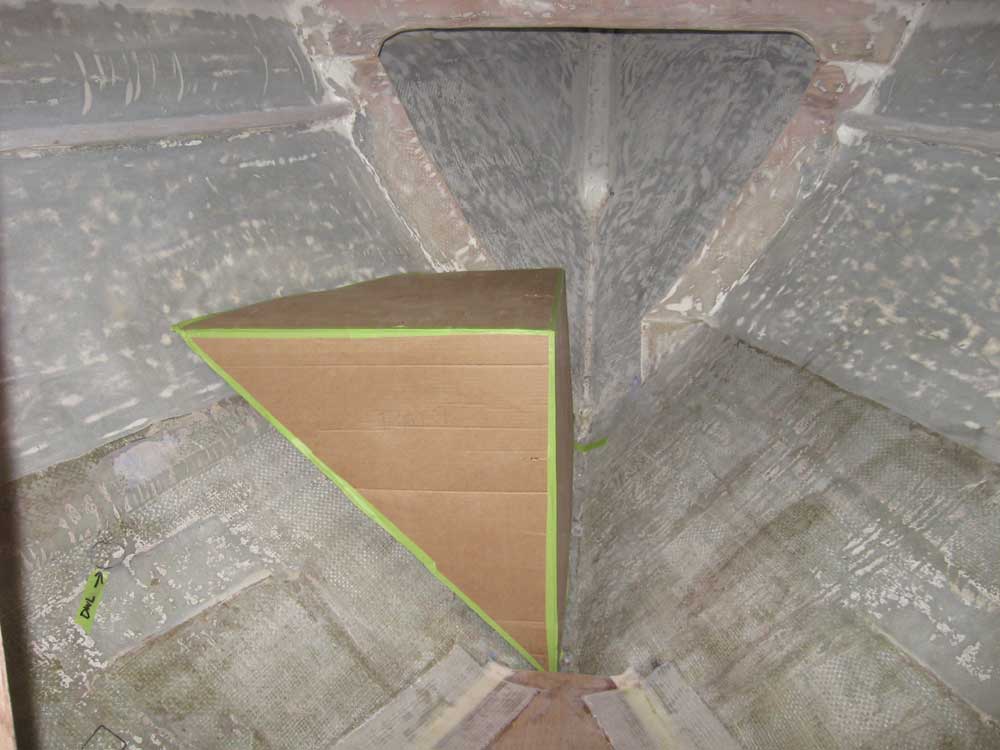
I spent a little more time with online plastic tank catalogs and selected a design that I felt might work for the mirror-image waste and water tanks forward of the head. To test the fit, I made up a quick cardboard mockup of the most likely design--only to find that it wasn't a good fit at all. This is why 3D mockups are valuable: looking at the two-dimensional drawing had not registered the fact that the tank, despite its end shape, was rectangular in overhead view, which of course wouldn't work in the half-V-shaped space. At this point, I decided to make a mockup that fit, and have it made to order. After some measuring, I made up a cardboard template to fit on one side of centerline, and checked its fit in the space. During construction, I intentionally made the tank taller than I thought it needed to be, sort of as a worst-case scenario, but decided that the tank should be 2" shorter than shown here. |
 |
|
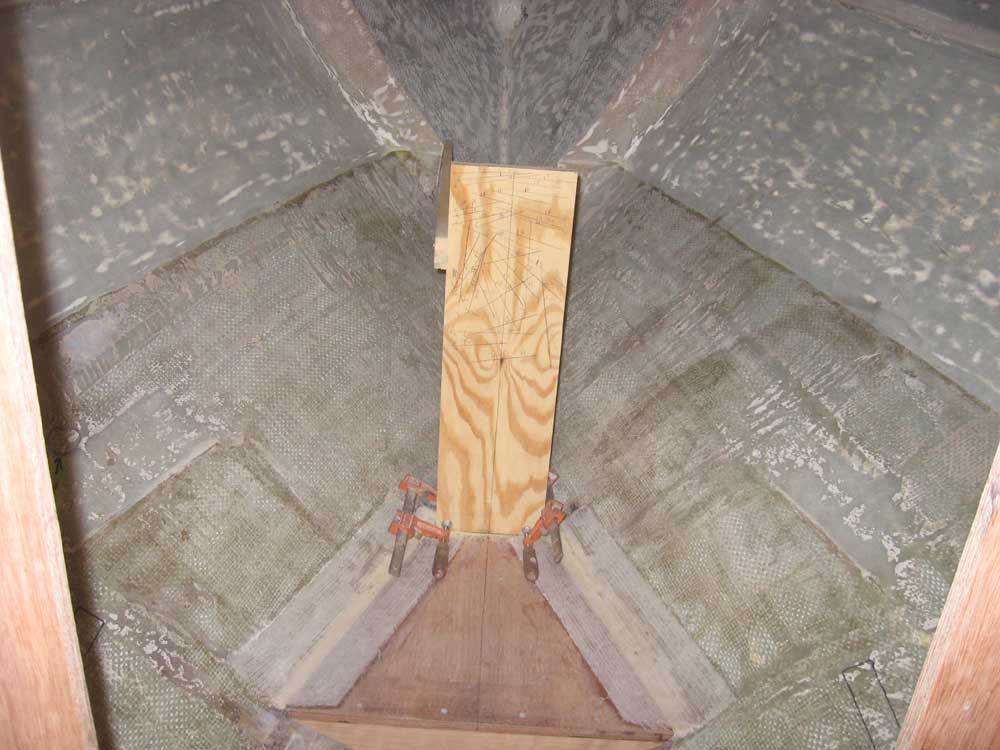
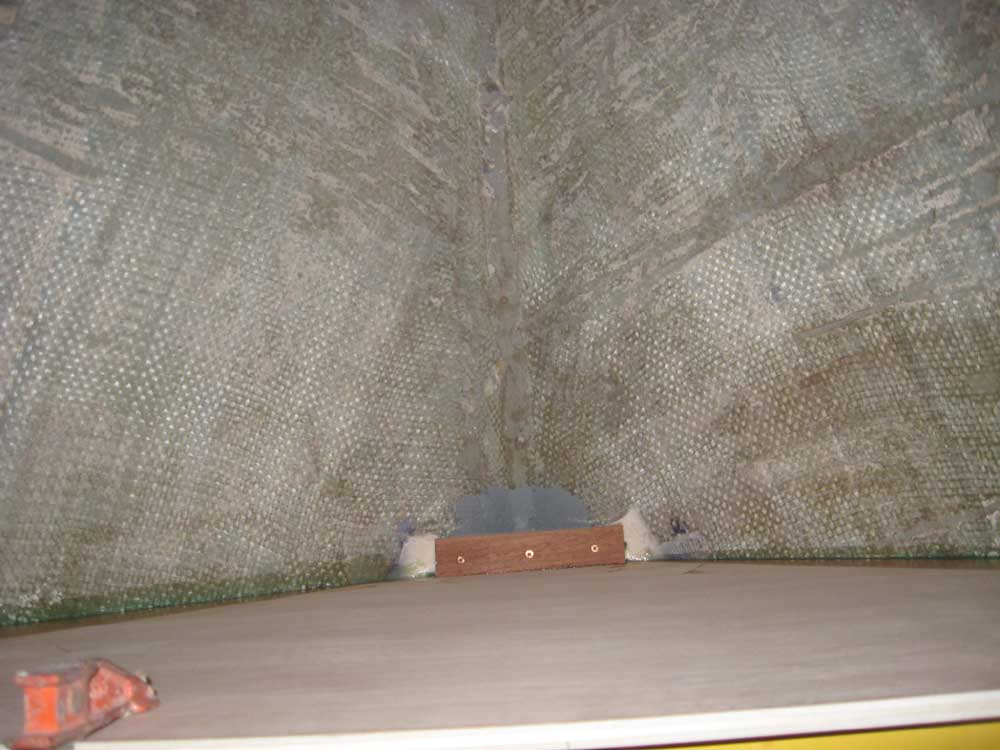
Once I finalized the design, I'd send off to have a pair made--one for each side, for waste and water, to be separated in the compartment by a yet-to-be installed centerline bulkhead. With the dimensions of the tank complete and various measurements made, I could finally proceed with the head construction. To begin, I installed a cleat at the forward edge of the toilet platform, which would align and support the lower end of the largest transverse bulkhead, and then prepared a blank to use to template the shape with a tick strip. The bulkhead would be 26" tall, so I cut a strip of plywood 26" tall and just wide enough to fit against the cleat. I clamped it to the cleat on the centerline of the boat (the centerline was already marked on the plywood), and used a brace to hold the plywood plumb in a fore-and-aft direction, since it wanted to angle a bit towards the bow. Then, I ticked off a number of marks on each side of centerline, to form both sides of the bulkhead. |
 |
|
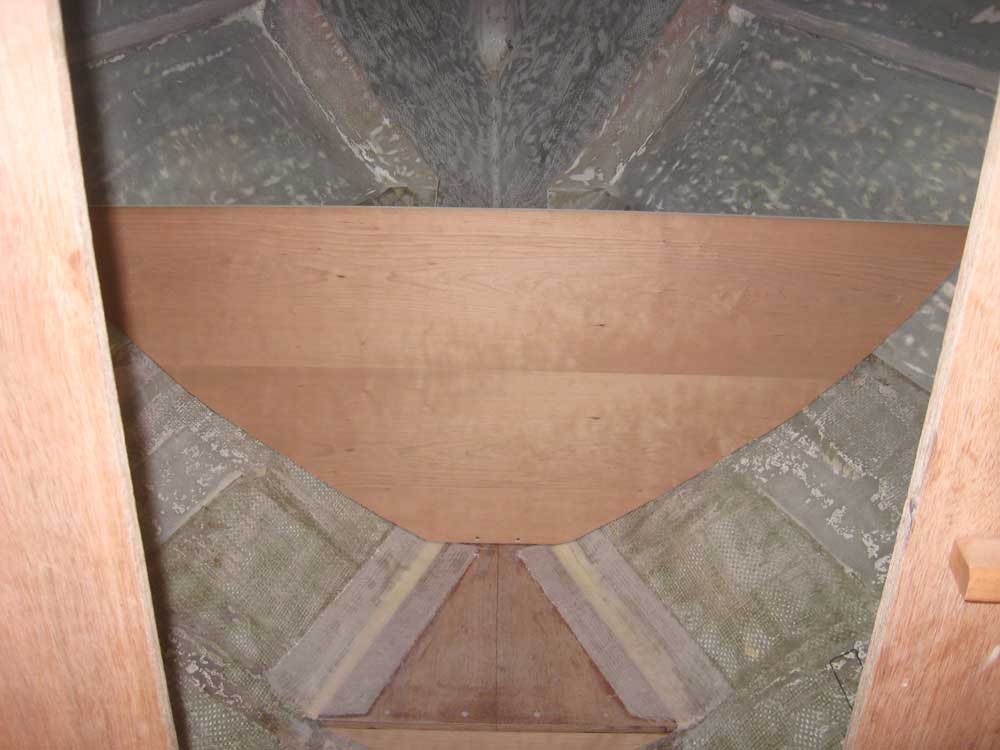
I cut a cherry plywood blank to 26" tall, set up the plywood pattern, and transferred the marks to the cherry; then, I cut out the shape and test-fit the panel in place. It required some minor scribing and re-cutting at the bottom edge to accommodate the curve of the fillets beneath, after which it fit nicely. |
 |
|
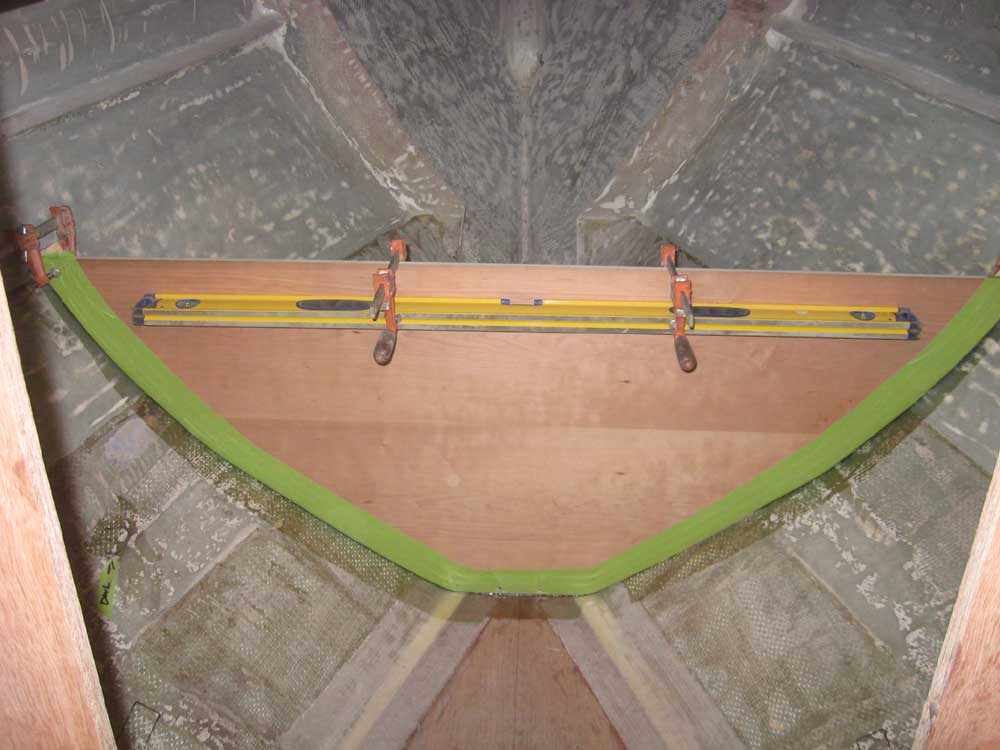
I screwed the bulkhead temporarily to the cleat at the bottom, and then aligned and plumbed it as needed, using some hot-glued blocks to hold it in position with clamps. Once I had it positioned correctly and had made some reference marks, I removed it, applied masking tape to the finished side to protect it from adhesive, prepared the surfaces, and secured the bulkhead with epoxy adhesive, clamping it in place to the temporary glue blocks and screwing it to the lower cleat. I left this to cure overnight. The level clamped to the bulkhead in the photo is helping to hold the bulkhead straight across its width while the glue cured. |
 |
|
With the fillets semi-cured on the icebox, I cut sections of 6" tabbing and fiberglassed the inside corners--all except the corner over the "step", which would require some smoothing and a radius before attempting to tab over. I thought it would be best to wait till the remainder of the box was reinforced and properly glued before attempting to shape this particular joint, so I would take care of that during the next steps. |
 |
|
|
|