| Circe
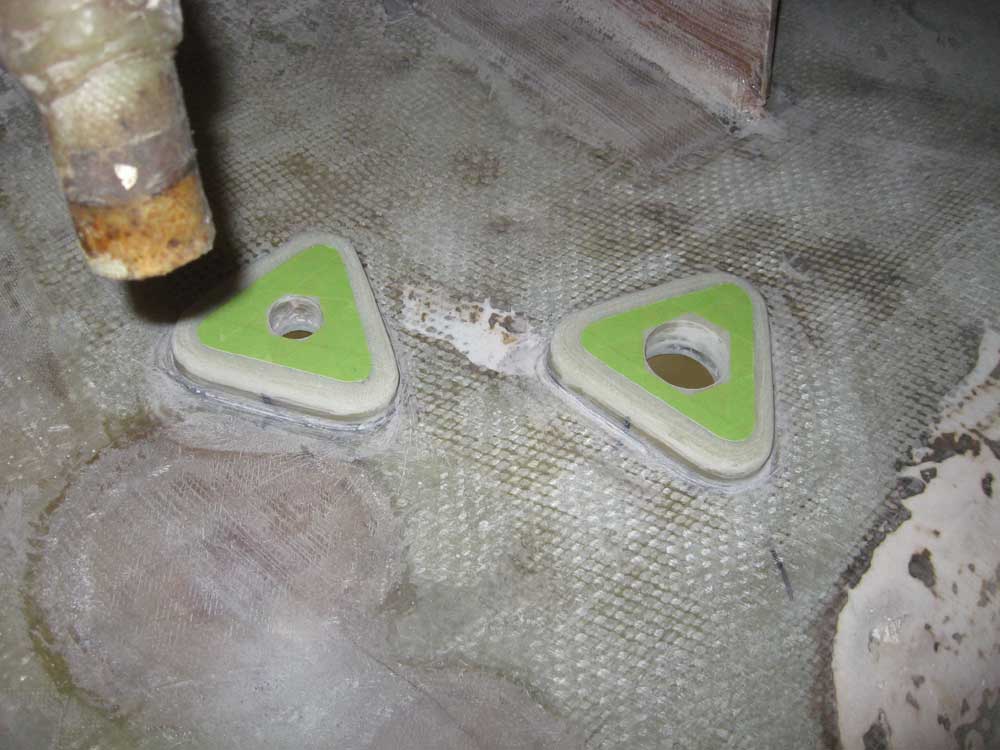
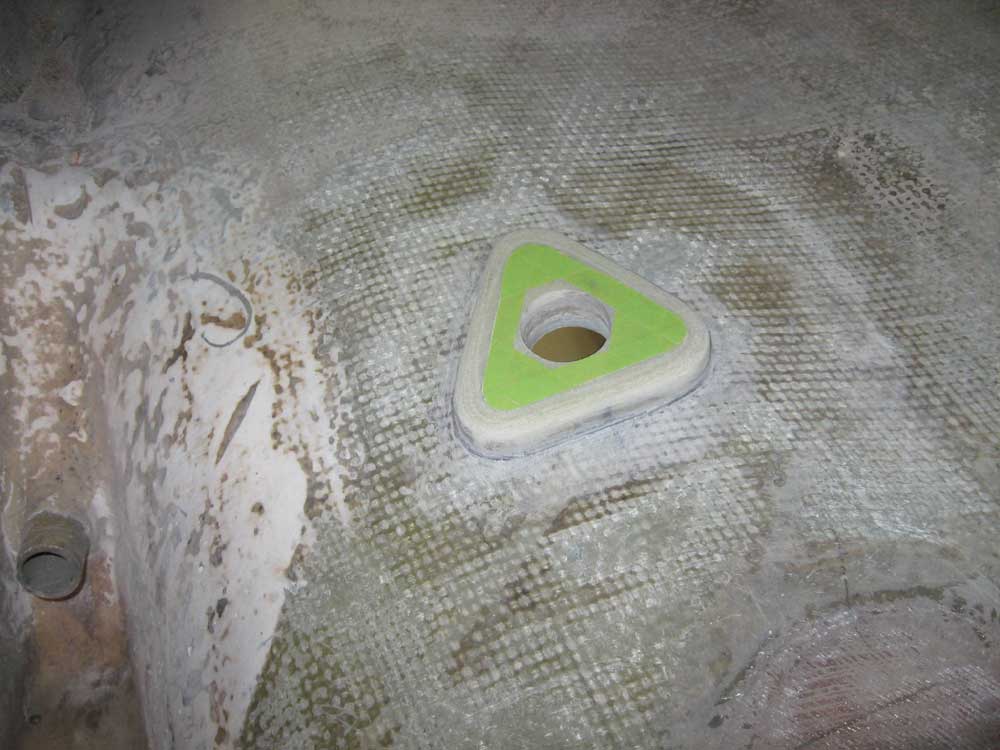
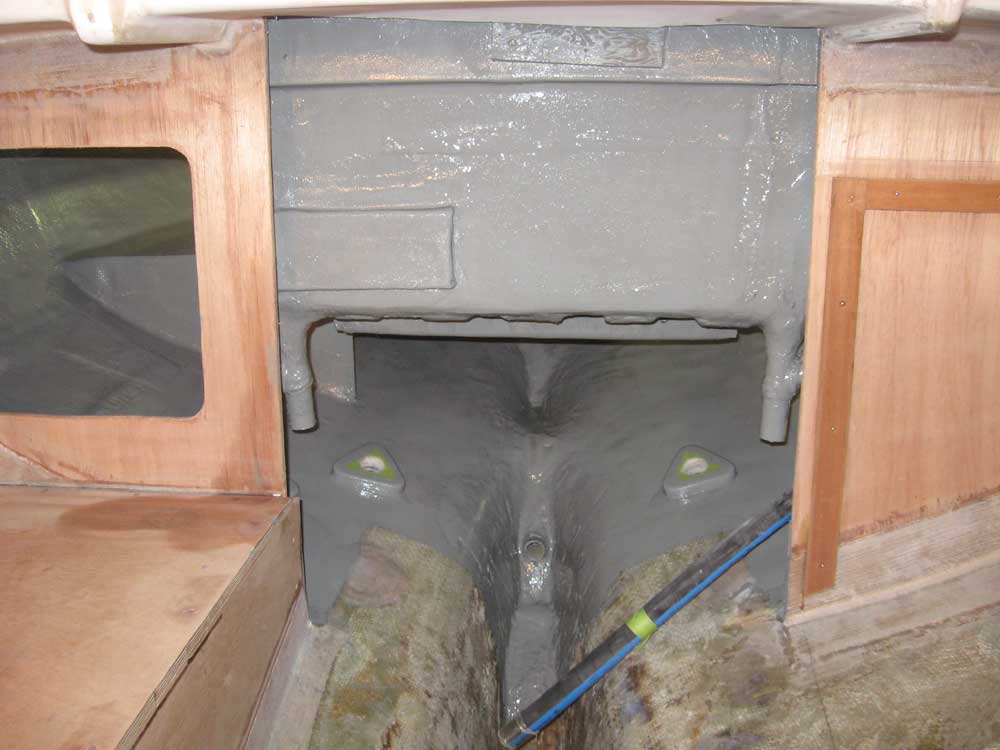
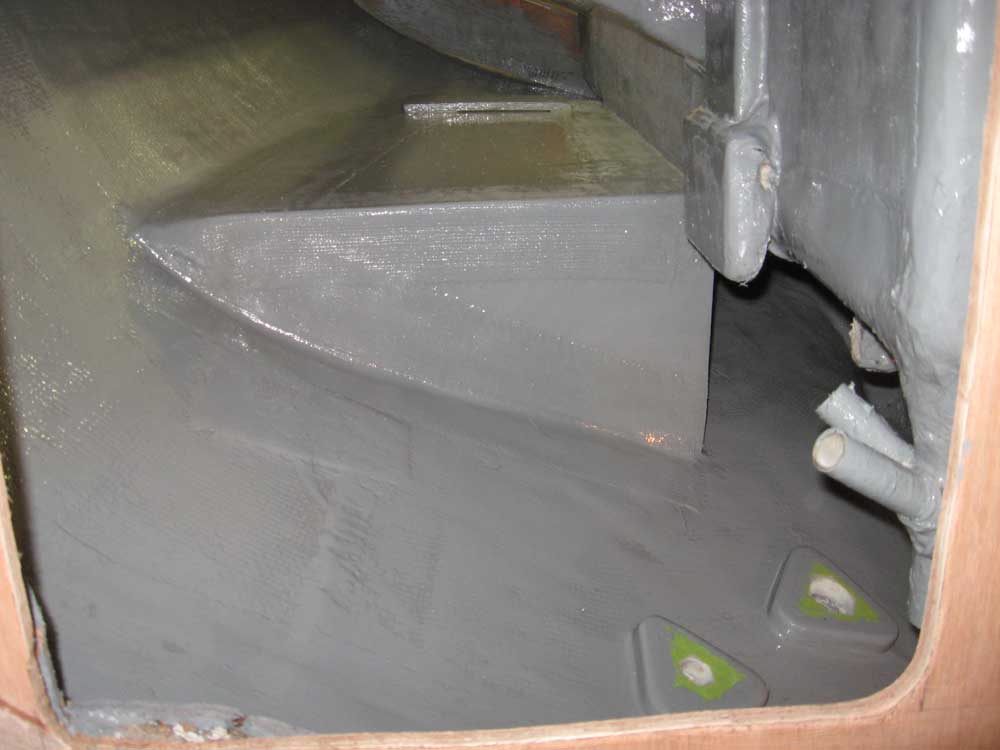
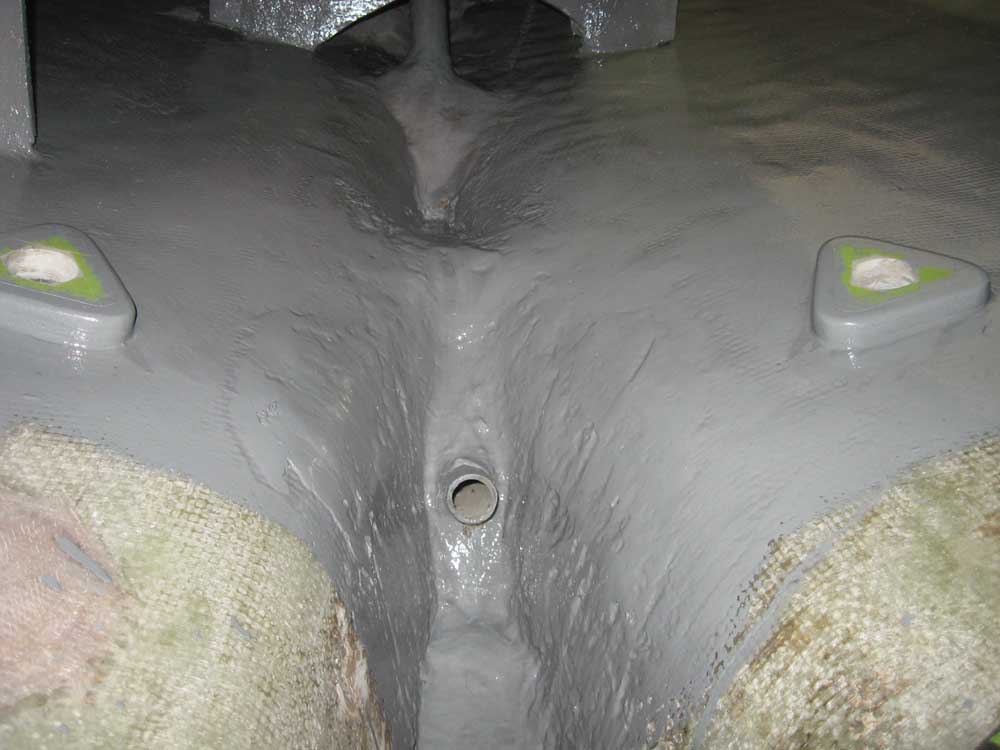
| Friday, October 23, 2009 I washed and lightly sanded the new through hull backing pads and fillets to smooth any rough edges and prepare them for further steps. I also sanded the through hull openings with a drum sander to clean them up. Afterwards, I masked off the footprints of the bronze valve flanges, since I planned to paint the surrounding areas but wanted to keep the eventual sealing surfaces paint-free for the best bonding during seacock installation. I also cut a new access hatch through the starboard aft bulkhead, which would allow access into the starboard cockpit locker; for some reason I have no specific pictures of this, but it's visible in two of the paint photos a few paragraphs down. |
|
|
|
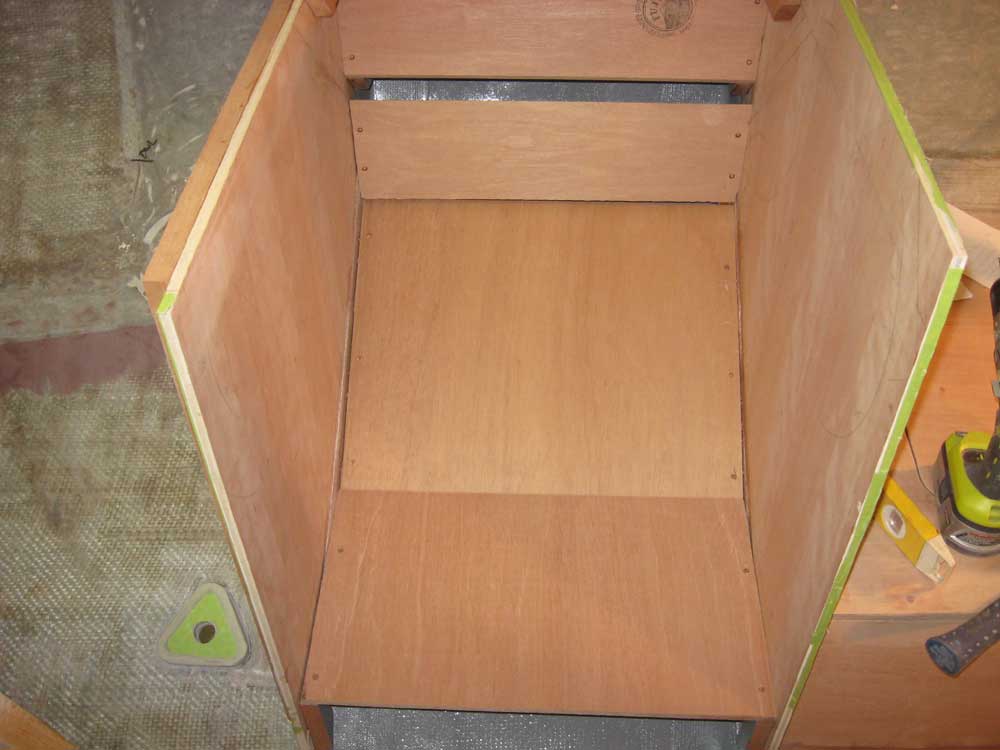
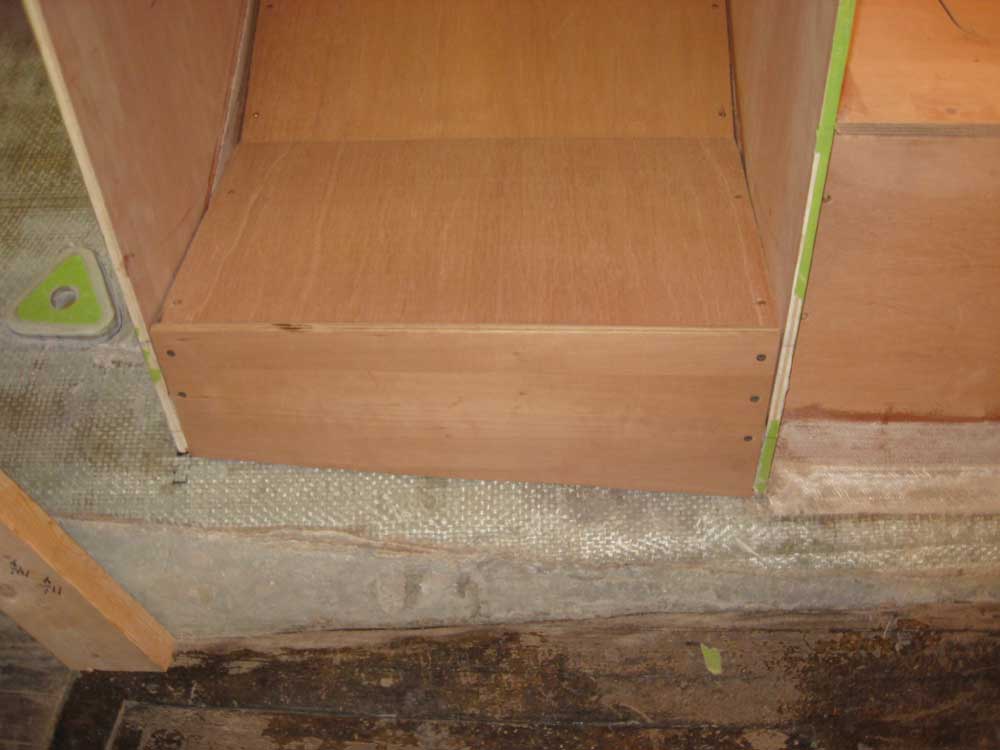
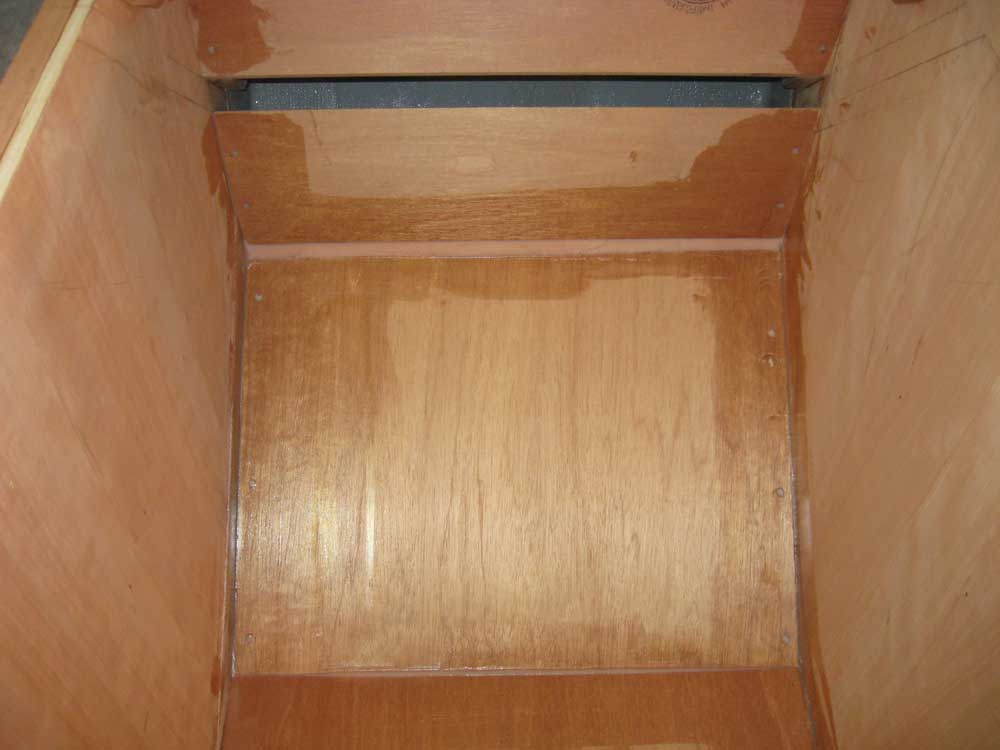
I moved on to the stove enclosure, and installed the various panels with glue and screws. I also cut a cherry face panel to cover the vertical opening beneath the stove enclosure's floor. I planned to make this particular panel removable, since it would be a good mounting point for galley sink foot pumps (it looked like a pair of them would fit--fresh and salt water), so for the moment I just installed the panel temporarily with drywall screws. I erred on the lower back panel of the enclosure; I'd cut it anticipating a 12mm plywood piece beneath it, but had forgotten that the clearance for the gimballed stove had been a bit tight with that thickness, therefore requiring that I make the panel from 9mm plywood instead. This left a gap at the bottom of the vertical back panel. This wasn't significant since the entire stove enclosure would be faced with stainless steel panels for heat resistance, but I wanted to fill it anyway, so I applied some thickened epoxy to the gap and smoothed it out; similarly, I smoothed over the screw heads and other small gaps. |
 |
|
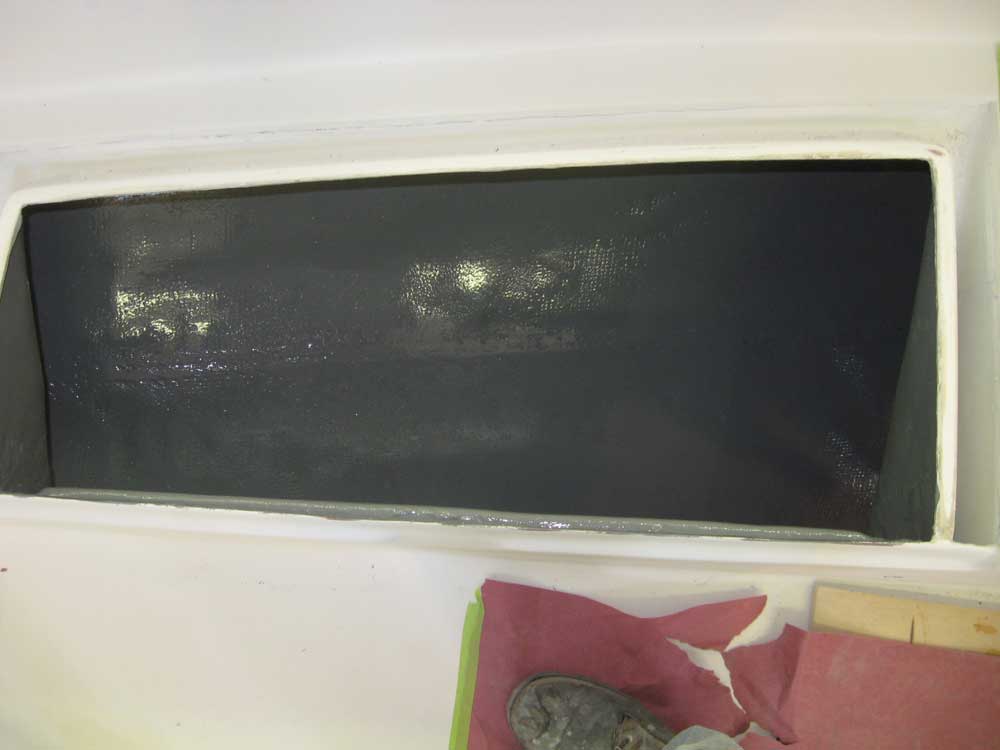
I vacuumed out the cockpit lockers and area beneath the cockpit, and then solvent-washed the area to prepare it for paint. After a break, during which the paint thinner evaporated, I painted these areas. Ahh. |

 |
|
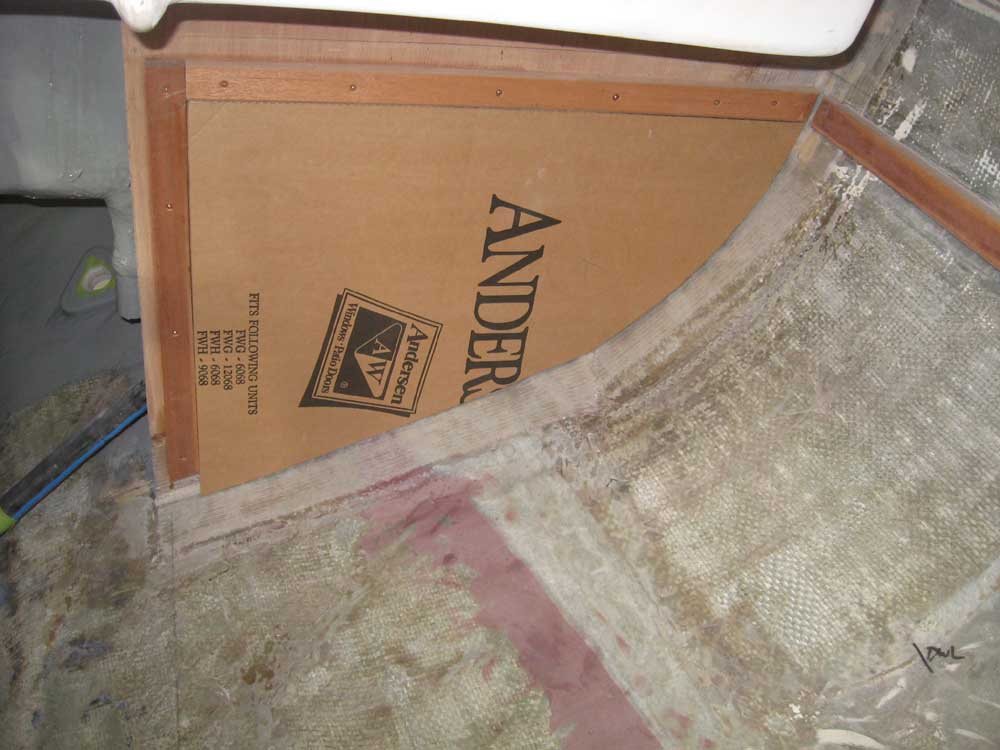
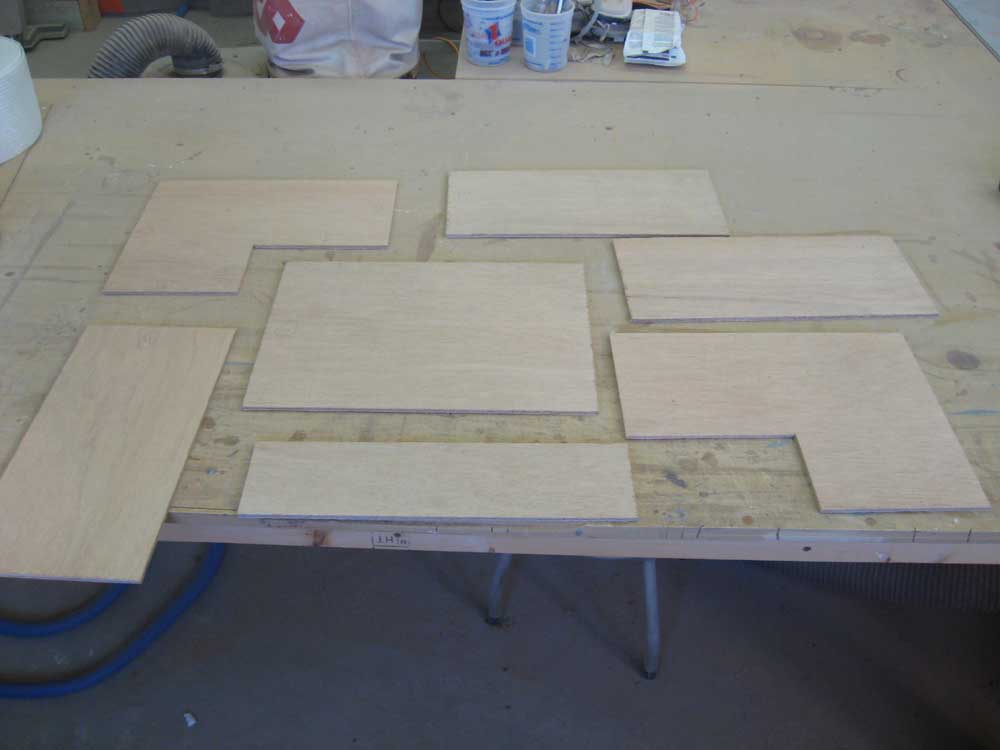
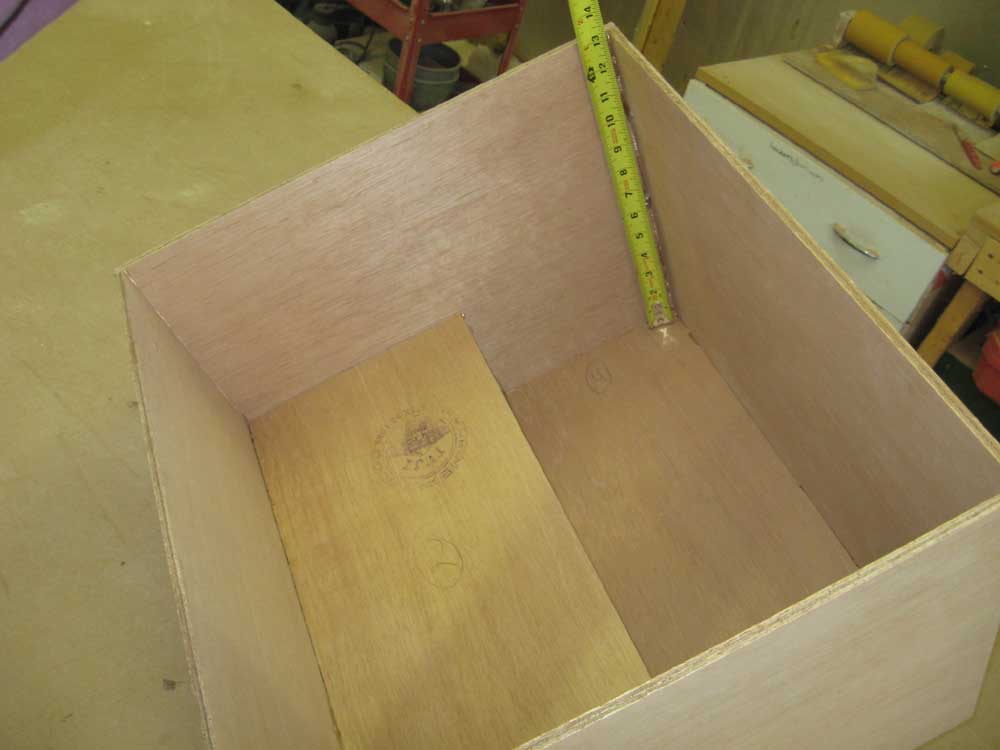
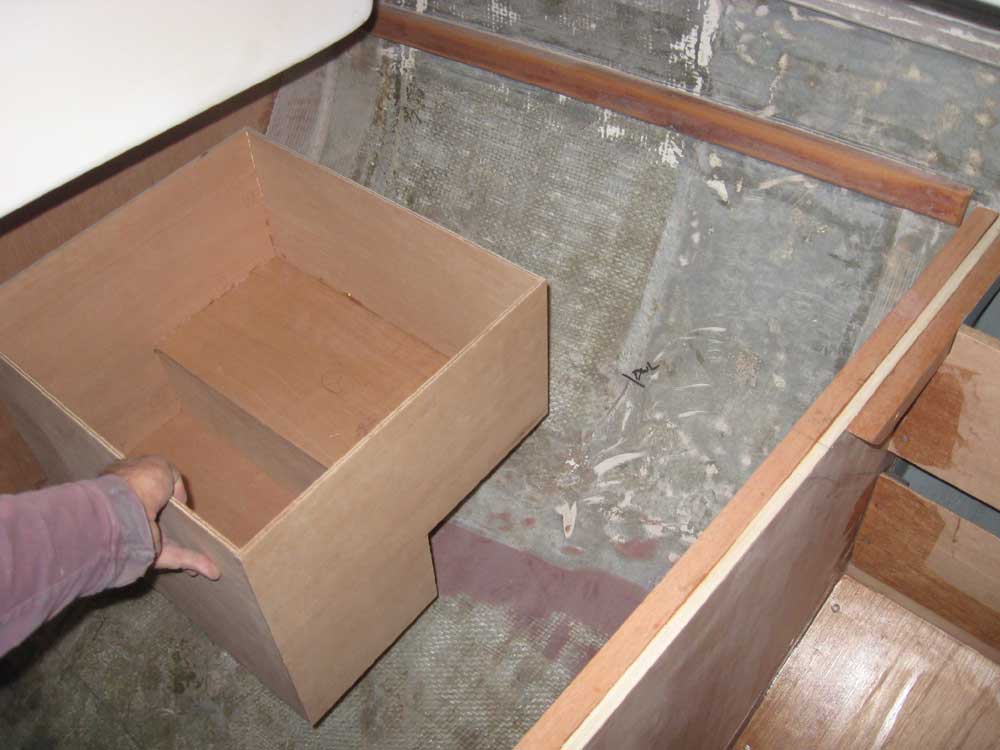
The paint fumes were strong, so I planned to work in the woodshop afterwards: it was time to build an icebox. To get started, I made a cardboard template of the shape of the aft bulkhead in the galley, which gave me the shape of the minimum space available for the icebox and its insulation; the hull shape became deeper and wider forward of this bulkhead, so if I built an icebox that fit in the tightest portion, I could be assured it would easily fit in the remainder of the space. I made some measurements to determine how far forward the icebox could extend and still allow for the galley sink installation, including allowances for thickness of insulation. Allowing 4" for insulation thickness, I drew the maximum shape possible for the ends of the icebox on my cardboard template. I planned to make the icebox a simple geometric shape and eliminate angles, since absolutely maximizing the volume of the box wasn't a key consideration. Ease of use and construction, while keeping the icebox large and handy enough for reasonable use, ruled the day. To that end, I came up with a stepped design, with a lower section designed to hold block ice and allow for easy drainage, and a raised portion that would keep icebox contents away from the ice and readily accessible. It would be an effective icebox for weekending and occasional longer uses. The flat surfaces would be easier to build, clean, and use. Once I was satisfied with the shape, I cut all the pieces required for the box from 9mm Meranti plywood. |
 |
|
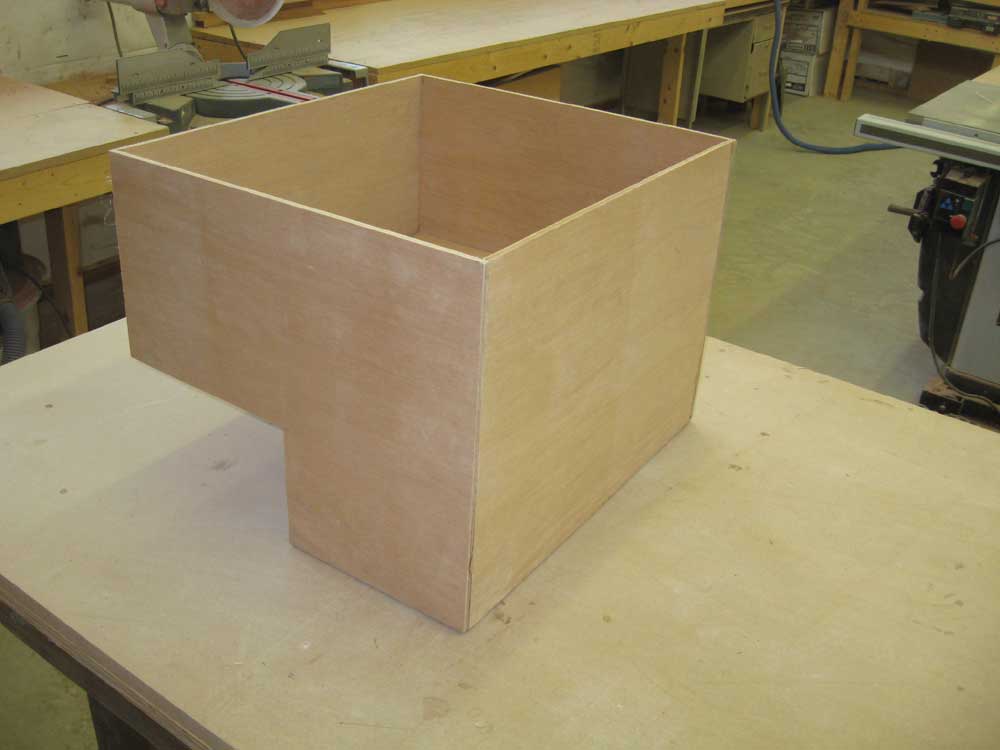
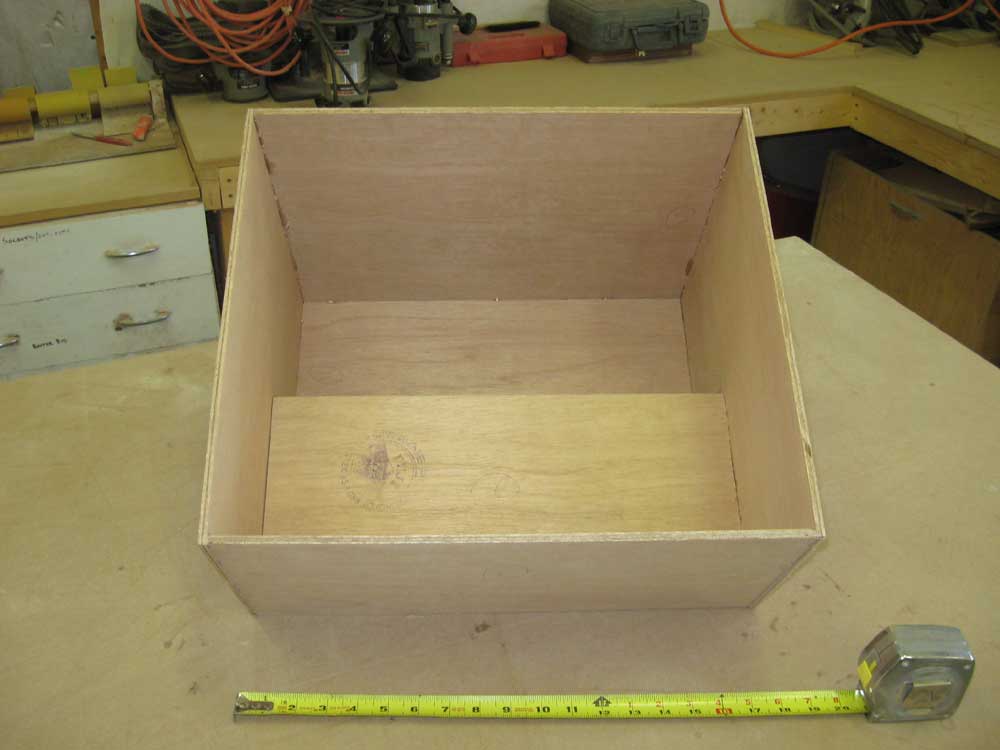
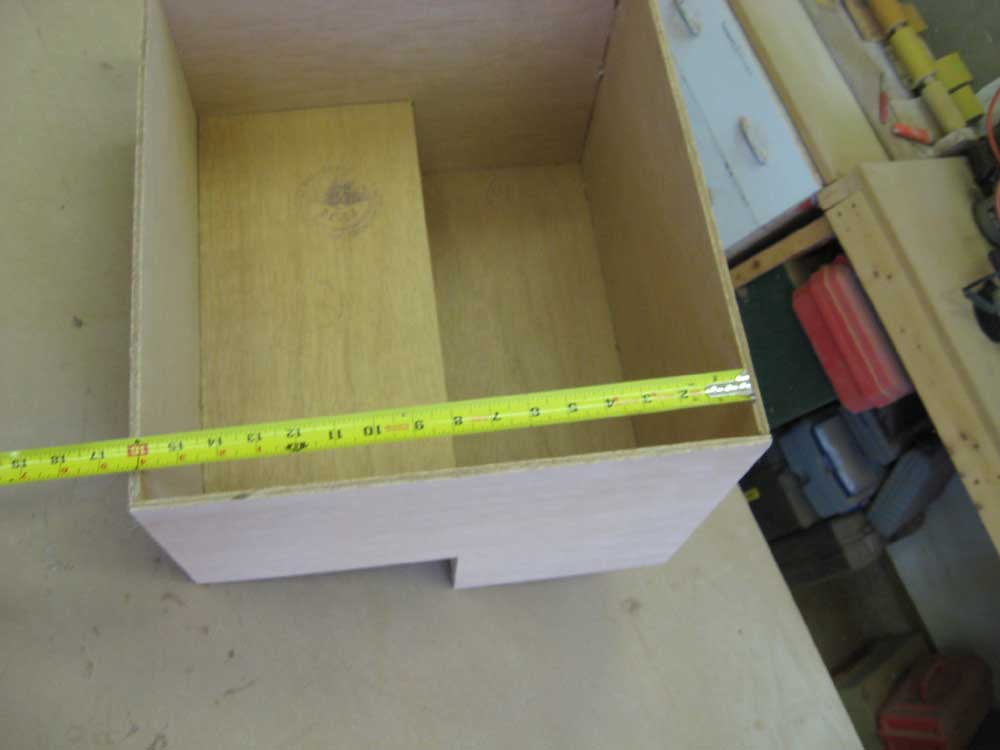
Next, I assembled the pieces using hot-melt glue to hold them together. The glue wasn't intended to do any more than simply hold the box together so that I could permanently glue and reinforce it with epoxy fillets and fiberglass; consider the hot-melt glue to be the "stitches" that one might normally use in stitch-and-glue construction. The finished box (inside dimensions) measured 18" long, about 13" deep in the deepest portion, and 16" wide. Minimum 4" of insulation would surround this basic box in the final installation. That was all there was time for today. Later, I'd apply epoxy fillets to the inside corners of the box, and then reinforce the joints inside and out with fiberglass, as well as sheathe the entire interior with fiberglass for strength and watertight integrity. |
 |
|
|
|