| Circe
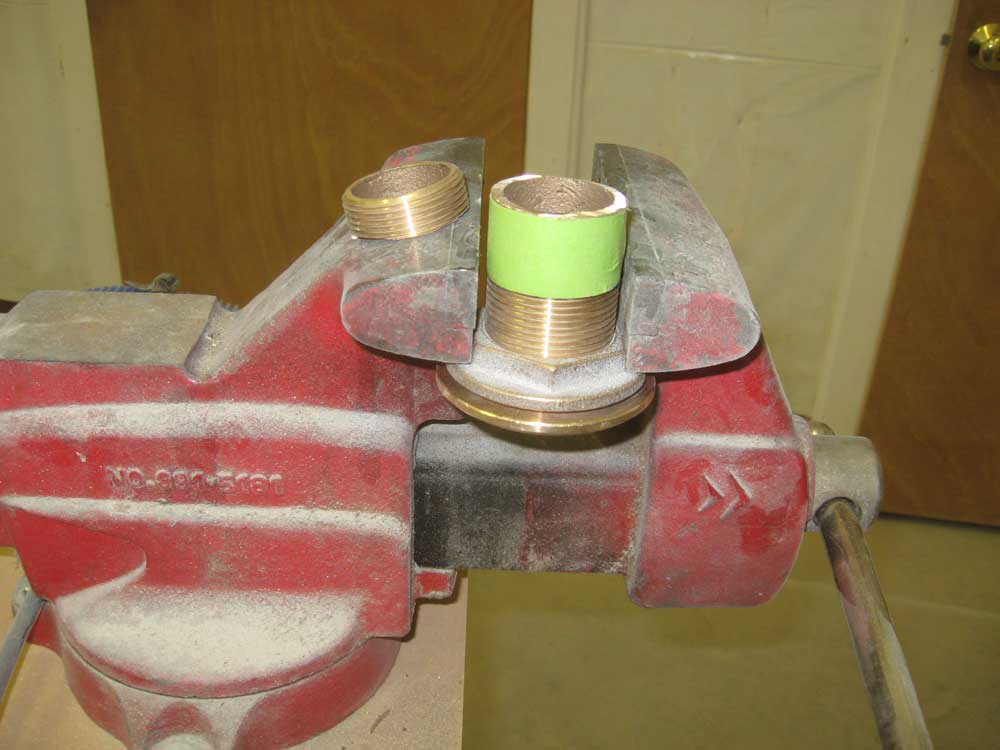
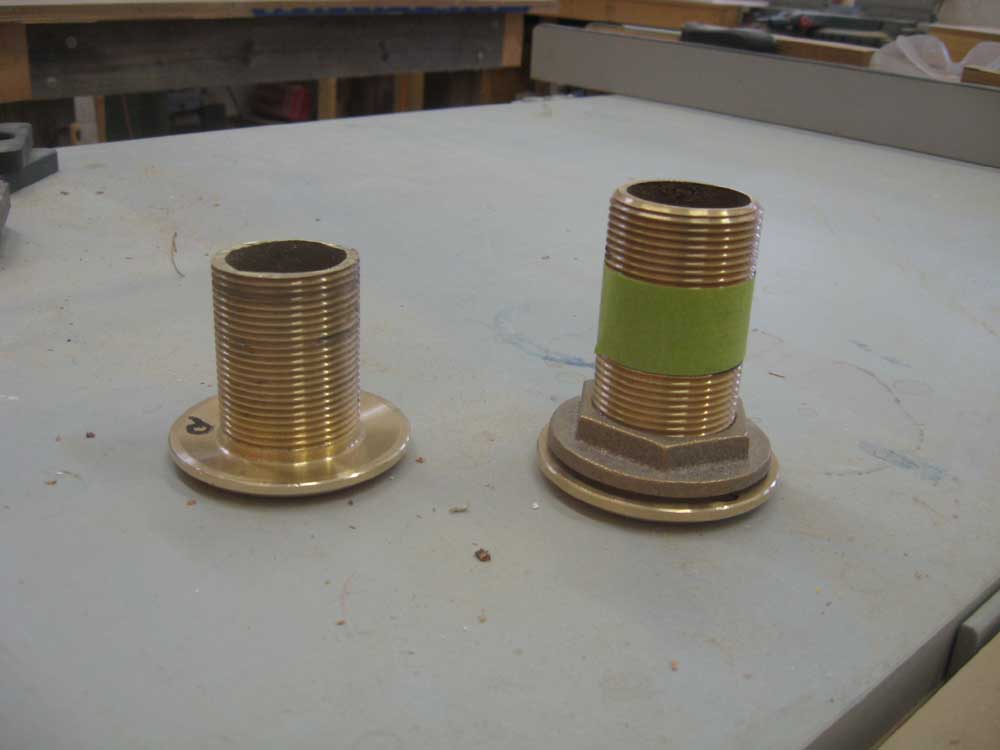
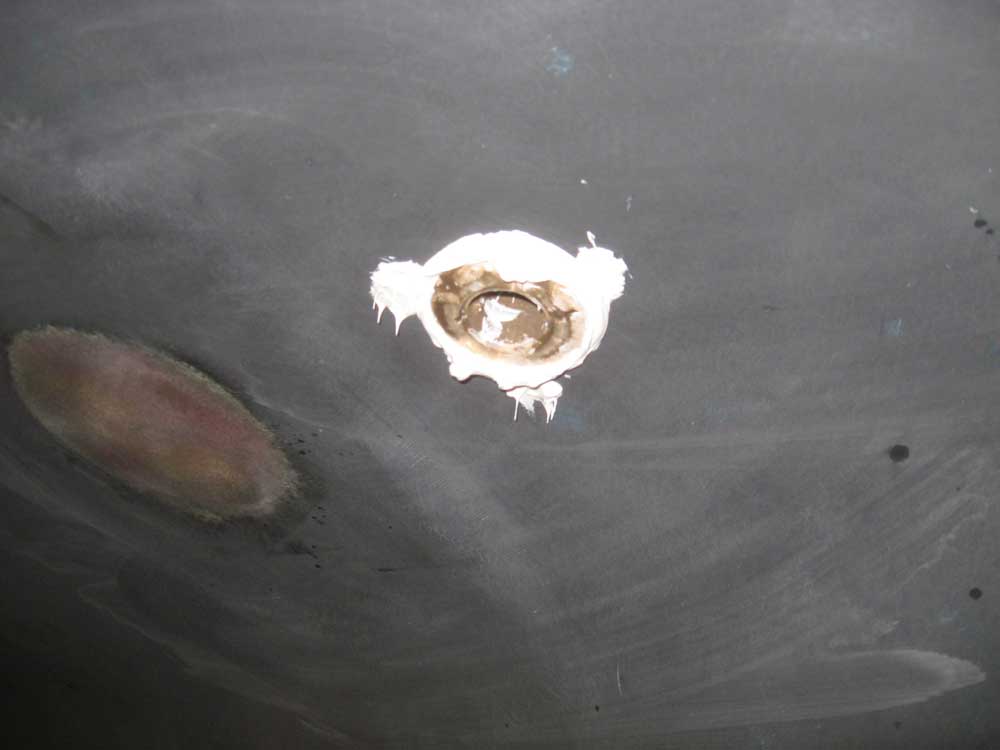
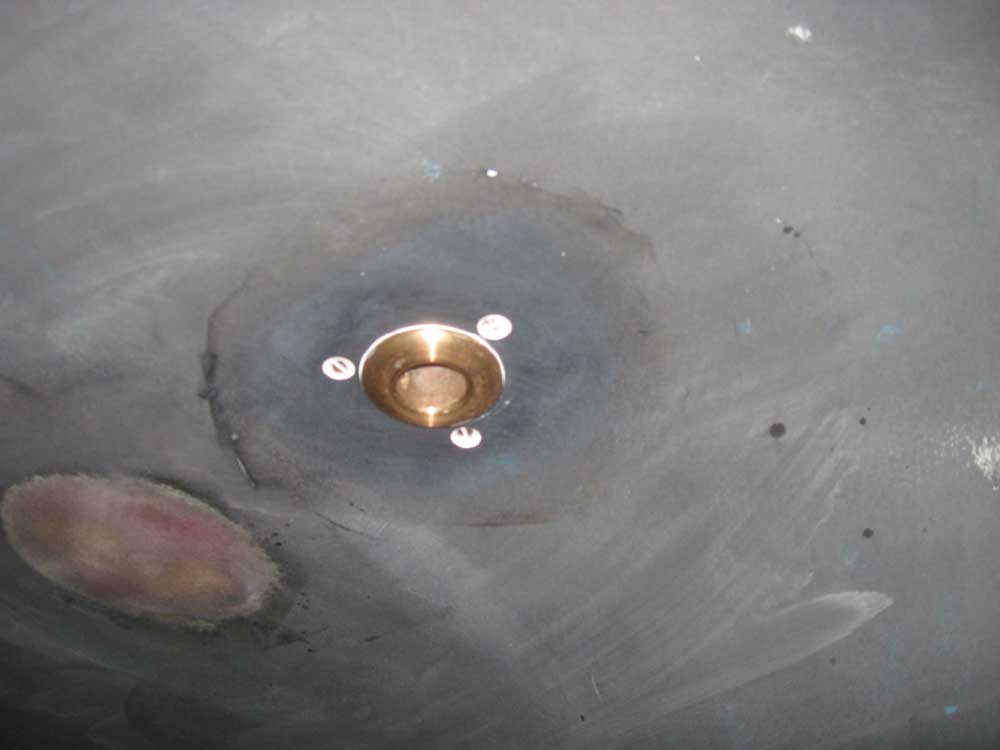
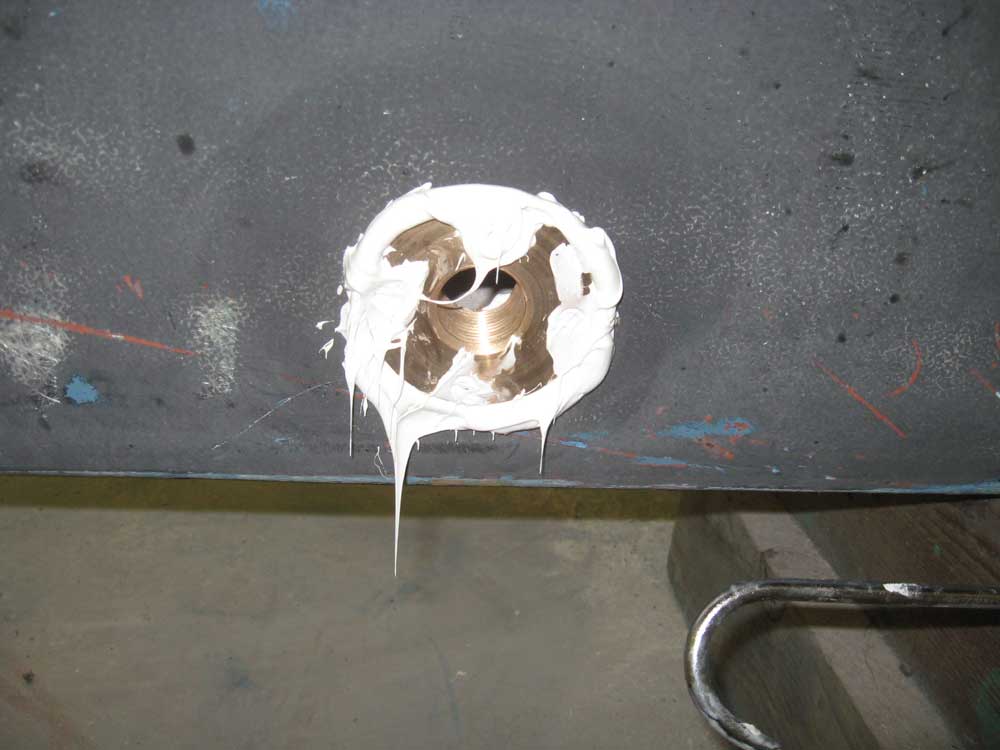
| Thursday, November 5, 2009 This was through hull day. Over the course of the morning and part of the afternoon, I installed five of the eventual seven through hull fittings; I left the head intake and discharge for later, since I didn't yet know exactly where I was going to place them based on future hose runs. The threads on the two through hull fittings for the cockpit scuppers were too long to tighten fully within the body of the valve flange, so I dry-fit the pieces in order to mark the fitting and show how much excess to cut off. I threaded the flange nut completely on the through hull, cut off the excess, and used the nut to clean up the threads and ensure that the valve flange would thread on properly. |
|
|
|
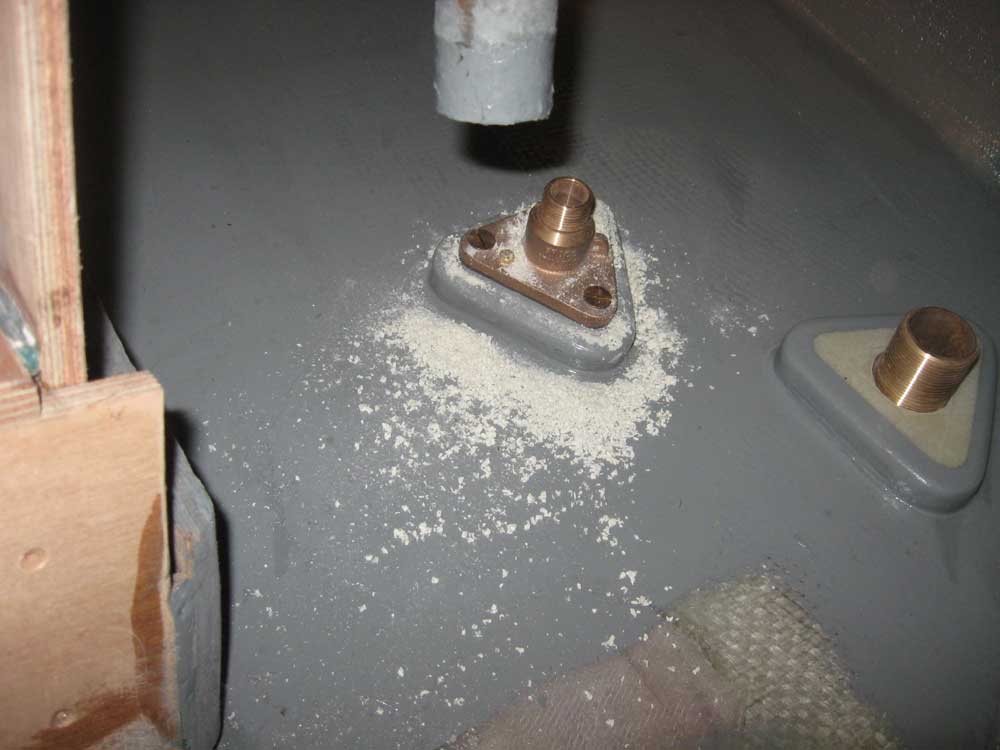
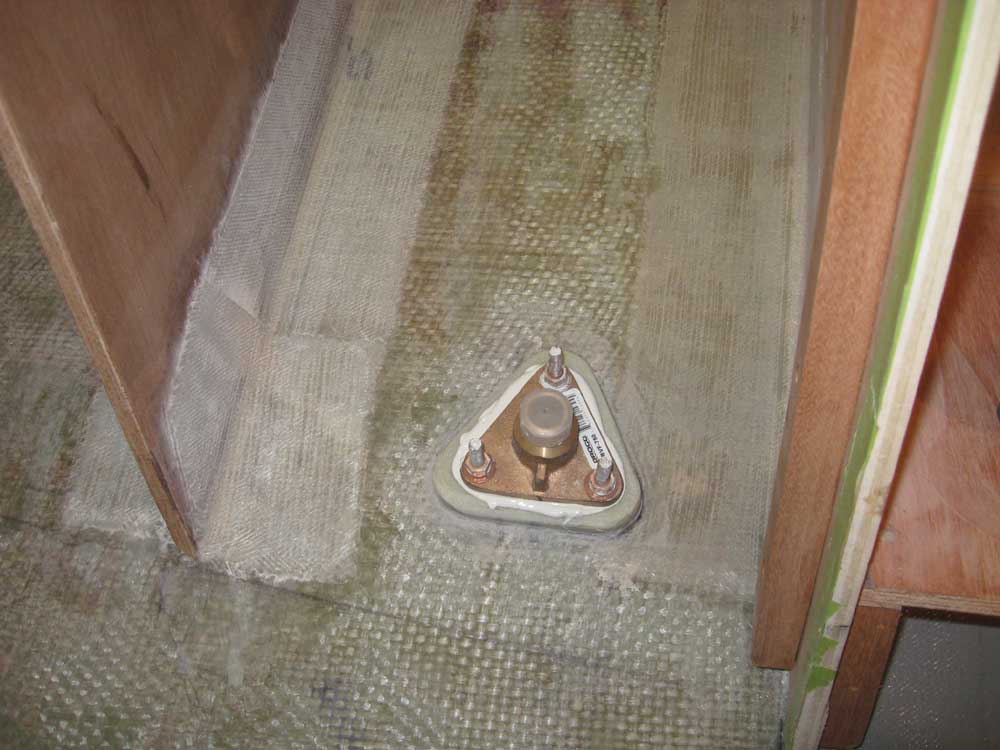
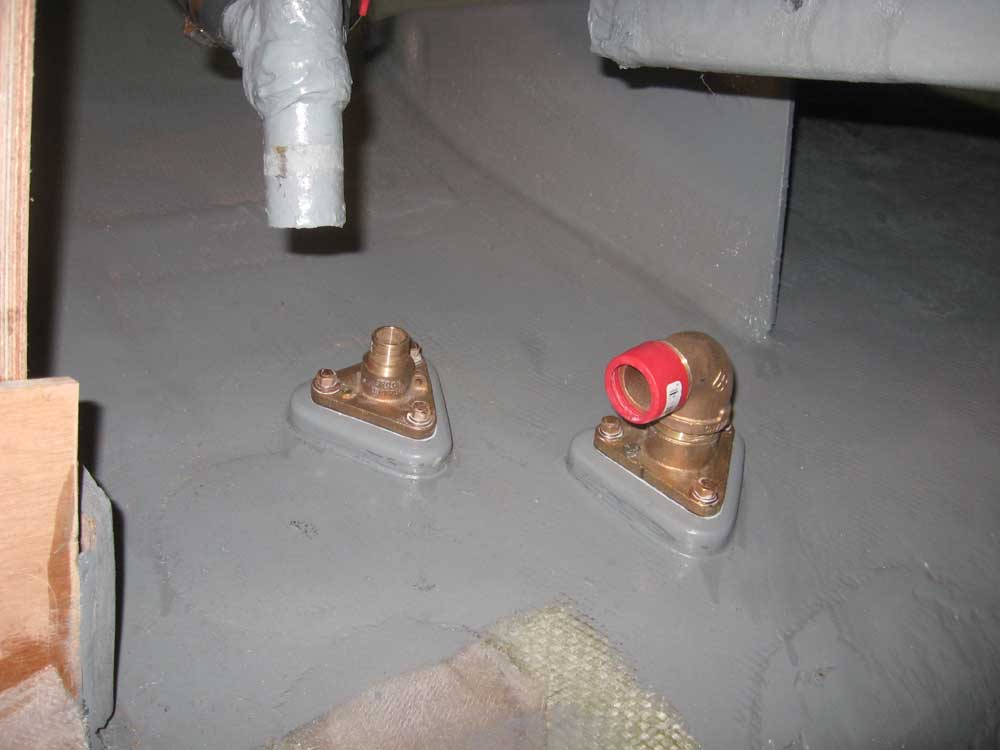
For each fitting, I inserted the through hull (dry) into the boat and then, from the inside, threaded on the flange base and tightened it. After aligning the base properly, according to the backing blocks and other reference marks, I drilled the three bolt holes through the existing holes in the flange and through the boat, using fasteners temporarily from the inside to hold the flange in alignment while drilling the additional holes. |
 |
|
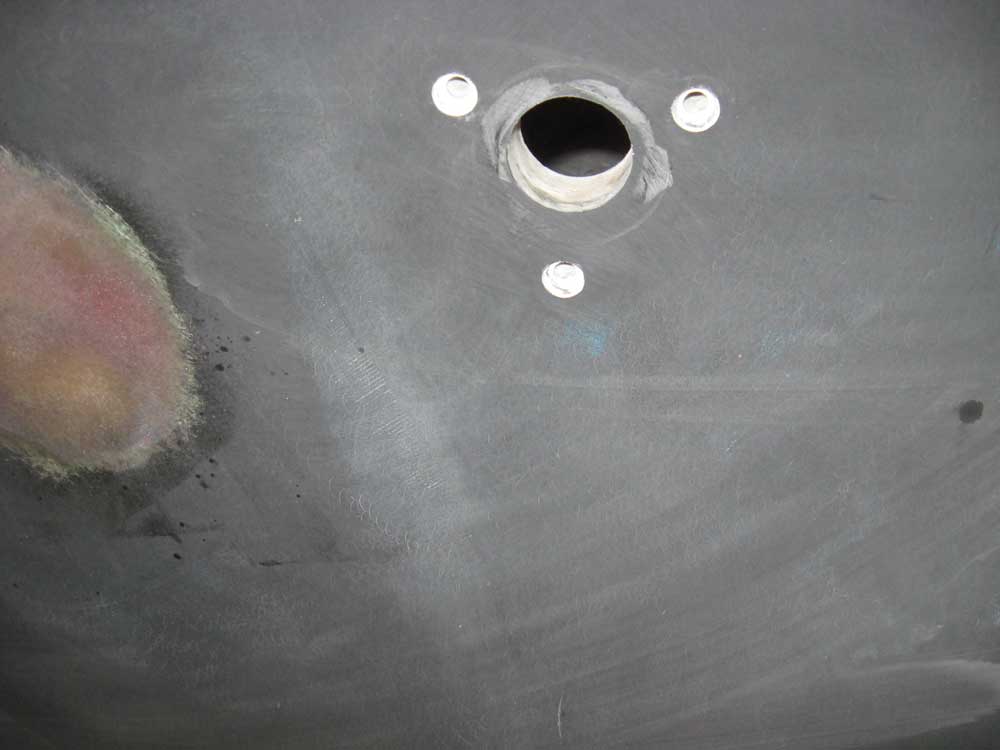
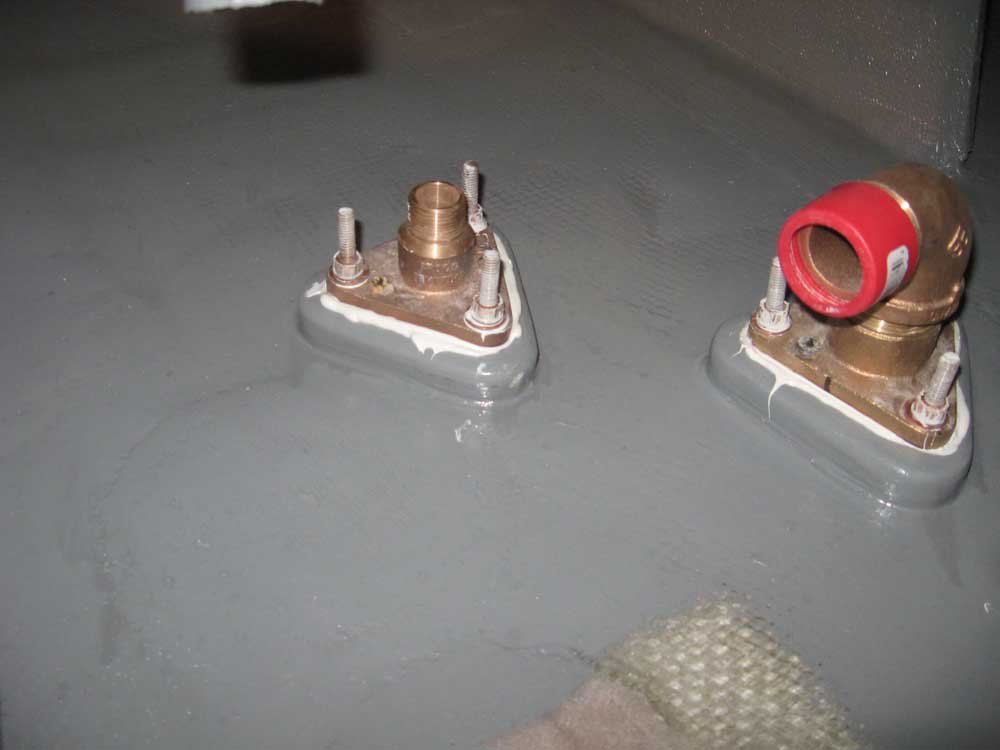
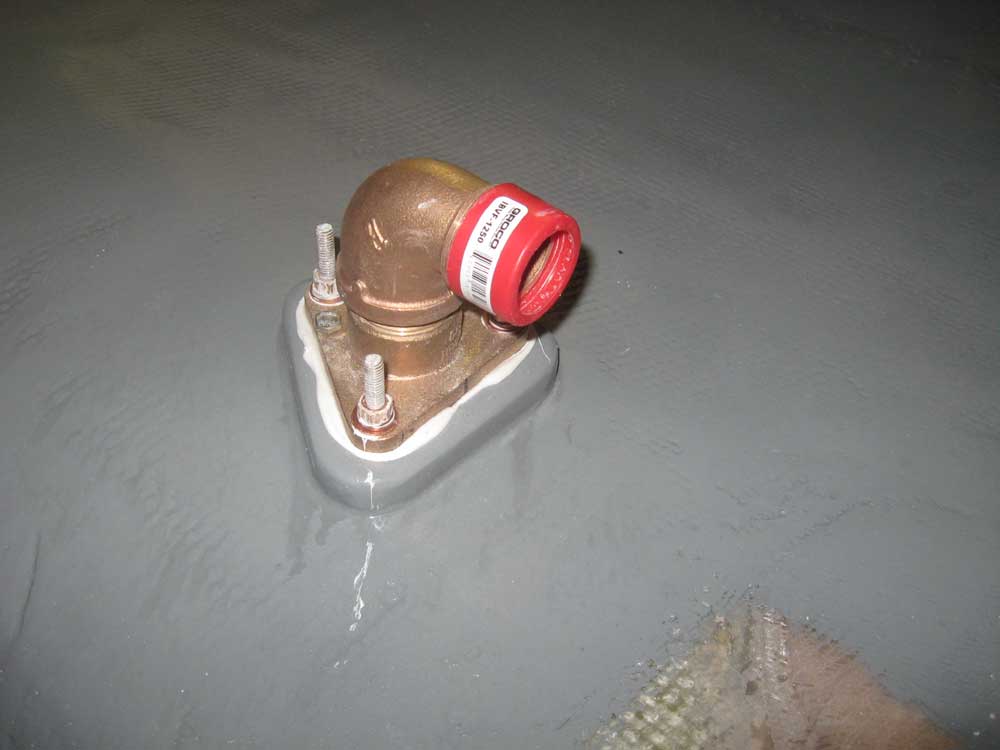
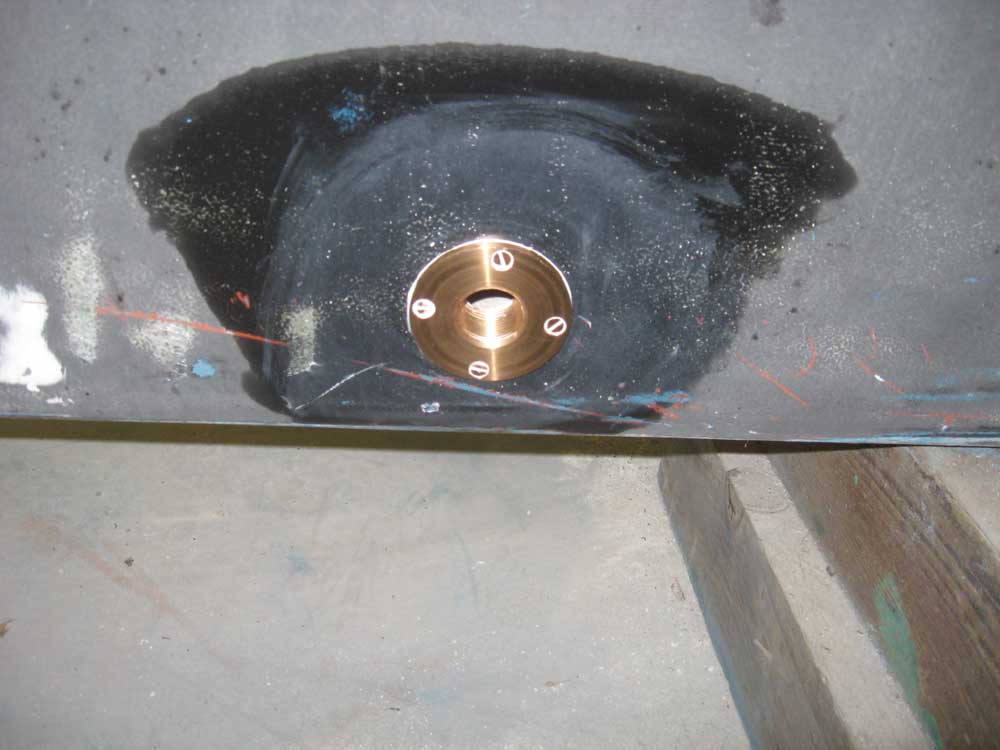
After removing the hardware, I drilled countersinks from the outside, so that the screw heads would be slightly recessed beneath the level of the hull, cleaned away dust and residue, and then installed the fittings with copious amounts of 4200 sealant. I like to install one flange bolt from outside, properly bedded, and then go in the boat to goop up the bottom of the flange base and install it over the opening, using the one flange bolt to align and hold it. Then, from outside once again, I'd goop and install the remaining two bolts, and goop and thread in the through hull fitting itself before returning inside to install and tighten the nuts on the flange bolts. |
  |
|
Afterwards, I cleaned off the excess sealant inside and out, and then cut off the excess bolt length inside. |

  |
|
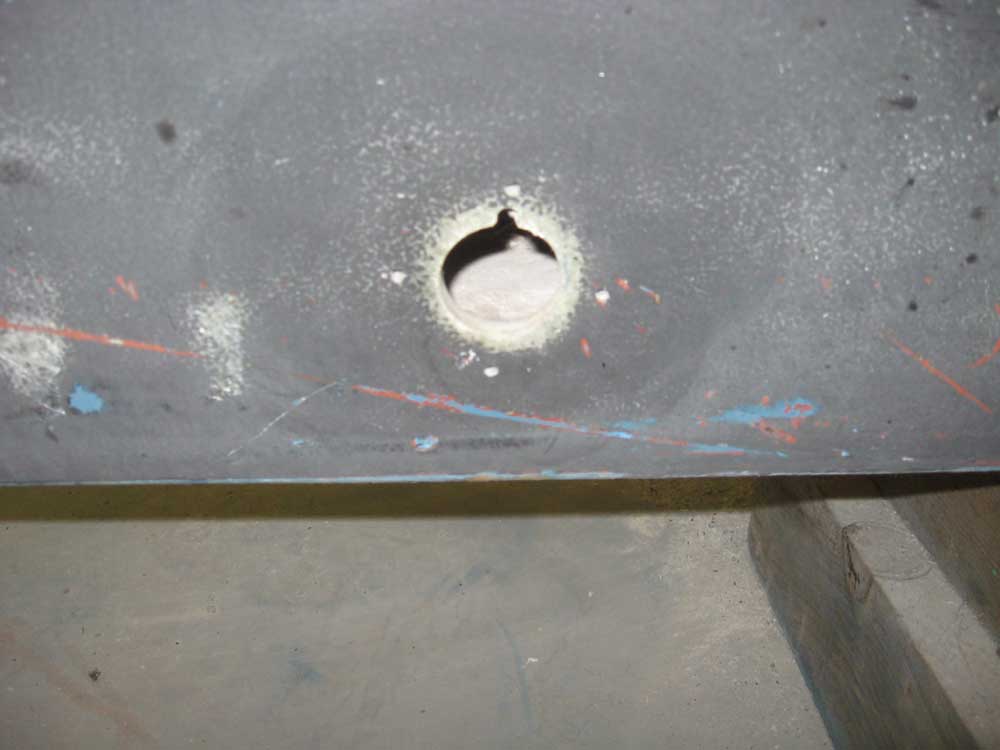
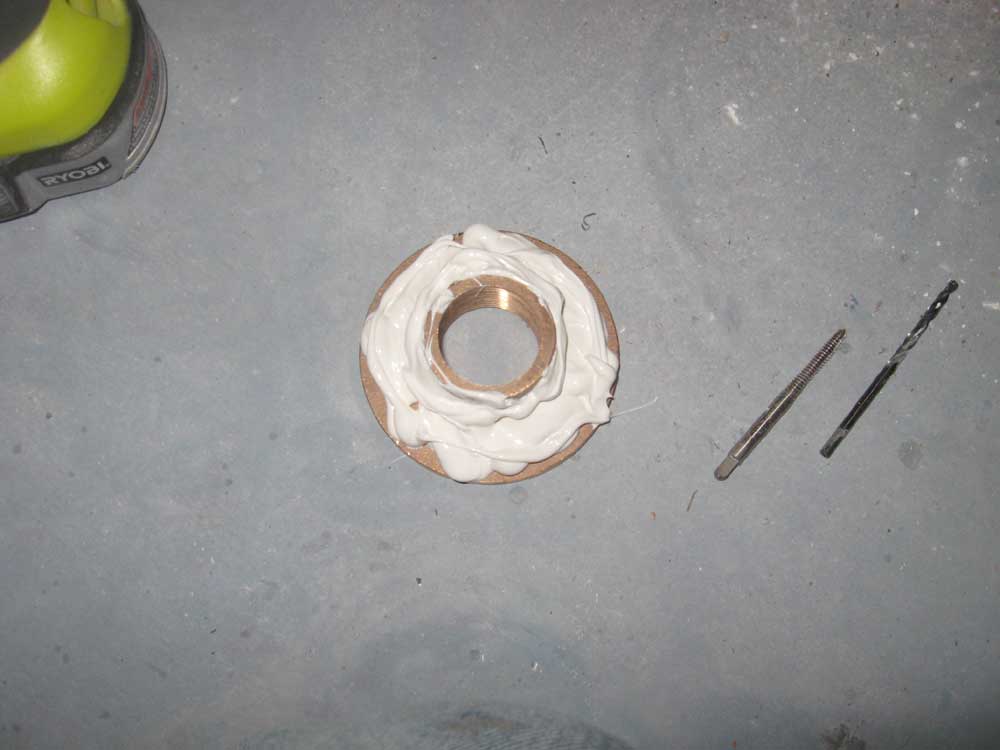
Much earlier--months ago--I'd drilled a large hole in the bottom of the keel sump to accept a new garboard drain. To continue the installation now, I milled a slot at the top of the hole to accept the key on the cast bronze fitting, and, with the fitting installed dry, drilled and tapped for the four fasteners. Then I installed the fitting with lots of 4200 and secured it tightly with the screws. |
  |
|
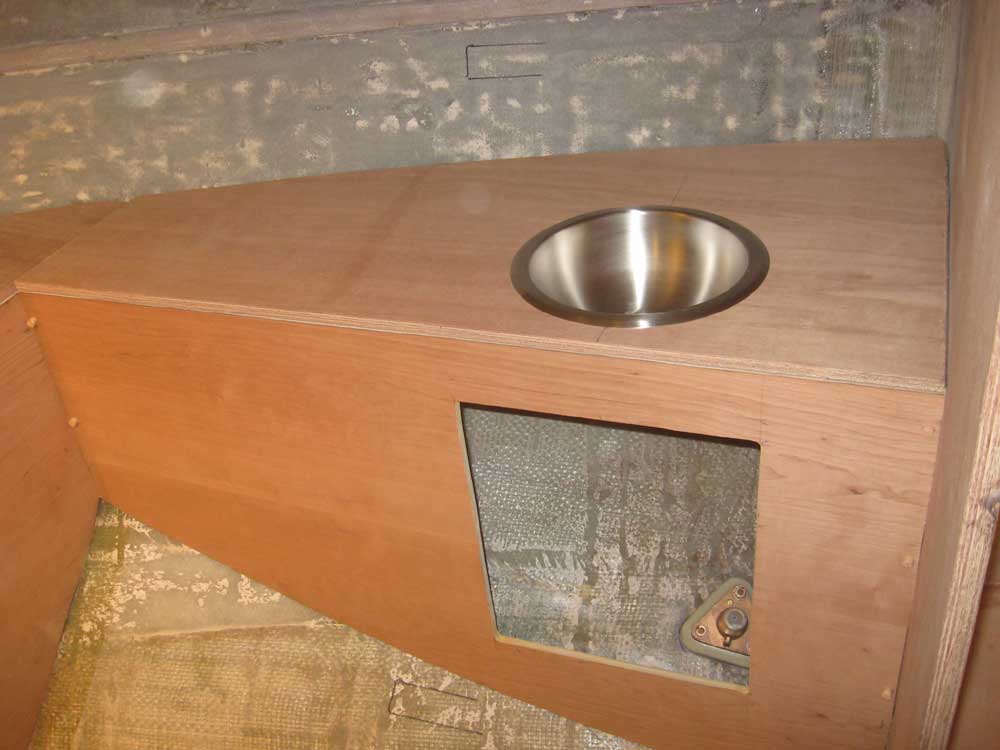
With all the through hulls in place (save for the two in the head), I located, marked, and cut a hole in the starboard head vanity for the newly-acquired round sink. |
 |
|
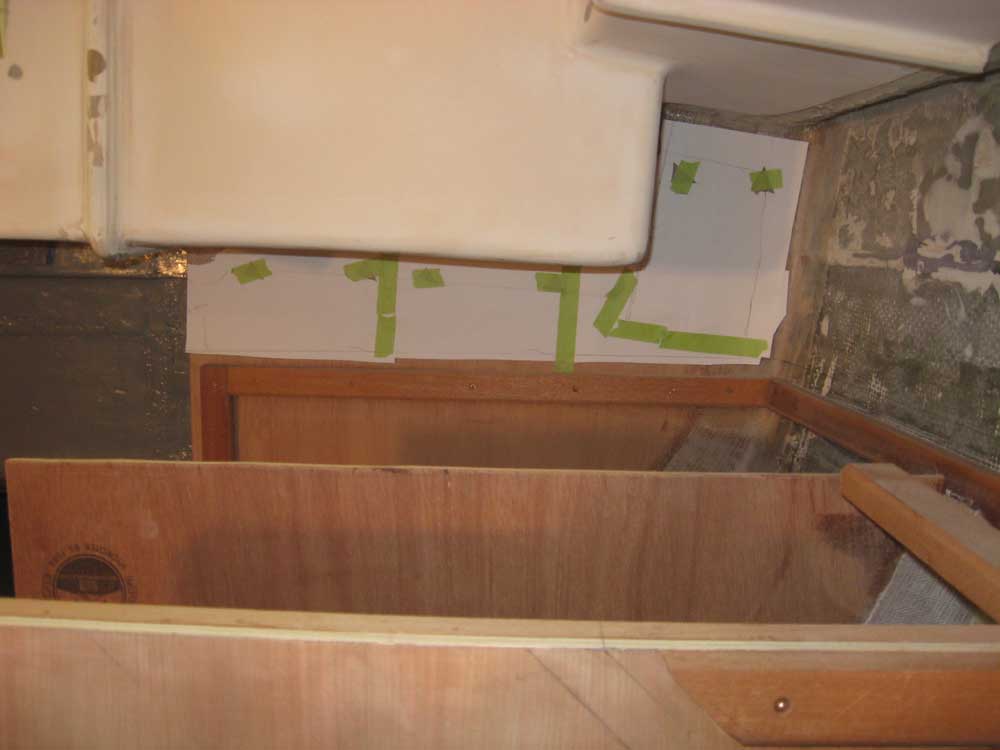
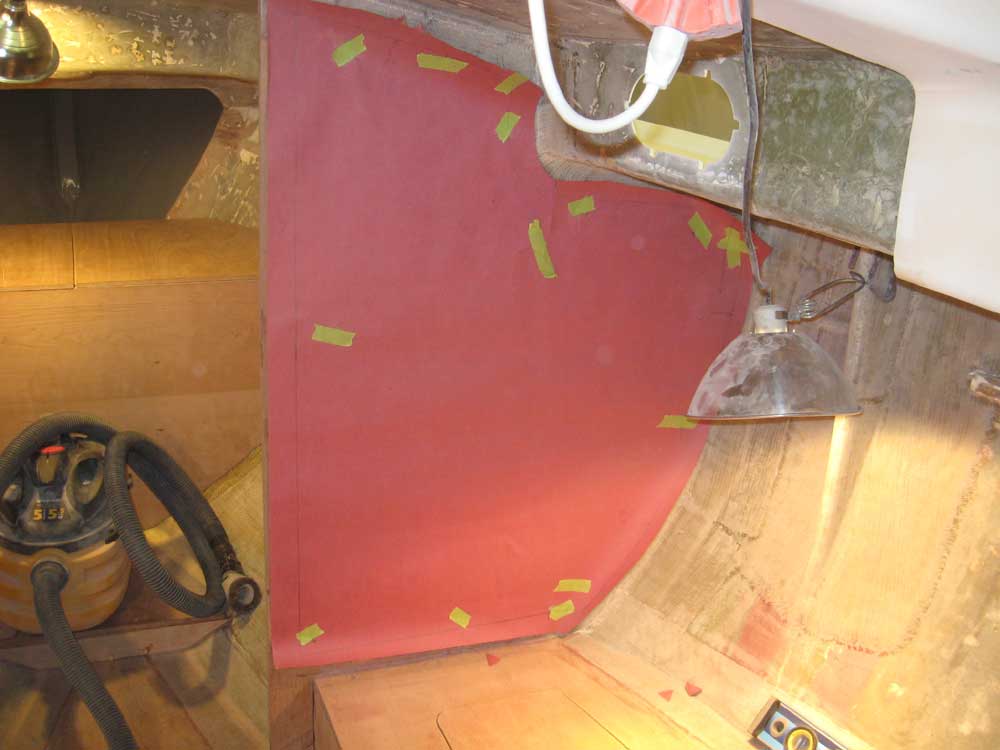
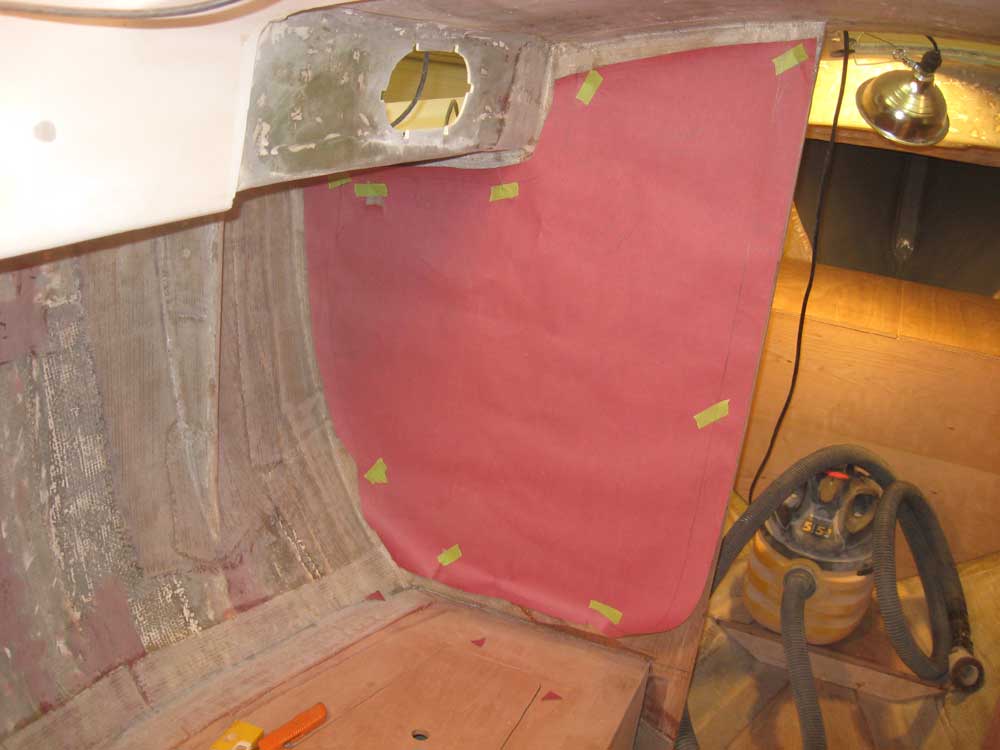
I finished up the day by making some patterns of the aft faces of the main bulkhead, and the small section of after bulkhead above the galley countertop. I'd use these patterns to cut the finish veneer from 1/4" cherry plywood. I was able to re-use the rosin paper patterns I'd made of the original main bulkhead earlier in the construction process, though slightly modified and re-marked for their new use. |
 |
|
|
|