

| Circe
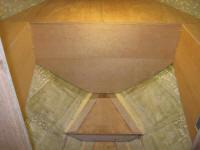
| Wednesday, November 4, 2009 Next on the pecking order was the countertops over the new vanity cabinets in the head. To begin, I cut and installed hardwood cleats on the transverse bulkheads and along the inner edge of the vanity cabinet to support the countertop. |
|
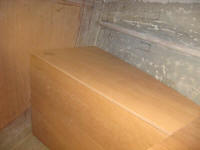
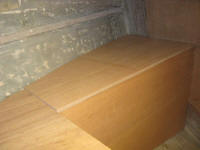
I cut sections of 12mm Meranti plywood somewhat oversize, incorporated a rough approximation of the hull curvature on one side, and fit the countertops for scribing, which took two or three iterations before the fit was satisfactory against the hull and bulkhead tabbing. Then, I marked the excess where it overhung the cabinet front, and trimmed it away. I repeated this process on both sides. |
 |
|
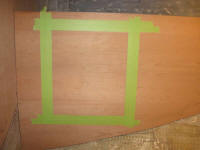
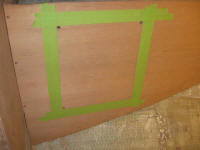
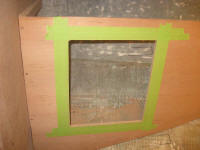
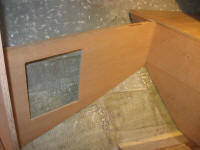
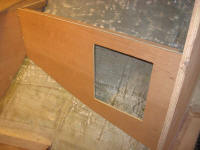
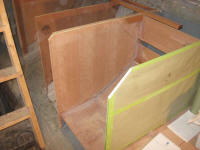
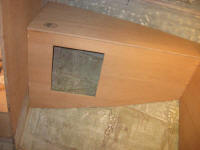
For the moment, this was all the cabinet work I could do in the head; the upper cabinets, both above the vanity and above the tankage space, would have to wait until (a) the tanks were received and installed and (b) until we made a decision on the countertop material to use, since the upper cabinets would build directly off the finished countertop. While the vanity spaces were still open, I laid out door openings on each side. Because of the extremely tapered shape of the cabinet face, I thought it might look odd to install two very differently-sized doors, as would be required, so I settled on one fairly large opening that provided good access to the entire inside of the locker, both for storage as well as the utilitarian needs of future plumbing and wiring, some of which would have to eventually run through these cabinets. I marked the door opening and then outlined the border with tape, in part to increase visibility and in part to protect the cherry from the saw during the cut. I cut holes at each corner to create a finished radius, and then cut out the openings on each side. While I had the saw up there, I cut off the sharp angles on the corners of the stove cabinet, which I'd marked much earlier. (The angles are parallel and even, but the forward bulkhead extends 3" higher than the aft.) |
  |
|
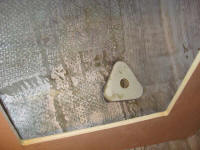
Now that the cabinets were in place, I could locate and begin to install a through hull fitting for the head sink drain. First, though, I needed more backing plates: I'd only cut enough for the through hulls at the aft end of the boat, since at the time I'd not known exactly what or how many fittings would be required elsewhere. From 3/4" G-10 laminate, I cut a pair of backing blocks for two additional 3/4" seacocks, one of which was for the sink (the other for the head intake; I'd already cut the head discharge pad earlier). I smoothed out the pads and drilled holes for the through hull fittings. |
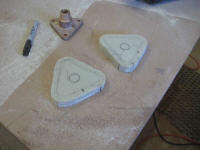
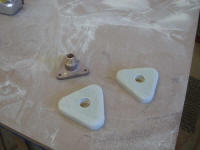 |
|
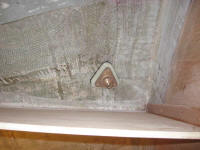
The owner requested a sink in the starboard vanity, so with a fully-assembled valve and backing block in hand, I determined where to place the fitting. The angle of the hull was steep, which had some effect on the placement of the valve assembly, to ensure that I'd have room to install the hose and drill and install for flange bolts. I considered equipping the flange with a 90° fitting, as I had chosen on the cockpit scuppers earlier, but in the end I found a location that worked well without requiring the extra fitting. |
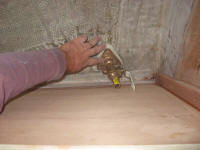
 |
|
I drilled a pilot hole and then bored the correct-sized hole from outside the boat. Then, I installed the backing pad in thickened epoxy adhesive. I also installed cherry bungs in the fastener holes as needed in the head compartment. |
 |
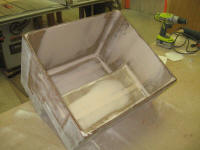
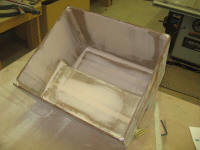
| With a Scotch-Brite pad and water, I washed the resin-coated inside of the icebox, dried it, and then sanded it. Before continuing with one or two final coats of resin, I wanted to smooth out some of the inside corners, so I mixed some smooth fairing compound for the job and smoothed it into the corners. I used up the leftovers on a skim coat over some of the inside surfaces of the icebox. While I was at it, I sanded and applied more epoxy to the edge of the galley sink opening, and wrapped up the day by preparing tools and equipment for installing through hulls, which I expected to do tomorrow. |
 |
|