
110 Cookson Lane | Whitefield, ME 04353 | 207-232-7600 | tim@lackeysailing.com
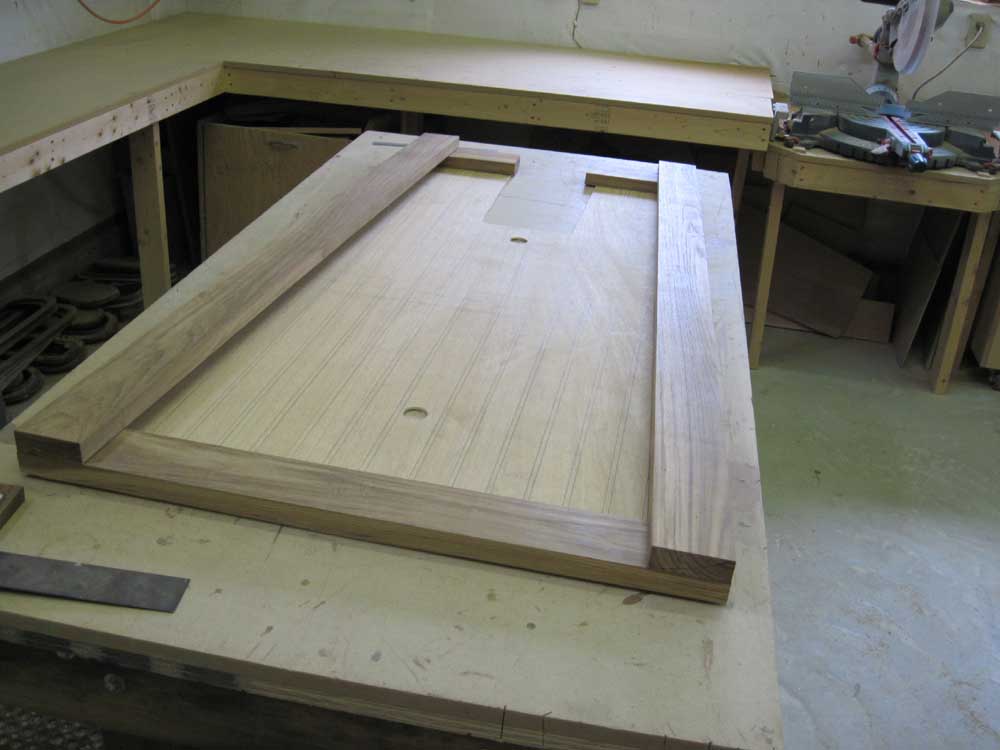
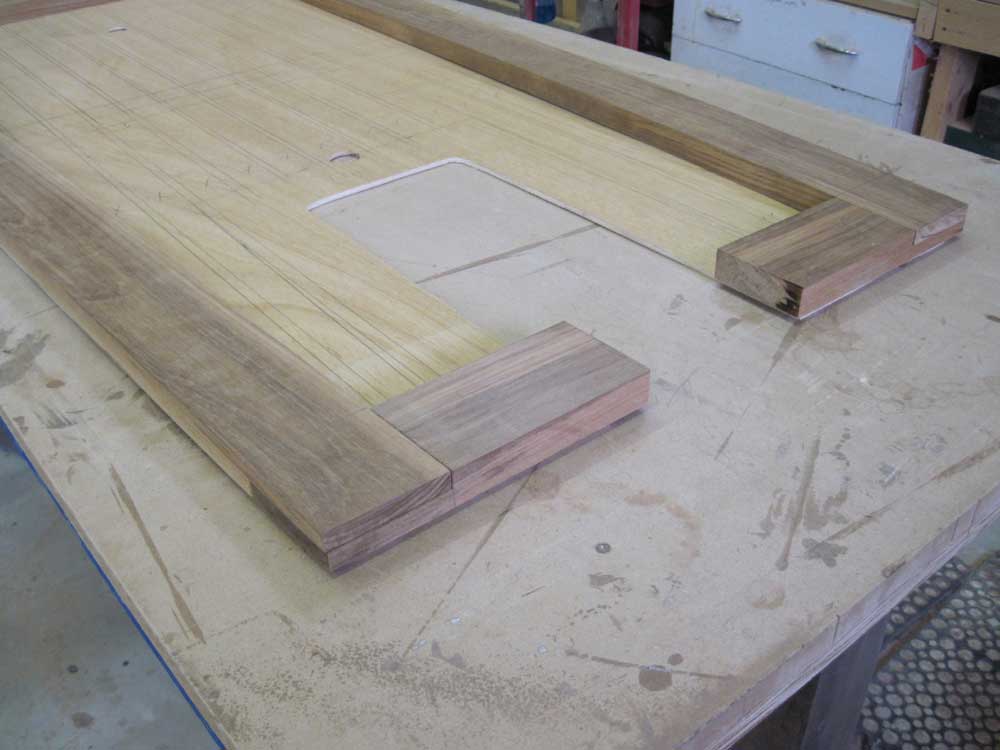
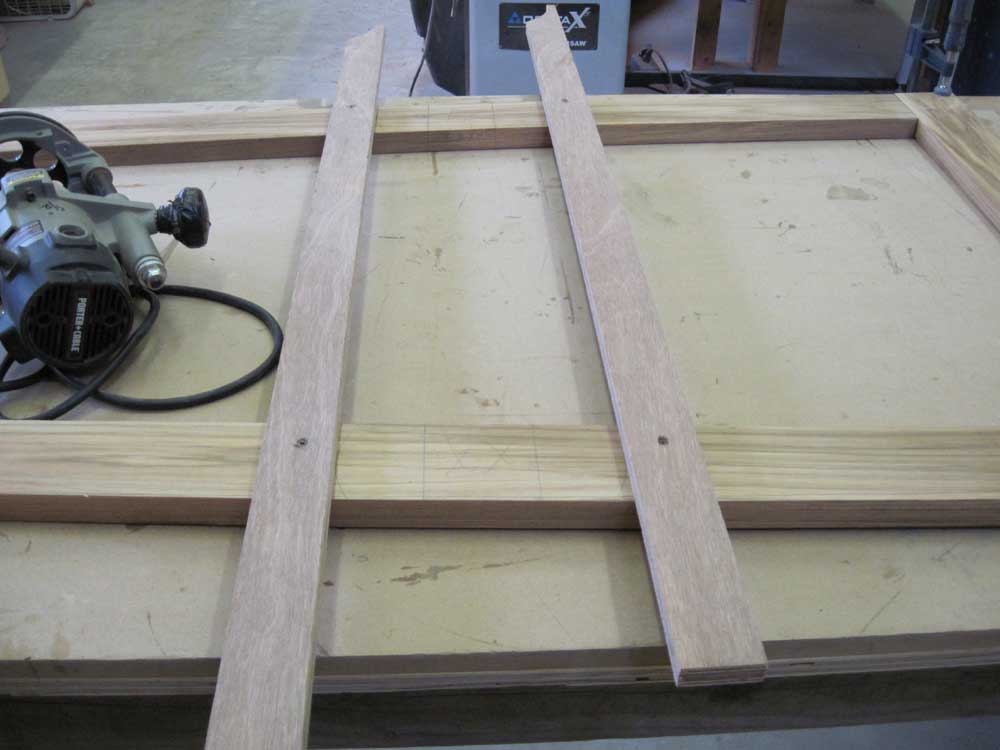
With all the basic pieces cut, I continued with the cockpit grate construction. My first step was to rough-cut the 3-1/4" wide boards to the lengths required for the main frame pieces. I laid the rough-cut pieces out right on top of the template, where I'd already drawn in the basic outline of the frame.
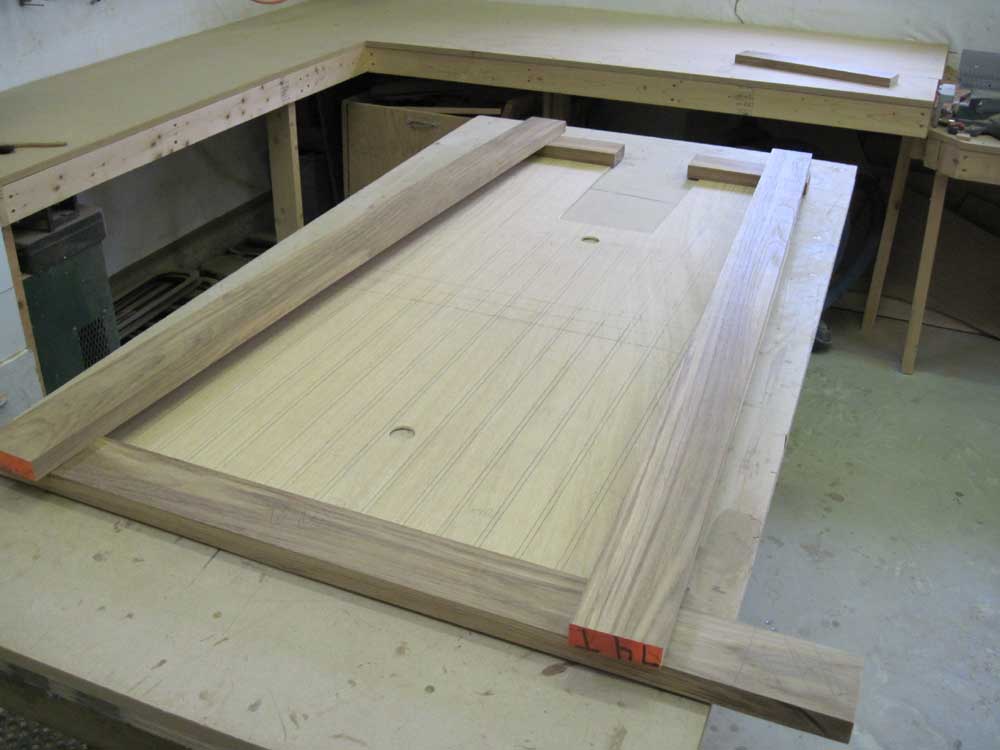 |
After aligning the pieces, I marked the overlaps and ends of each board, and cut them to length.
 |
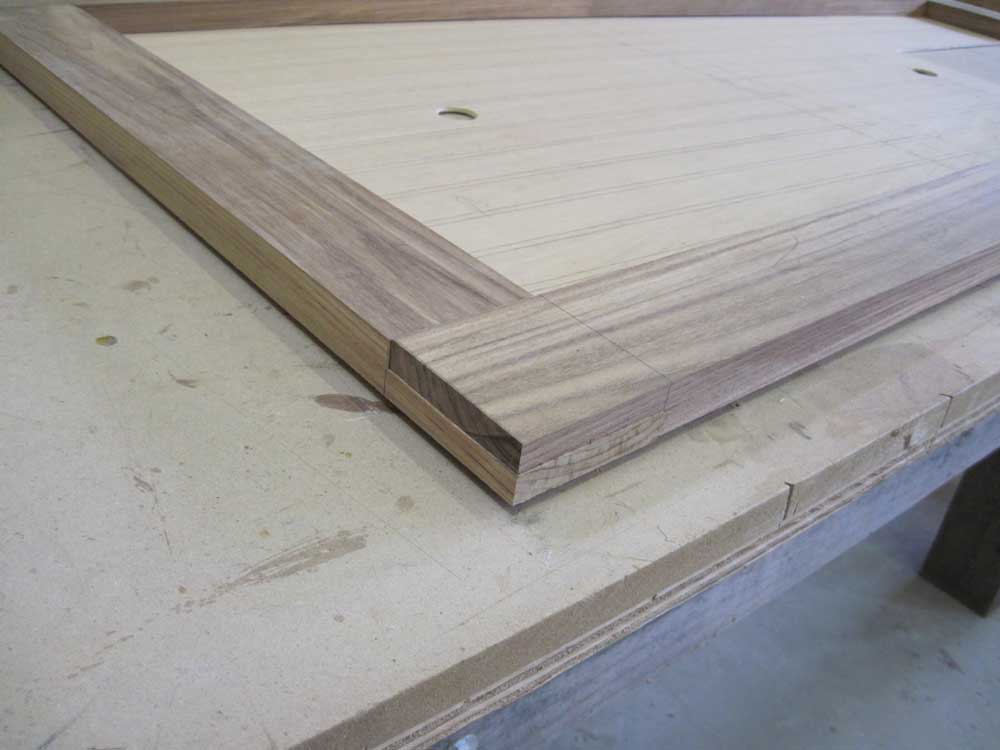
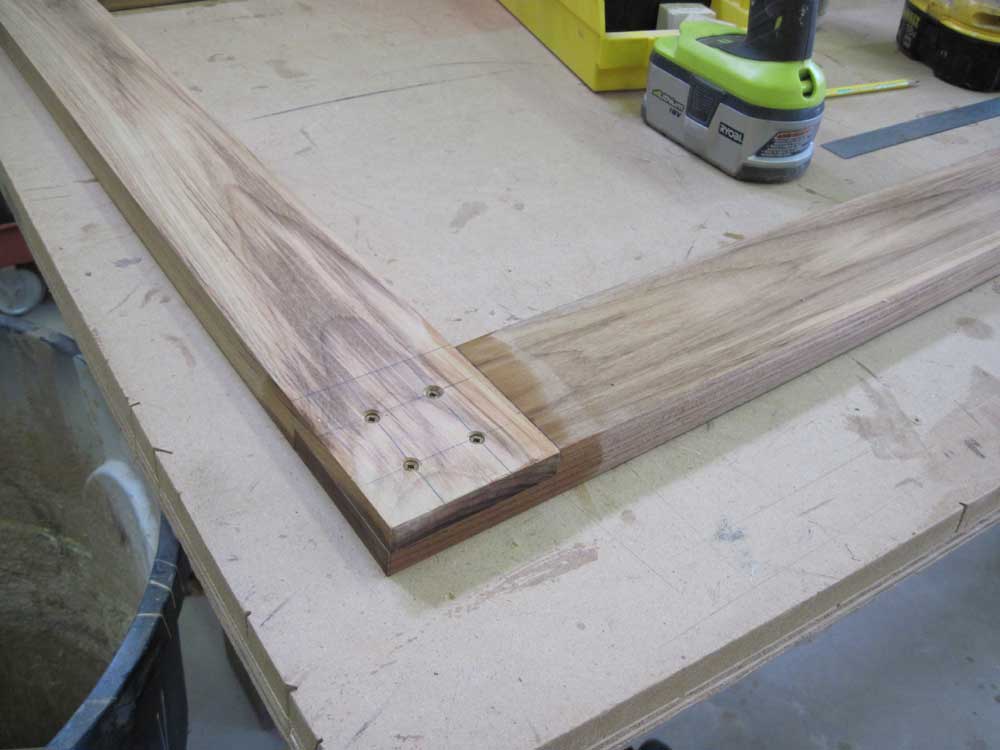
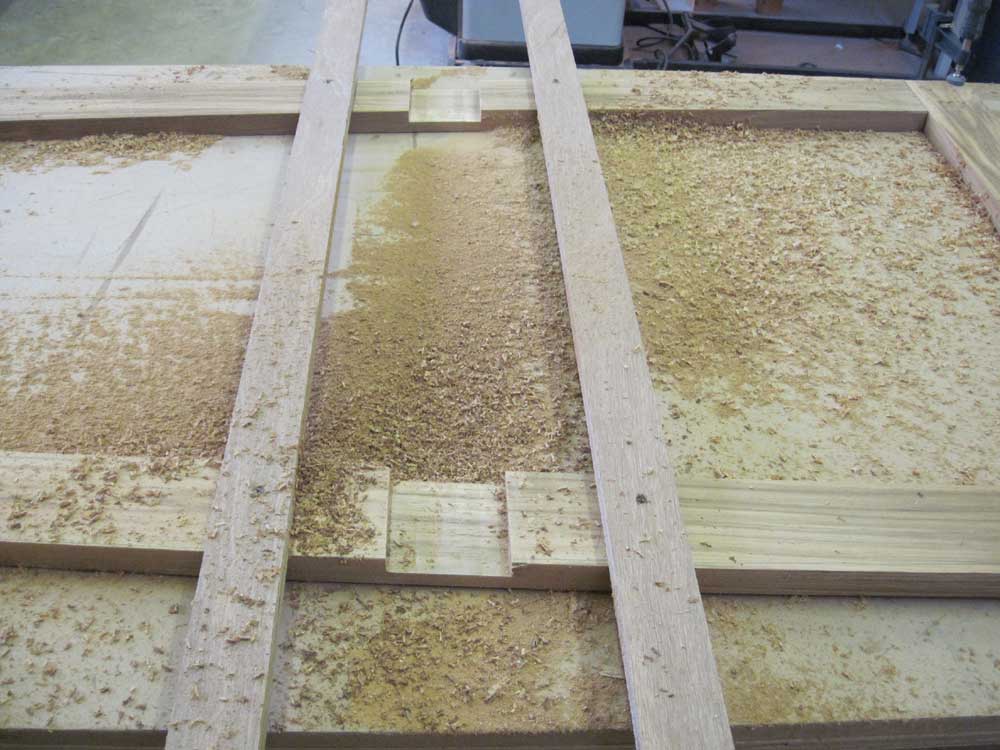
For strength in the corners, I chose to join the pieces with half-lap joints. This would provide plenty of glue surface, plus a convenient means of attaching screws to secure the pieces. I spent the remainder of the morning laying out and cutting all the half-laps for the four main corners.
Cut exactly halfway through the thickness of each board, each joint required an angled shoulder to match the angle formed at that particular corner of the grate.
 |
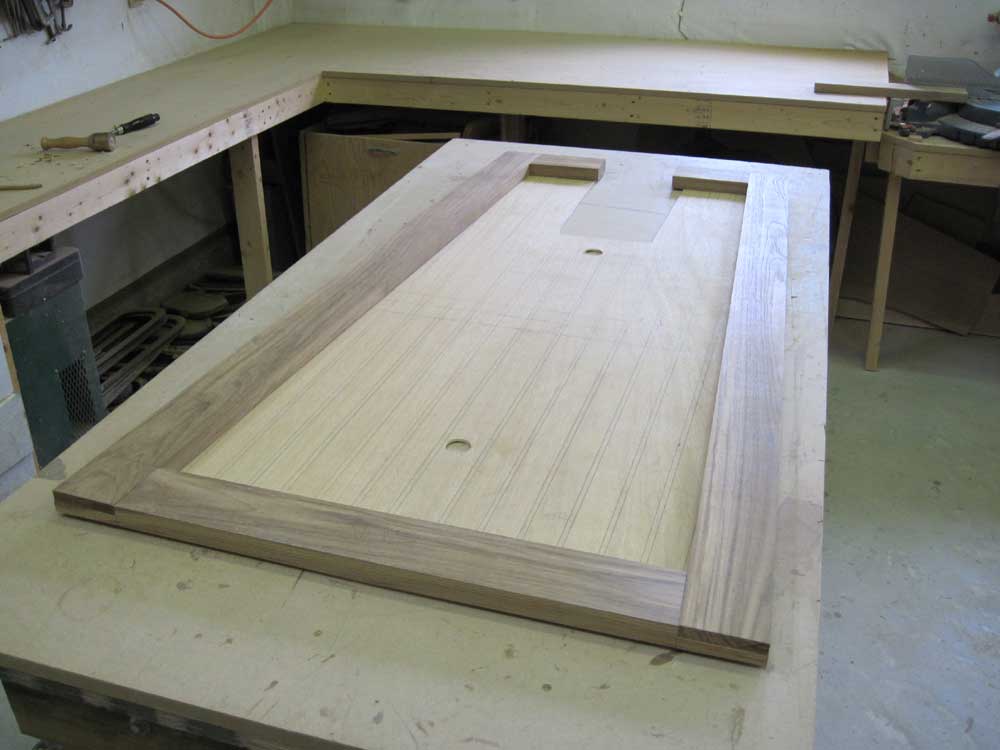
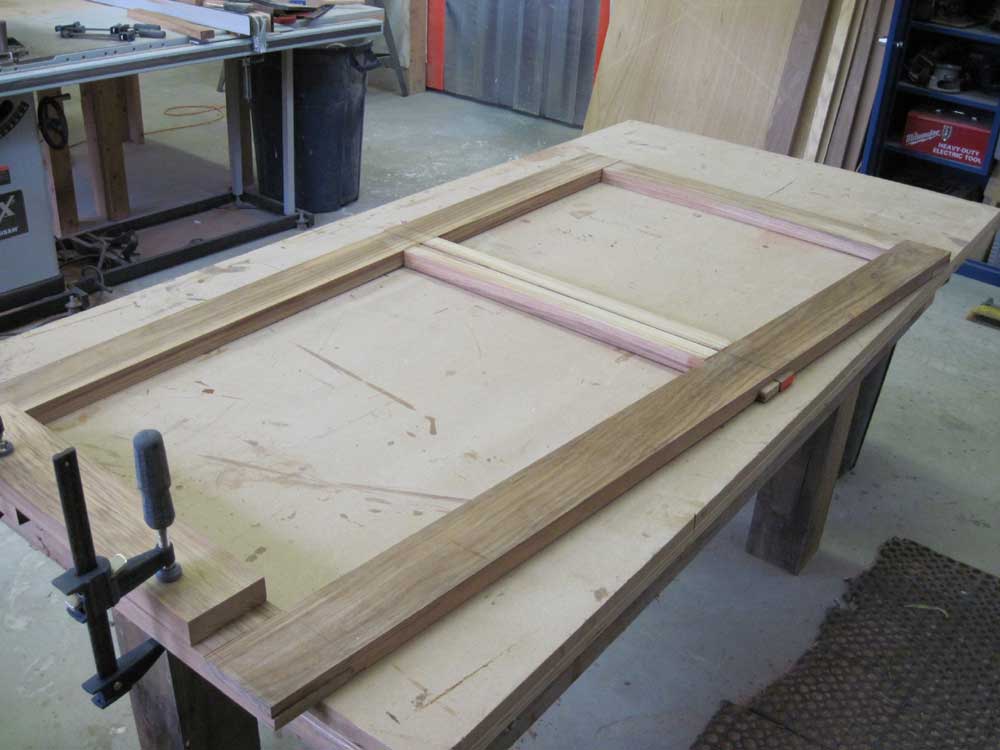
Once I had all the joints cut, I glued the main frame together. Because the teak grate would be unfinished, and out in the sunlight thusly unprotected, I couldn't use epoxy for the joints, so I chose a one-part waterproof glue instead, plus four bronze screws at each corner, driven in from the bottom side of the grate. I held the screw in far enough from the edges of the wood (I hoped) to keep them out of the way of the upcoming edge-trimming (to fit the outside of the grate to the template/cockpit shape) and also far enough in to allow for the required radius at the bottom edges of the grate frame, to match that of the cockpit molding itself.
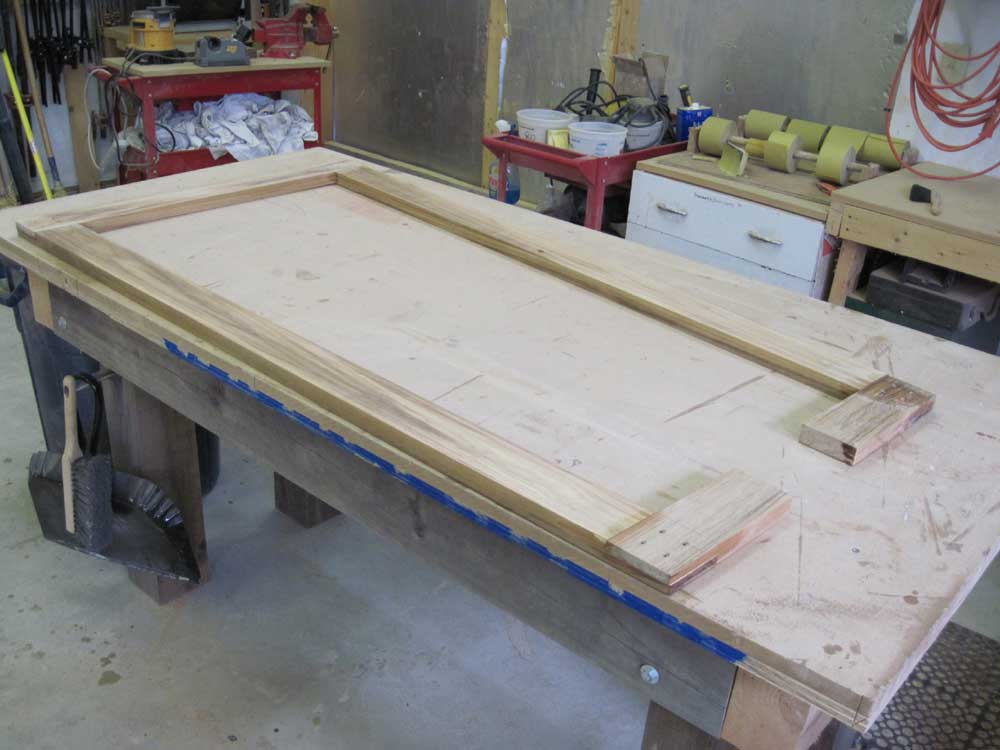 |
For the moment, I omitted the framework that would surround the rudder post cover: I felt it'd be better to lay out and install these pieces on another day, once the main frame was done. Plus, the size of the side pieces would depend, in part, upon the exact layout of the teak slats. To hold the glued-up frame at the aft end for the moment, I clamped a piece of scrap across the opening.
After allowing the glued joints to cure over lunch break, I could carefully continue work on the frame. My next step was to install the two intermediate frame pieces that could eventually define the two distinct sections of the grate, where the grate would be cut in two. With the template as a guide, I laid out the position of these two 1-1/2" wide frame members, and, after additional layout, marked and cut half-laps on the ends of the two boards.
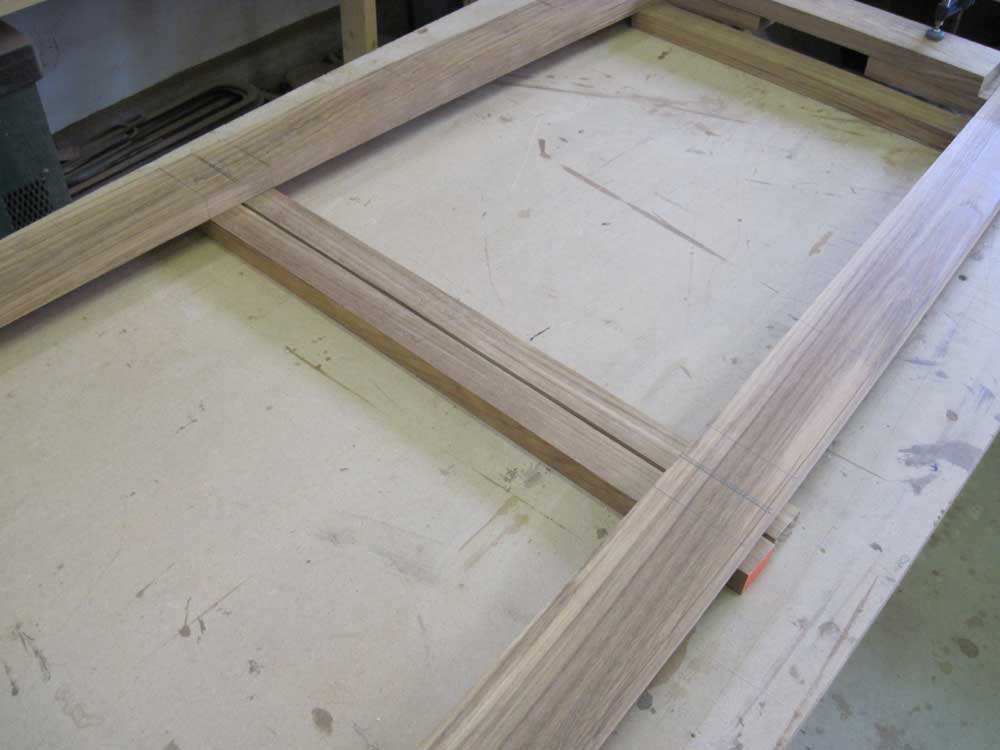 |
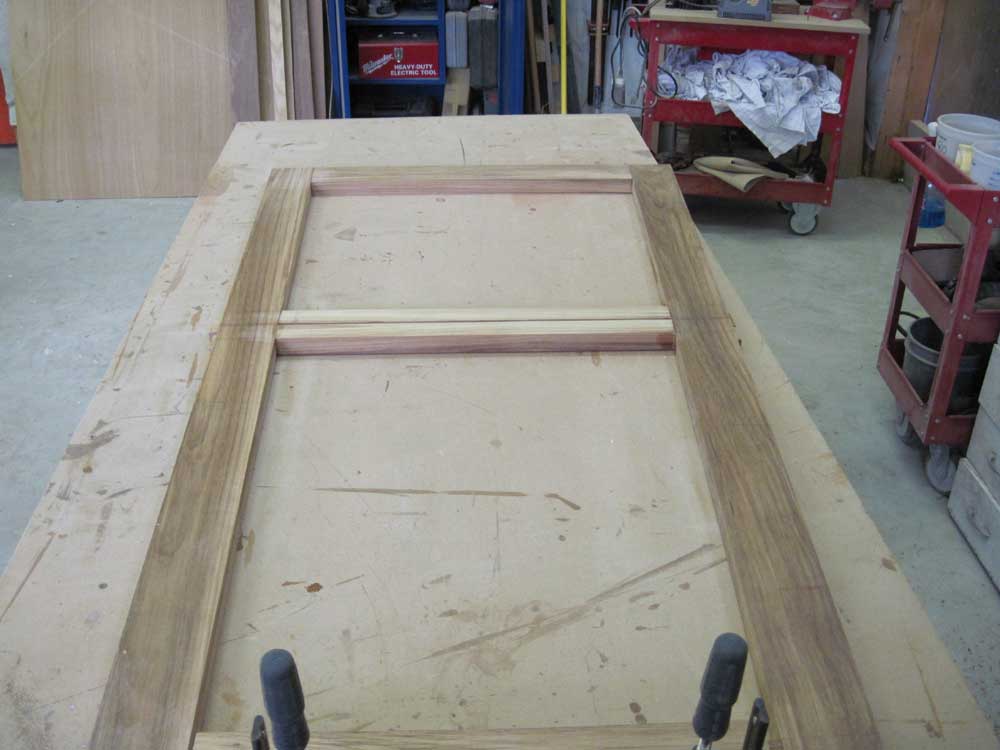
To cut the corresponding lap on the underside of the frame where the new pieces would fit, I used a router to plow out the material, after laying out and installing a pair of temporary guides for the router base.
 |
With the cuts complete, I secured the new frame members with glue and screws. The excess length would be trimmed during a later step, when I trimmed the edges of the frame to match the template. I left the assembly to dry overnight before continuing.

 |
Total Time on This Job Today: 5.25 hours
