| Circe
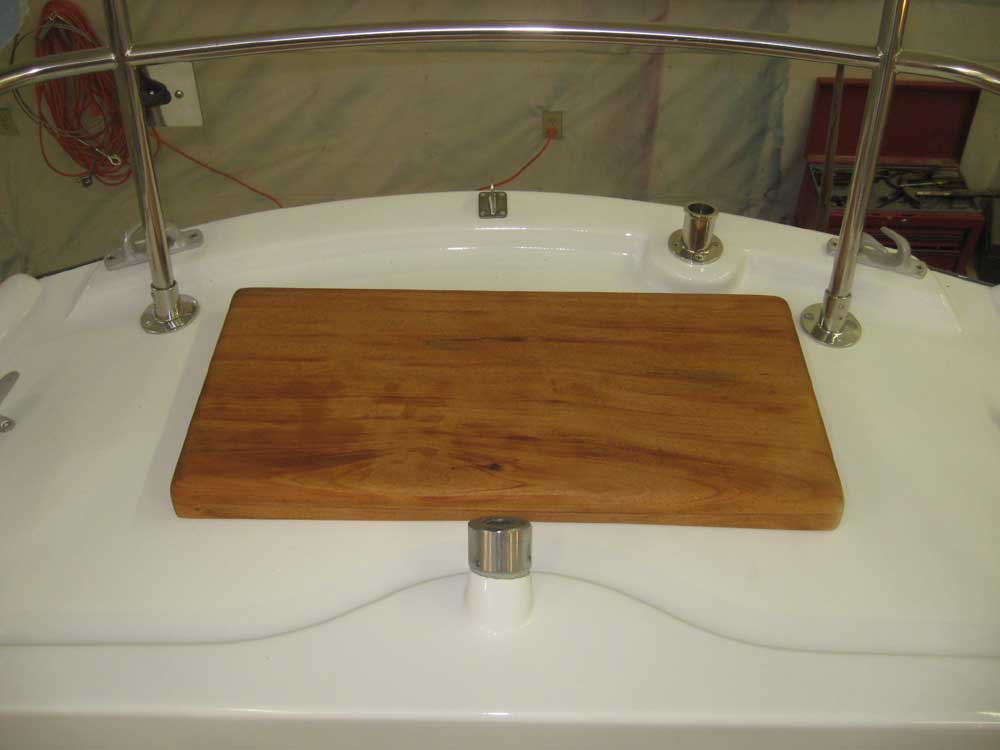
| Monday, March 15, 2010 To begin, I trimmed the overhang from the top of the lazarette hatch that I glued up last week, and then spent some time milling round-over details on the top and corners, and sanding the entire assembly smooth through 220 grit to prepare it for varnish. After a test-fit (shown here still dampened from paint thinner I used to remove sanding dust), I applied the first coat of varnish inside and out. |
|
|
|
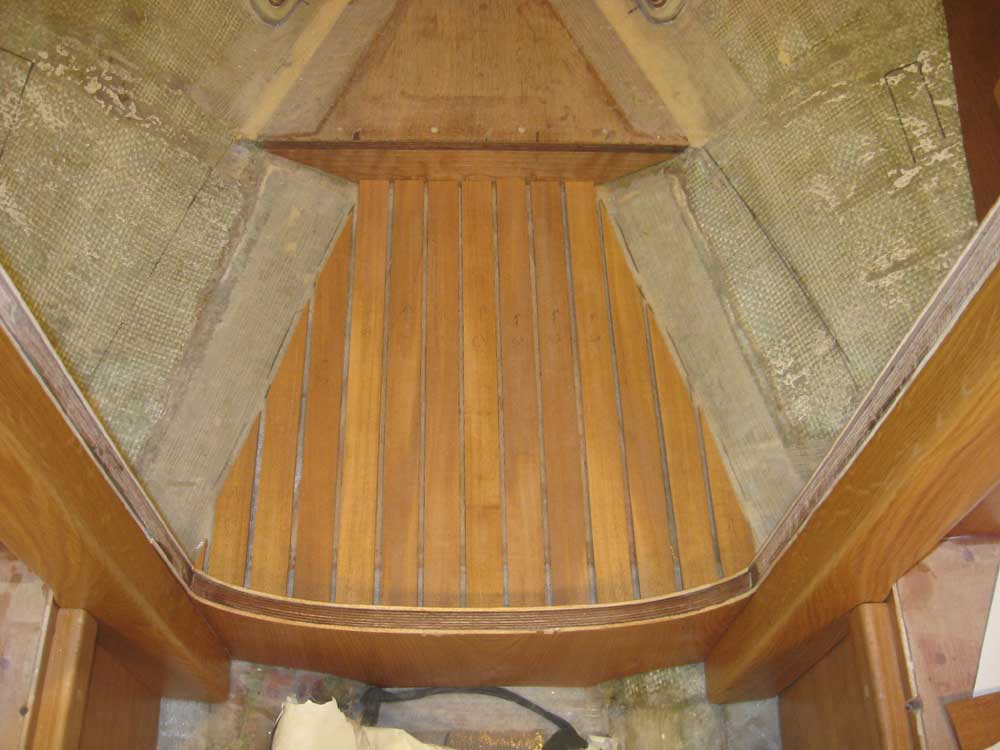
I spent the remainder of the day on the cabin sole. I thought I'd begin in the head and work my way aft. A few weeks ago, we'd decided to apply wooden sole material to only the lower head sole, with paint to cover the remaining areas; I also planned to wrap the wood sole up the side of the hull adjacent to the lower section, till it was even with the height of the upper platform. I decided the best way to proceed with the sole in both the head and the main cabin was to install it in a couple stages: first, the flat sections on the plywood substrates; then the more labor-intensive angled and curved areas as the sole wrapped up the side of the hull. To that end, after some initial layout to find the centerline, I cut and fitted the various pieces required to cover the head sole, leaving 1/4" seams between the 1/4" thick planks of Honduras mahogany, which gaps I'd later fill with black-colored epoxy. |
 |
|
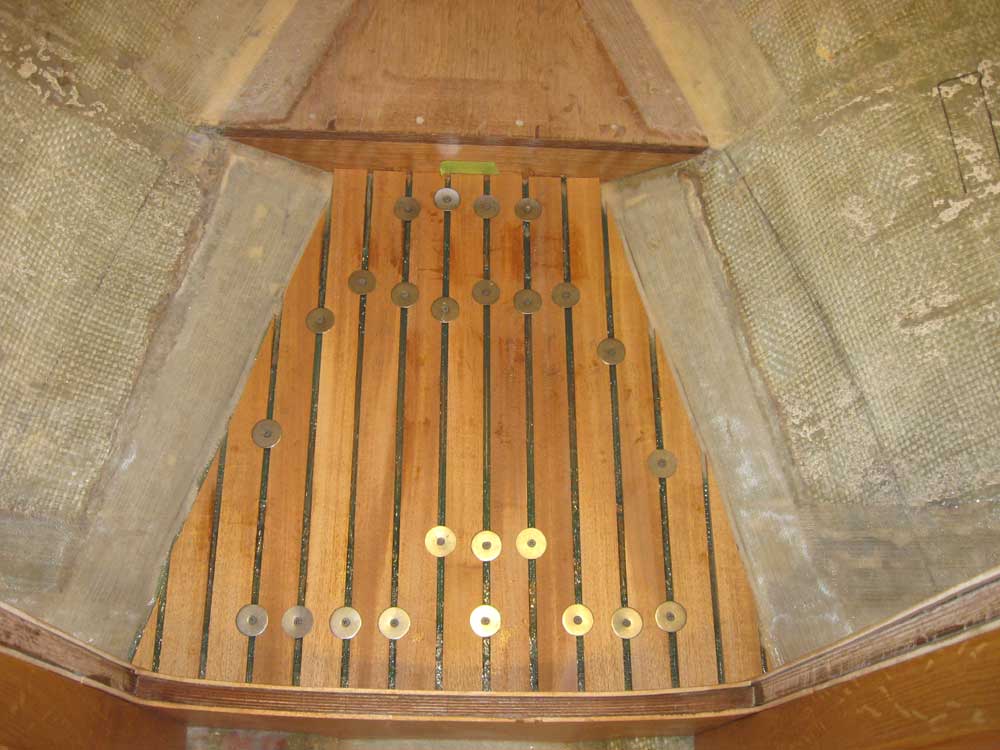
Once I had all the pieces cut laid out, I removed them, cleaned up the planks and the substrate, and installed the planks permanently in epoxy adhesive, using screws and large washers driven between the planks to hold them tightly in place as required. Once this section cured, I'd go back and lay out and cut the pieces to run up the adjacent hull. |
 |
|
In the main saloon, I followed a similar process, though the layout was quicker here since there were (at this time, at least) fewer cuts required. I left the planks overlong so they ran into the bilge access hatch openings; later, after installation, I'd trim these off. Here, I decided to install only the straight, "easy" pieces for now, other than a pair of long strips that required angled cuts on their forward ends to match the shape of the hull. I thought it'd be easier to do the remaining custom-cut pieces separately in another operation, to limit how many pieces I was trying to lay out and install all at one time, and to ensure that the critical center layout remained straight and true. With the pieces cut, I installed them in epoxy adhesive, as in the head, and secured the planks with screws and washers or, in some areas where possible, clamps. |
 |
|
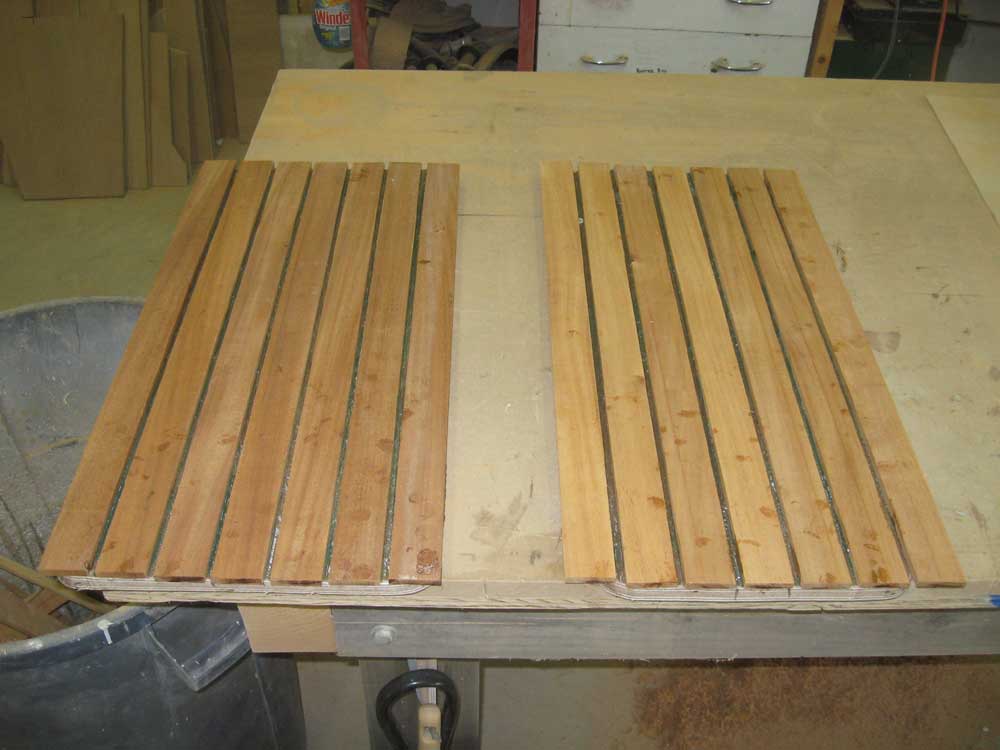
With the bilge locker panels down on the bench, I cut and glued in place the planks, which followed the same layout as the main body of the sole. I let these planks run long over the ends and sides of the hatches as they saw fit, for later trimming. These pieces stayed tightly in place without a need for screws or clamps. |
 |
|
Also throughout the day, I applied a couple more coats of tung oil to the ceiling as time and fortune allowed. I'd continue this process till I felt the buildup was where I wanted it. |
|
|
|