

| Circe
| Monday, March 1, 2010 I spent the morning working on trim--this time, installing the trim that I'd milled and finished last week. I'd precut many of the pieces for the head compartment earlier, during initial fitting, so installation went quickly. I installed the various corner beads with glue and stainless brads. |
|
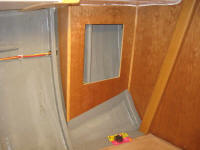
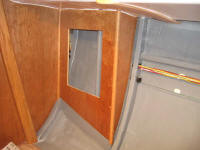
Similarly, I installed inside and outside corner moldings where needed in the main cabin, cutting some of them to length as required as I went. In most cases, I could let the bottom end of the moldings run a bit long, down into the area that would be later covered by the cherry hull ceiling. |
 |
|
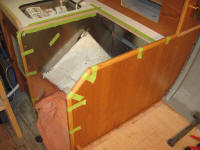
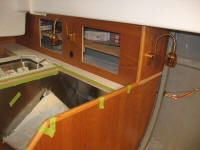
Next, I focused on the trim around the galley stove. As needed, I cut and fit the U-shaped pieces to cover the edge of the plywood surrounding the stove area, and added additional trim as required at the short vertical edge of the upper cabinet, and across a seam in the bulkhead towards the hull. The lower front edges of the stove surround required different, though complementary, trim, as the trim here needed to accommodate the removable panel to access the foot pump plumbing. I cut and shaped these pieces as required. Finally, with everything dry-fit, I glued the trim in place, using tape to hold it as the glue dried. |
 |
|
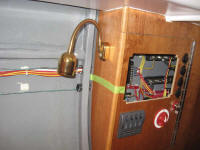
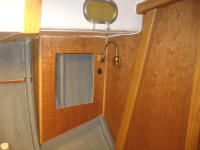
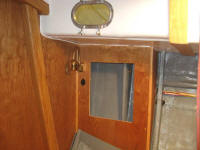
Next, I decided to work on the electrical trimout. The plan called for a light fixture on each side of the head; at the forward end of each settee; at the aft end of each settee; and in the galley, along with additional 12V outlets in the head, galley, and at the forward end of each settee. To that end, I began by determining where I wanted each item, then drilled the necessary holes and installed the base mounts for the light fixtures. Finally, I made up all the final connections to the outlets and light fixtures, installed each, and tied up the wiring as needed. The light fixtures were fussy to install. |
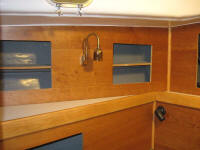
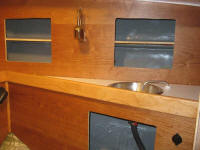 |
|
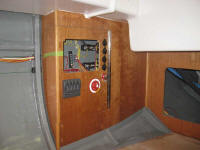
To end the day, I connected the engine wiring harness, a relatively simple task of connecting the plugs at each end to their respective partners at the engine gauge panel and on the engine itself. I tied up the extra cable next to the inside of the panel. |
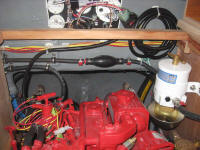 |
|