| Circe
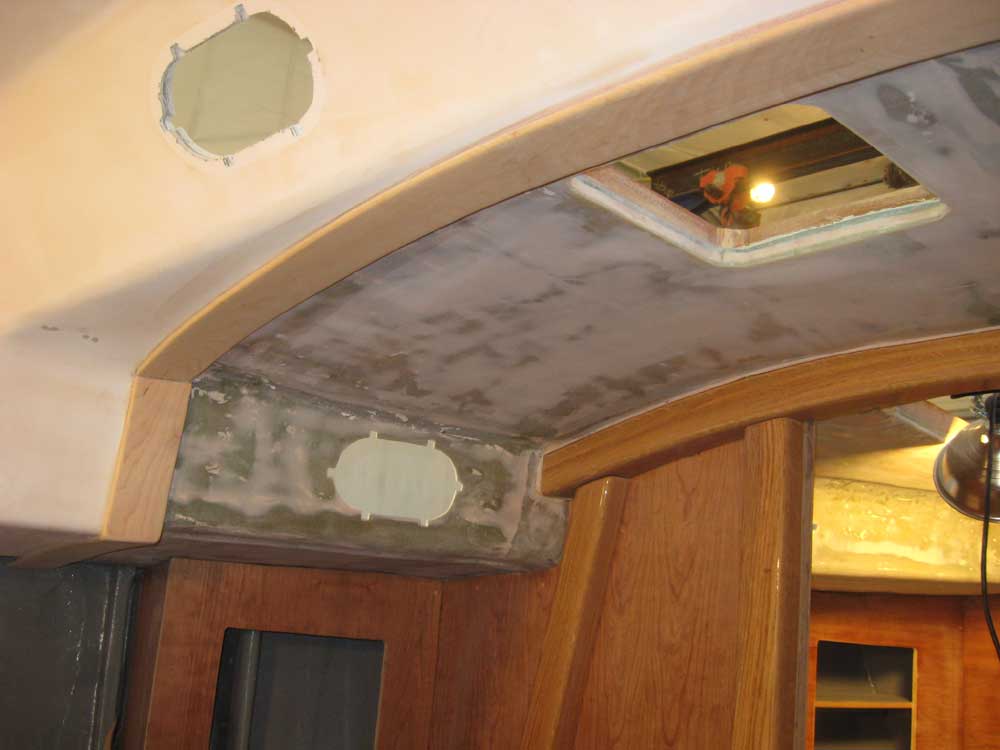
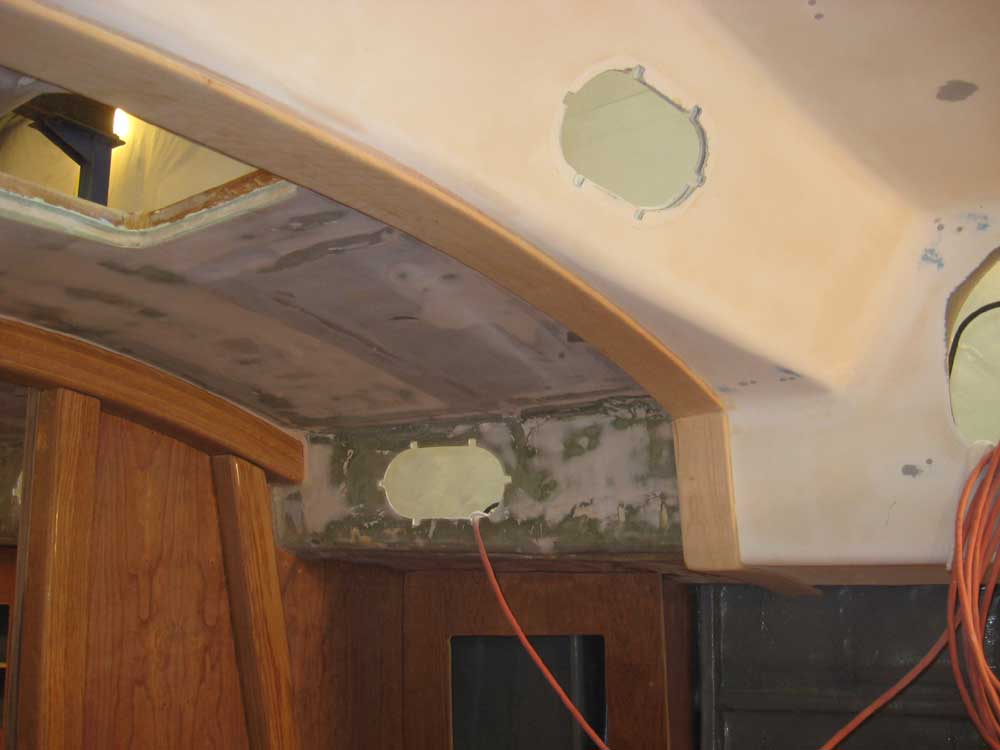
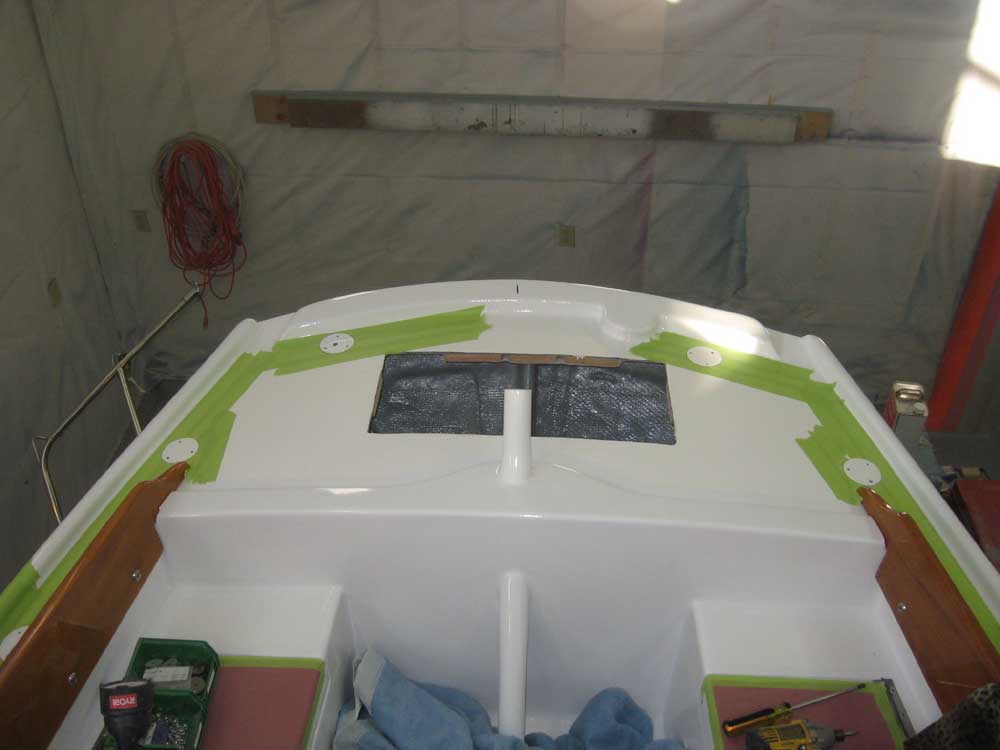
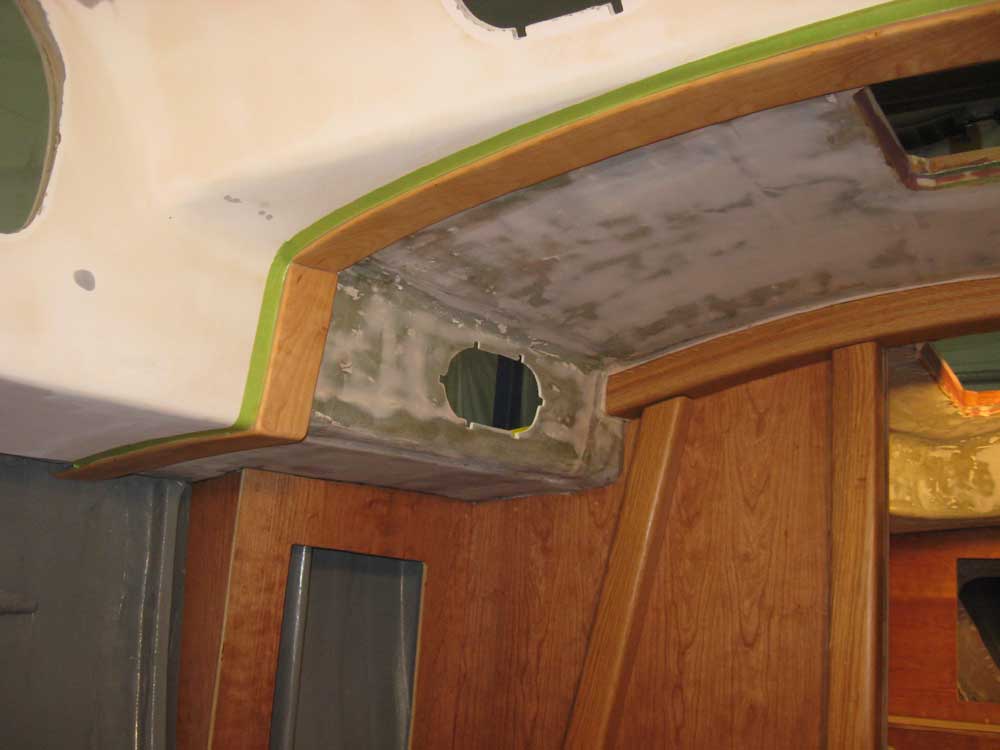
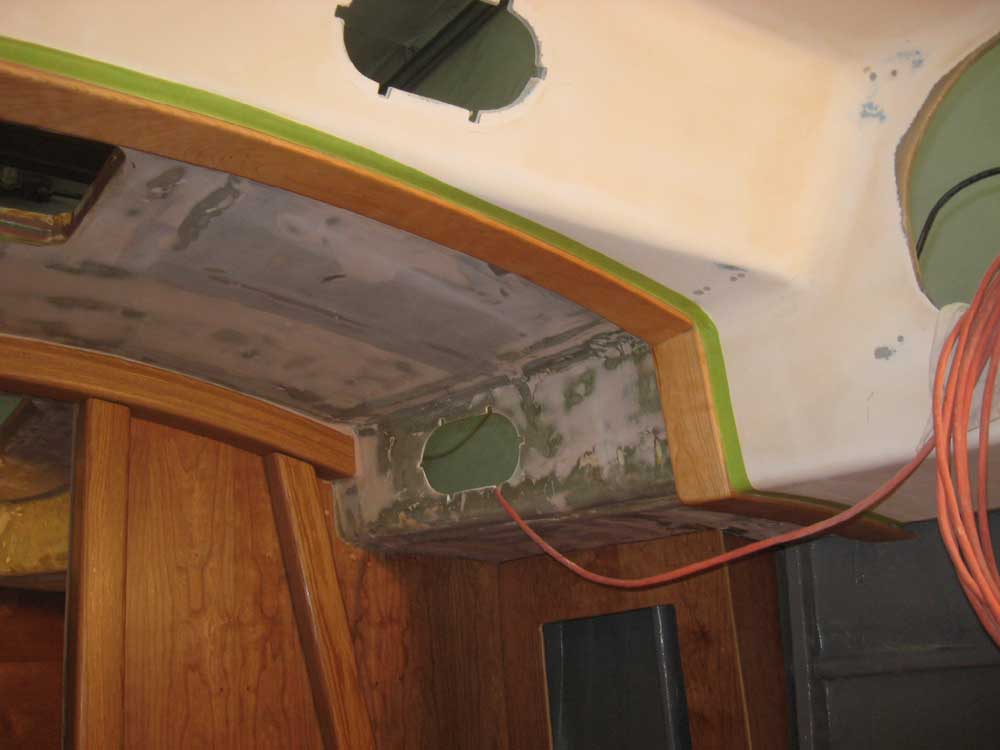
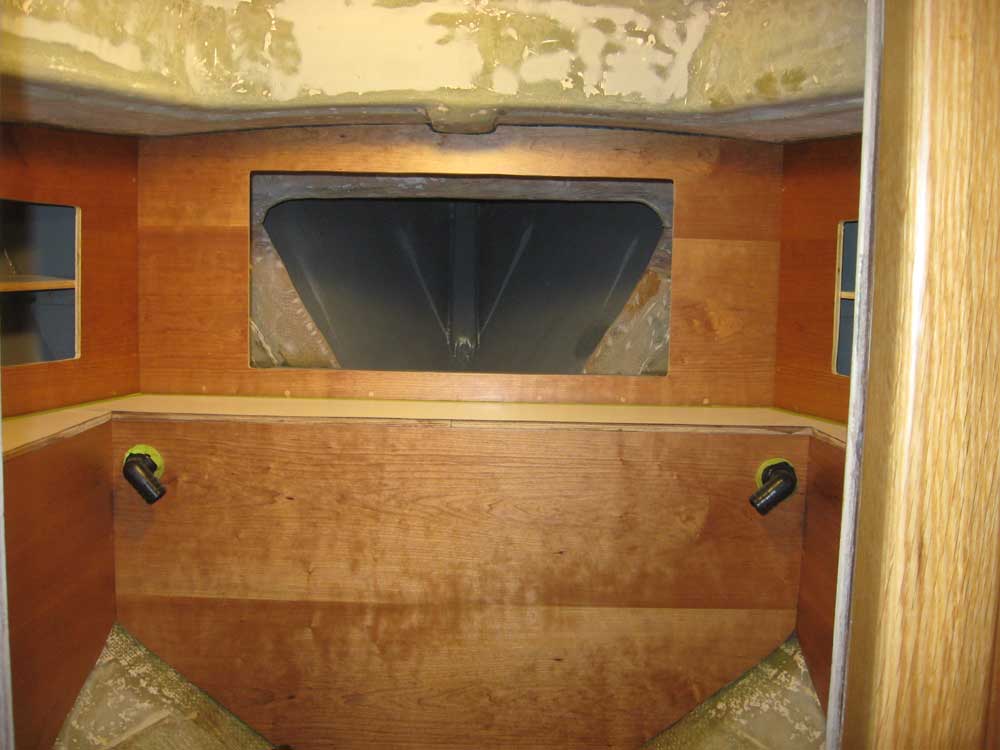
| Friday, January 29, 2010 I removed the masking tape and cleaned up the new overhead trim and surrounding area, sanding as necessary to remove epoxy residue and complete the shaping of the trim at the corners. |
|
|
|
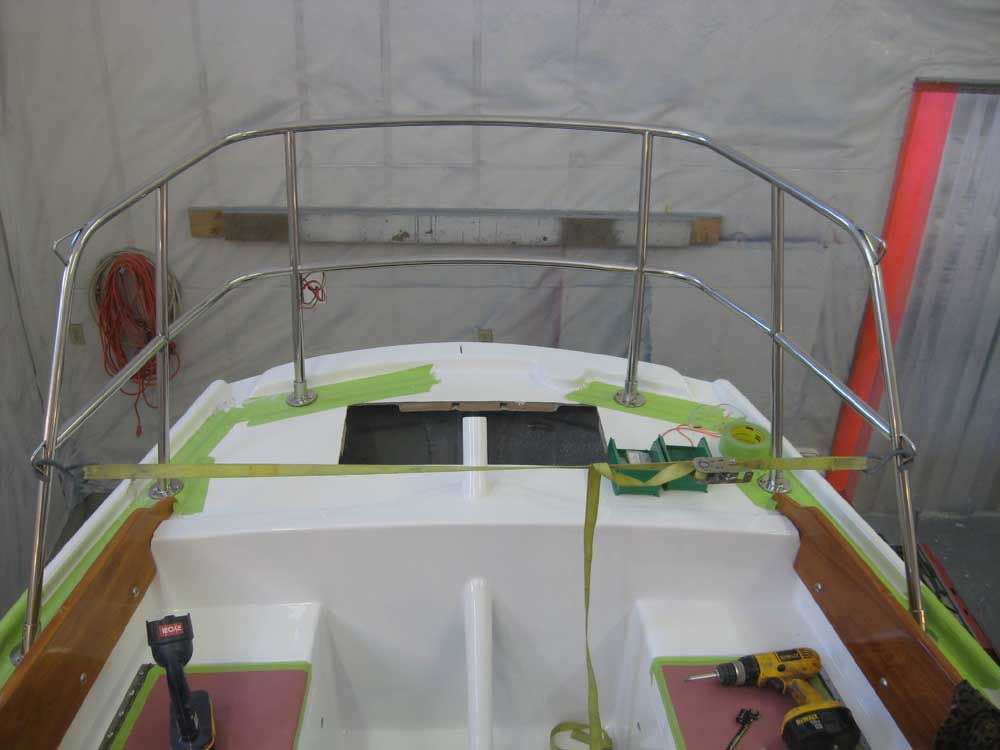
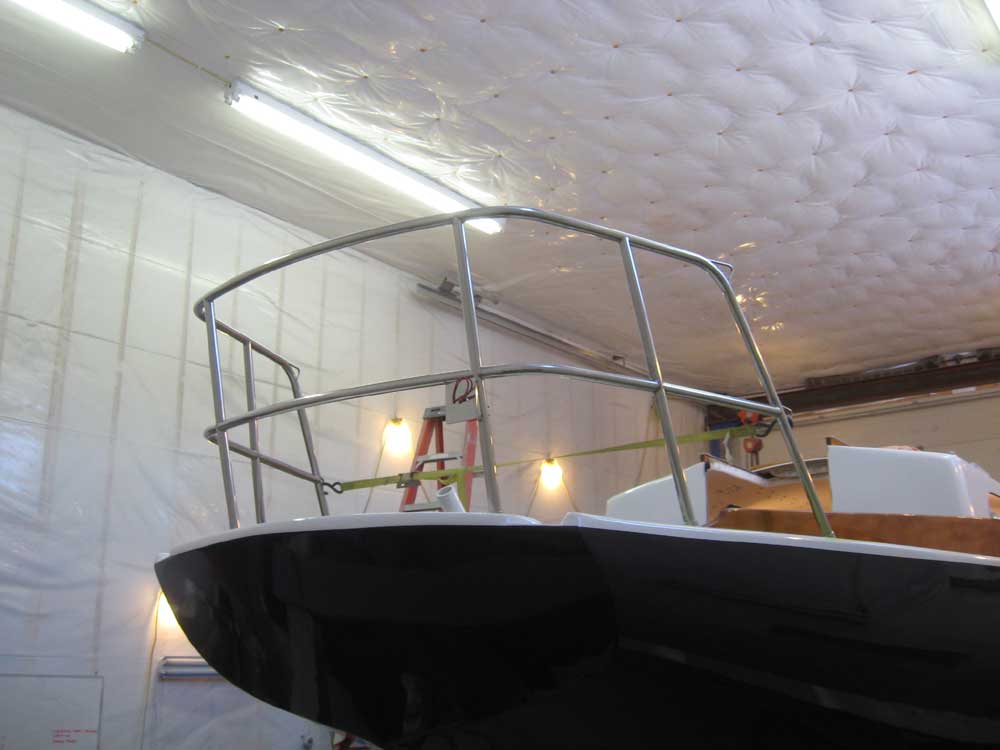
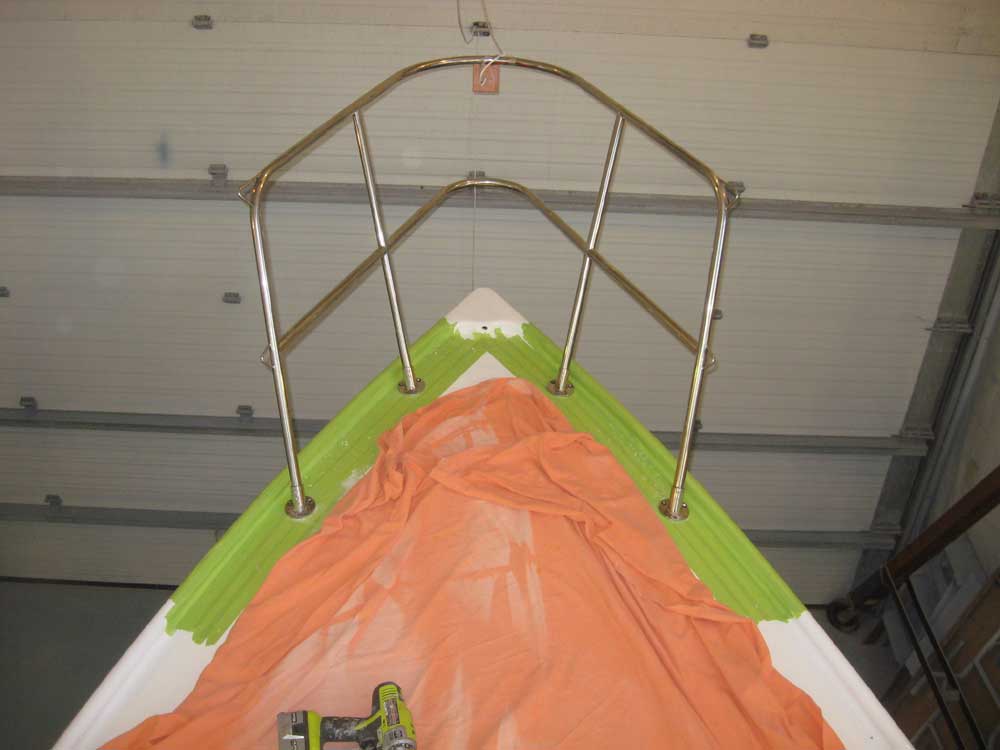
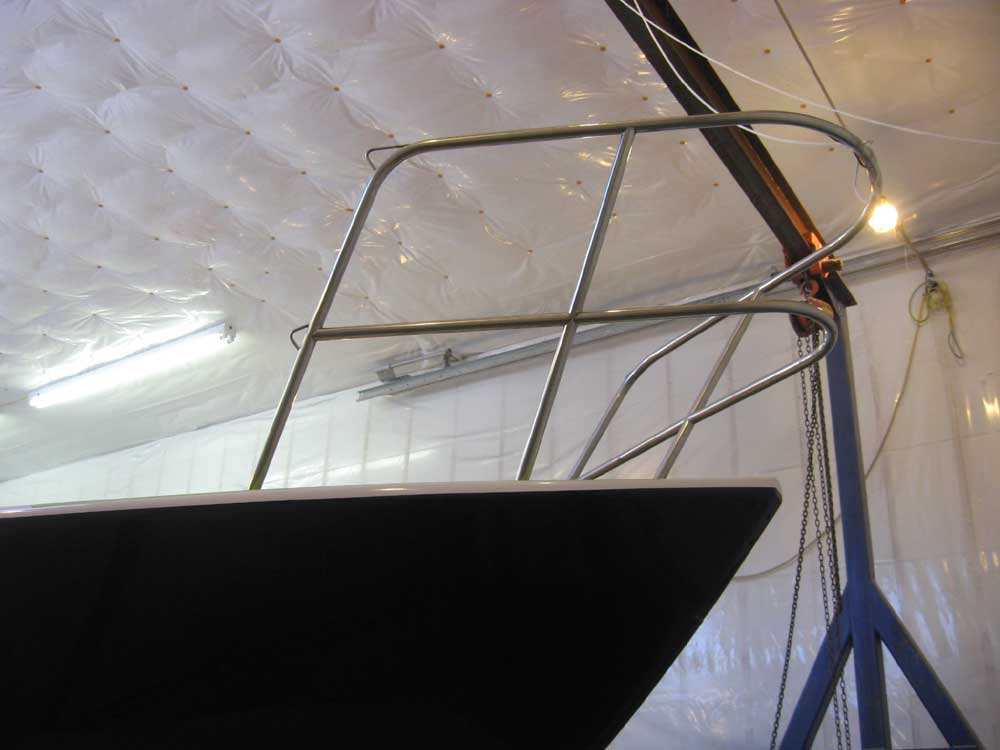
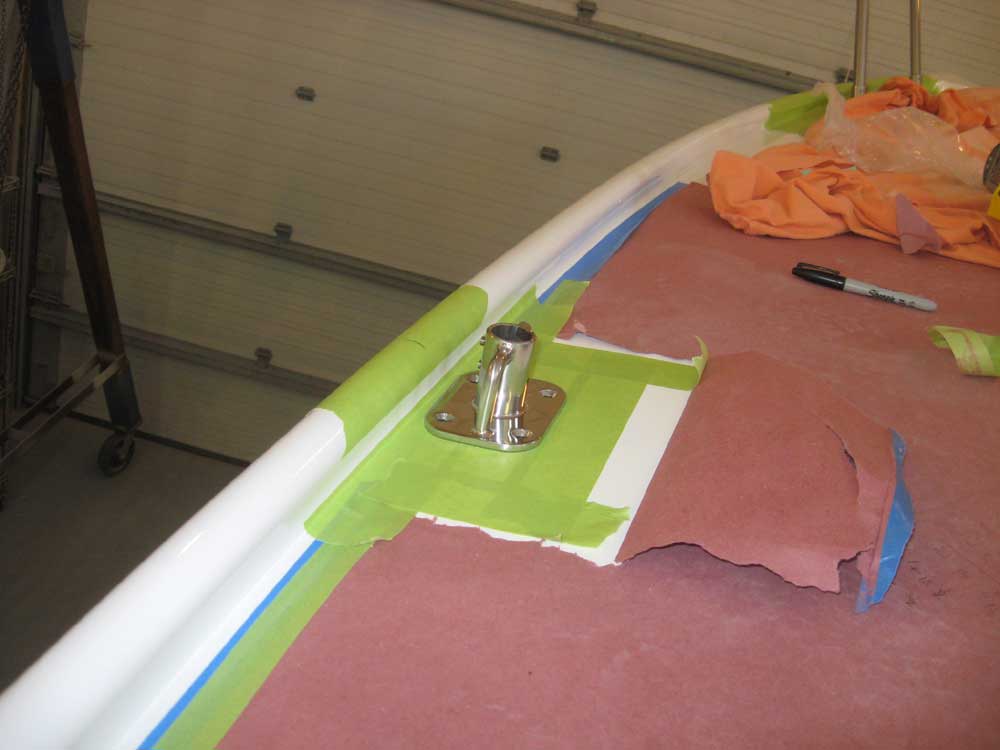
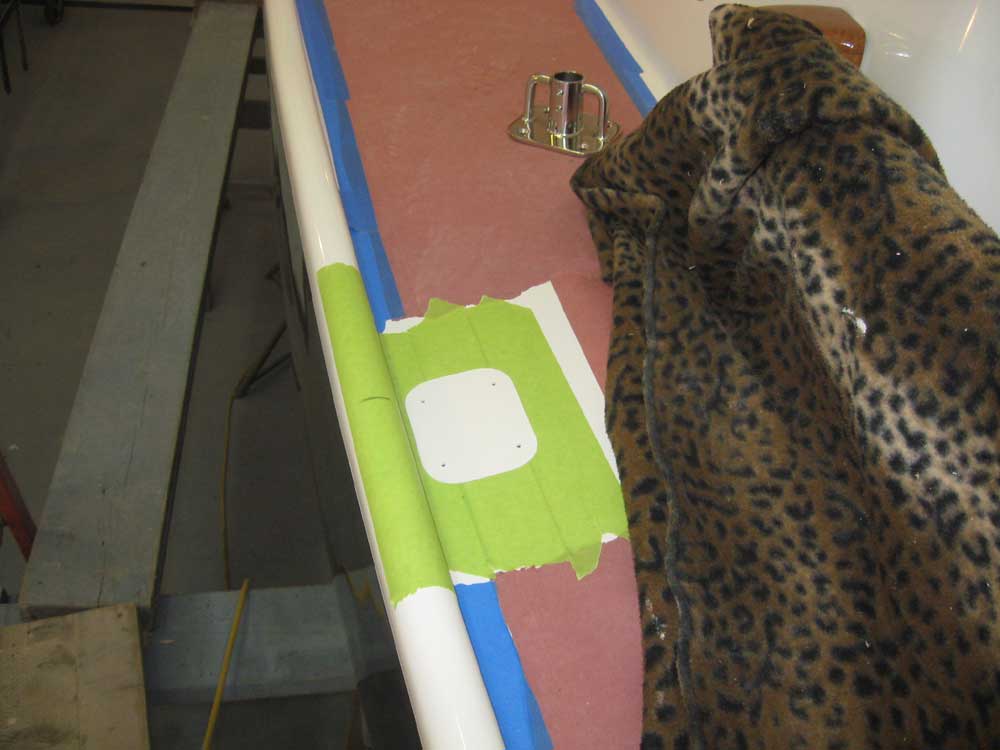
While I was at it, I completed some detail hand sanding on portions of the overhead liner, since all this work was leading up to the task of painting the overhead in the near future. Afterwards, I cleaned up the cabin and vacuumed the dust from all surfaces, since I'd be varnishing the cherry later in the day. I shifted directions and worked on the layout and beginnings of installation for the new bow pulpit, stern pulpit, and stanchions. I wanted to get these installed so that the rigger could come and measure for the new lifelines. After unwrapping the pulpits from their shipping packaging, I masked off portions of the deck in way of the pulpit bases and surrounds to protect the deck. I started with the stern pulpit. I found that the forward bases were slightly too wide apart, so I used a ratchet strap to pull the front edge together. After I aligned the pulpit accordingly, I temporarily secured it with one screw at each base location after drilling and tapping the deck for the machine screws. In this area of the boat, there was no deck core. |
 |
|
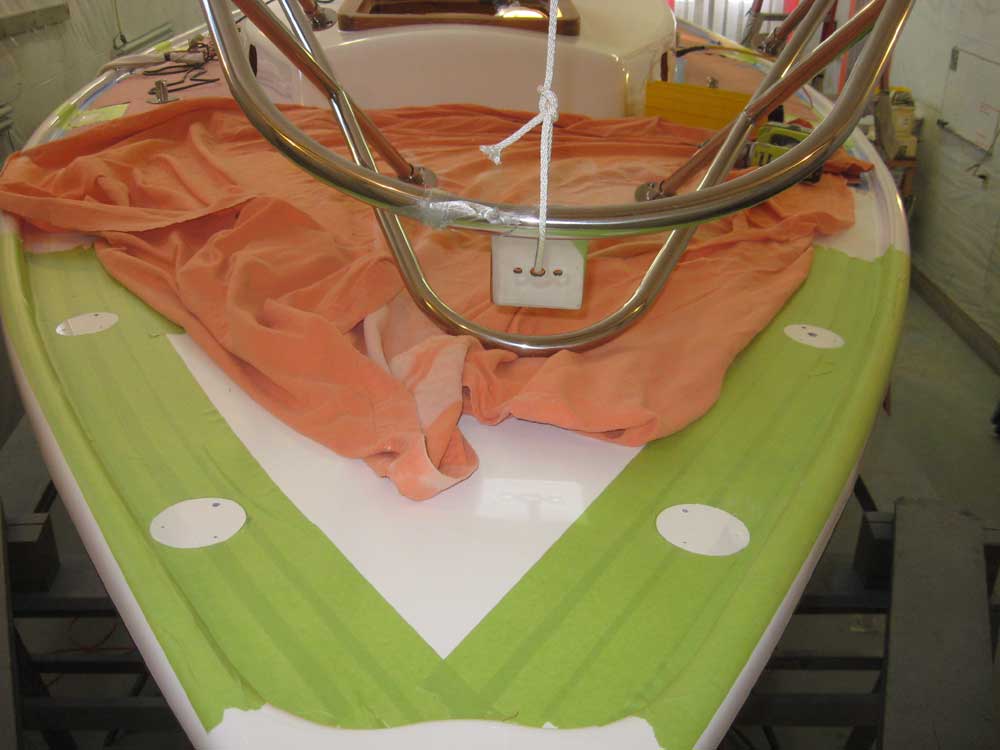
Next, I repeated the process with the bow pulpit. I needed a small line to hold the pulpit upright during installation, since its design was unstable till secured. When I had the pulpit properly positioned, I drilled and tapped for one temporary screw at each base location to hold the pulpit temporarily; later, I'd overbore these--and the remaining--holes in order to accept core-isolating epoxy plugs around the fasteners. |
 |
|
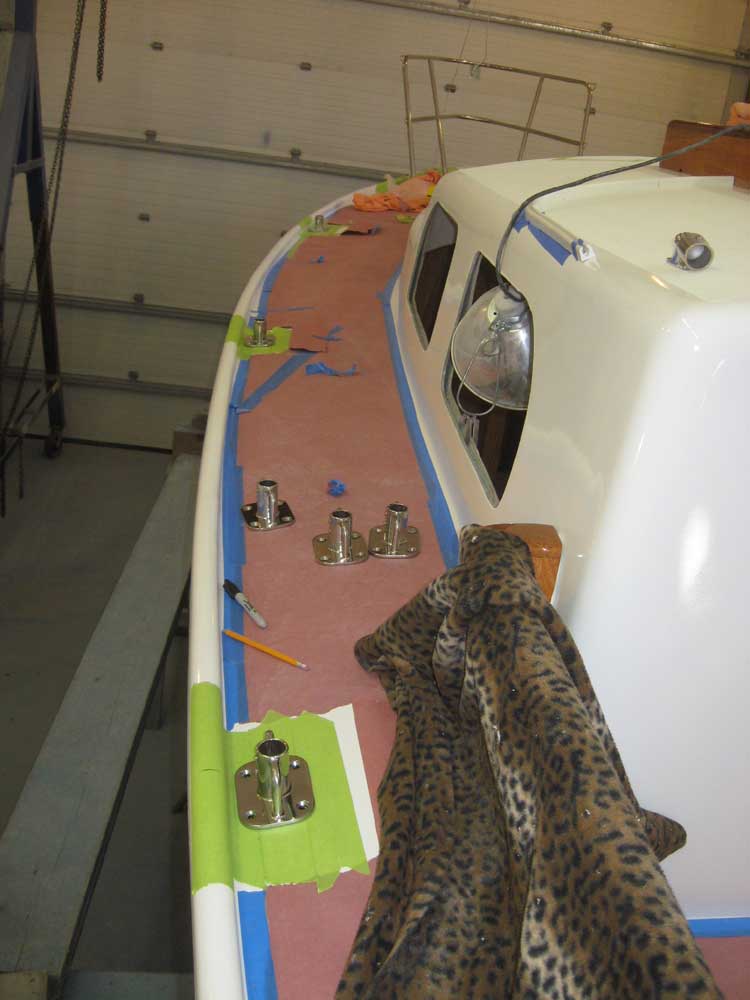
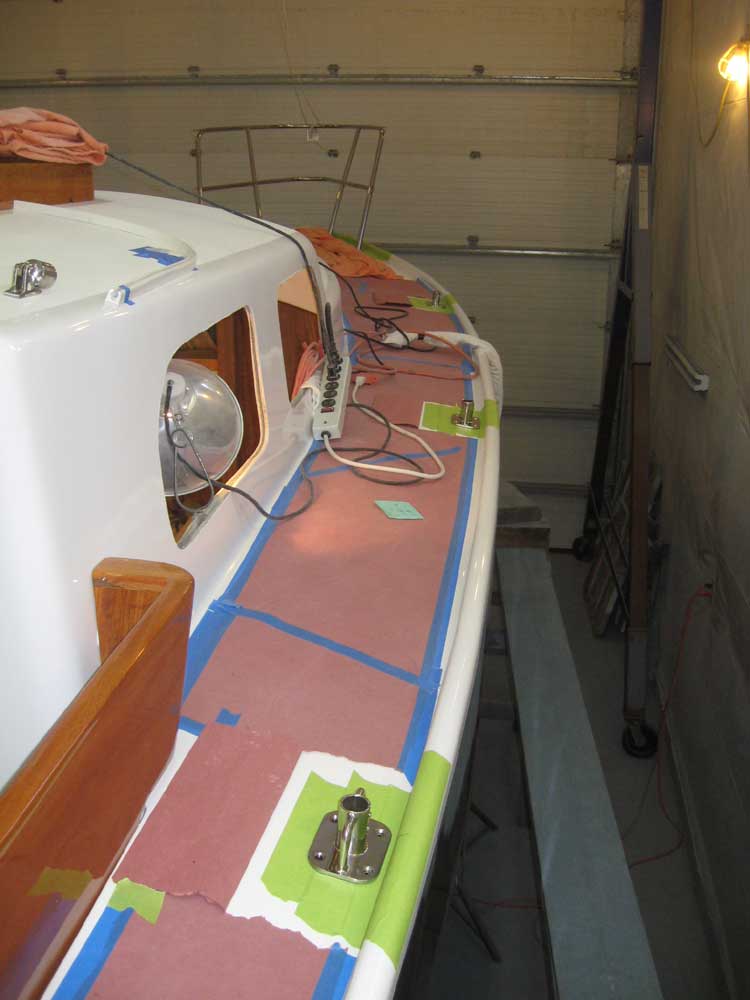
With the pulpits temporarily secured, I worked out the spacing for the stanchion bases--three per side. I evenly spaced the bases along the deck as measured between the leg positions of the two pulpits. At each location, I applied masking tape to the deck, laid out the stanchion base along the rail, with a water channel space between the base and the molded toerail, and marked the four fastener holes. I cut the tape around the edge of the bases, removed the bases, and drilled small pilot holes at each fastener location to mark the position. Then, I removed the tape within the footprint of the bases. Later steps would include overboring each fastener hole, filling with epoxy, and then redrilling/tapping each hole for the machine screws. |
 |
|
I repeated this process with the bow and stern pulpits, and then removed the pulpits pending further hole preparation. I'd hoped to drill and fill the holes today, but with the afternoon waning I needed to start the interior varnishing that I'd planned. I'd continue the hole preparation on Monday. |
 |
|
I began with a sealer coat of thinned varnish over the new overhead trim piece. |
 |
|
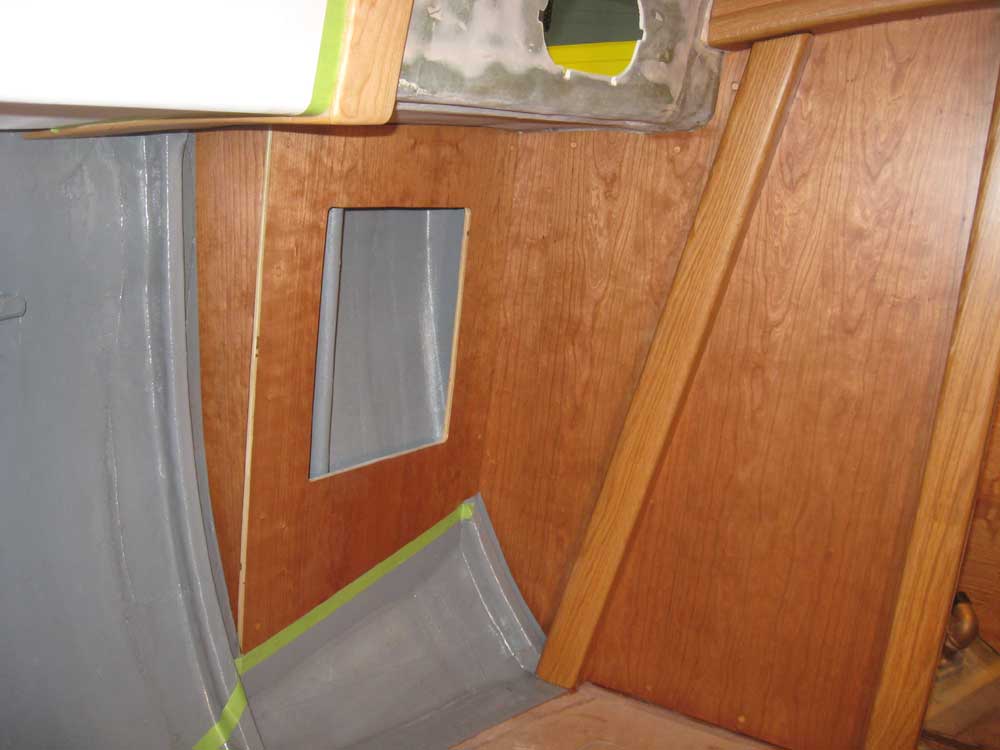
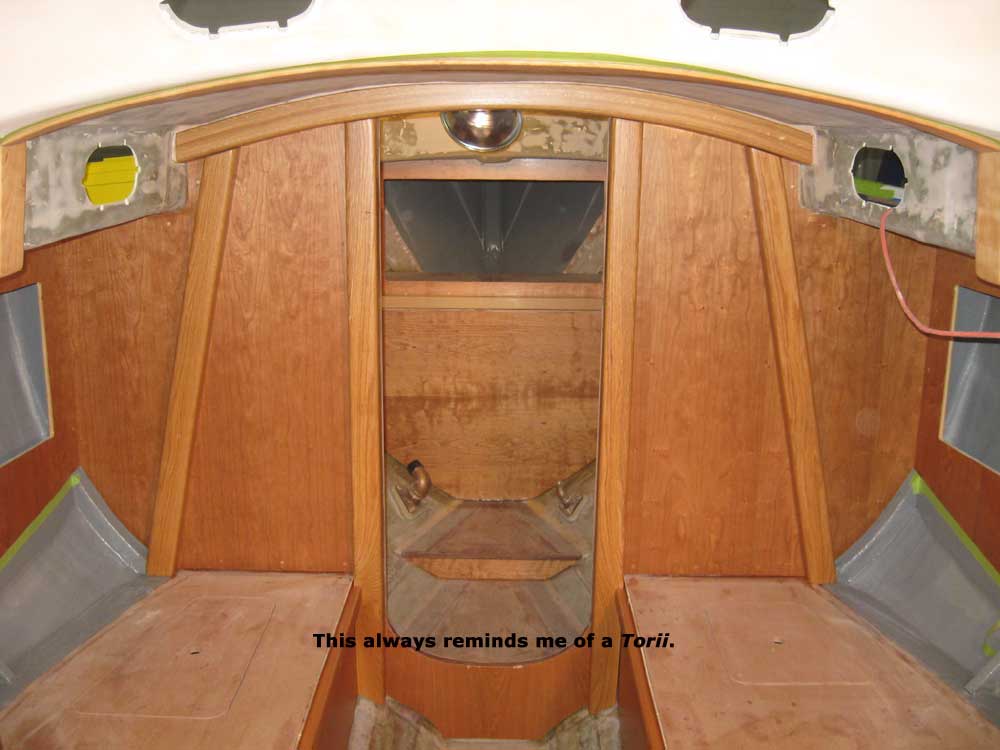
All the main interior components had sufficient build coats of gloss varnish by this point, so I spent the remainder of the day applying a coat of satin, rubbed-effect varnish to all surfaces: head, saloon, and galley. |
  |
|
|
|