

| Circe
| Wednesday, January 27, 2010 Rough-milling boards into blanks that would become the sundry trim pieces is one of those jobs with unsatisfying visual progress. In this case, I spent all morning milling most of the remaining cherry trim blanks, picking up where I'd left off the day before. I milled a series of rounded-profile moldings to use in several corner intersections between various bulkheads and cabinets, including two sets of moldings with angled backs to fit the obtuse and acute angles formed by the upper cabinets' intersections in the head compartment. In the end, all I had to show for the efforts was a disturbingly small pile of molding that, along with yesterday's pile and several other assorted pieces, would relegate me to hours behind the sander in the near future. |
|
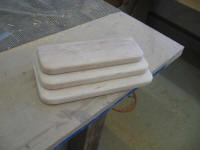
I abandoned my idea for a laminated trim piece at the overhead liner transition, having seen the futility of the plan during Monday's trial-fitting session. Instead, I milled some thin, wider pieces of cherry to span the gap, which I'd cut and fit in the near future. Next, I turned to the companionway ladder. A week or two earlier, I'd laid out the position of the steps on the front panel of the engine box; now, I determined how I wanted to proceed. From solid cherry lumber, I cut blanks for the three steps required. To make the ladderway more user-friendly, I increased the width of each subsequent step one inch from the one above it which, coupled with the angle of the panel, would provide a fairly natural step configuration. For visual interest, I also increased the length of each subsequent step by 1/2": 12" for the top step; 12-1/2" for the middle step; 13" for the lowest step. I milled the requisite angle on the attachment side of each step, rounded the corners, eased the edges, and sanded each step through 220 grit. |
 |
|
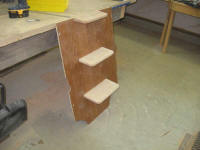
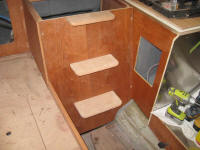
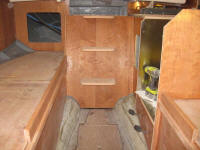
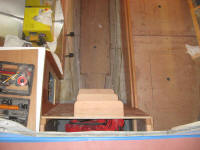
With the step blanks complete, I dry-fit them on the panel according to the pre-existing layout marks, and then brought the panel into the boat to check its appearance in place. |
 |
|
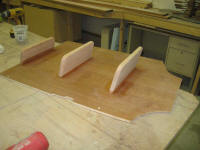
Satisfied with the appearance, I removed the panel and, back on the bench, removed the steps so I could permanently secure them with glue and 2" bronze screws from the back side. |
 |
|
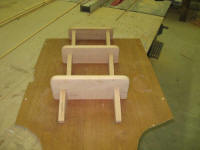
To further support the steps, I built six angle brackets to fit beneath the step treads, two per tread. Before running out of time at the end of the day, I managed to conceive and rough-cut the brackets. Before installing them, I'd need to shape and sand them further, which I'd do tomorrow. |
 |
|