| Circe
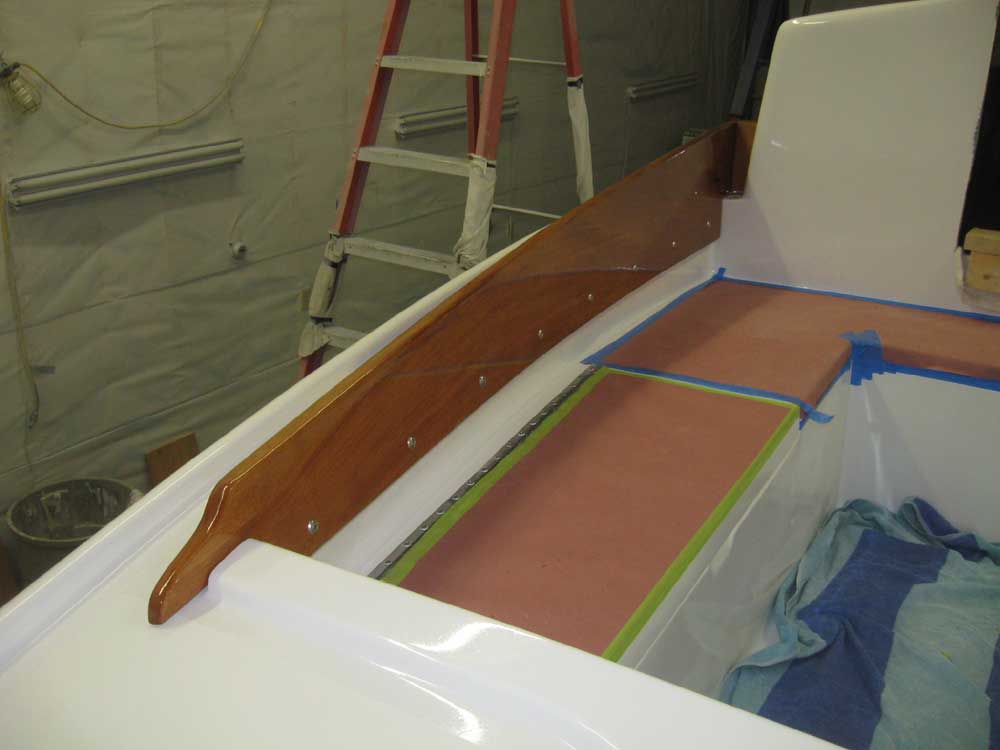
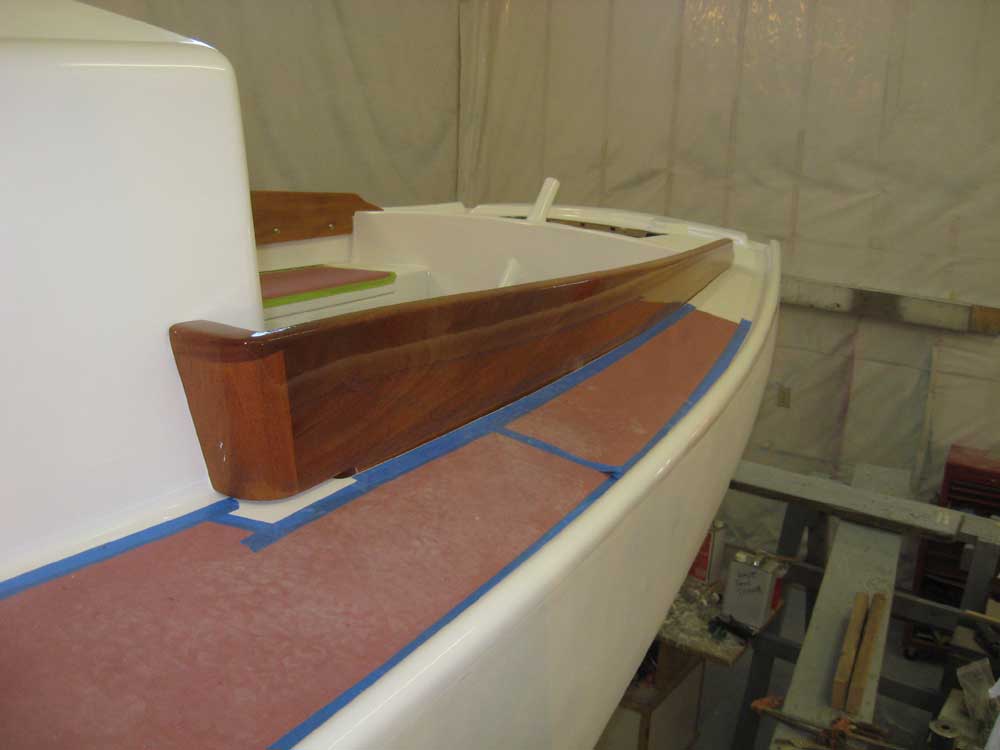
| Thursday, January 14, 2010 It was a day of sundry items. Expecting (though no longer necessarily anticipating...more on this later) the canvas contractor to arrive on Friday and take the whole day for dodger and upholstery templating, and with next week slated for hull primer, paint, and related work, I felt that I was between key stages of the project, and was reluctant to get too involved in the next major phase till the hull paint was complete next week, lest I turn the shop into a dusty mess only to need to clean up again so soon. That said, I had plenty to do to keep busy, though somehow the jobs seemed without direction, but sometimes that's just how the tasks stack up. I began with the port cockpit coaming, and completed its installation. |
|
|
|
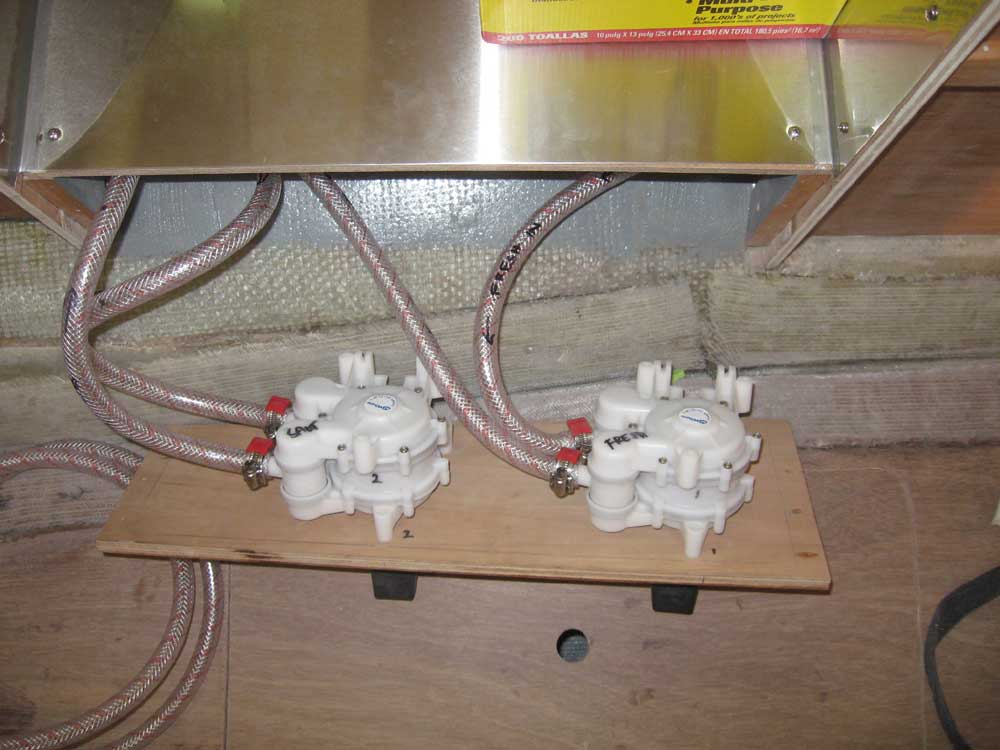
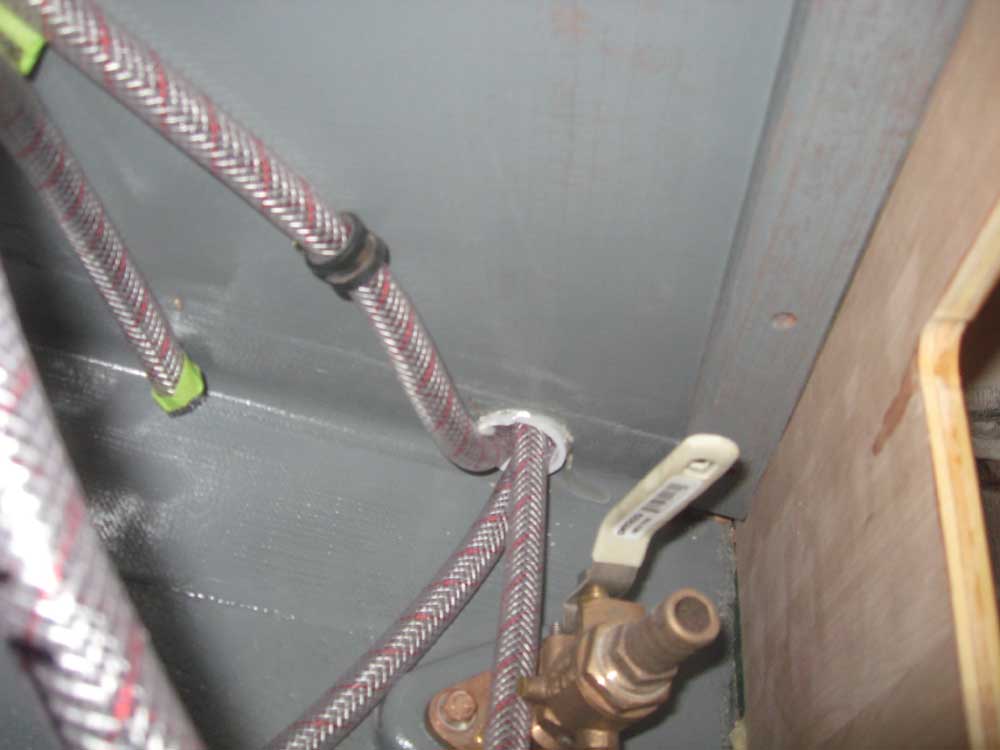
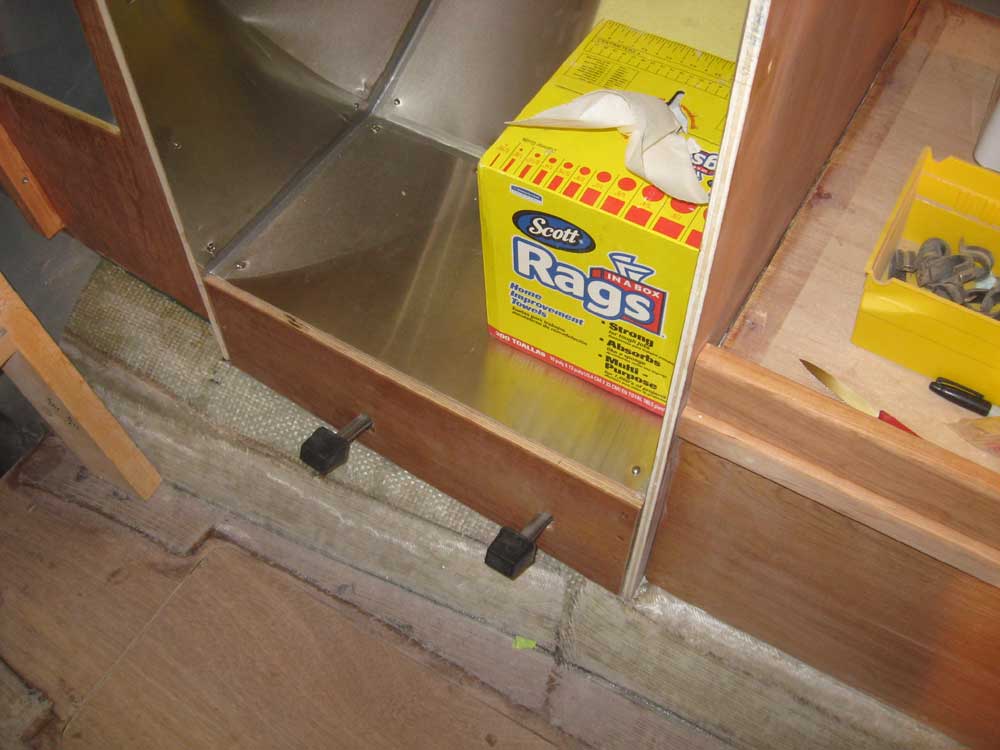
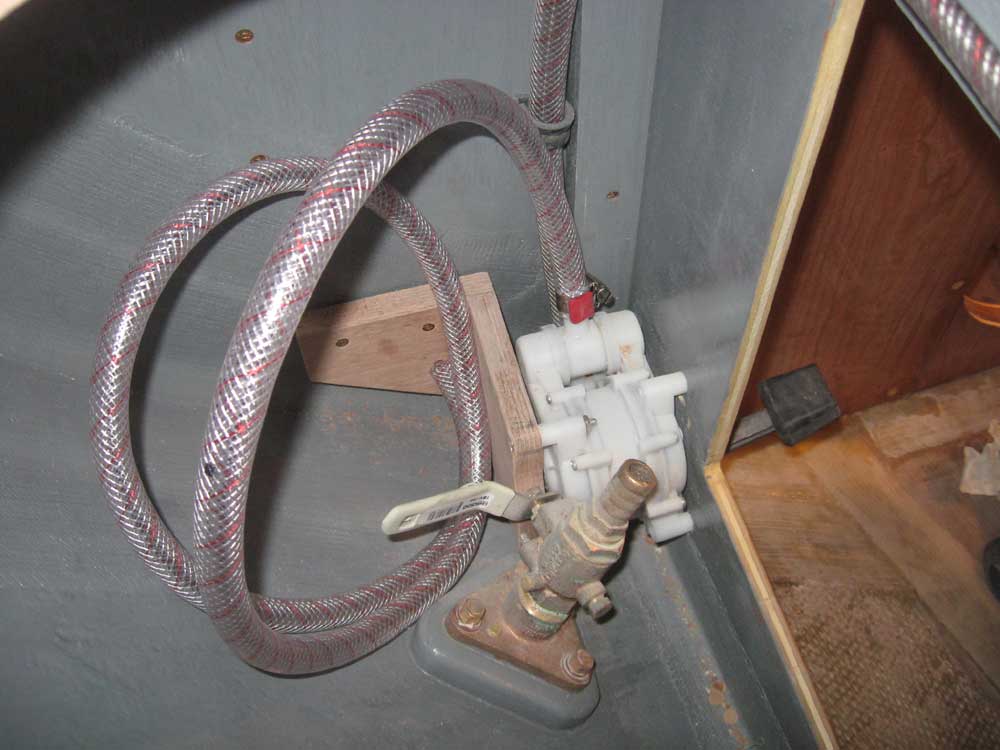
Next, I sanded some of the interior woodwork in preparation for another coat of varnish, which I'd apply later in the day. After vacuuming up the sanding dust, I turned to the engine box. In order to make the front panel fit properly, I needed to trim a bit from one edge--it was a little snug, making it difficult to remove--and then I slightly enlarged the four fastener holes so that the new knurled fasteners would fit properly and easily. I planned to build the companionway steps directly on the front of the engine box, so I made some measurements and layout for those. My temporary construction ladder had steps at about the right heights, so I used that as a guideline for my layout before removing the engine box front to the workbench for more accurate layout of the steps themselves. But I decided to wait on the actual construction till later, when I got into the significant task of interior trim work, which I'd begin right after completing hull paint next week. It seemed a good time to wrap up some of the basic plumbing installations in the galley, which would allow me to install the removable pump panel beneath the stove, so that the panel would be in place to accept trim and varnish as that process continued in the near future. Earlier, I'd run the potable water supply line from the tank back to this space, and had also laid out and test-mounted the two foot pumps required (for salt and fresh water). Now, I secured the two pumps to the back of the panel, and cut an access hole between the galley sink locker and the pump space to run the hoses required between the two. I installed length of hose from the engine room to the salt water pump, leading it through the conduit I'd installed beneath the galley counter, and leaving some excess hose in the engine room for eventual connection to the raw water intake line. I connected the salt and fresh water supply lines to their respective pumps, and then ran additional lengths of hose from each pump into the space beneath the galley sink, where I left them unsecured for now pending installation of the sink faucets a little later. This allowed me to then install the pump panel beneath the stove, securing it with screws so it could be removed for servicing should the need arise. |
 |
|
Similarly, I installed the sink supply hose in the head, leading from the previously-installed foot pump towards the eventual sink; again, I refrained from installing the head sink faucet just yet. |
 |
|
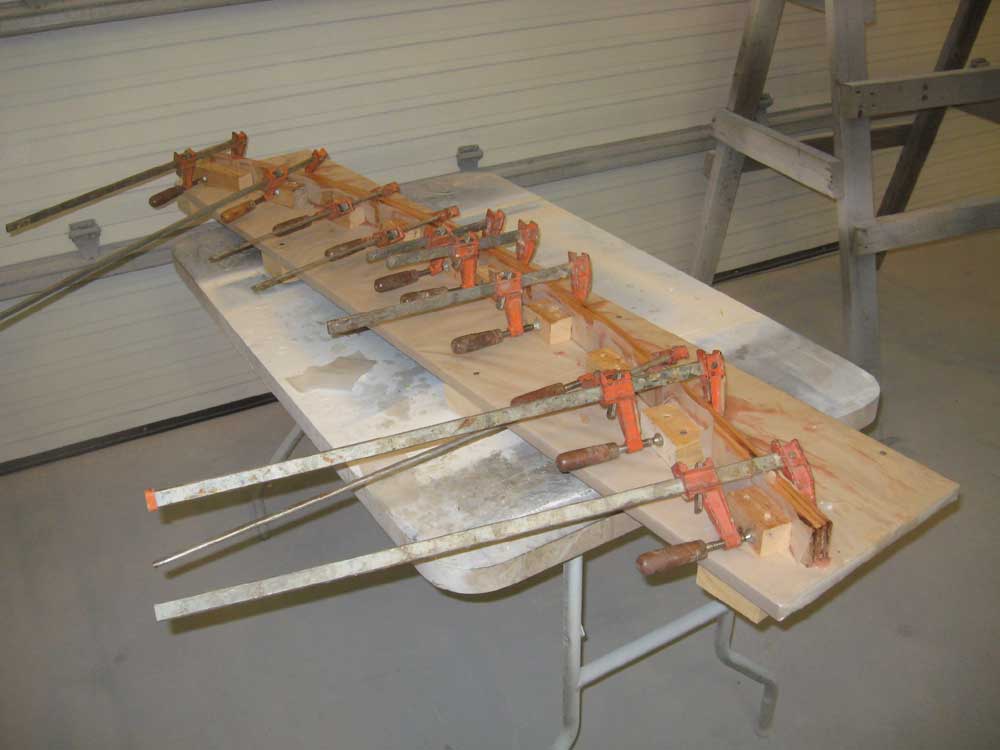
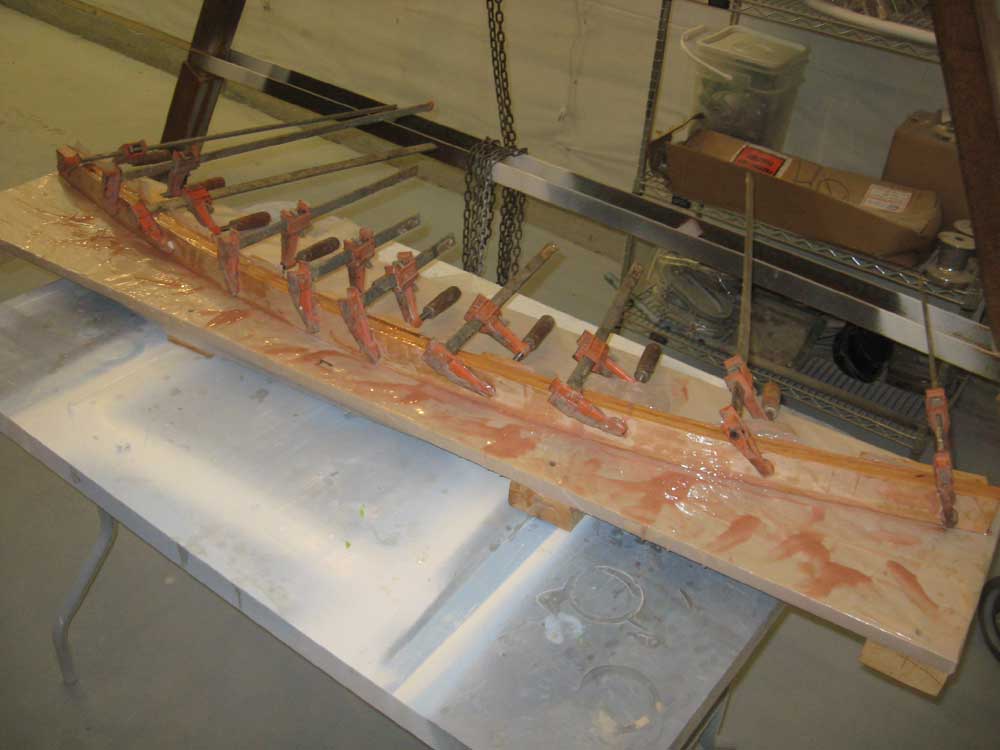
Because of some of the interior changes we'd made early on, there was a transition between the main saloon, which featured a molded overhead liner, and the forward part of what now was also the saloon--but which had used to be a separate compartment, and over which there was no liner. There was no way to install a liner here that would match with the molded section, so I had cleaned up and faired the overhead to accept paint. To ease and cover the transition between these two areas, I needed some trim. The overhead was curved, so I decided to laminate some trim using the same jig I used for the mast support beam earlier; to my eye, the curvature was essentially the same in the trim location, about 30" aft of the mast beam. To that end, I prepared four 2" wide by 1/4" thick strips of solid cherry, and glued them together in the clamping form to create a curved blank from which I could eventually mill the trim piece for the overhead. |
 |
|
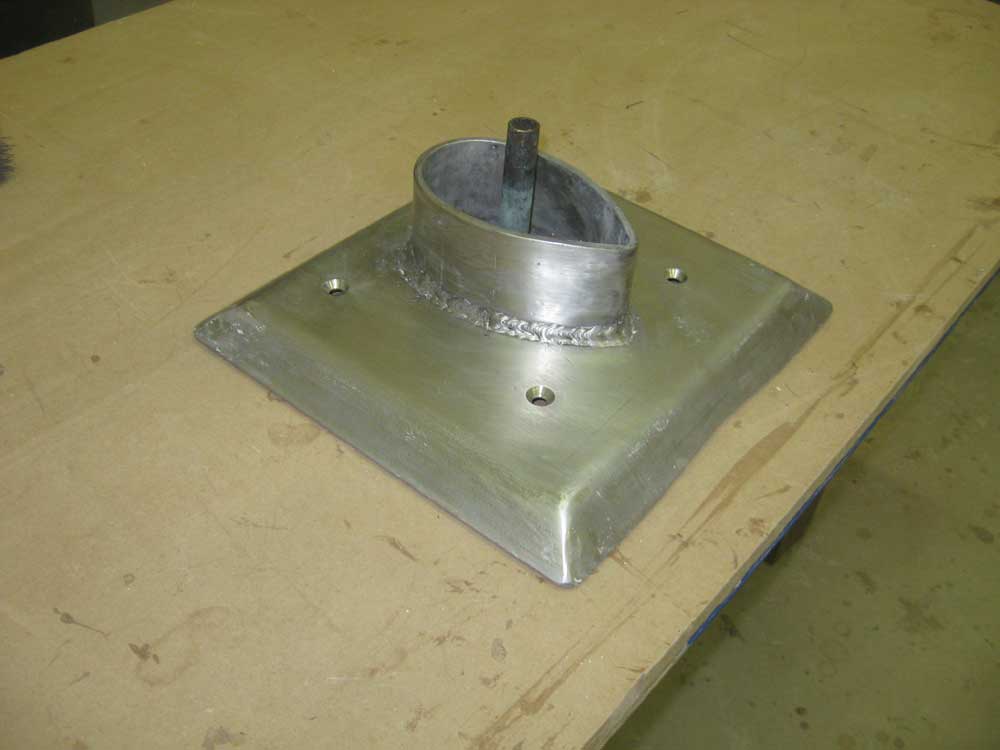
The custom mast step on this boat was a hefty stainless steel arrangement that bolted over a raised portion of the deck. The metal had previously been painted, but the paint hadn't adhered and was flaking off. I used paint stripper to remove the remaining paint and clean up the mast step. |
|
This photo taken on June 16, 2009 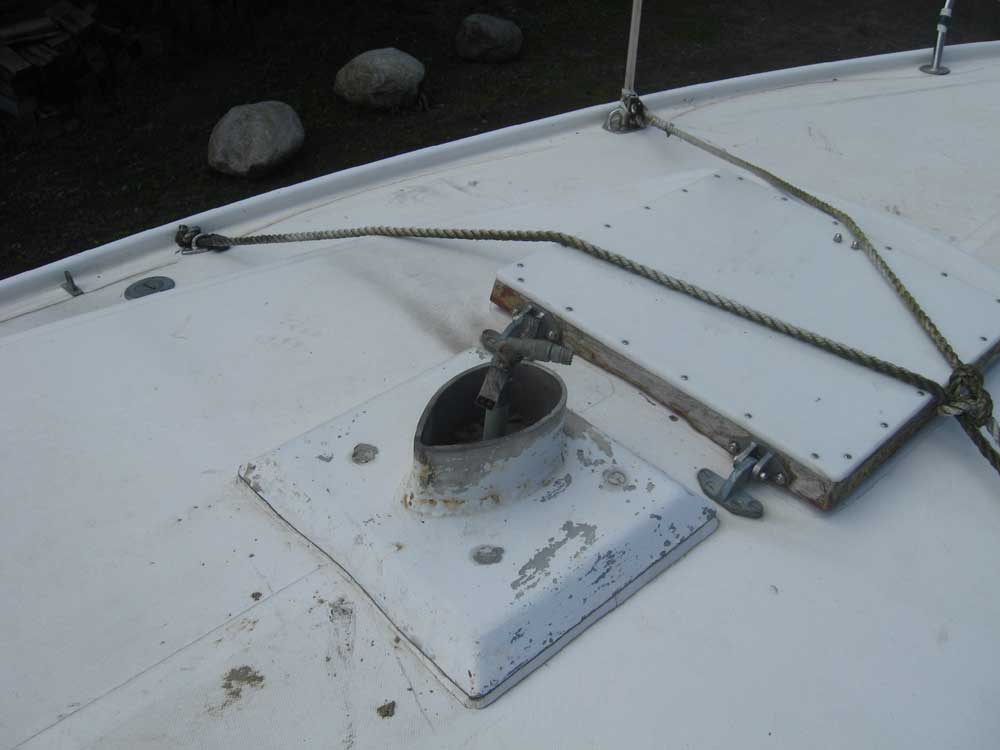 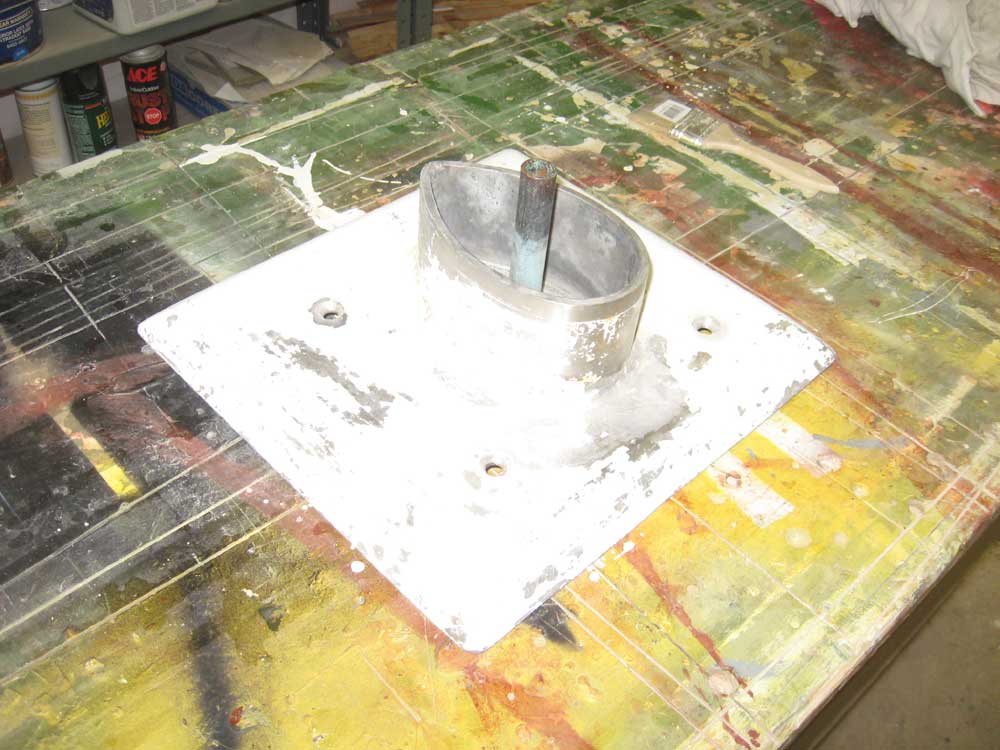
 |
|
To wrap up the day's work, I applied another coat of varnish to portions of the head and galley cabinetry, which brought their buildup to the same level as the remaining portions of the interior woodwork. Additional varnishing would continue once I'd installed various trim pieces. |
|
|
|