

| Circe
| Wednesday, January 13, 2010 I began with the companionway hatch and sea hood installation. With all the preparations complete, all that remained was to actually install the pieces. With the epoxy in the overbored holes cured, I started by drilling fastener holes through the center of each of the plugs, and milled small countersinks at the top of each hole. First, I installed the companionway rails and hatch. I bedded the wooden rails in beads of mahogany-colored polysulfide, and secured them with screws from beneath (along the forward section) and through the raised fiberglass tabs (at the after ends). Once everything was secure, I cleaned up the excess sealant. |
|
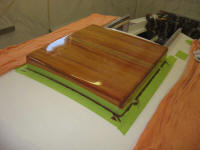
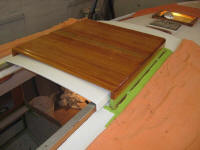
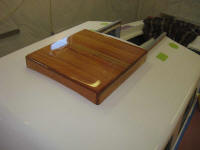
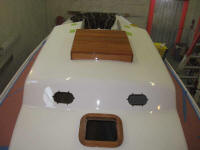
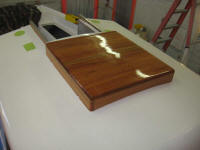
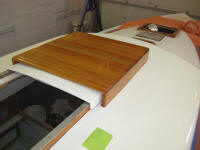
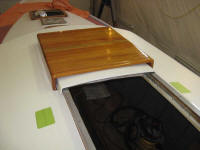
Next, I installed the sea hood. I applied a good bead of mahogany-colored polysulfide to the bearing surface, omitting it in way of the four weep holes (previously marked on the tape), and then installed the sea hood, carefully securing it from beneath with screws after ensuring it was positioned properly. |
 |
|
Once the piece was secure, I cleaned up the excess sealant and tape. |
 |
|
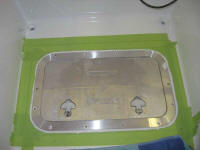
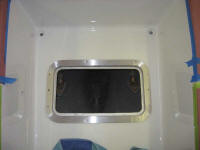
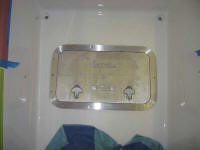
Next on the list was the cockpit hatch. I installed it in a bed of white polysulfide using stainless steel screws, and cleaned up the excess sealant to complete the job. |
 |
|
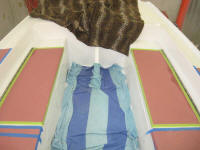
It seemed a good time to install the cockpit locker lids and their hinges, in order to make the cockpit a friendlier place to work over the coming weeks, and for the canvas guy later in the week. I reused the original piano hinges and secured them in place with machine screws into tapped holes in both the locker lid and the edge of the cockpit. I covered the lids' top surfaces with more protective paper. |
 |
|
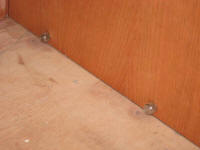
I took care of a couple small items inside the boat. First, I installed the starboard side of the engine enclosure, partly to have it in place for the upholstery templating later in the week, and partly to try out the knurled fasteners that I intended to use in order to secure the various engine box sections for easy removal. |
 |
|
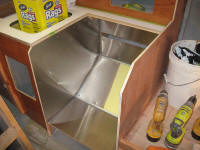
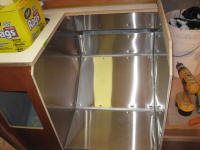
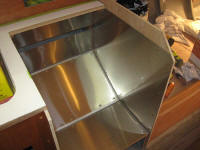
The sealant on the galley stove enclosure had cured, so I removed the tape and vinyl masking to reveal the end result. Later, bits of wooden trim would cover any remaining edges. |
 |
|
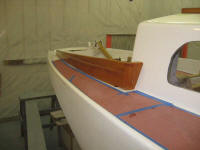
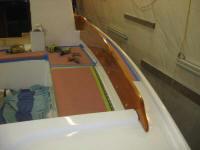
Finally, I began the coamings' installation. I had enough time left in the day to get the starboard side installed. |
 |
|