
| Circe
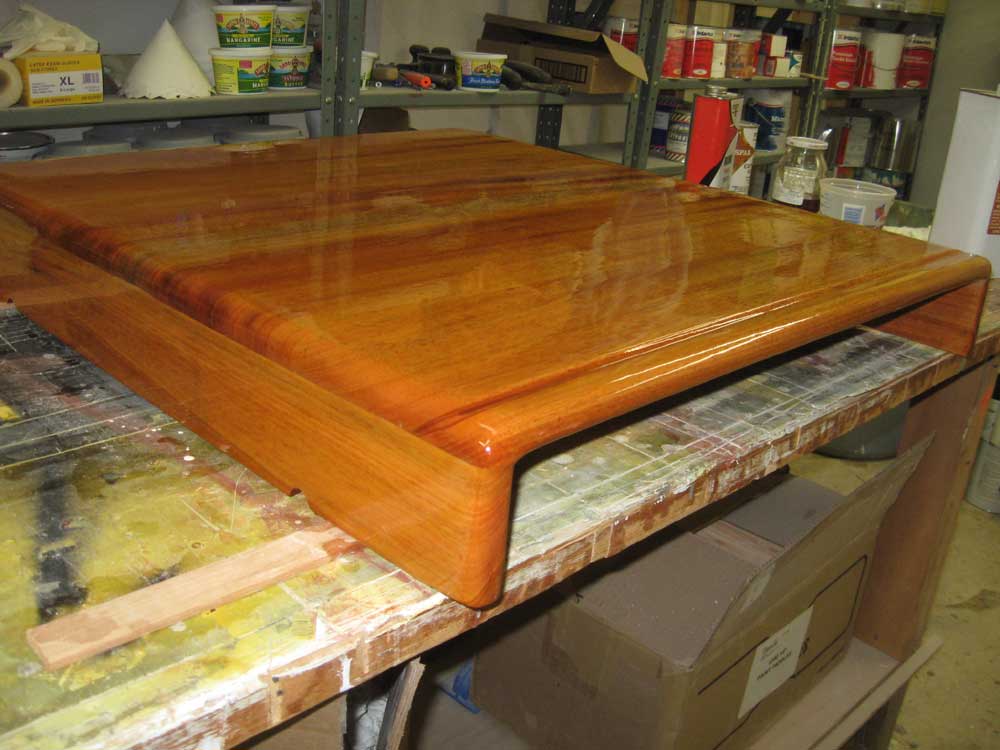
| Monday, December 21, 2009 I decided to start the day with the galley countertop. To that end, I applied contact cement to the wooden countertop and to the pre-cut Formica, and then installed the Formica once the cement had dried. |
|
|
|
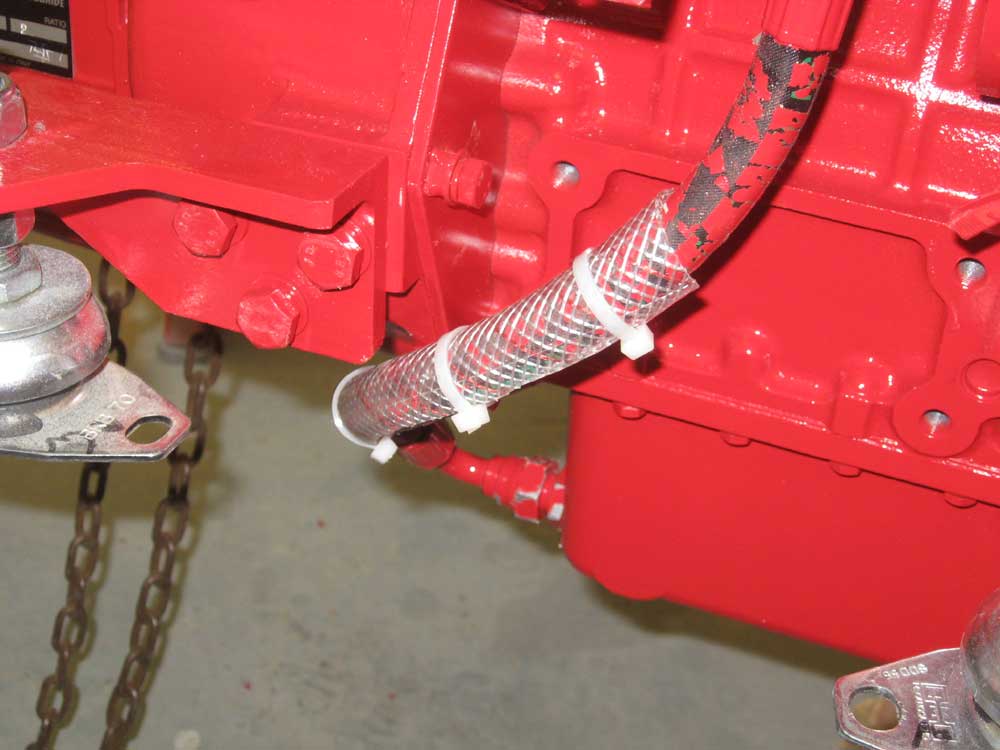
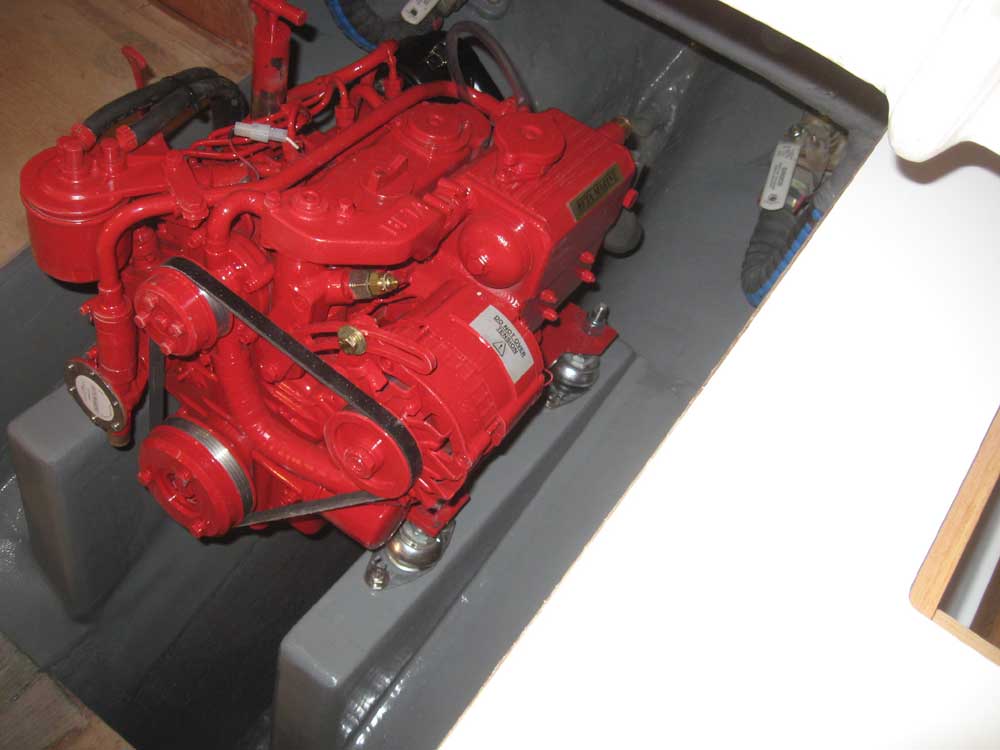
The new paint in the engine room and elsewhere was dry after the weekend, and after removing all the masking tape I proceeded with the engine installation. There was little to it other than installing once more the flexible mounts on the engine itself; I also installed the newly-arrived stock exhaust elbow, replacing the high-rise one that wouldn't have worked. My final pre-installation step was to reposition the oil drain hose slightly. The way the hose had been run originally had caused clearance and potential chafe issues with the engine foundations, so I loosened the union joint securing the fitting to the oil sump and changed the angle of the hose a bit. I also added a section of sacrificial hose/chafe gear over the outside of the sump hose where it threatened to contact the nearby engine mount. (I wish the engine manufacturers wouldn't paint the hoses on the engine--one touch and the paint tends to break free and flake away.) |
 |
|
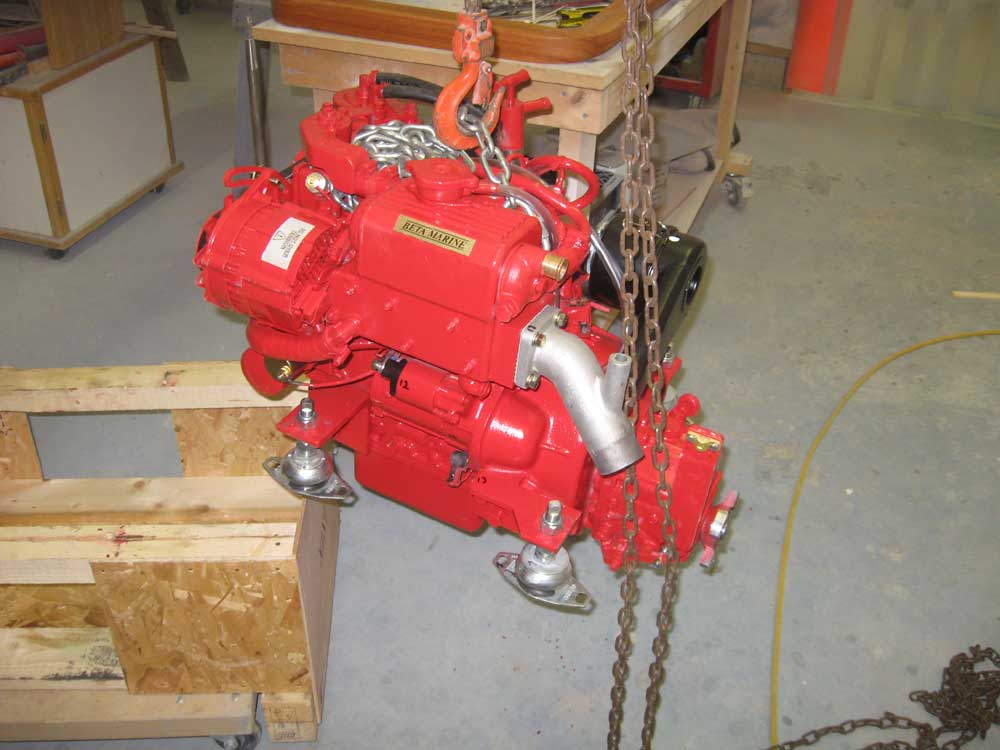
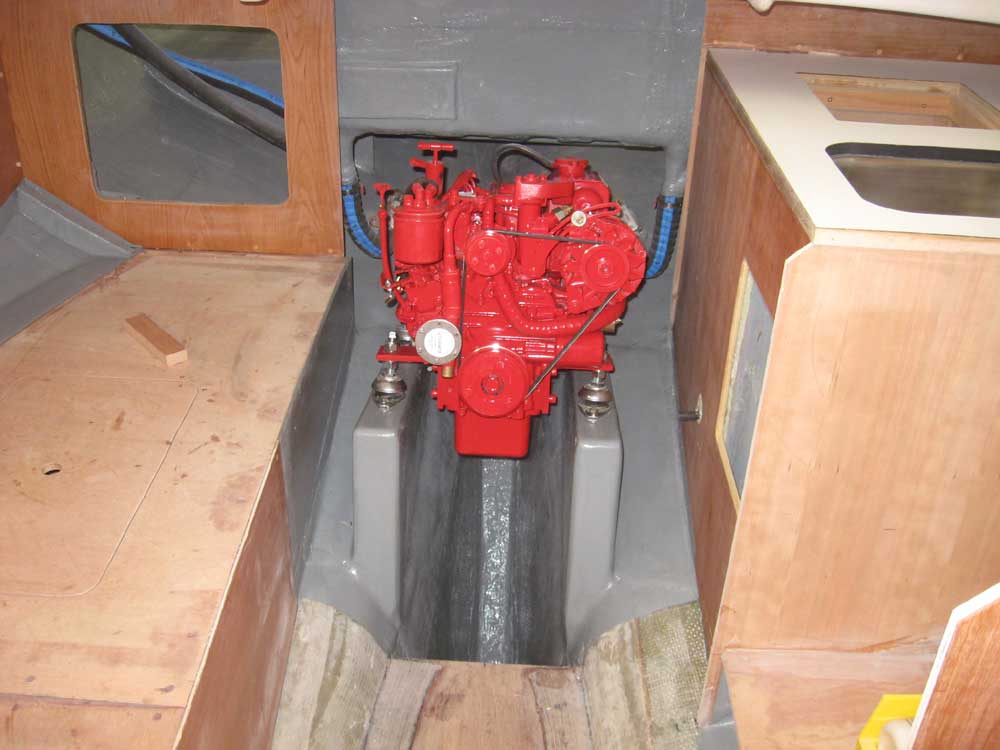
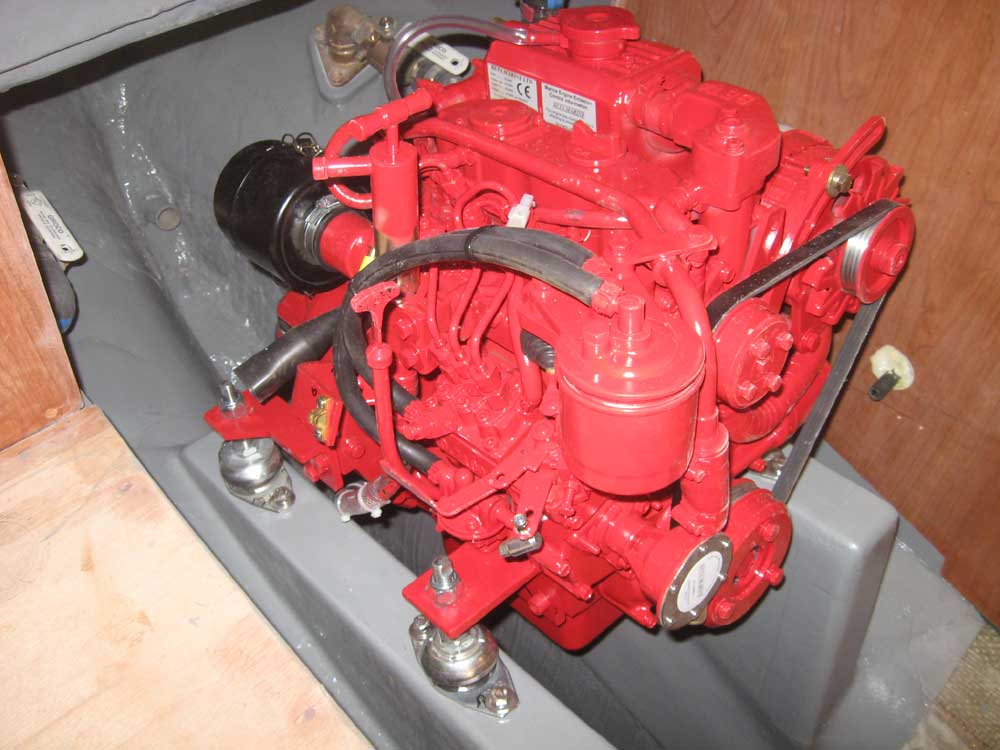
Finally, I lifted the engine into the boat and placed it on its foundations, securing it hand-tight with 3/8-24 cap screws. I'd need the new shaft on hand before I could work on the final mount adjustments and alignment, after which I'd tighten up all the mounting bolts appropriately. |
 |
|
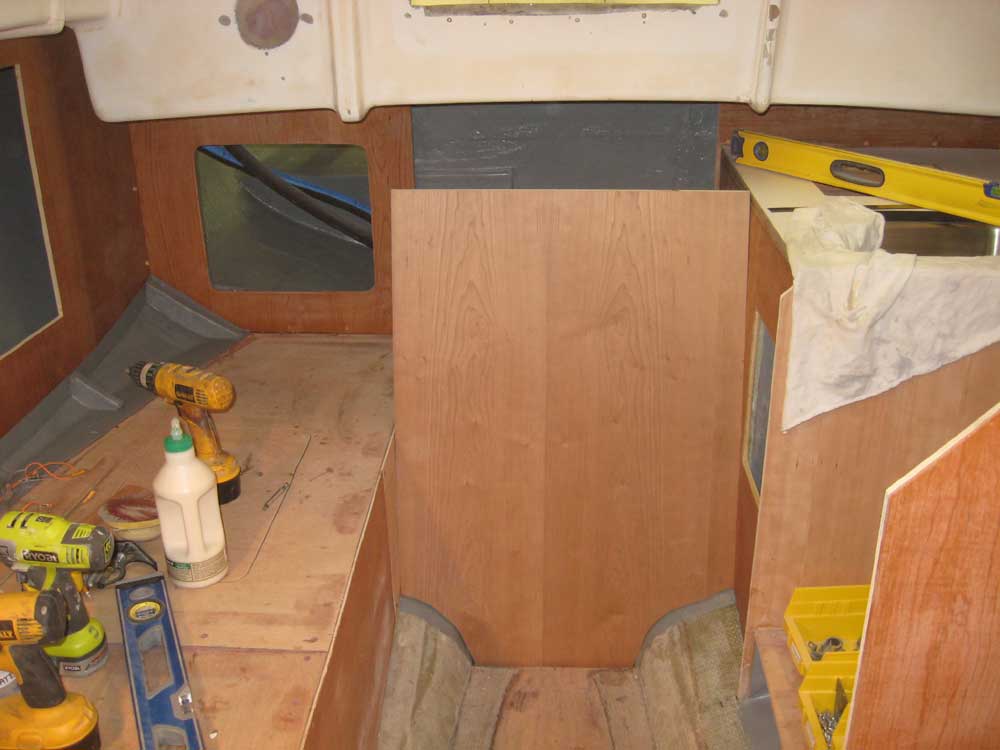
With the engine in place, I could move on to one of the final interior components: the engine box. My goal with the engine box was to maintain ease of access to the engine for all tasks, routine or otherwise. Therefore, I intended that the box be entirely removable with minimal effort, with a series of panels that could be partially or completely removed depending on the task required. This was possible since there were no permanent cabinets on the starboard side of the boat to hinder access to the engine room. I'd only know how the engine box was going to come together once I started the construction process, so I began with the front panel, which I thought might eventually incorporate a built-in ladder for the companionway, though I had another option in mind too. I cut a cherry panel taller than it needed to be, and the same width as the opening, and, over a couple test-fits and scribe sessions, cut the bottom edge of the panel to fit against the shape of the hull below. To support the panel, I installed a cleat on the galley cabinet face at the appropriate position and angle, and, later, a smaller cleat on the face of the starboard settee front. I used extra-wide cleats since I planned to use threaded inserts in the cleats to accept threaded panel fasteners for ease of ingress. |
 |
|
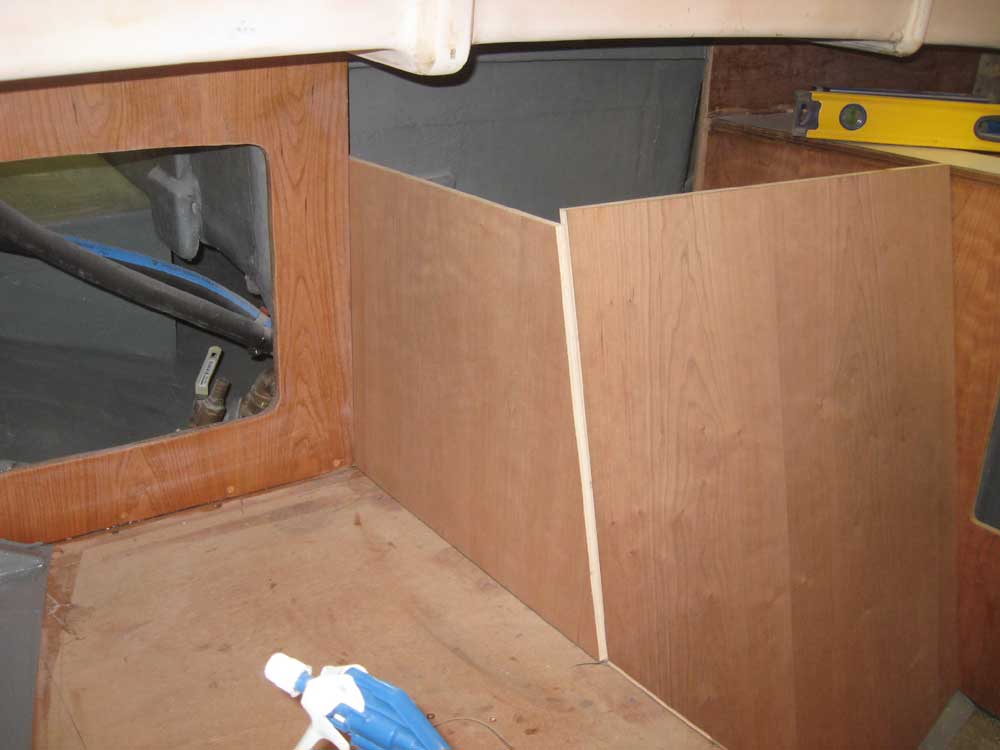
Once the bottom fit closely, I cut the top of the panel even with the adjacent countertop, though later I thought I might need to cut this a bit lower depending on how I decided to configure the top surface/countertop over the box. With the front panel in place, I configured the removable starboard panel. Eventually I determined how to secure this panel in a convenient and easily-removable manner and, with this information in mind, proceeded to cut a cherry panel to fit the space. |
 |
|
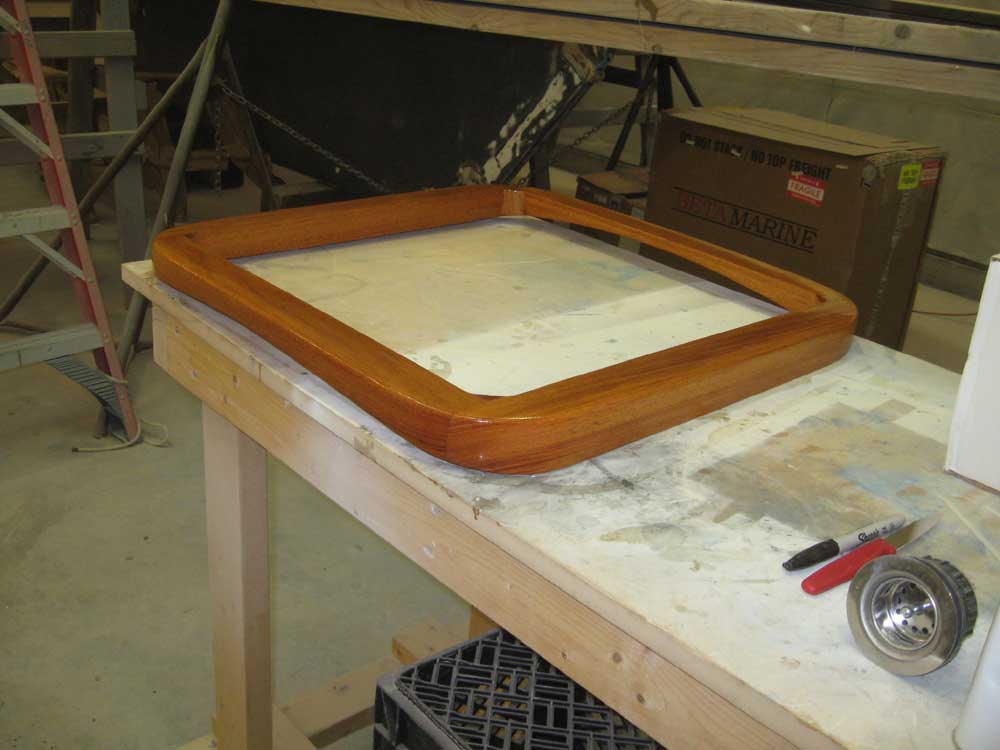
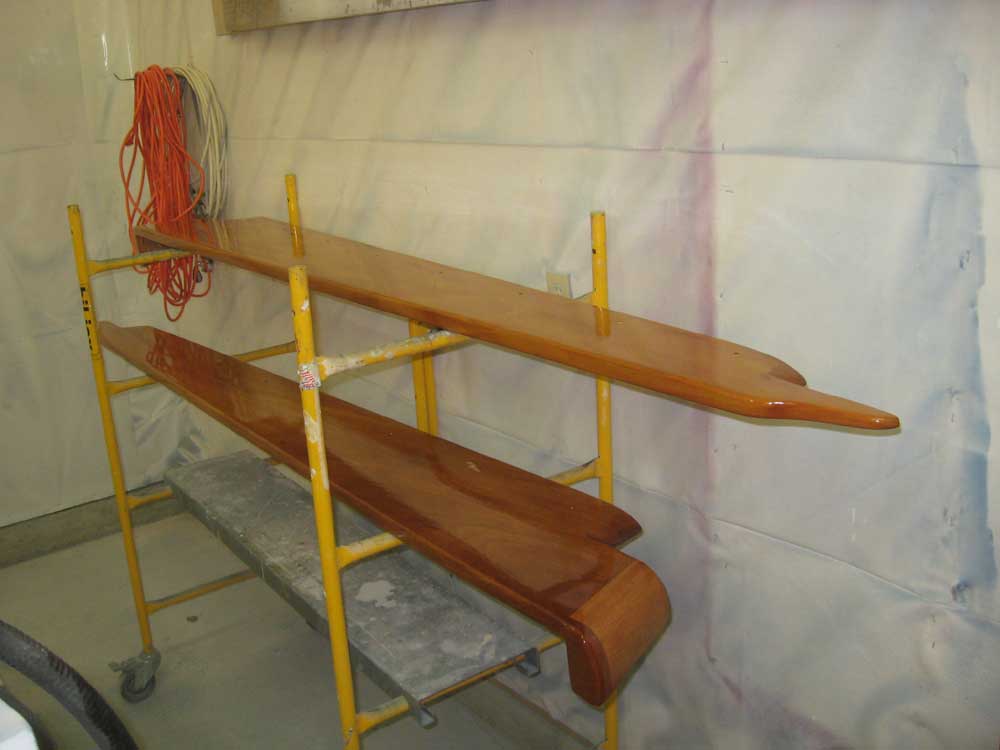
Time was running short in the day, so I left the engine box for the moment and continued the varnish process on the various pieces currently underway, sanding and revarnishing the sea hood (6), companionway runner supports (4), cockpit coamings (3 on the first side), and forward hatch frame (2). |
  |
|
|
|

