| Circe
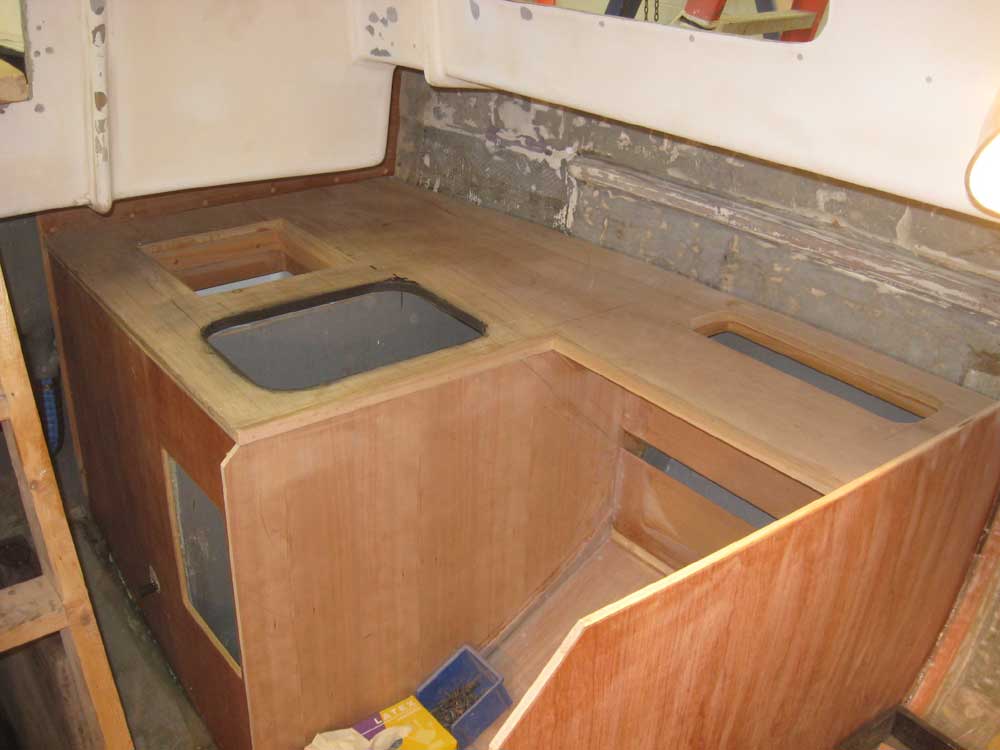
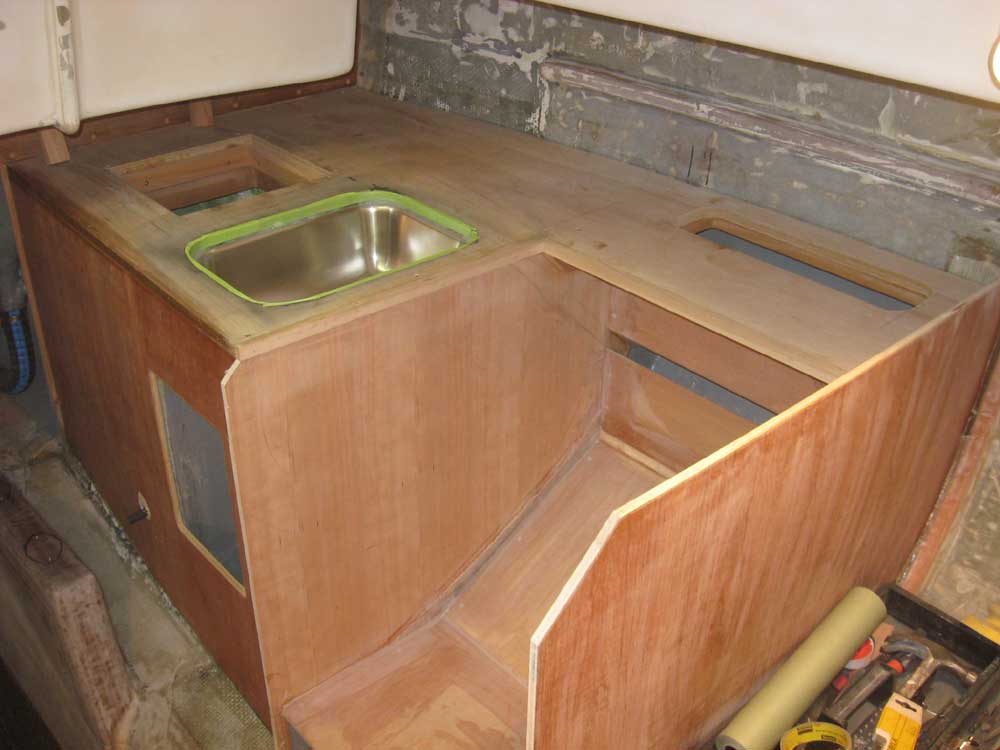
| Friday, December 18, 2009 Job one for the day was to finalize the galley countertop installation. To begin, I trimmed the foam on one side of the top to the marks I'd made on the inside, and then test-fit the countertop to check the fit again; this time, it fit well, with the foam on the underside of the countertop just sliding past the foam already installed on the bulkheads. |
|
|
|
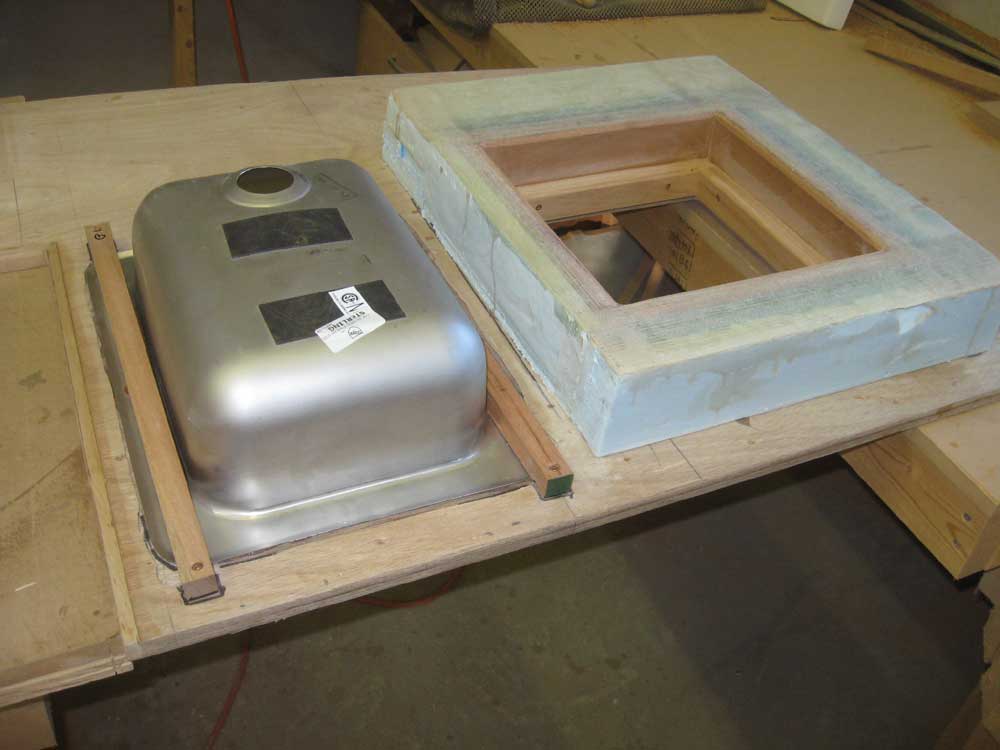
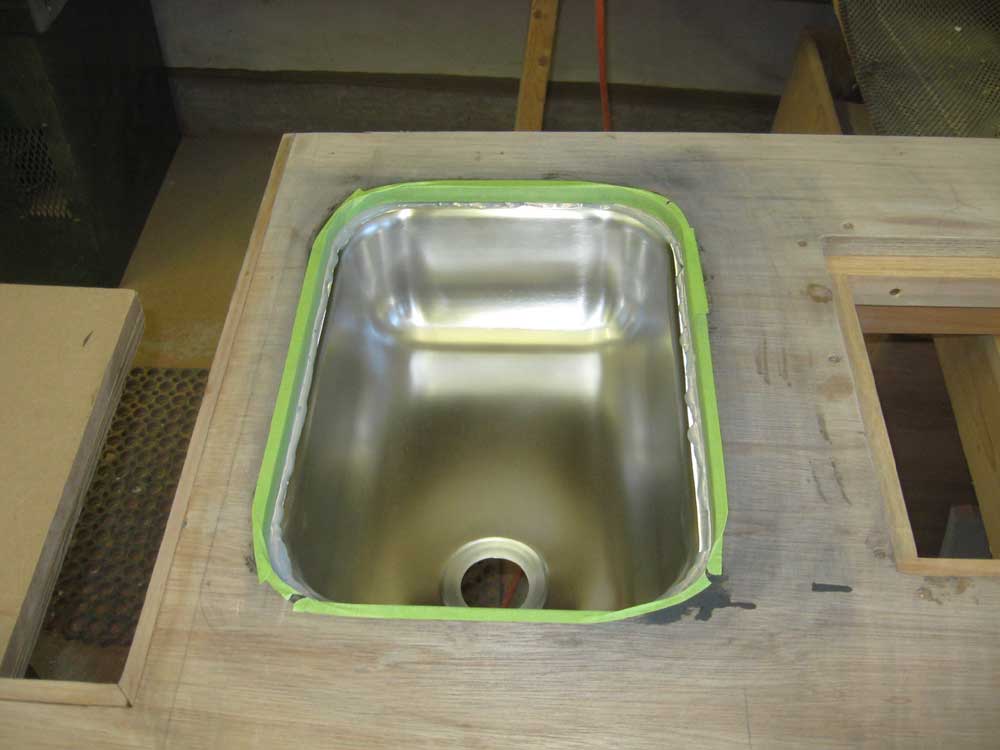
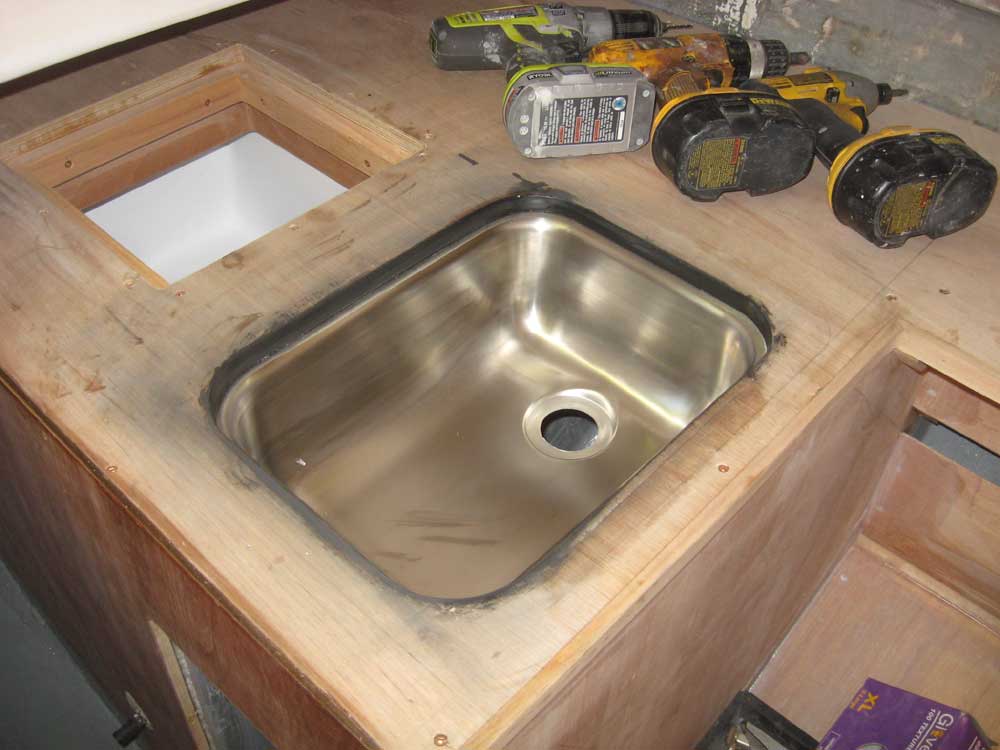
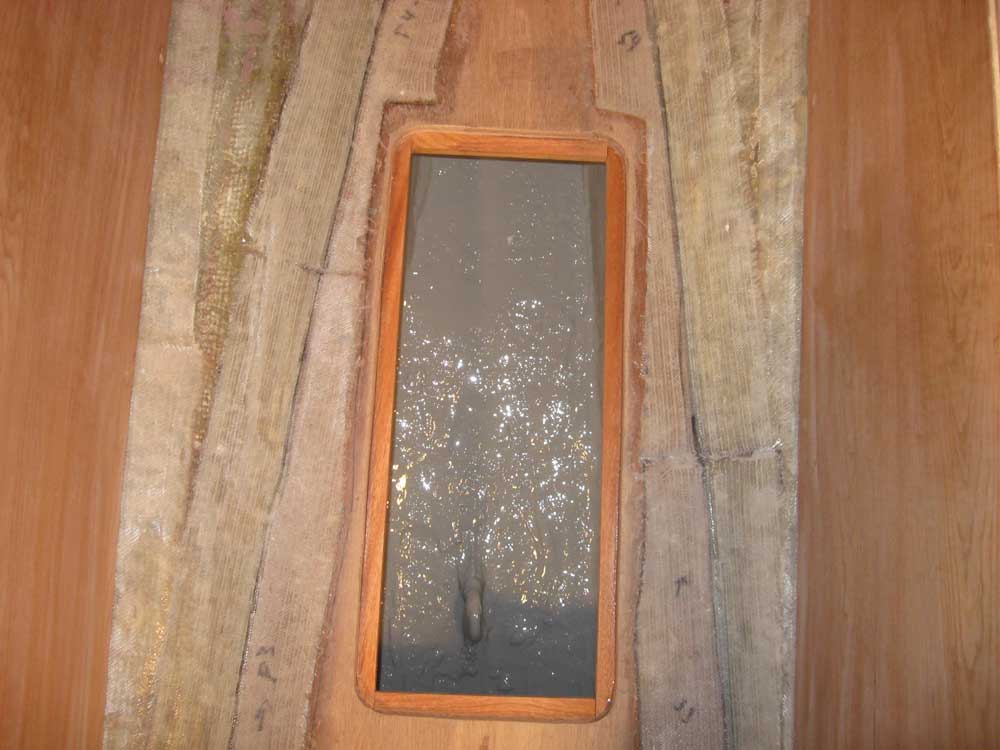
Next, I installed the sink, applying a bead of sealant to the bearing surface and securing the sink with the two cleats I'd made weeks earlier. I left the sink and sealant to partially cure before test-fitting the now-complete countertop. |
 |
|
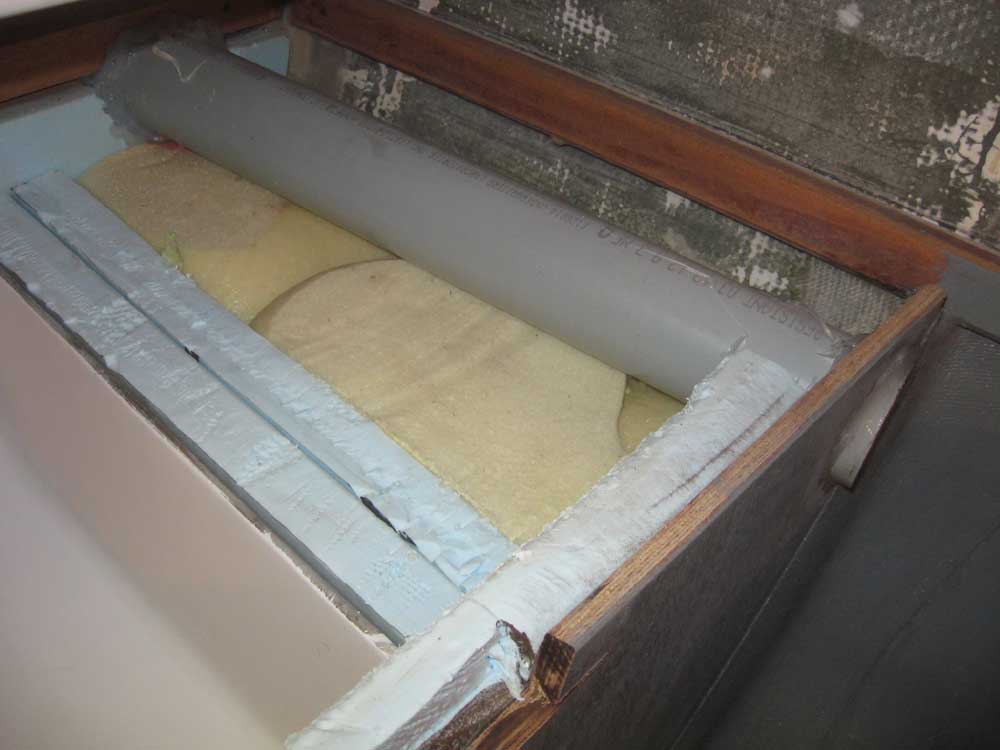
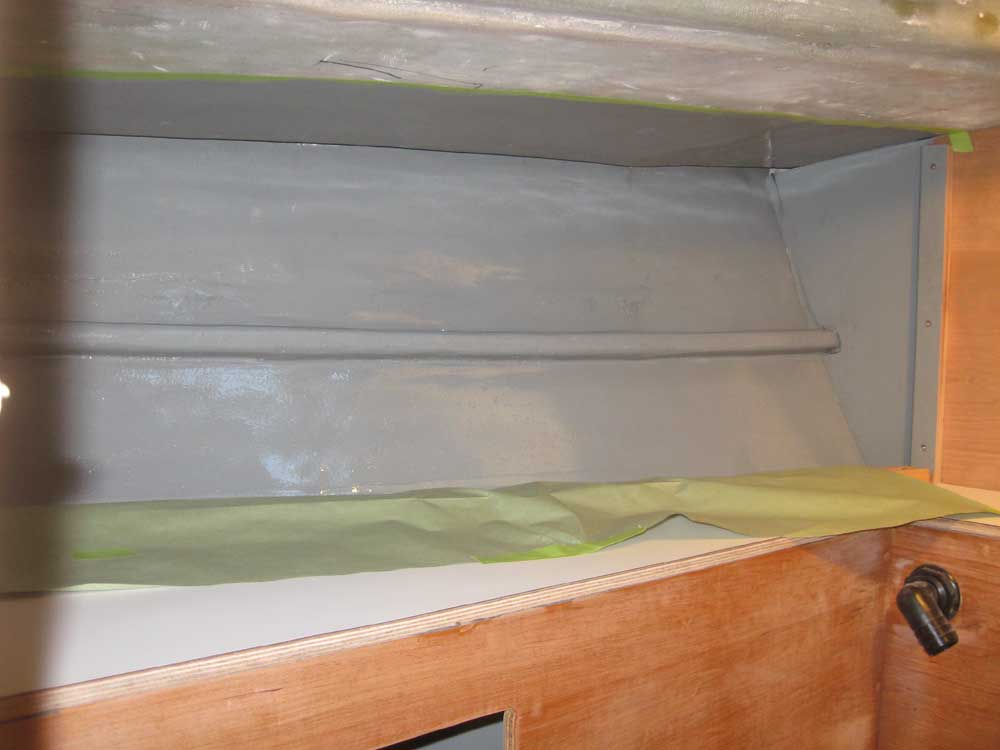
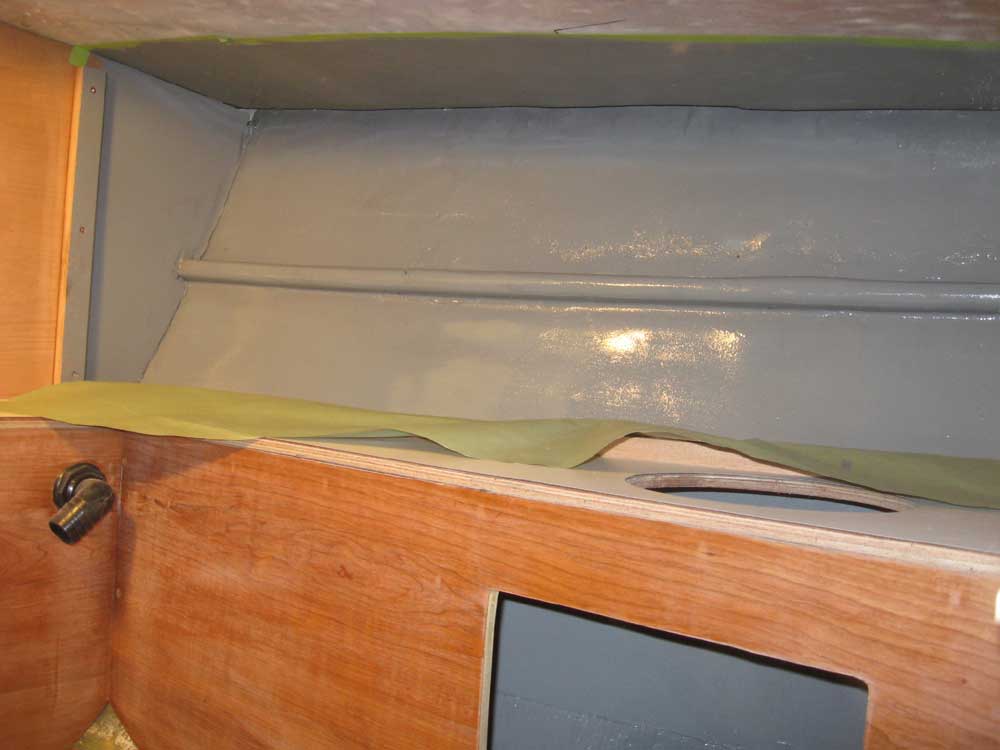
While I waited, I installed a length of conduit at the outboard side of the area beneath the galley, running between the port cockpit locker and the galley locker beneath the sink. The 2" wide conduit would provide a pathway through this otherwise inaccessible area for wiring, LPG supply hose, and perhaps a saltwater supply hose for the galley sink. |
 |
|
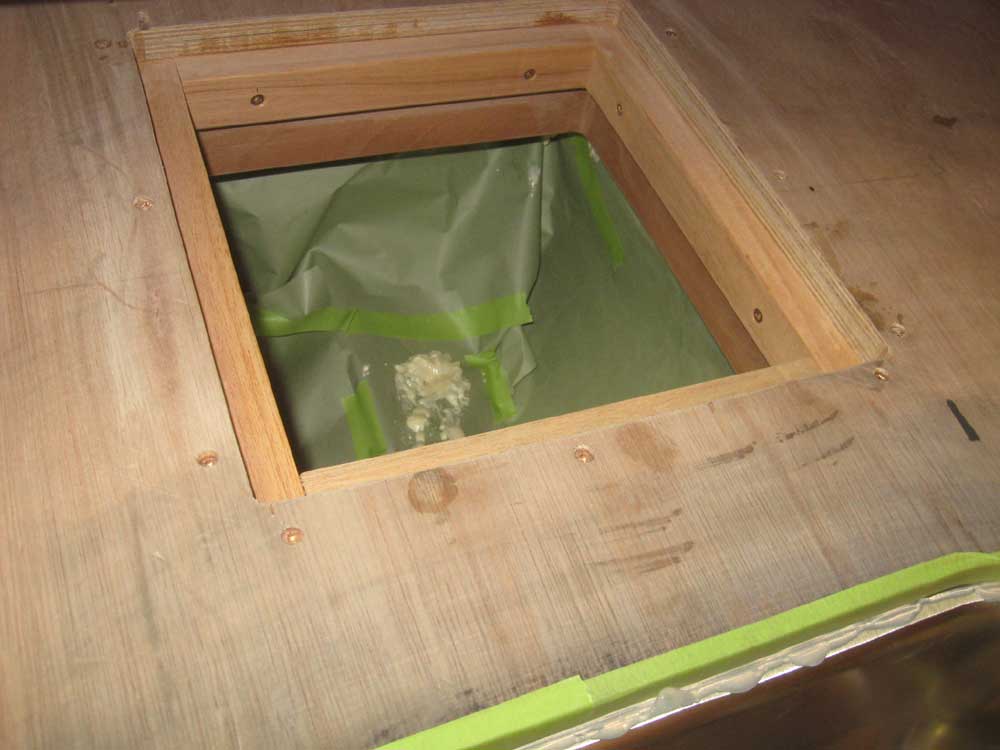
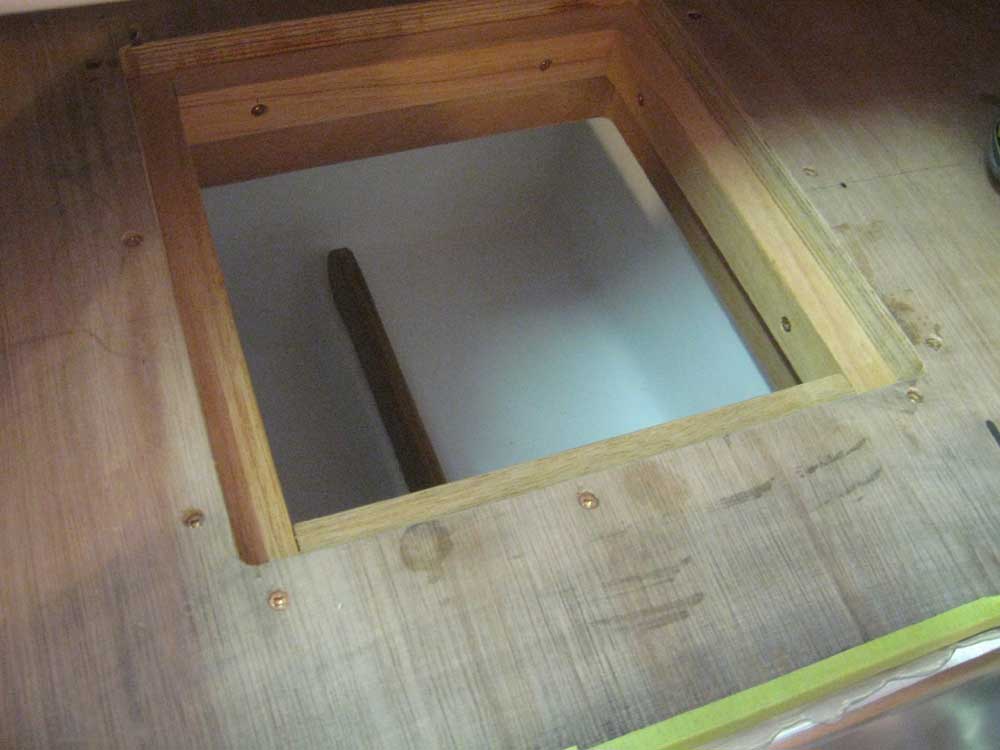
I planned to seal the top of the icebox with some spray foam during installation, which would cover the bearing surface between the countertop foam and the foam already in place inside the locker. To protect the inside of the icebox from foam squeezeout, I taped along the top edge and covered the entire inside of the box with some masking paper. This proved to be a good idea. |
 |
|
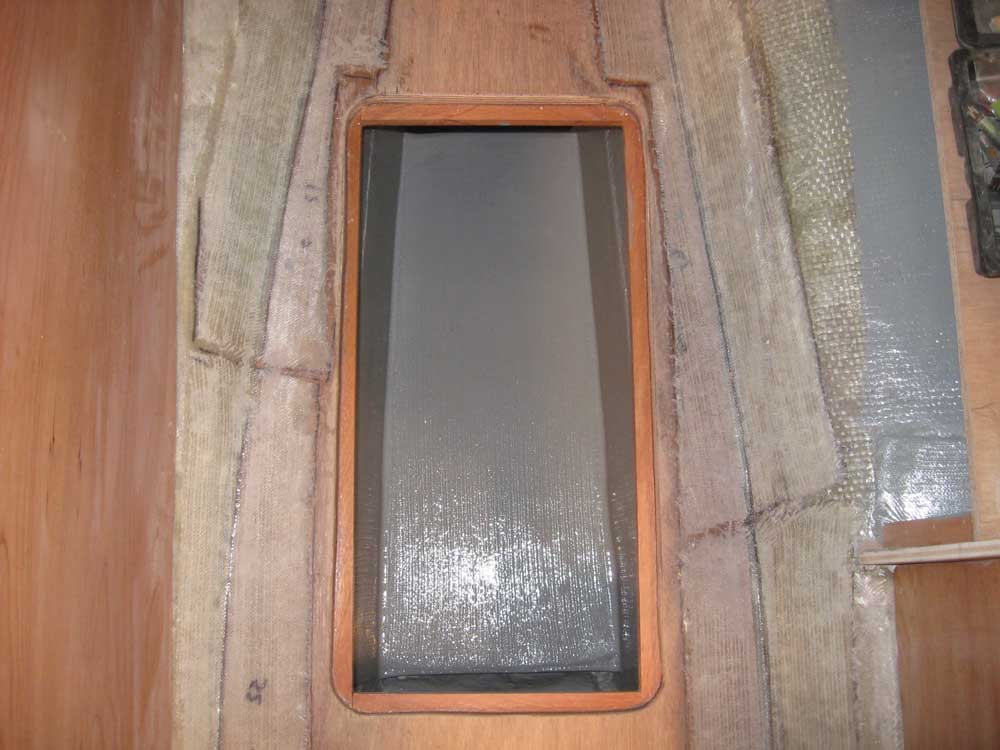
After a final test-fit of the countertop, now with sink installed, I permanently installed the countertop with sealant, bronze screws, and spray foam all around the icebox area. Aft, where I couldn't install screws because of the overhead clearance, I installed some temporary wedges to hold the countertop tightly in position and in the sealant. Formica installation would come just a bit later. |
 |
|
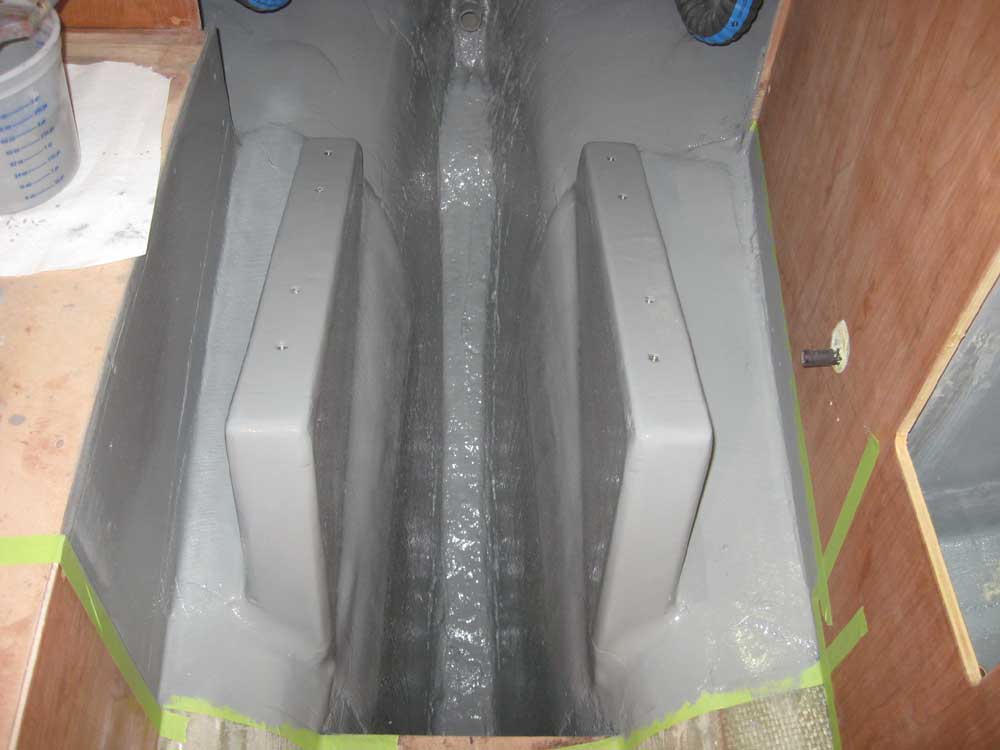
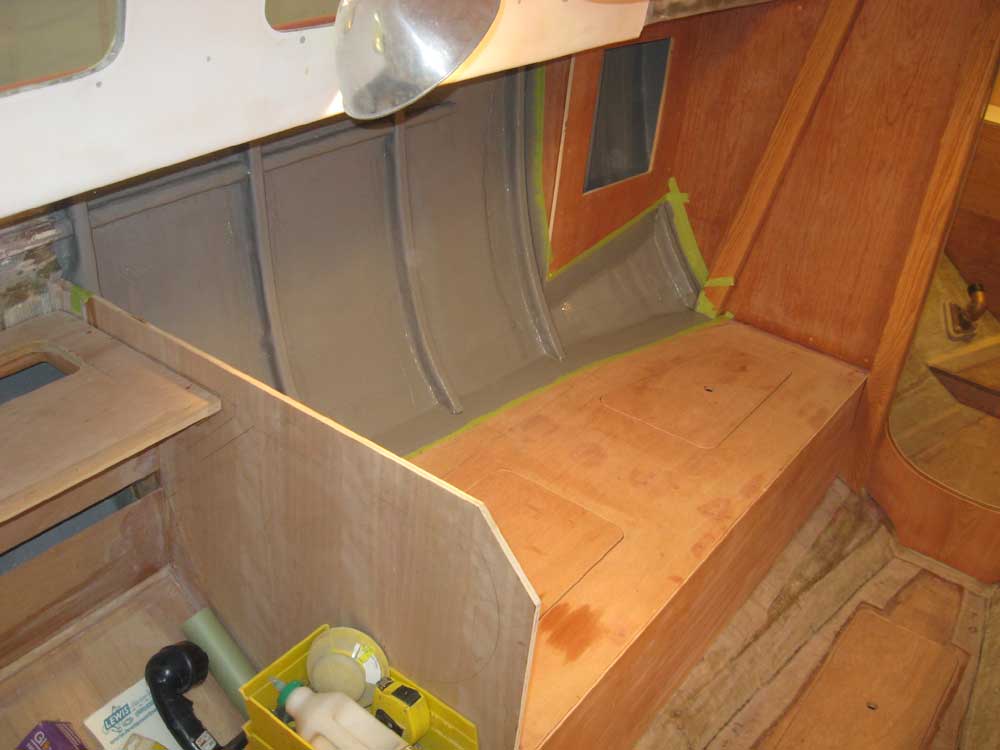
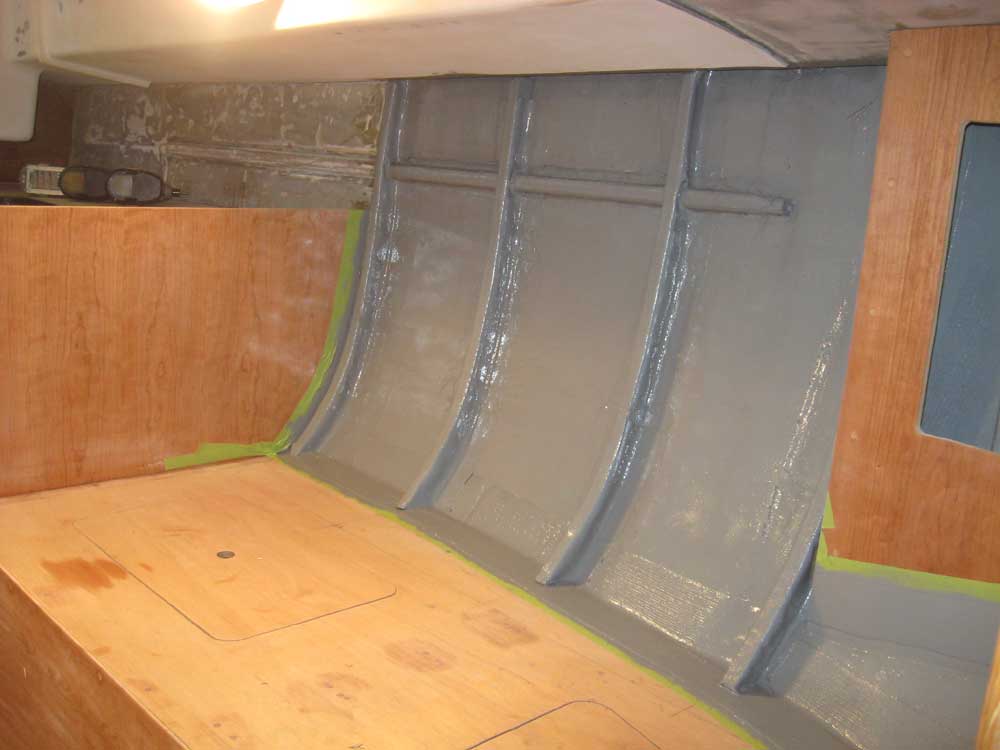
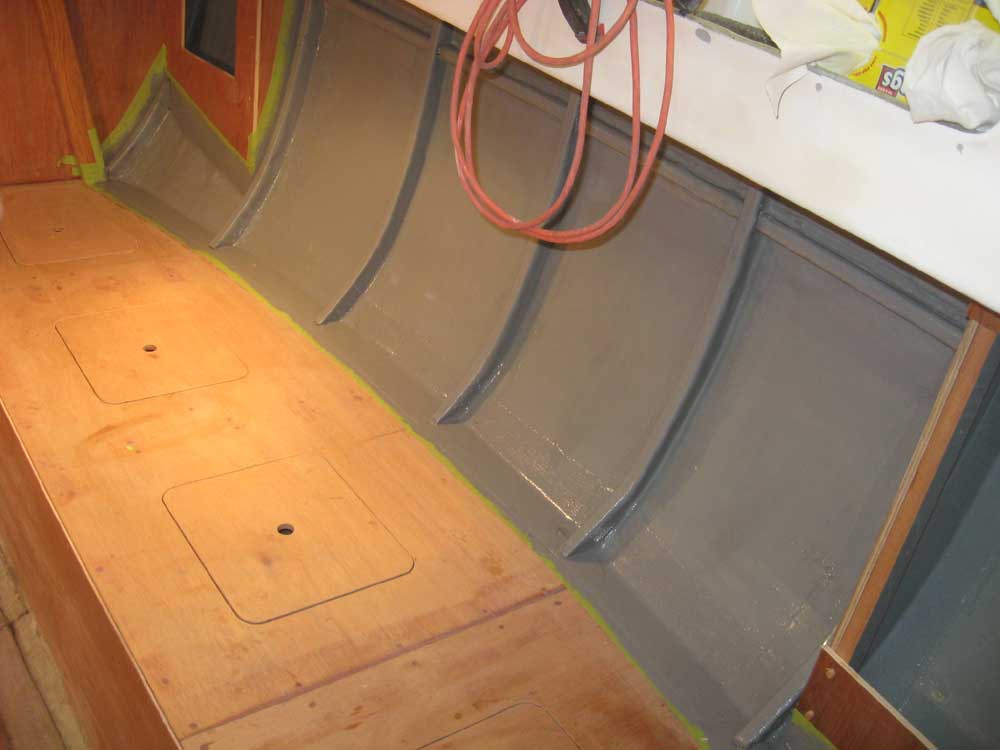
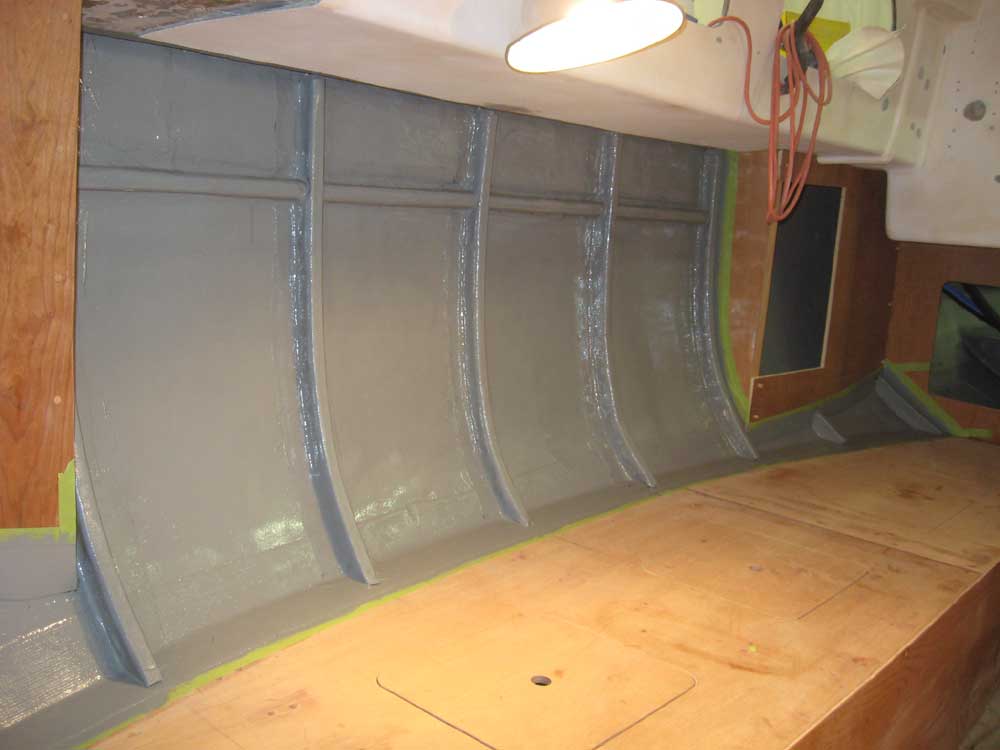
The other important task I'd planned for the day was to complete some interior and locker paint work: specifically, the engine room; bilge; head upper lockers; and the inside of the hull in the main cabin. To that end, I prepared all the areas to be painted, masking off as required and vacuuming and solvent-washing all areas. Afterwards, I applied a coat of gray Bilgekote everywhere. |
  |
|
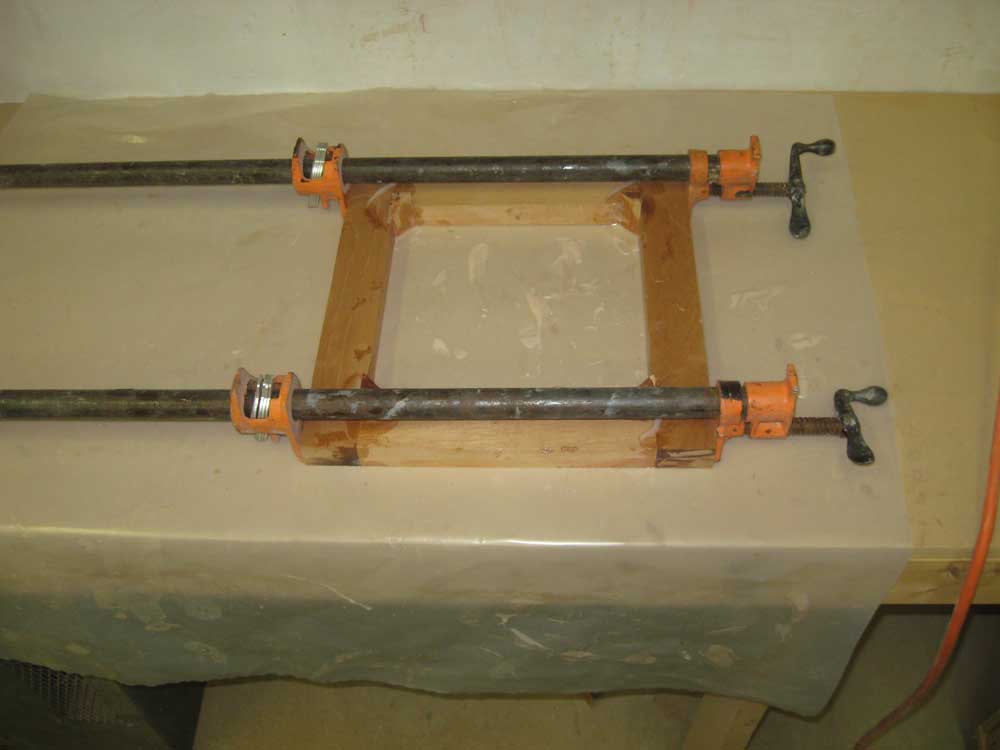
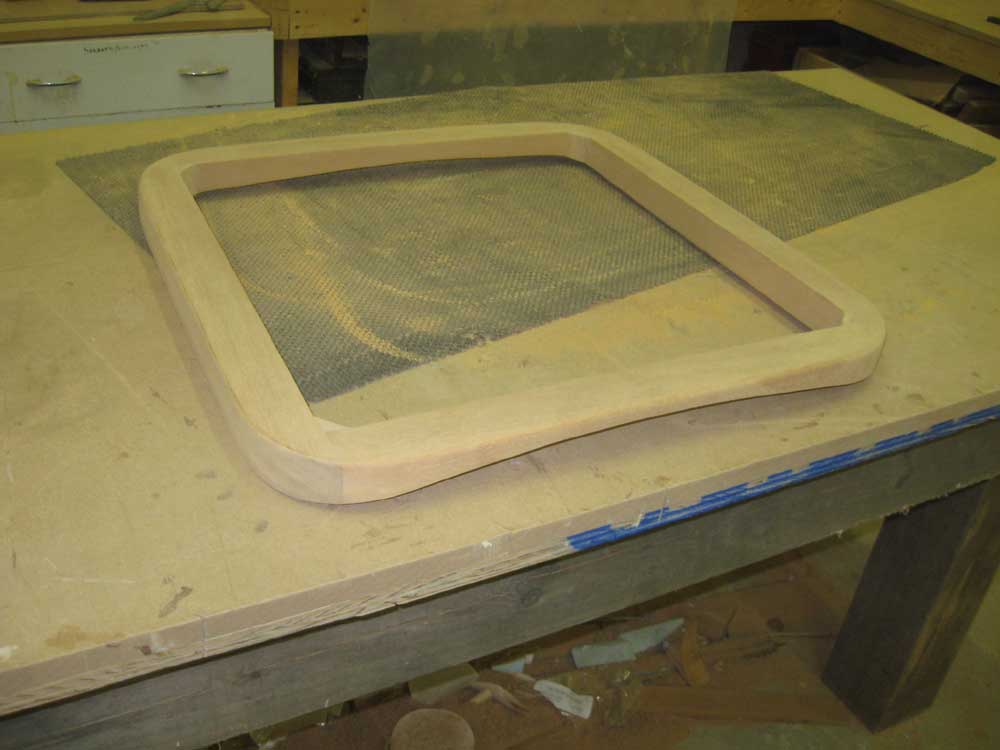
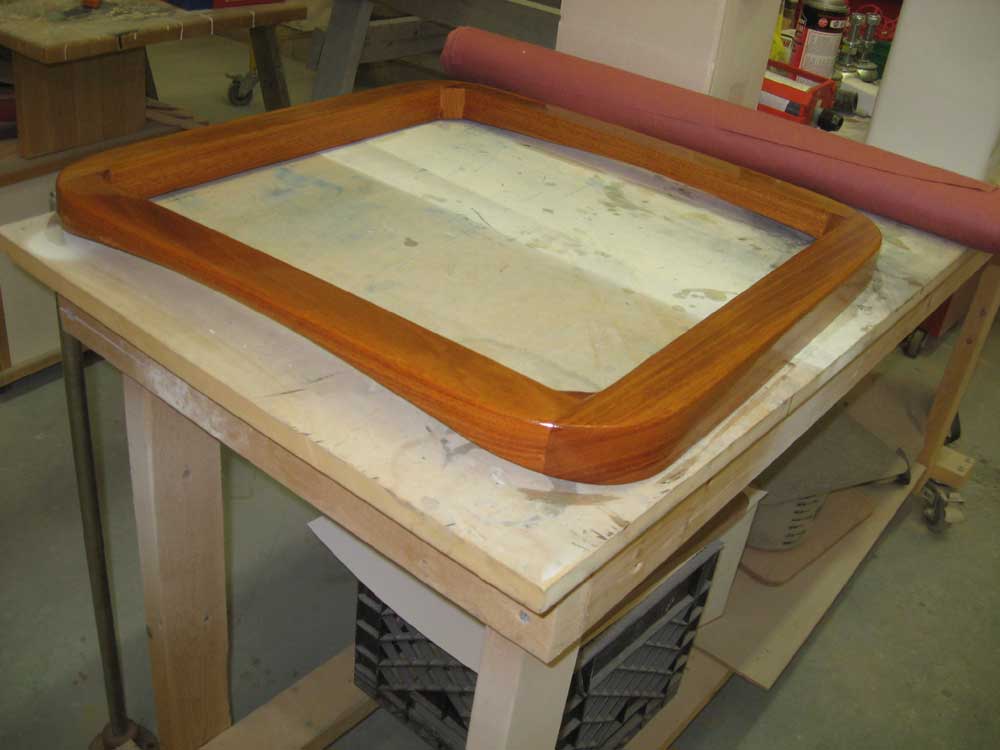
The new 10" opening hatch for the main cabin had arrived yesterday, and with it on hand I made up a framework to complement the one for the larger forward hatch. First, I set the hatch on deck in roughly its proposed position to see how much camber there was; the camber was much less than at the forward hatch location, and this, coupled with the smaller size of the hatch, meant that I could use thinner stock to make the frame--a good thing, since the heavier stock would have seemed odd in appearance anyway on such a small hatch. In a manner similar to that of the forward hatch construction, I cut and glued together a framework from 5/4 Honduras mahogany, including angled corner blocks, and set it aside to cure. |
 |
|
Meanwhile, I cut and sanded away the excess corner block length from the forward hatch frame, and sanded the entire thing smooth again. Then, I applied a sealer coat of varnish. |
 |
|
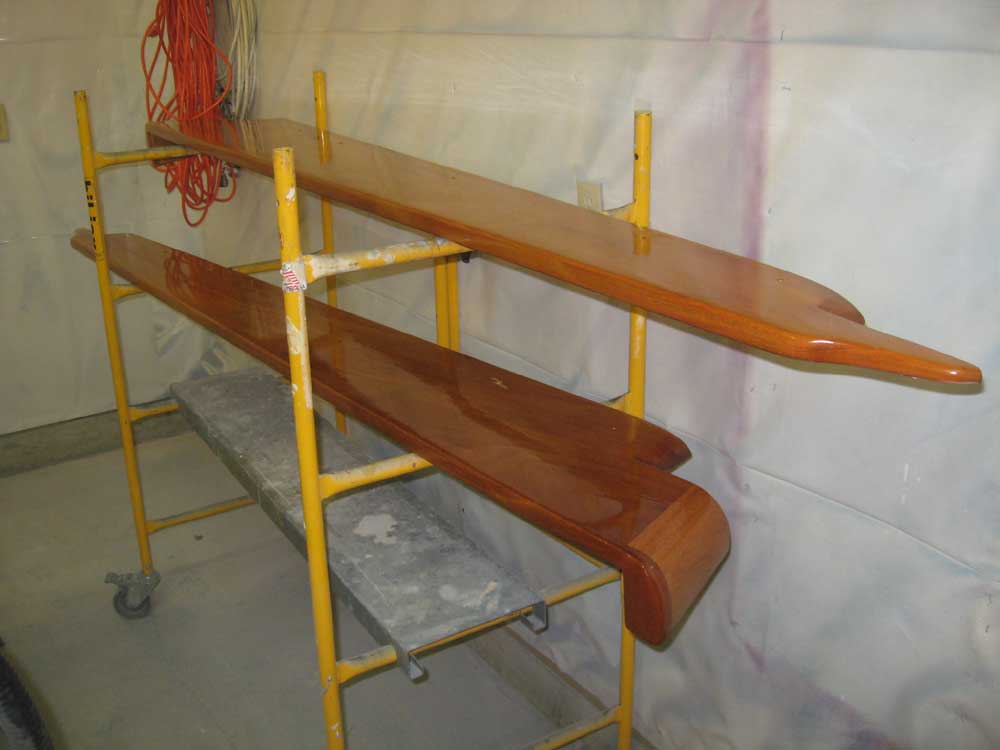
I also sanded one side of the coamings, and applied the second coat of varnish. |
 |
|
|
|