| Circe
| Friday, December 11, 2009 All the new glasswork on the ceiling support strips required the usual steps of washing and lightly sanding to remove rough edges, so that was my first task of the day. It seemed also a good time to sand all the interior brightwork with 320 grit to prepare it for its eventual next coat, though that might be a little while ahead. Afterwards, I thoroughly cleaned the inside of the boat. |
|
|
|
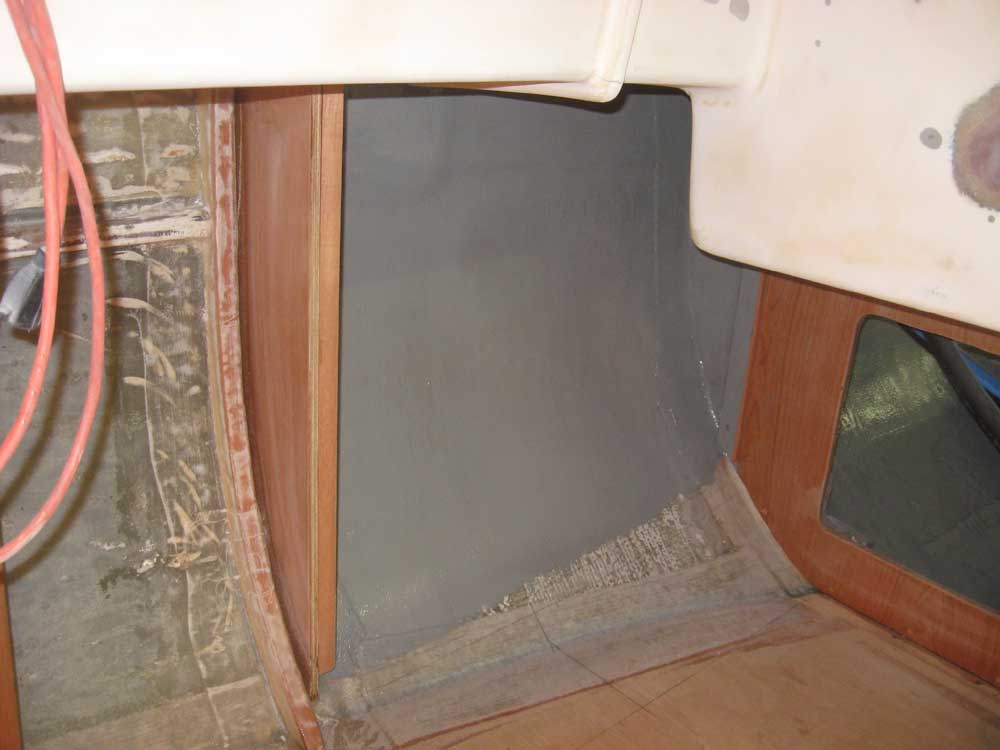
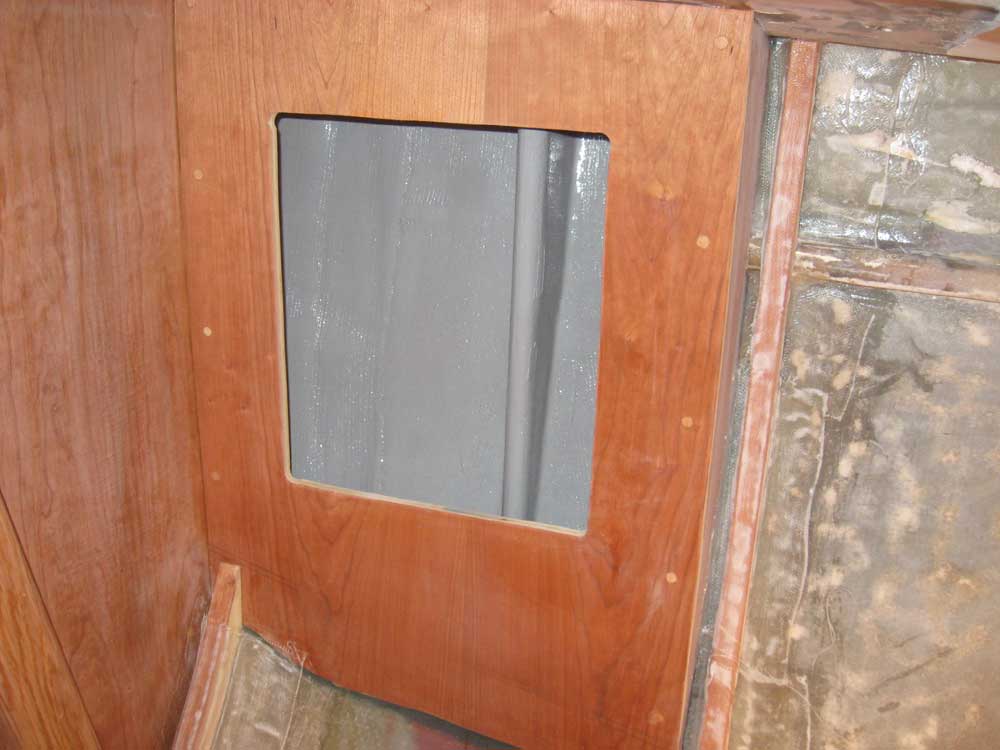
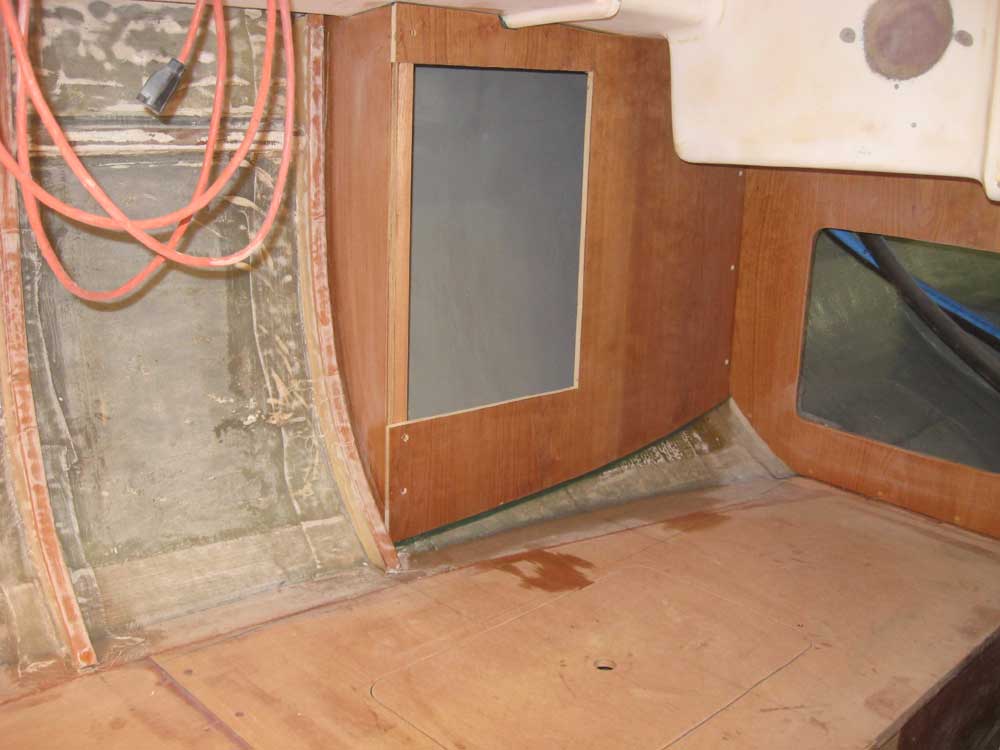
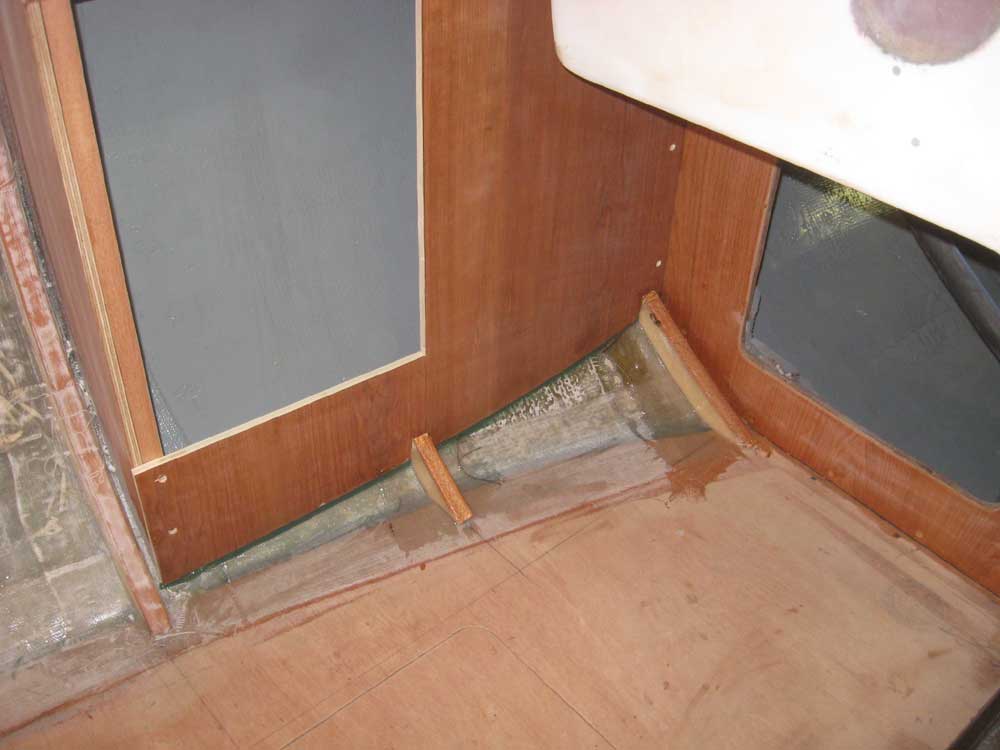
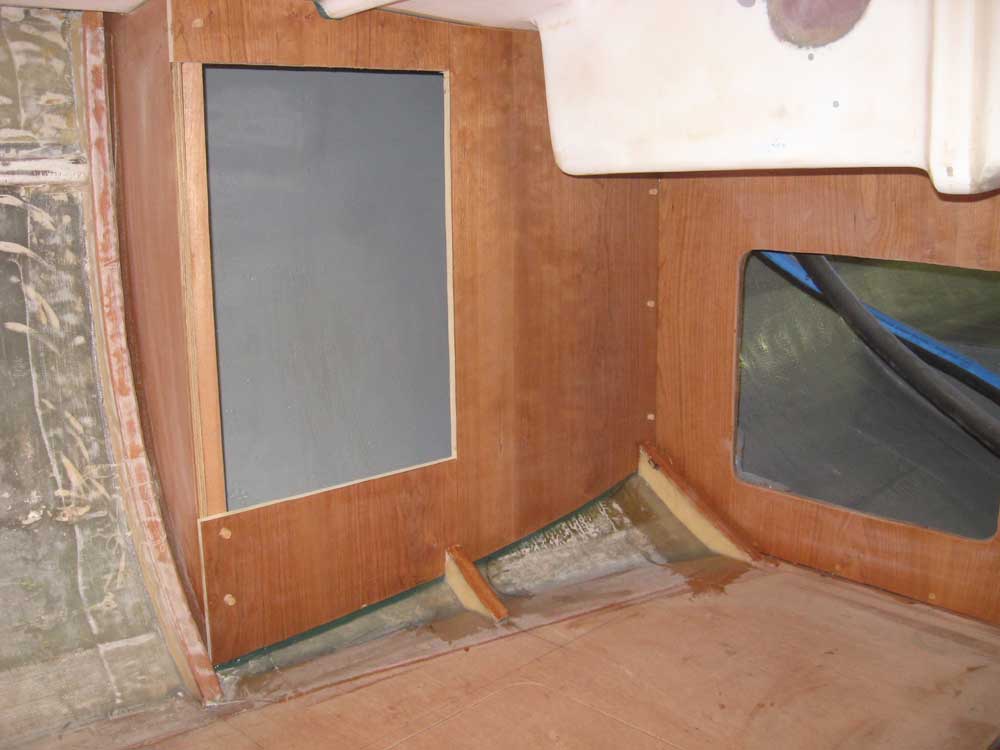
In order to complete the ceiling framework, I needed to install the front panel of the electrical locker, in the aft starboard corner of the saloon. In order to do that, however, I first had to make a cut on the panel to create what would eventually become a hinged, opening section that would allow access to the back of the panel and associated wiring, as well as other components that I'd install there. To determine the size of the panel, I estimated what items might be installed there, beginning with the known quantity of the main electrical service panel we'd chosen (though not yet purchased). Eventually, I determined how large to make the cutout, and then proceeded. There was plenty of room on the to-be-hinged portion for various components, plus additional room on the static part of the locker front as well. Before installing the locker front, I painted the inside of the locker, and also took the opportunity to paint the two chainplate lockers while I had the paint out. |
 |
|
Finally, I installed the electrical locker panel with epoxy adhesive on the top and bottom edges, a bit more adhesive on the support cleats, and bronze screws as applicable. |
 |
|
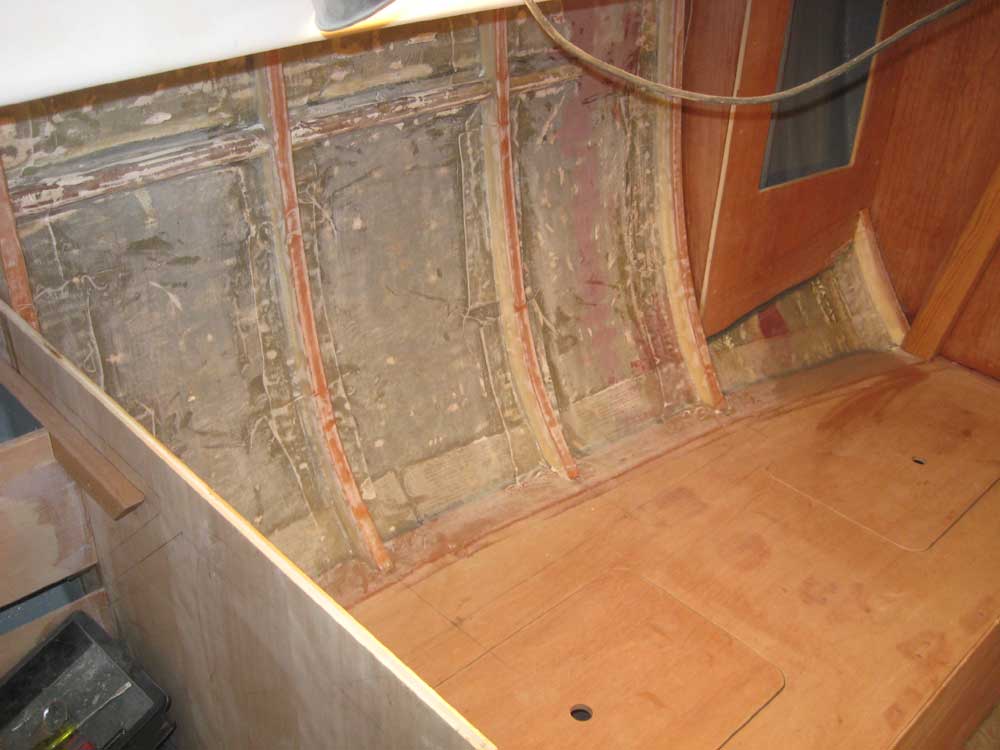
With the panel installed, I proceeded with the last remaining ceiling support strips, the final two on the starboard side: Corecell foam, wooden screw strip, and fiberglass tabbing, as before. Most of this would be hidden by the settee cushion, but it seemed necessary to ceil this area to maintain consistency with the forward sections. |
 |
|
I took care of a few odd jobs, including bunging the new screw holes in the electrical locker and applying another coat of varnish to the sea hood (2). |
 |
|
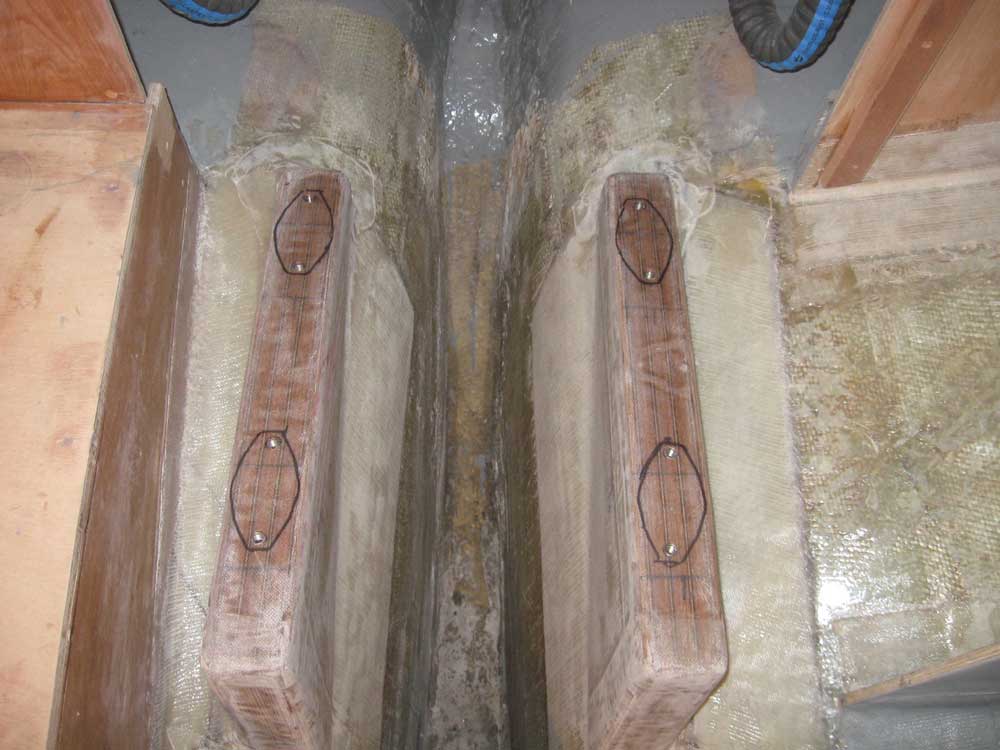
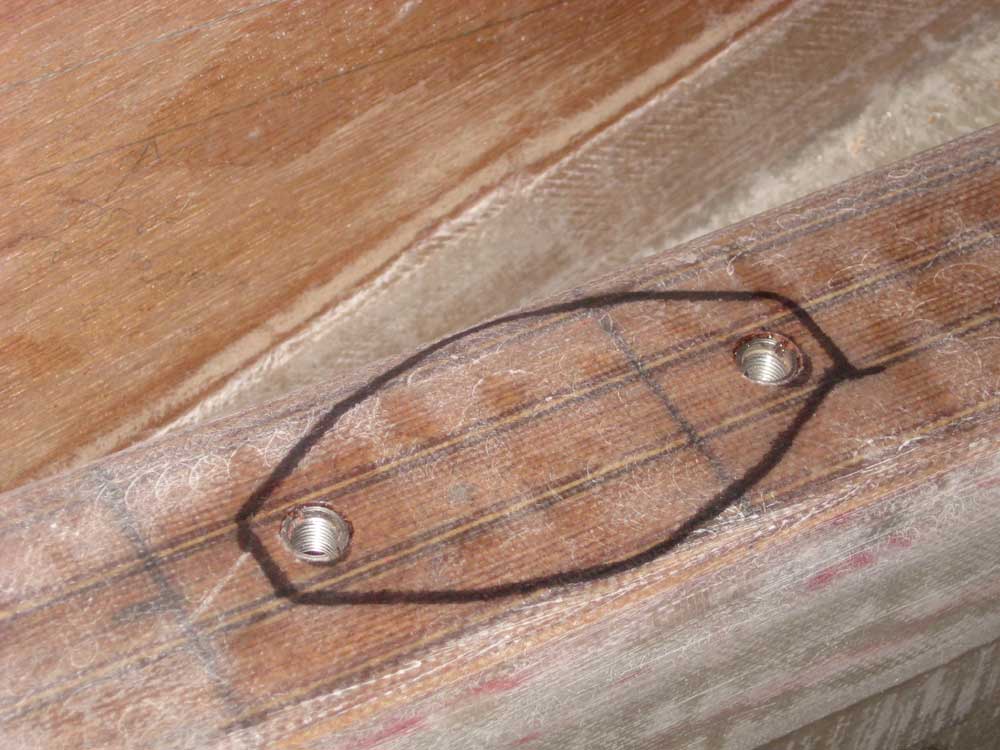
To eventually secure the engine mounts, I installed stainless steel threaded inserts in the engine foundations, aligned with the centers of the elongated holes in the mounts themselves. The inserts accepted 3/8-24 cap screws. I drilled pilot holes, tapped the insides of the holes with a 9/16-12 tap (matching the outer threads of the inserts), and secured the inserts in the threads; I added some epoxy to the threads for additional security. |
 |
|
Thinking ahead to next week, I turned to the coamings once more, this time the return blocks at the forward ends. I prepared cardboard templates of the space, and then laminated some blanks to use for the blocks, using offcuts of the same piece of wood used on each respective side's coaming. I set the rough blanks aside to cure over the weekend. |
|
|
|
|