

| Circe
| Monday, December 7, 2009 I began back on the engine foundations. After the usual round of washing and sanding, I prepared to sheathe the top and end surfaces with fiberglass; this material would be for sheathing purposes only, not to add any significant structure, as the structural material was already in place. I applied 8" 10 oz. cloth over the foundation tops, forward ends, and aft ends as needed, and left it to cure. |
|
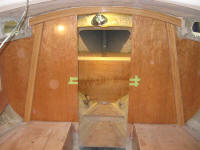
I was prepared to install the mast support beam and posts, but realized as I began that I couldn't install the centermost posts quite yet: I needed to set up my engine centering string one more time before I was done with it entirely, and the reference marks were where the center posts would go. I pressed on with the initial installation of the arched beam and two angled support posts, however. I secured these pieces from behind with bronze screws. Later, I'd secure the arch to the bulkhead with bronze bolts, but only after the cherry veneer was in place on the for ward (head) side of the bulkhead. But I wanted the screws to be hidden by the veneer, and I wanted to begin the veneer soon so I could continue some upper cabinet construction in the head. |
 |
|
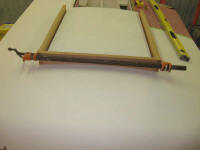
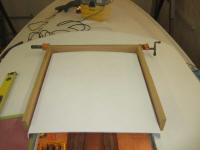
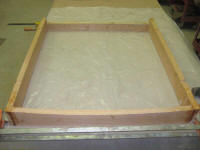
The canvas and upholstery contractor was due at the boat in about a month, and I had a specific list of tasks that I needed to complete before his arrival. Therefore, I shifted gear entirely and began some exterior woodwork: cockpit coamings and sea hood, both of which needed to be in place for the dodger construction. Exterior woodwork was to be of Honduras mahogany. After taking some measurements on the coachroof, with the companionway hatch temporarily in place, I determined the size of the sea hood, and cut three side pieces, beveling the two longitudinals to match the coachroof camber, and scribing an appropriate arc on the athwartships cross piece. Then, I secured the pieces together with epoxy and fillets. The second cross piece seen in the photos is just a temporary spacer to hold the open aft end the proper distance apart while the epoxy cured. I cut several boards slightly longer than I needed, and glued up a panel for the top of the sea hood, which I clamped and set aside to cure. |
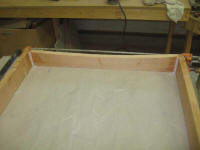
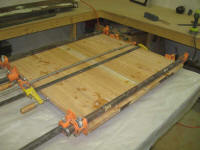 |
|
Next, I turned to the cockpit coamings. I pulled the old coamings out of storage and removed the blocks from the forward end, and then used the old boards as rough templates for the new coamings. I chose slightly thicker Honduras mahogany stock for the new coamings, hoping the thickness would not only look nice, but would also provide just a bit more potential seating surface, since seating on the coaming for the helmsman had always been a driving force of the cockpit design in this project. After laying out the coamings, I cut out the blanks, bringing me to the end of the day. |
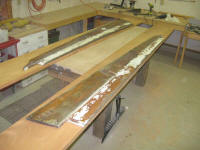
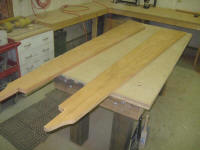 |
|