

| Circe
| Wednesday, December 2, 2009 I unclamped the engine foundation blank lamination, and spent some time cleaning it up: sanding, trimming, and squaring its edges to prepare it for final shaping into the two sections I'd need. |
|
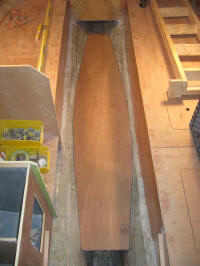
Before I could continue work on the foundations--cutting, fitting, and installing--I needed to continue work on the new cabin sole and its installation. To begin, I brought my cabin sole blank, which I'd templated and cut a couple weeks ago, into the boat for a test fit. I was pleased to find that the sole fit on its first try, with no additional trimming or modification needed. While it was in place, I made a few measurements that would be germane to some of my next steps. |
 |
|
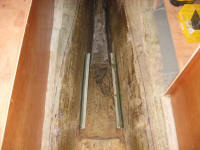
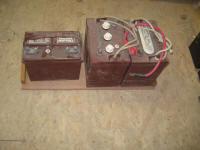
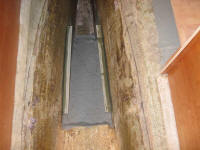
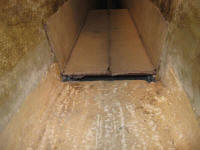
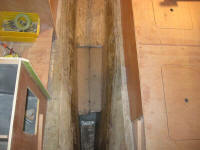
I removed the sole back to the bench and turned my attention to the bilge. We'd decided earlier to locate the batteries in the bilge, beneath the cabin sole, so before I reinstalled the sole I needed to build the battery storage platform. I happened to have a set, from another boat, of the very batteries I intended to use on this project on hand in the shop, so I made some real-world measurements of the batteries to determine how much room I needed, particularly for height but just as importantly for length. With these measrements, and a quick plywood template of the battery base, I eventually determined the location for a platform in the bilge. It was more difficult than I'd first thought: where there was ample width inside the keel, roughly at its longitudinal midpoint, there was insufficient (or overly tight) height; where there was plenty of height, aft of the midpoint, the width became quickly constricted. A good compromise position soon came to light, and after marking the proper location I cut sections of fiberglass angle to use as support cleats. I secured these to the inside of the hull with epoxy adhesive and a couple dabs of hot glue to hold them while the epoxy cured. |
 |
|
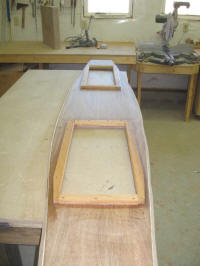
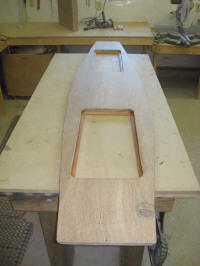
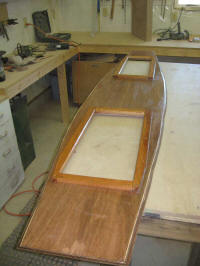
The adhesive would cure enough to continue work in about 3 hours, so I continued work on the cabin sole while I waited. I laid out and cut two large access hatches--one forward, and one over the battery location. I was able to size the after cutout so that the batteries would fit through the opening in their proper orientation (long dimension athwartships), which would make installation more convenient. I cut and installed wooden support cleats for the hatches using epoxy and bronze screws, and when all was said and done I coated the entire underside of the sole with epoxy resin and set it aside. |
 |
|
After lunch, and a meeting with the rigger for an inspection of the roller furling headfoil and stay within, I continued on the battery platform: the cleats had cured enough so I could continue. I cut a platform from 18mm Meranti plywood to fit the space, and a bit longer than needed till I could determine exactly how the batteries would fit. I took the new plywood up to a storage area and test-fit three actual batteries on the platform to double-check the measurements and templates: the two house batteries would fit athwartships at the forward end of the platform, and one starting battery would fit longitudinally behind them. I left room for support cleats and trimmed the platform to its final length, and epoxy-coated the bottom and edges before securing it to the fiberglass cleats with thickened epoxy resin, with which I also created small fillets along the hull edges. Before securing the platform, however, I took a moment to paint the bilge area directly beneath, which would be hidden and generally inaccessible after installation. |
 |
|
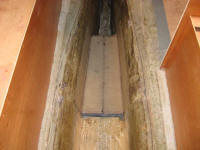
Finally, I installed two layers of fiberglass tabbing, custom cut to fit, on each side of the platform, running well up the hull and out to the centerline of the platform itself; then I installed one final layer over the platform, covering the seam between the two sides' tabbing. The tabbing "grew" a little during wet-out and overhung the aft end of the platform by an inch or so, but I'd trim that back later. |
 |
|