

| Circe
| Tuesday, December 1, 2009 I began up in the head compartment. I washed and lightly sanded the epoxy from yesterday's substrate installation, to remove any ridges or high spots that might affect the adhesion of the high-pressure laminate (Formica). Then, I coated the countertops and underside of the Formica with contact cement and, after allowing it to dry, installed the three sections of Formica; afterwards, I used a small router to trim the Formica from the existing sink opening on the starboard side. |
|
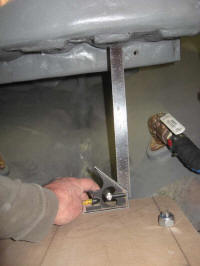
I made a pair of wooden plugs, equipped with small holes in the center, for the stern tube--one for each end--which purpose was to provide a center point for a string that would simulate the centerline of the propeller shaft, the one critical and inviolable datum for the engine installation. I led the string inside the boat and secured it to a strip of wood clamped to the forward bulkhead, and adjusted the string's position till it was centered in the hole exiting the stern tube. I marked the position of the string and the wooden strip at the bulkhead, so that I could remove it if needed for access to other chores, yet easily set the string back up as needed. |
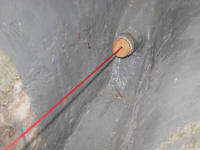
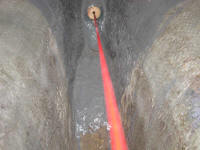
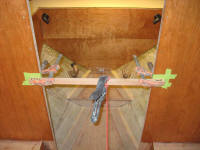 |
|
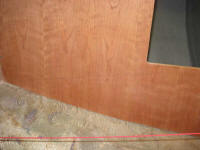
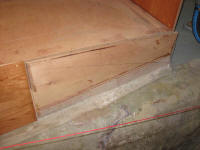
With the string in place, centered, and tightly secured, I used a level to transfer its position to the bulkheads on either side of the engine room (I'd temporarily installed the front panel for the galley for this purpose). I made two marks on each side, then connected them with a straight line. These lines showed the angle and position of the engine according to the propeller shaft. |
 |
|
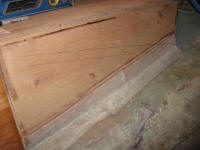
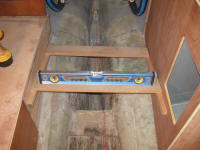
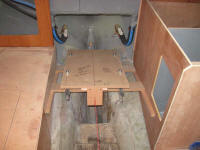
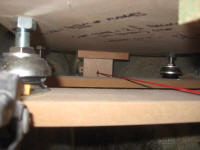
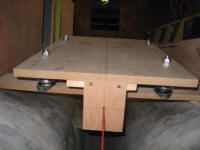
Using measurements from the engine drawing to determine the relative height of the flexible mount bases compared to the propeller shaft centerline (I'd previously adjusted the mounts to the midpoint of their adjustment range, for an overall clearance of 3"), and allowing for the thickness of the wood I planned to use, I installed cleats temporarily to the bulkheads, in line with and below the shaft line. I spanned between the cleats with some scraps of material and set the engine template in place on top of these boards; the flex mounts rested on the top of the boards, and the center string ran through the two holes in the template as designed. |
 |
|
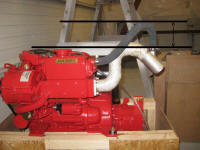
I adjusted the template to and fro as needed to center it side to side (according to the shaft string), and to help determine the longitudinal position of the engine. My main concern was clearance for the exhaust elbow: I'd ordered the engine with a high-rise elbow, even though I had reservations as to whether or not it would fit. The elbow and its injection hose was about 5" inches taller than the engine, and well aft, and frankly I didn't expect it to fit, given the significant protrusion of the cockpit well. Still, I hoped I could move the engine far enough forward to allow clearance, but I soon determined that this was impractical: doing so would simply pull the engine too far into the cabin. For the high-rise elbow, I needed roughly 17.5" above the top of my platform, worst-case; the actual clearance available was 13". The stock elbow, which did not protrude above the actual top of the engine, would only require 12.75" clearance above my platform (and probably wouldn't even end up beneath the cockpit well given the position of the engine). |
 |
|
There was adequate clearance beneath the cockpit well for the standard exhaust elbow, which I'd used in a previous Triton repower, so I made arrangements to swap the high-rise elbow for the stock elbow. The muffler would end up well below the engine in this installation anyway, so the high-rise wasn't necessary; still, it was worth a try. With this decision made, I could place the "engine" a bit further aft, which worked better all around. The engine would still be forward of where the Atomic 4 had been, but far enough aft to minimize its protrusion into the cabin and galley. With the template in the proper position, I made some reference marks on the cleats and boards, and then measured between the base of the flexible mounts and the hull to determine the rough height of the new engine foundations, which was the main purpose of this exercise. |
 |
|
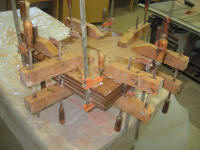
With a general height determined, I could build blanks from which to make the foundations. I cut four pieces of 18mm Meranti plywood to 20" x 23.5", which was large enough to get both blanks from, and then laminated the four pieces together with epoxy, securely clamping them till the epoxy cured. |
 |
|
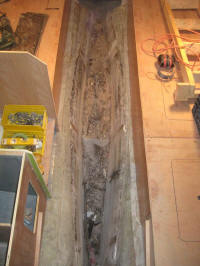
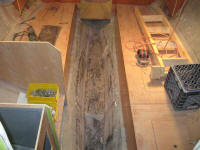
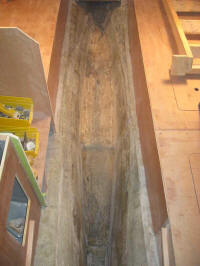
I removed the engine string for now, and turned my attention to the cabin sole: I'd waited long enough to cut out and replace the sole, and it was time to get it done. I removed the old sole with a reciprocating saw, trimmed and sanded any remaining tabbing (and chalky blue adhesive so revered at Pearson), and cleaned up the bilge beneath. This took the remainder of the day; in the morning, I'd dry-fit the new sole. |
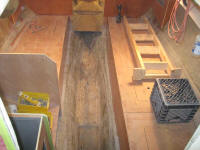 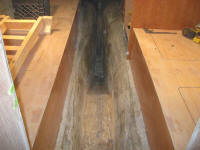 |
|