| Circe
| Monday, August 10, 2009 I water-washed and dried the new fiberglass from last week, and spent a couple hours sanding it flush and generally smooth with the adjacent areas, after which I vacuumed and solvent-washed the new material to prepare it for the beginning of fairing and additional steps. |
|
|
|
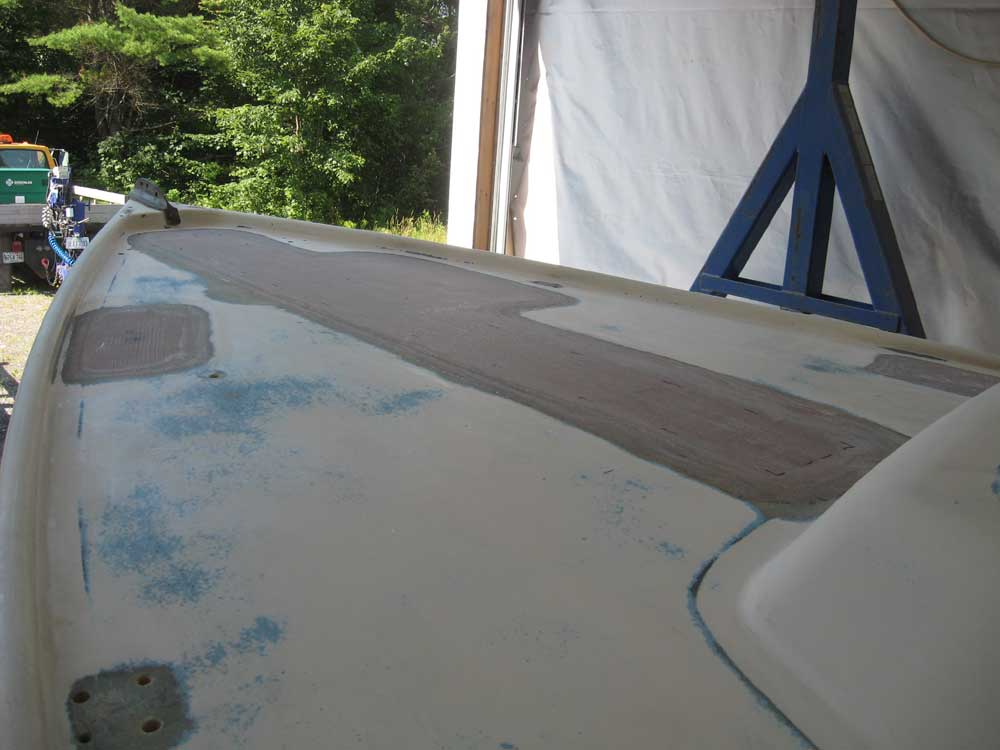
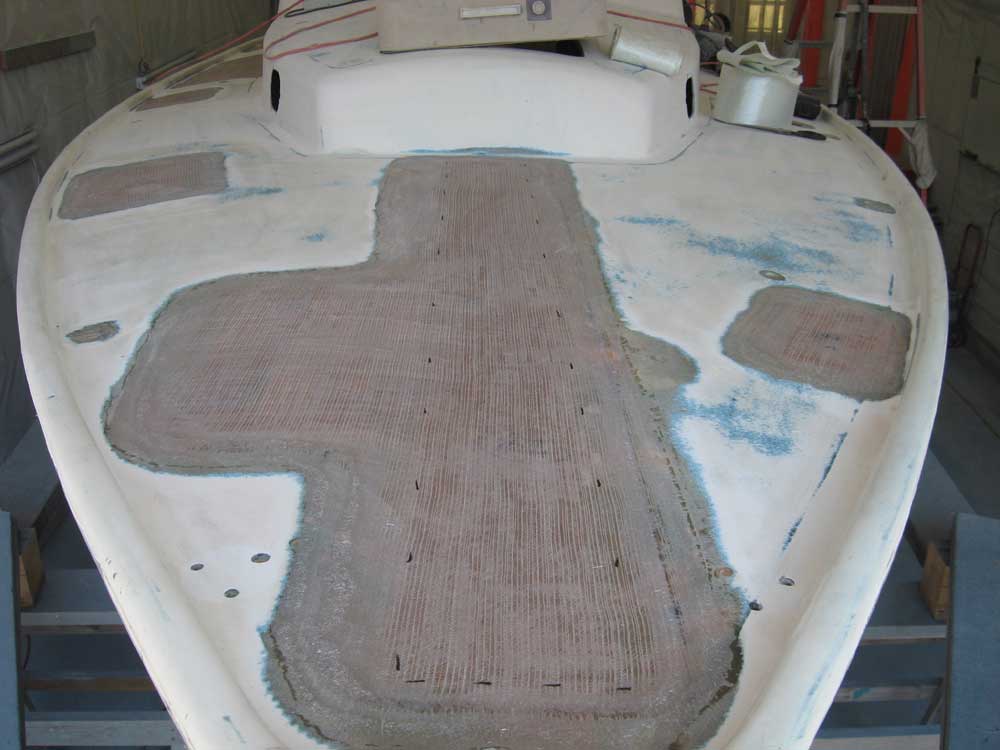
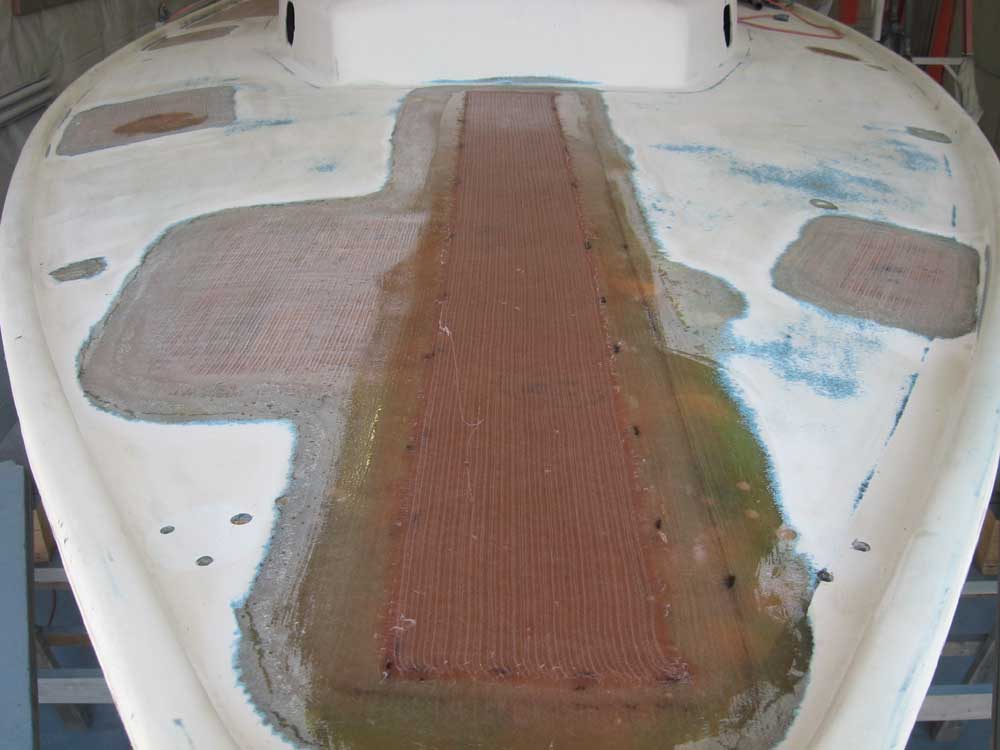
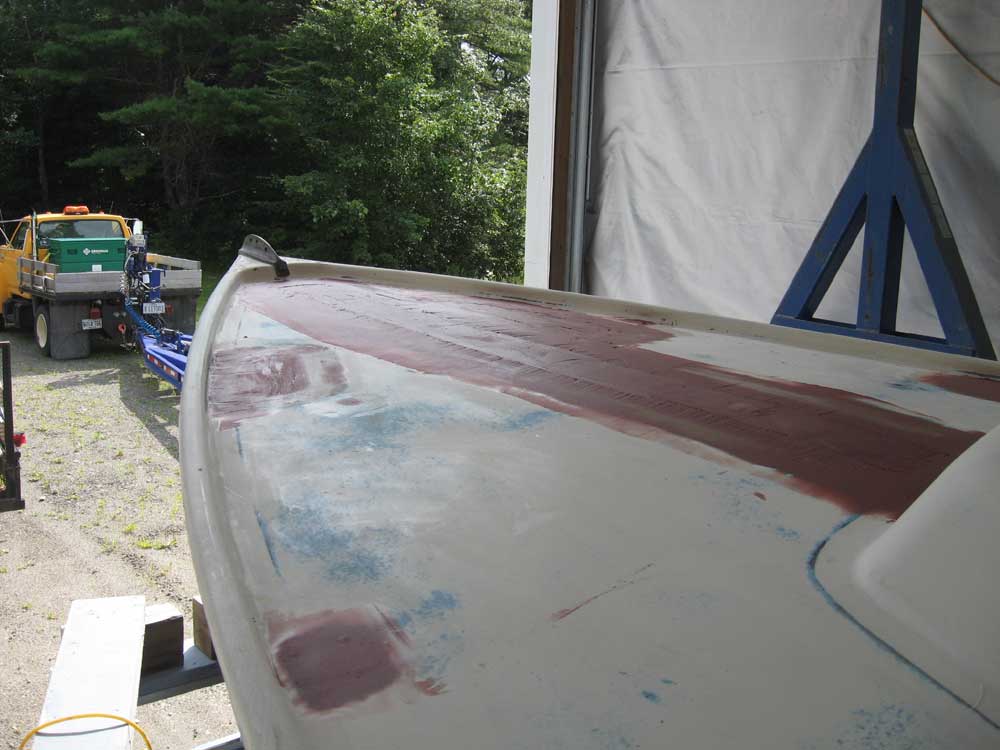
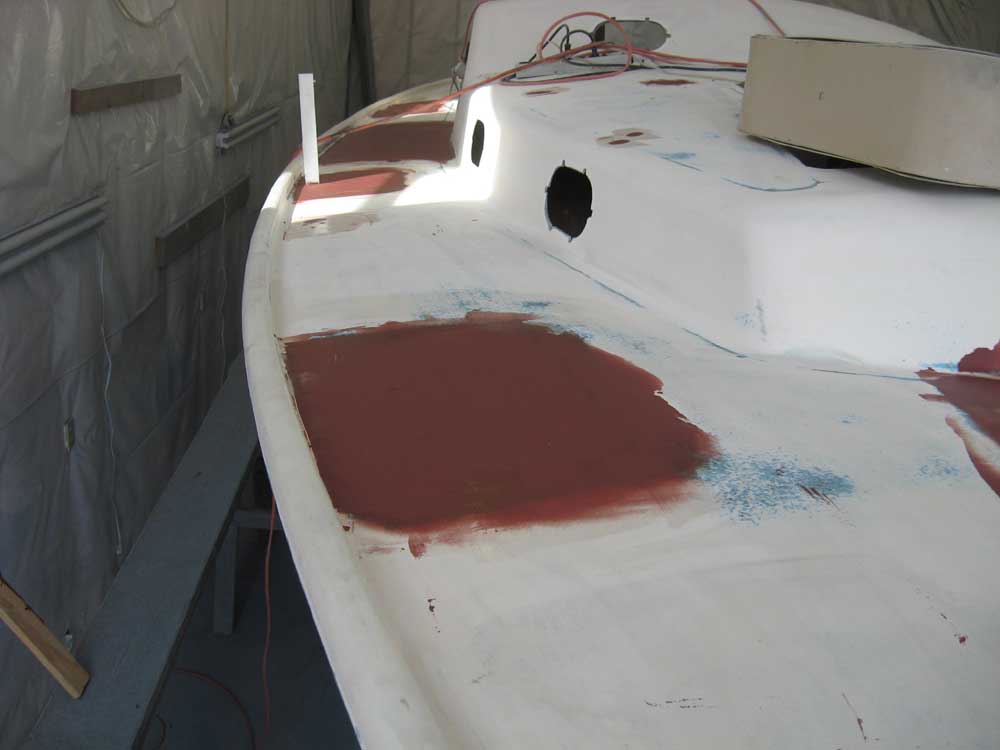
The two layers of material provided the right thickness of the patches in most areas, but I thought that the long centerline foredeck strip could use one additional layer right down the center to help ensure the proper crown when the fairing was complete. So I laid out a strip of 6" wide biax tape down the center and laminated it in place. |
 |
|
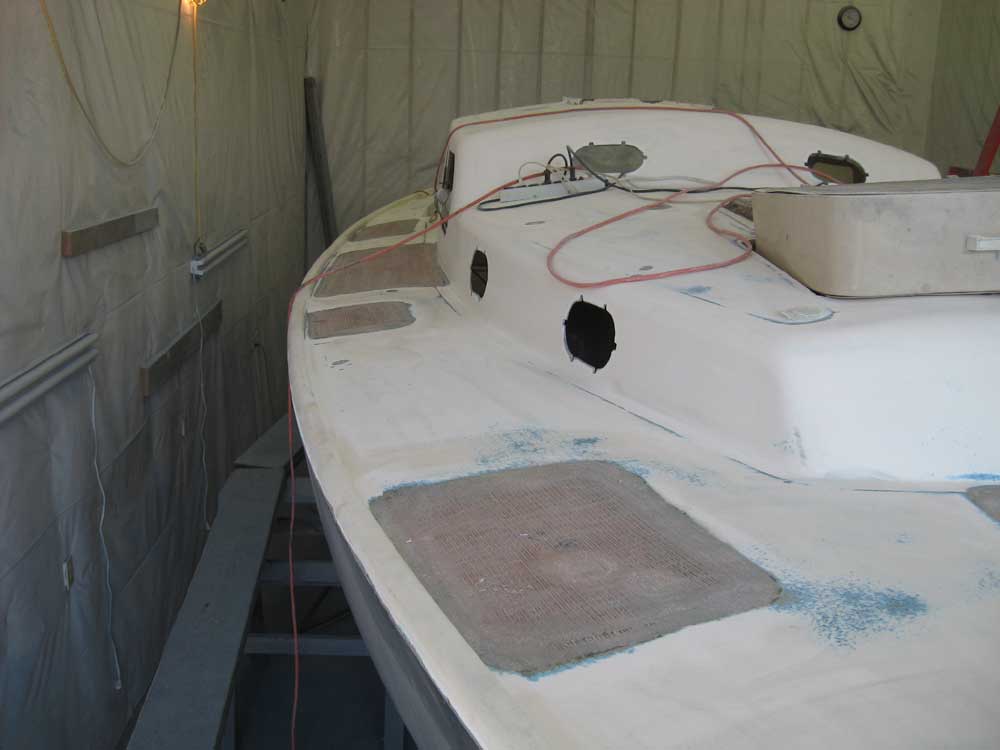
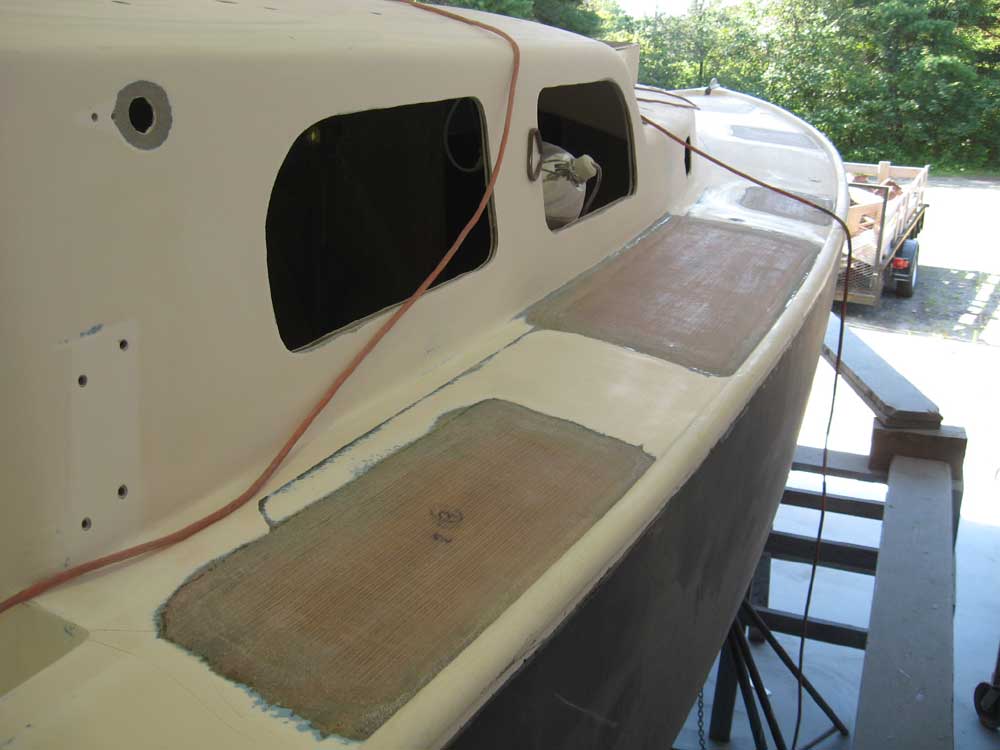
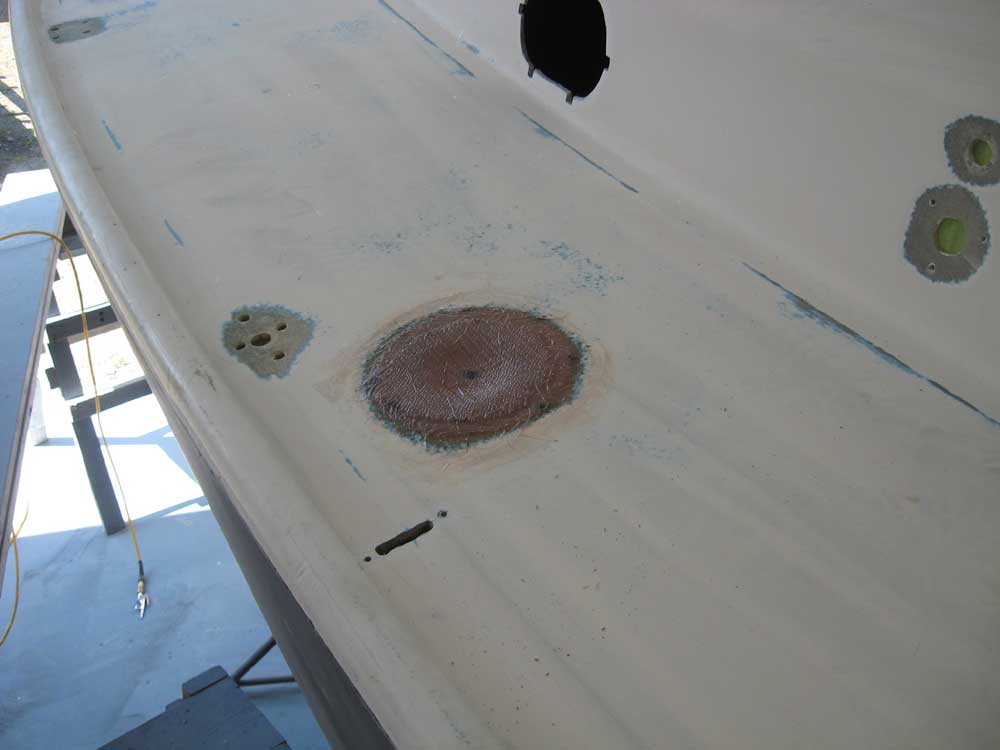
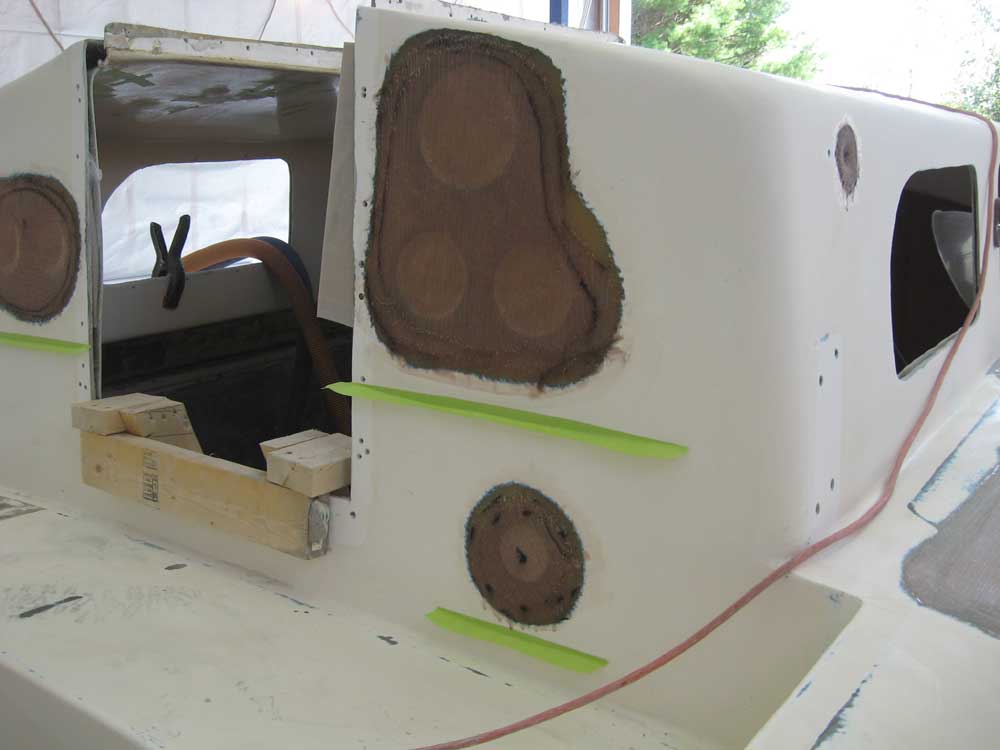
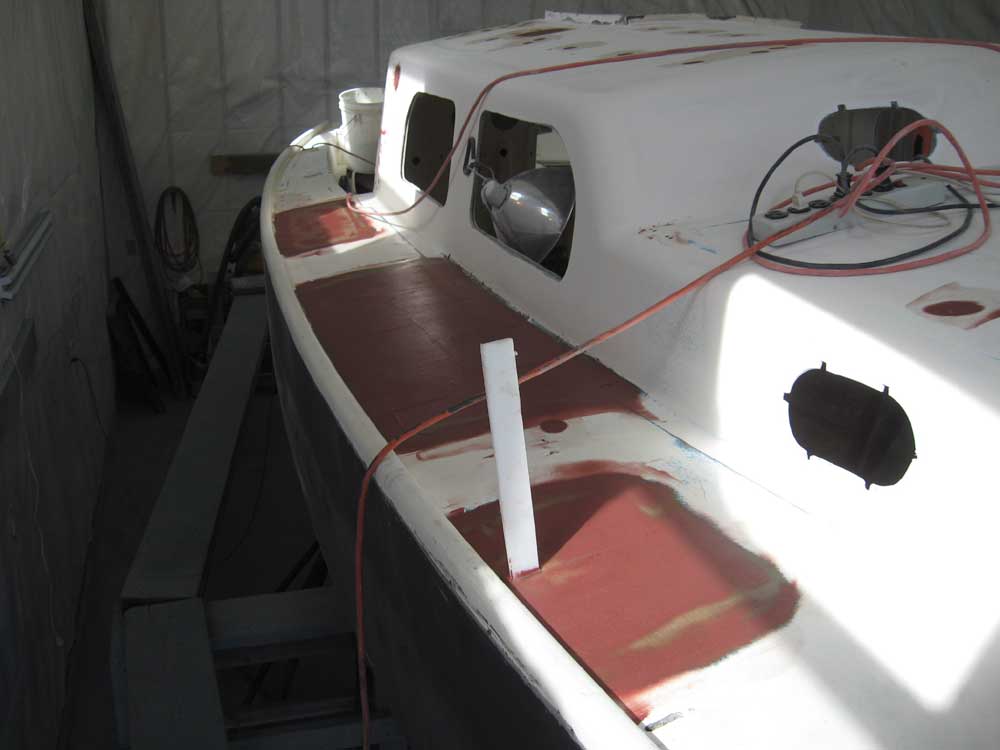
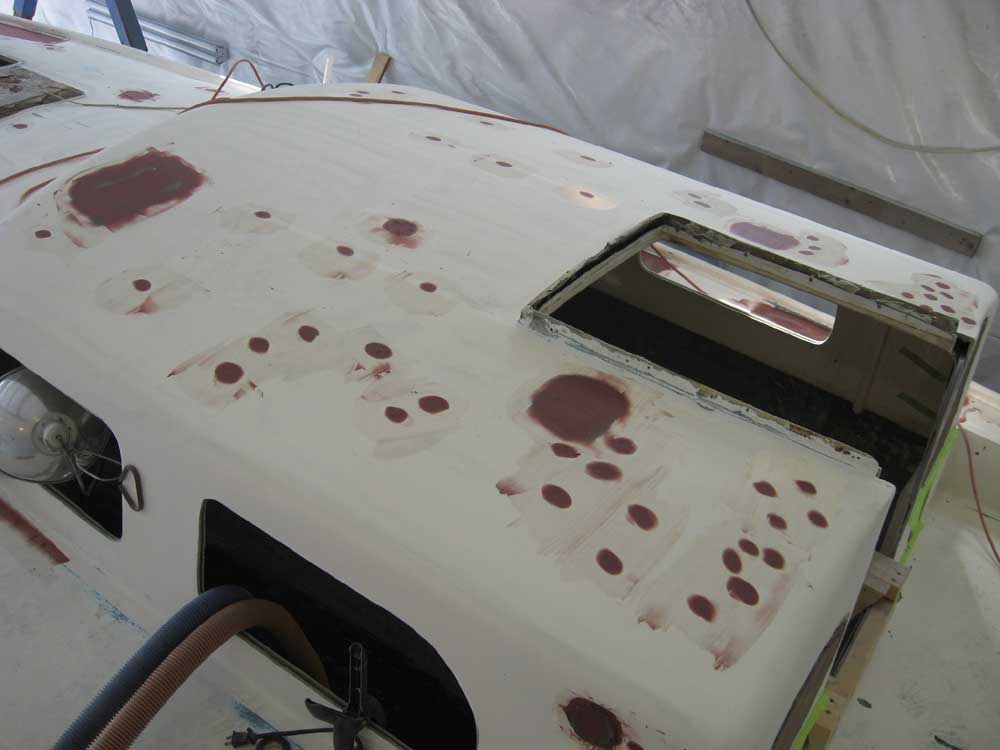
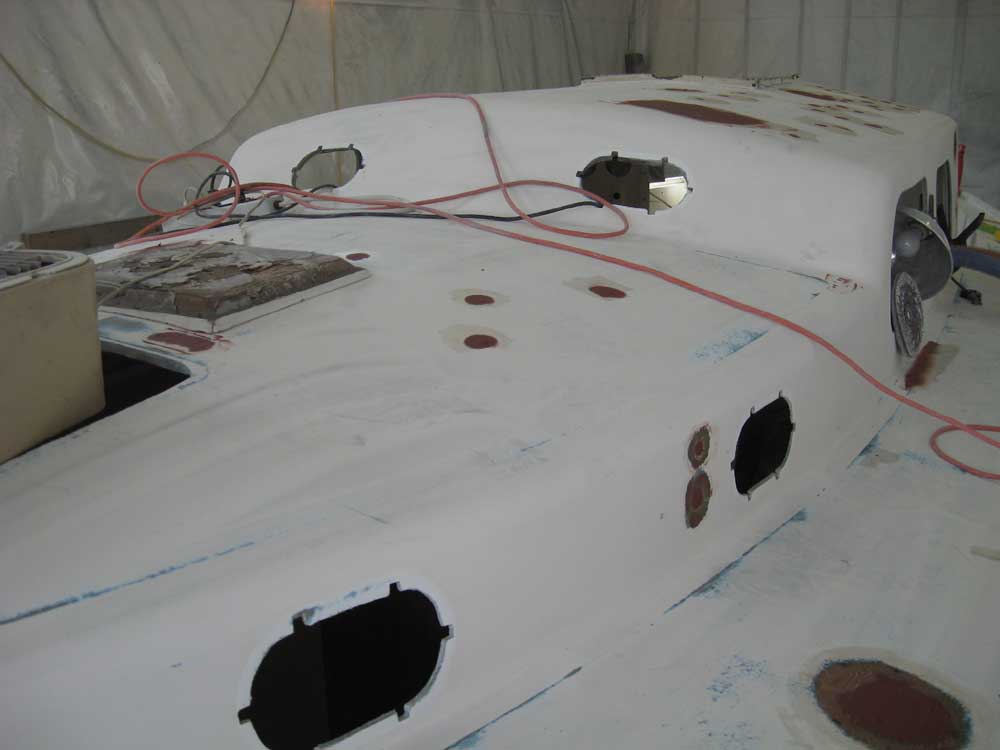
Meanwhile, I worked on several hole-filling and patching chores on other areas of the deck. I filled in the old waste deck fill hole on the port sidedeck with a circle of balsa core, and then glassed circular patches over the top. I also filled in with fiberglass two areas on the coachroof where I'd previously ground out latent air pockets, and applied small patches over the old running light openings in the cabin trunk sides, plus the old vent and hose attachment points left over from the old head. |
 |
|
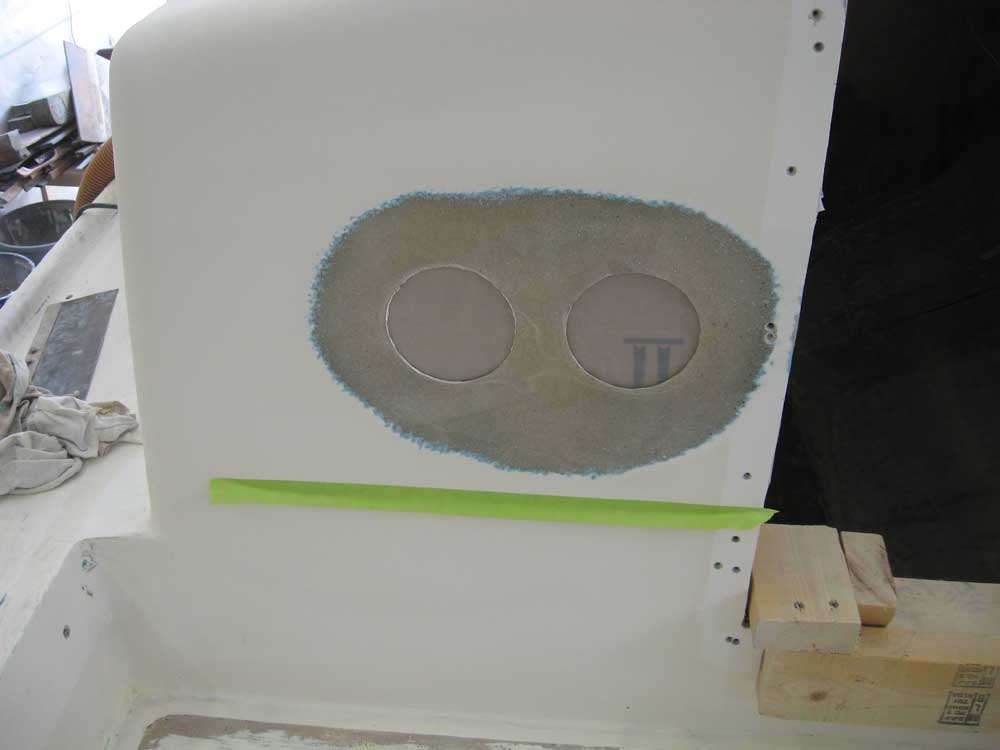
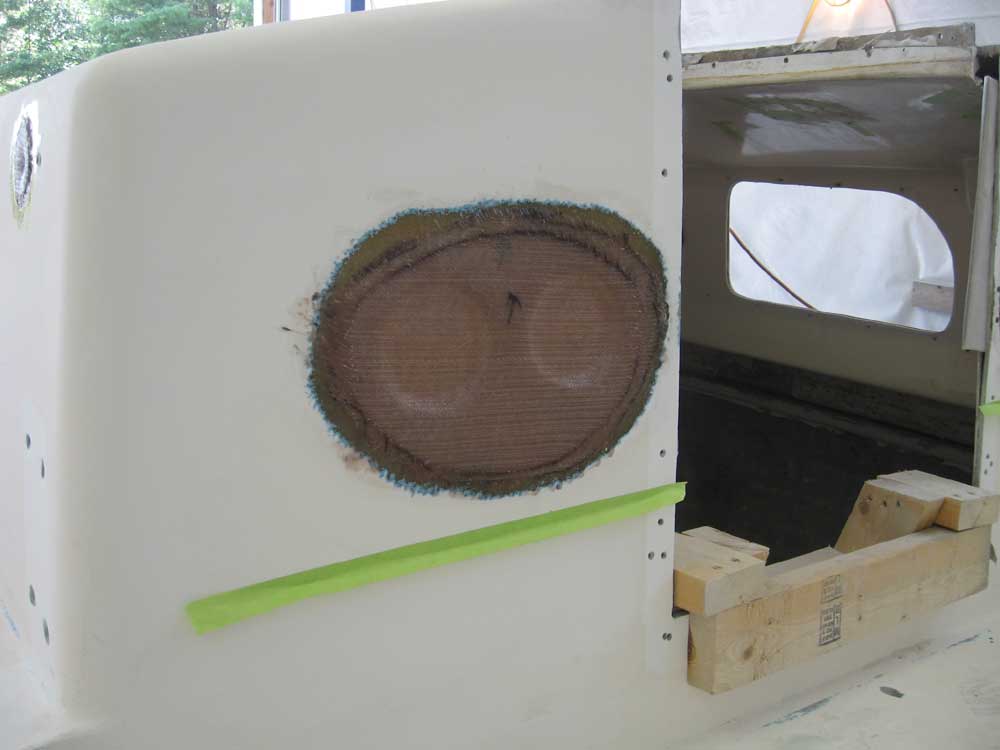
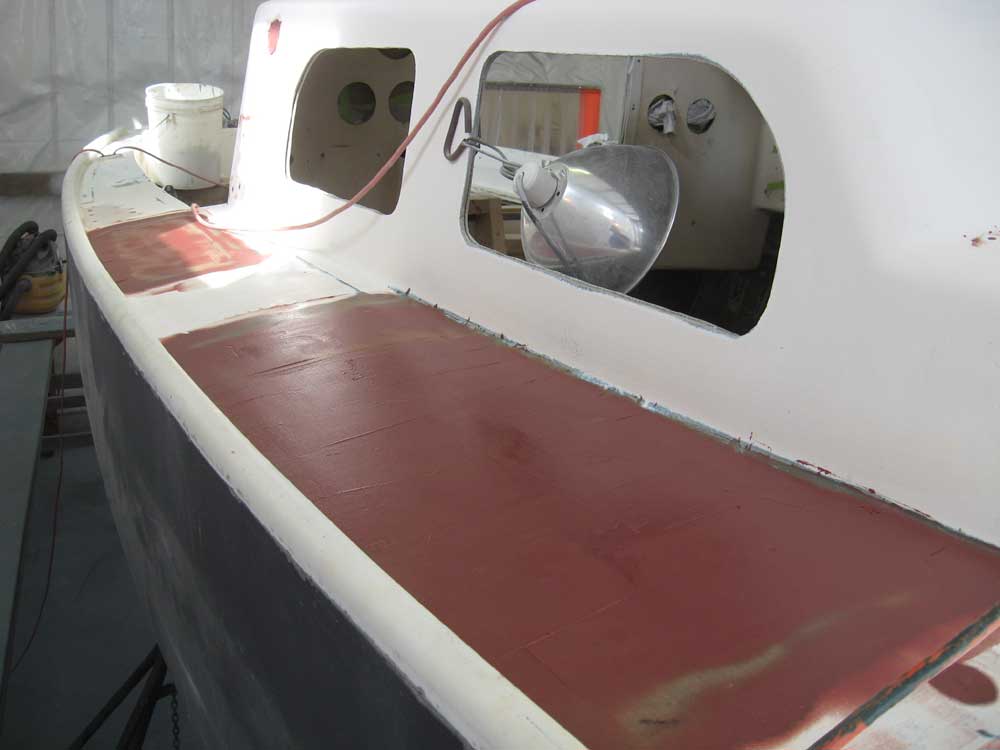
I made up some plastic-covered cardboard backers that I slid between the cabin liner and the cockpit bulkhead so I could patch the old instrument holes. I covered the holes with two layers of biaxial cloth, as seen in the photos; later in the day, the material had cured sufficiently to allow me to add in extra circles of material to help fill in the slightly-depressed openings to bring them closer to level with the adjacent surfaces (not pictured). |
 |
|
I applied the first coat of fairing filler to the numerous old fastener holes in the deck and coachroof, and similarly applied the first coat of fairing filler to the recored deck patches as needed. The new fiberglass on the foredeck had cured sufficiently by the afternoon to allow me to apply fairing filler there as well. |
 |
|
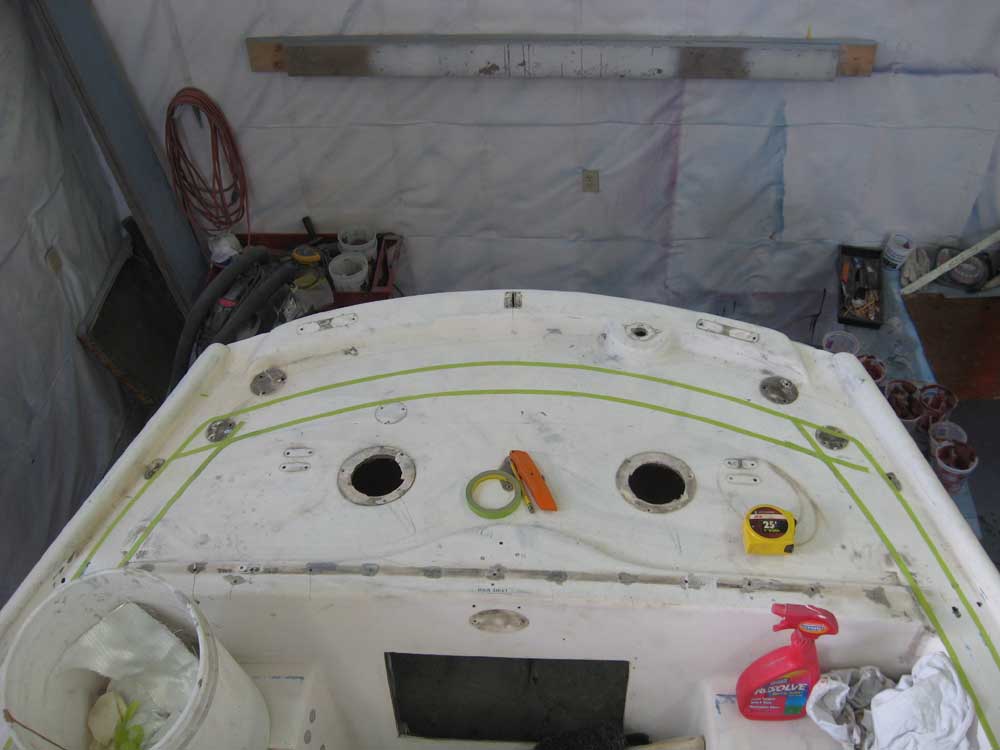
Over the next several days, I'd continue to sand and fair/fill the deck patches as needed. Since this operation would incur plenty of downtime between coats, I planned to work on other areas of the boat in between fairing coats. To that end, I began some conceptual and layout work in the cockpit. The owner had a couple requests to make the cockpit more open and comfortable for his intended use of the boat, including pedestal steering and, more significantly, opening up the aft end of the cockpit to provide more seating room aft of the helm; thereby sacrificing the stern deck and lazarette. He also requested a wider coaming that could be sat upon. It was fairly late in the day, but I wanted to get some initial ideas laid out on the boat. I didn't anticipate that my initial measurements and layout would end up being the final product, but to begin I made some measurements and reference marks, and used thin masking tape to create outlines of the new coaming shape and, more importantly, the eventual cutout at the aft end of the cockpit. The cutout had to flow with both the existing cockpit shape, as well as complement the shape of the transom, while still allowing interior room as required and maintaining room outboard of the coamings for proper channels and drainage. For this initial layout, I maintained the full proposed coaming width all the way aft, and around the aft end of the cockpit, though I suspected there would be both a visual and a practical need to taper the coamings' width slightly as they headed aft. Even as I worked on the first layout, I could tell that there was much fine-tuning to be done, but I continued with the basic layout so as to have a basic reference/starting point from which to work. I wasn't happy with the first result, but it gave me a clearer idea of what was to come. I'd make adjustments tomorrow, and continue the process from there. |
 |
|
|
|